
Start indoors, then move outside soon
In a Makkelijke Moestuin, you sow most vegetables directly in your raised bed and raise summer vegetables in pots on the windowsill.
A few varieties are started indoors but moved outside quite soon, either into a square in your raised bed or into an MM-mini.
A few varieties are started indoors but moved outside quite soon, either into a square in your raised bed or into an MM-mini.
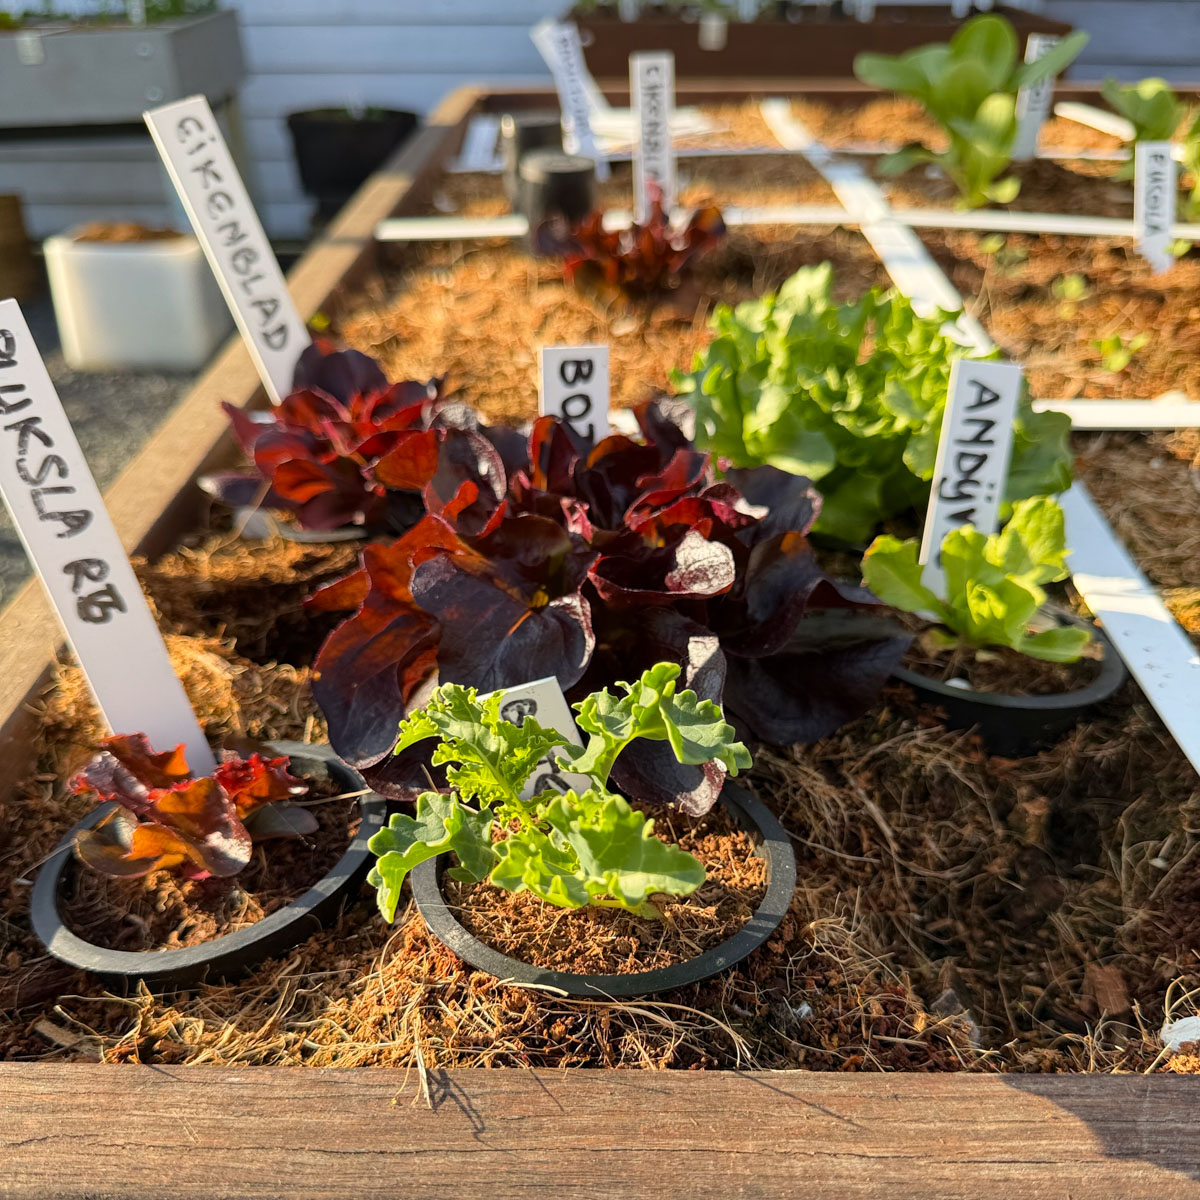
This helps ensure reliable germination, protects seedlings and young plants from slugs and other pests, and lets you make the best possible use of your squares.
Here is how to do it.
Here is how to do it.
Which varieties is this useful for?
All pelleted seeds
We supply several varieties as clay pellets, including Crystal lettuce; four Salanova lettuces, Crispy, Green Batavia, Red Butterleaf and Oakleaf; plus Red lettuce and Summer endive.
The pellets make sowing much easier, and these primed seeds germinate faster and more reliably than untreated seeds.
They are relatively expensive, but the plants are exceptional. Each head grows large enough to fill a whole square and produces a huge amount of leaf.
The pellets make sowing much easier, and these primed seeds germinate faster and more reliably than untreated seeds.
They are relatively expensive, but the plants are exceptional. Each head grows large enough to fill a whole square and produces a huge amount of leaf.
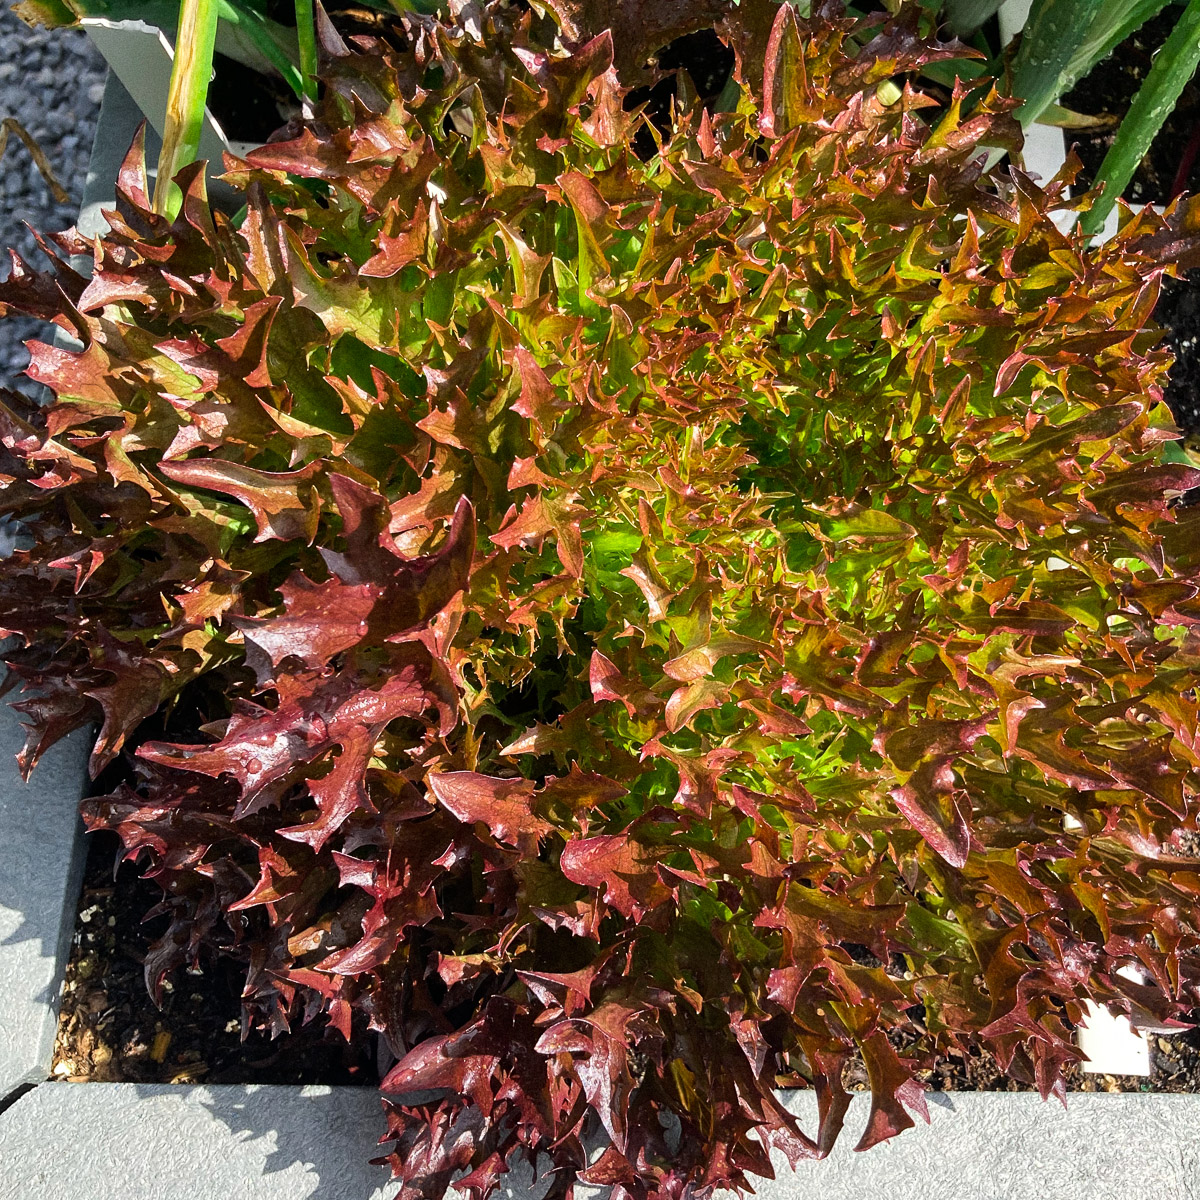
It takes around six to seven weeks before you can begin harvesting one of these lettuces. During the first few weeks, however, the plant is still small and vulnerable to bad weather and pests such as slugs.
These seeds are too valuable to risk, so we start them indoors in a bright, fairly cool place.
These varieties grow much better outside than indoors. Move each pot outside as soon as its seedling is growing well or its first true leaves appear, preferably into an empty square or an MM-mini.
There is easily room for nine pots:
These seeds are too valuable to risk, so we start them indoors in a bright, fairly cool place.
These varieties grow much better outside than indoors. Move each pot outside as soon as its seedling is growing well or its first true leaves appear, preferably into an empty square or an MM-mini.
There is easily room for nine pots:
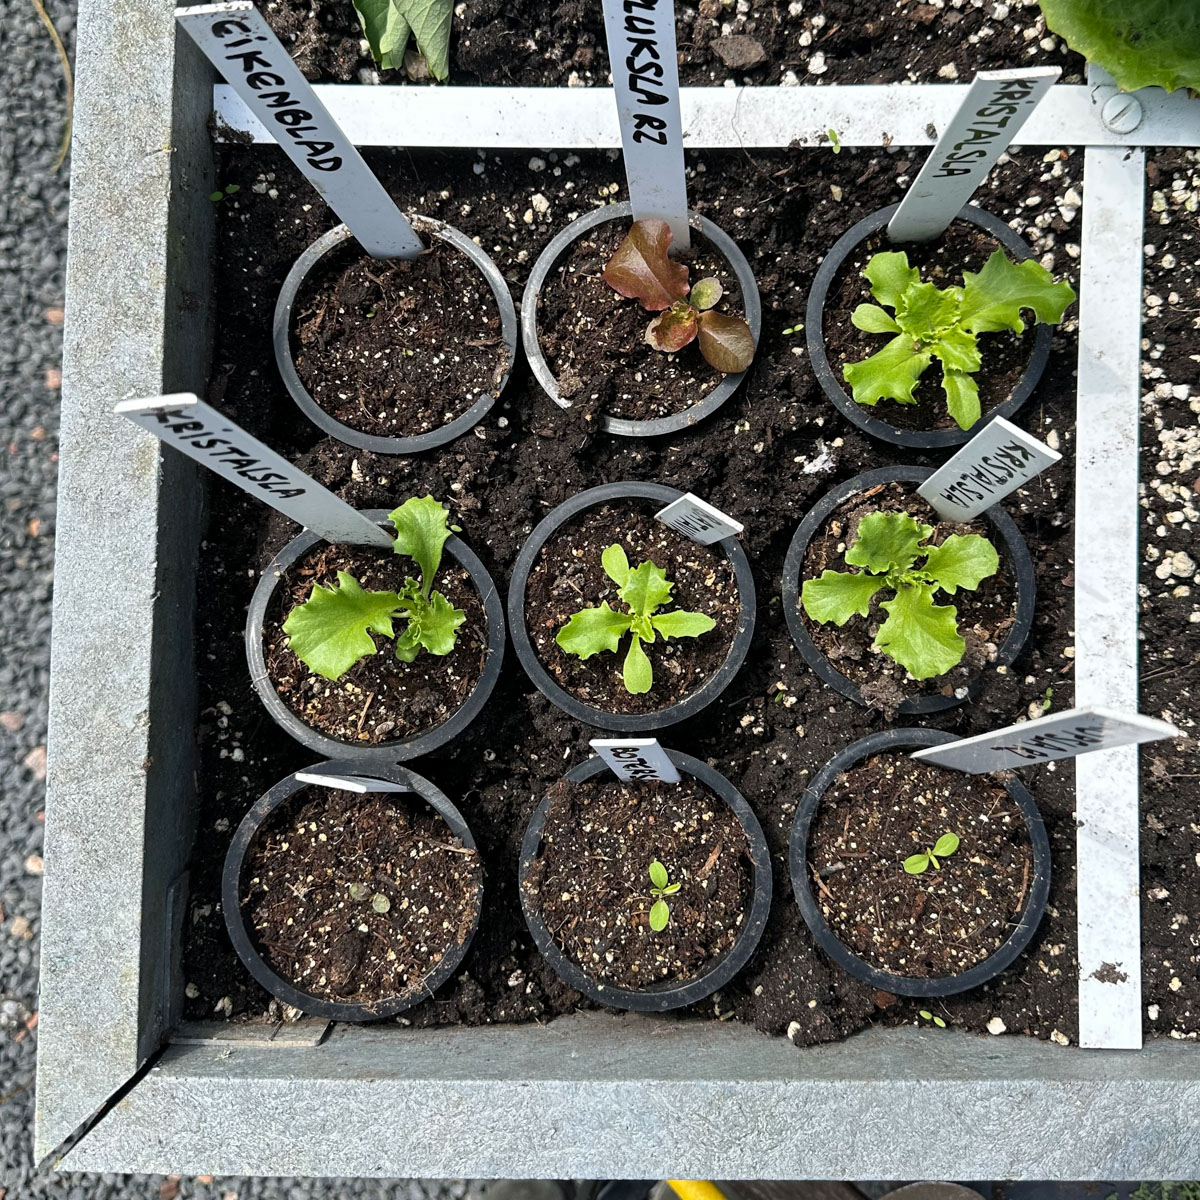
Handy, isn't it? It is much easier to protect one square from rough weather and pests than nine separate squares.
You also make the best use of your raised bed. The plants will not need their own squares for about four weeks, so you can use those spaces for radishes or other quick crops in the meantime.
You also make the best use of your raised bed. The plants will not need their own squares for about four weeks, so you can use those spaces for radishes or other quick crops in the meantime.
Een aantal van onze zaden leveren we in kleipillen.
Die zaden worden eerst afgespoeld en daarna alvast een heel klein beetje voorgekiemd. Dat noemen ze ‘primen’. Maar omdat dat de zaden wel wat kwetsbaar maakt, krijgen ze een jasje van klei.
Voorgekiemde zaden blijven minder lang goed dan niet-voorgekiemde zaden. De houdbaarheid van deze pillen is gegarandeerd tot 9 maanden. Je moet ze dus vrij snel zaaien. Maar als je de pillen vochtvrij en koel bewaart in de koelkast, kun je de kiemkracht wel wat rekken: tot zo’n anderhalf jaar.
Om zo veel en zo snel mogelijk te kunnen oogsten van deze zaden, raden we je daarom sterk aan om ze eerst voor te zaaien en pas als klein plantje buiten in je bak uit te planten.
Die zaden worden eerst afgespoeld en daarna alvast een heel klein beetje voorgekiemd. Dat noemen ze ‘primen’. Maar omdat dat de zaden wel wat kwetsbaar maakt, krijgen ze een jasje van klei.
Voorgekiemde zaden blijven minder lang goed dan niet-voorgekiemde zaden. De houdbaarheid van deze pillen is gegarandeerd tot 9 maanden. Je moet ze dus vrij snel zaaien. Maar als je de pillen vochtvrij en koel bewaart in de koelkast, kun je de kiemkracht wel wat rekken: tot zo’n anderhalf jaar.
Om zo veel en zo snel mogelijk te kunnen oogsten van deze zaden, raden we je daarom sterk aan om ze eerst voor te zaaien en pas als klein plantje buiten in je bak uit te planten.
Liquorice mint, Chinese chives, sunflower and African marigold
I use the same approach for Liquorice mint, Chinese chives, Sunflower and African marigold.
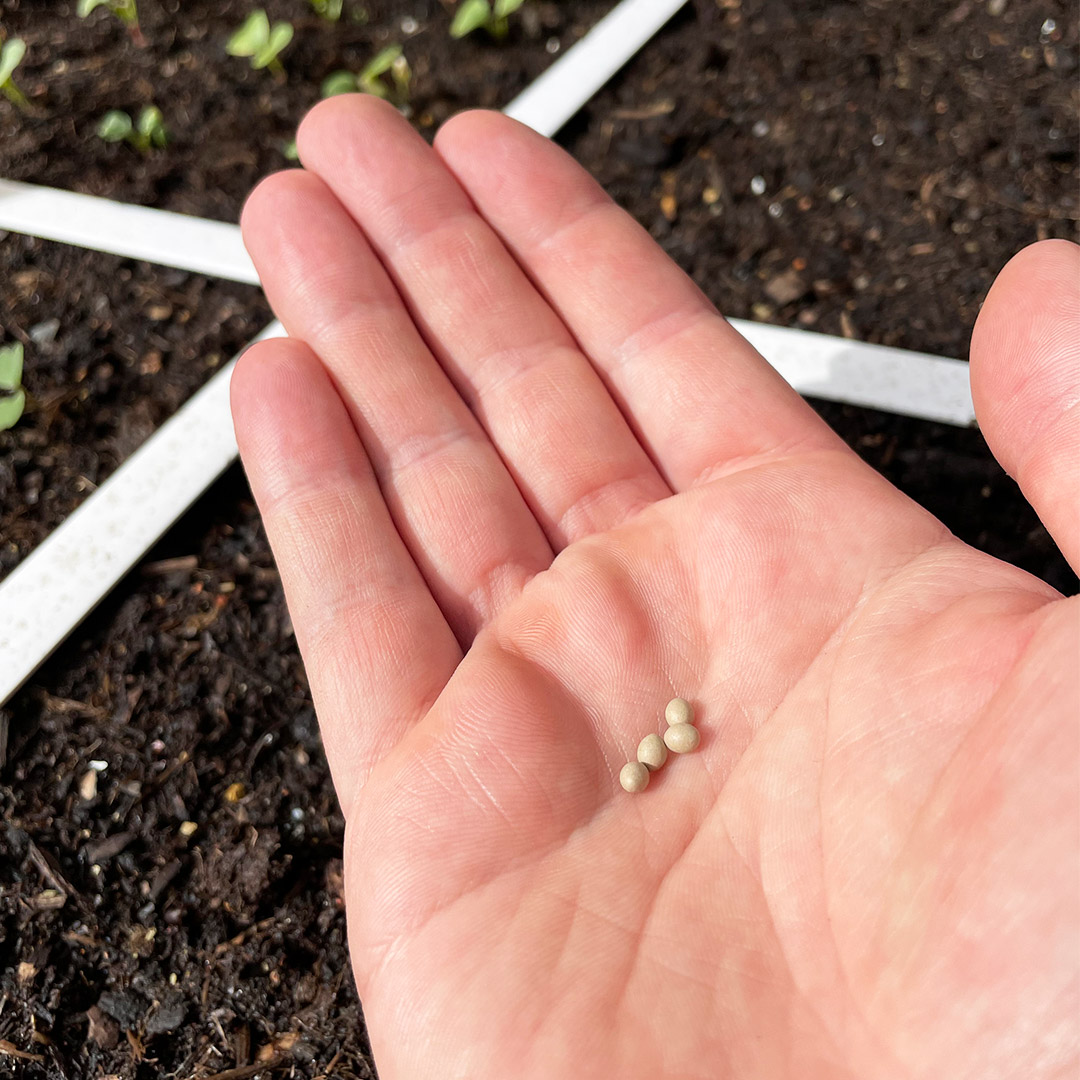
The first two can be difficult to germinate and grow very slowly at first. Just look at these Chinese chives:
The first two can be difficult to germinate and grow very slowly at first. Just look at these Chinese chives:
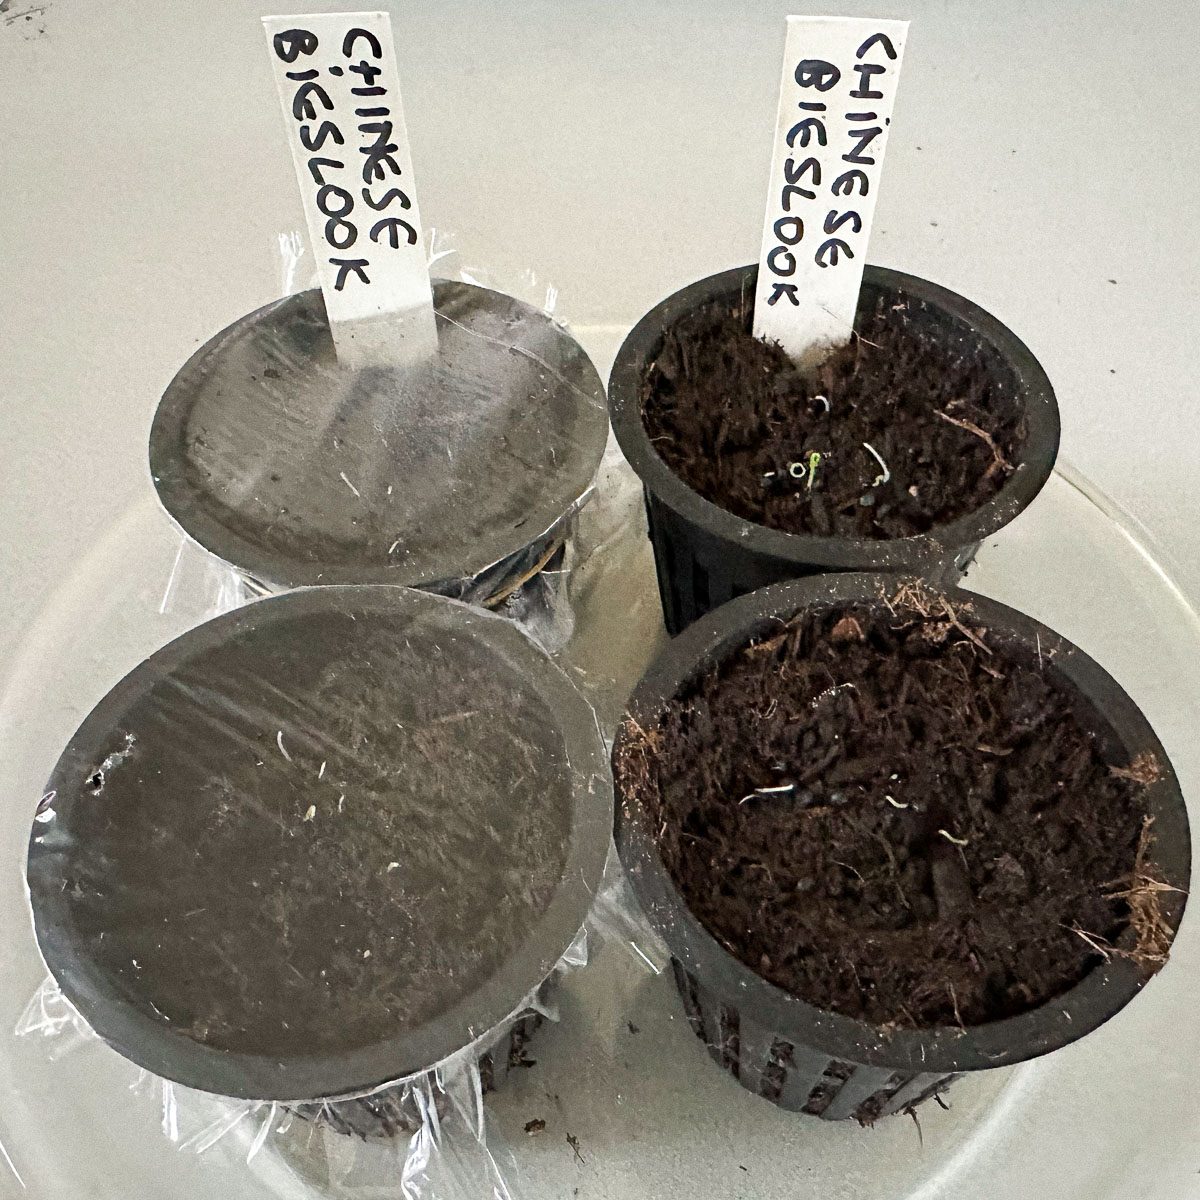
They do not need warmth, so place them on a cool windowsill and let them germinate in their own time. Once the seedlings have emerged properly, they can move outside too.
Sunflowers
Start sunflowers a little later, in April at the earliest. The small plants are extremely vulnerable: slugs love them, and birds are only too happy to pick out the seeds.
Start them in a pot, then place the pot in a well-protected square. They can grow there until they are sturdy enough to move into their own square.
Sunflowers
Start sunflowers a little later, in April at the earliest. The small plants are extremely vulnerable: slugs love them, and birds are only too happy to pick out the seeds.
Start them in a pot, then place the pot in a well-protected square. They can grow there until they are sturdy enough to move into their own square.
How do you do it?
What you need
- Small MM-Airpots
- MM coconut seed-starting mix
- Cling film and elastic bands if you use traditional seed-starting mix; these are not needed for coconut mix
- One label for each pot
The pots and labels can be reused year after year. Ours have already lasted for more than five years, and the labels are even older.
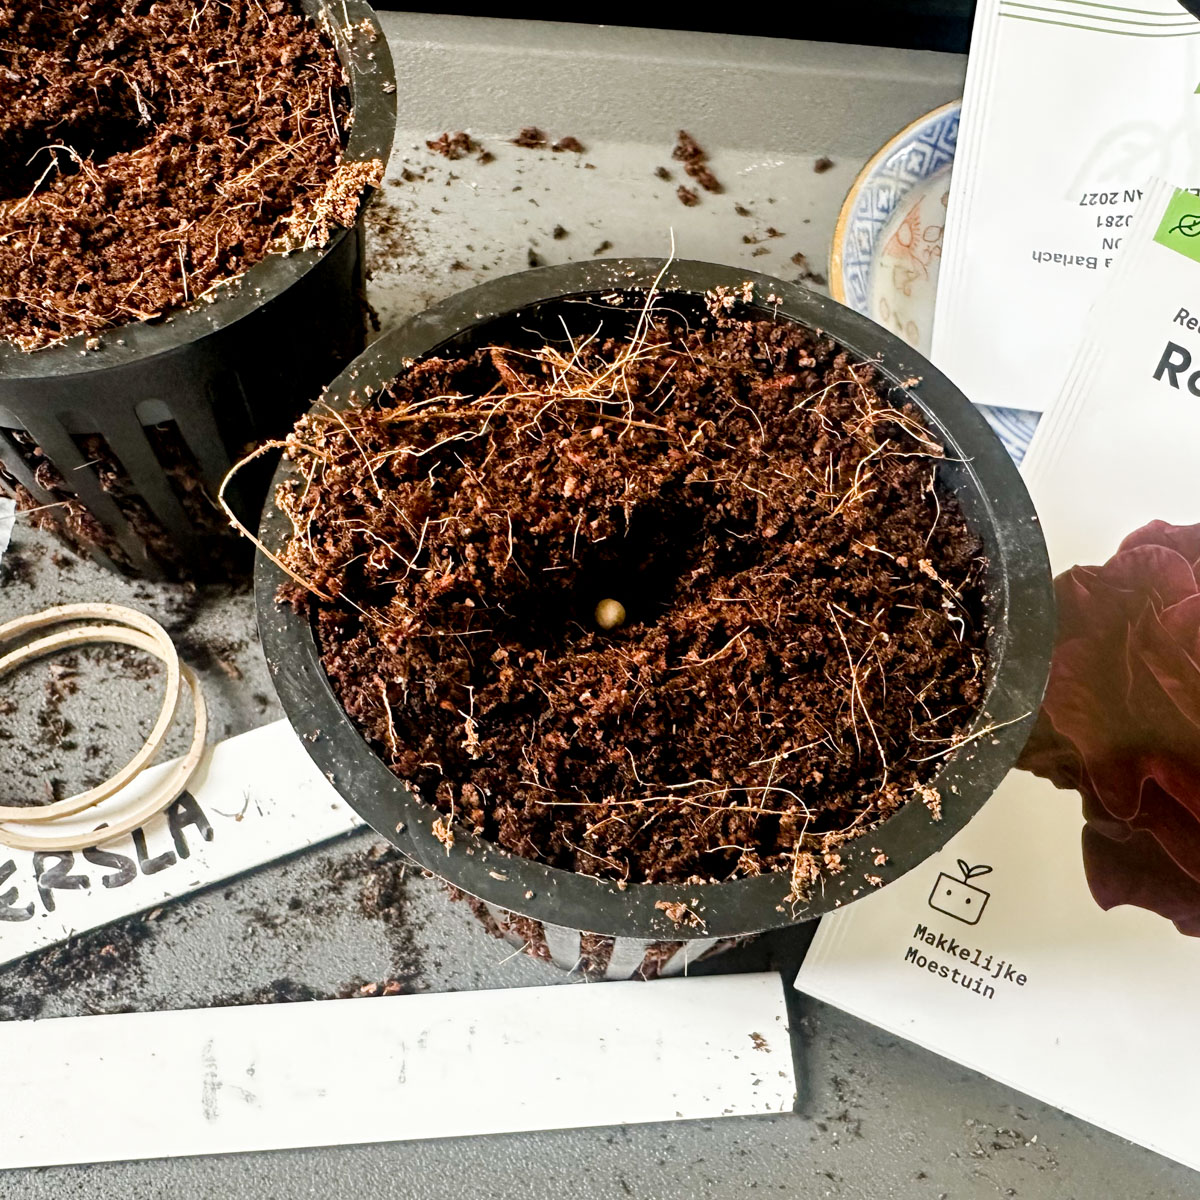
Step by step
- Fill the Airpots with moist seed-starting mix.
- Make a hole around 1 cm deep and add one clay pellet, or several seeds for the other varieties. Follow the app's instructions for each plant.
- If you are using traditional seed-starting mix, cover the pot with cling film secured by an elastic band to keep it moist. Skip this step with coconut mix.
- Put the pots in a bright, cool place no warmer than 15-16°C. An unheated bedroom or utility room is ideal.
- Remove the film as soon as the seedling appears.
- The plants can move outside when their first true leaves appear.
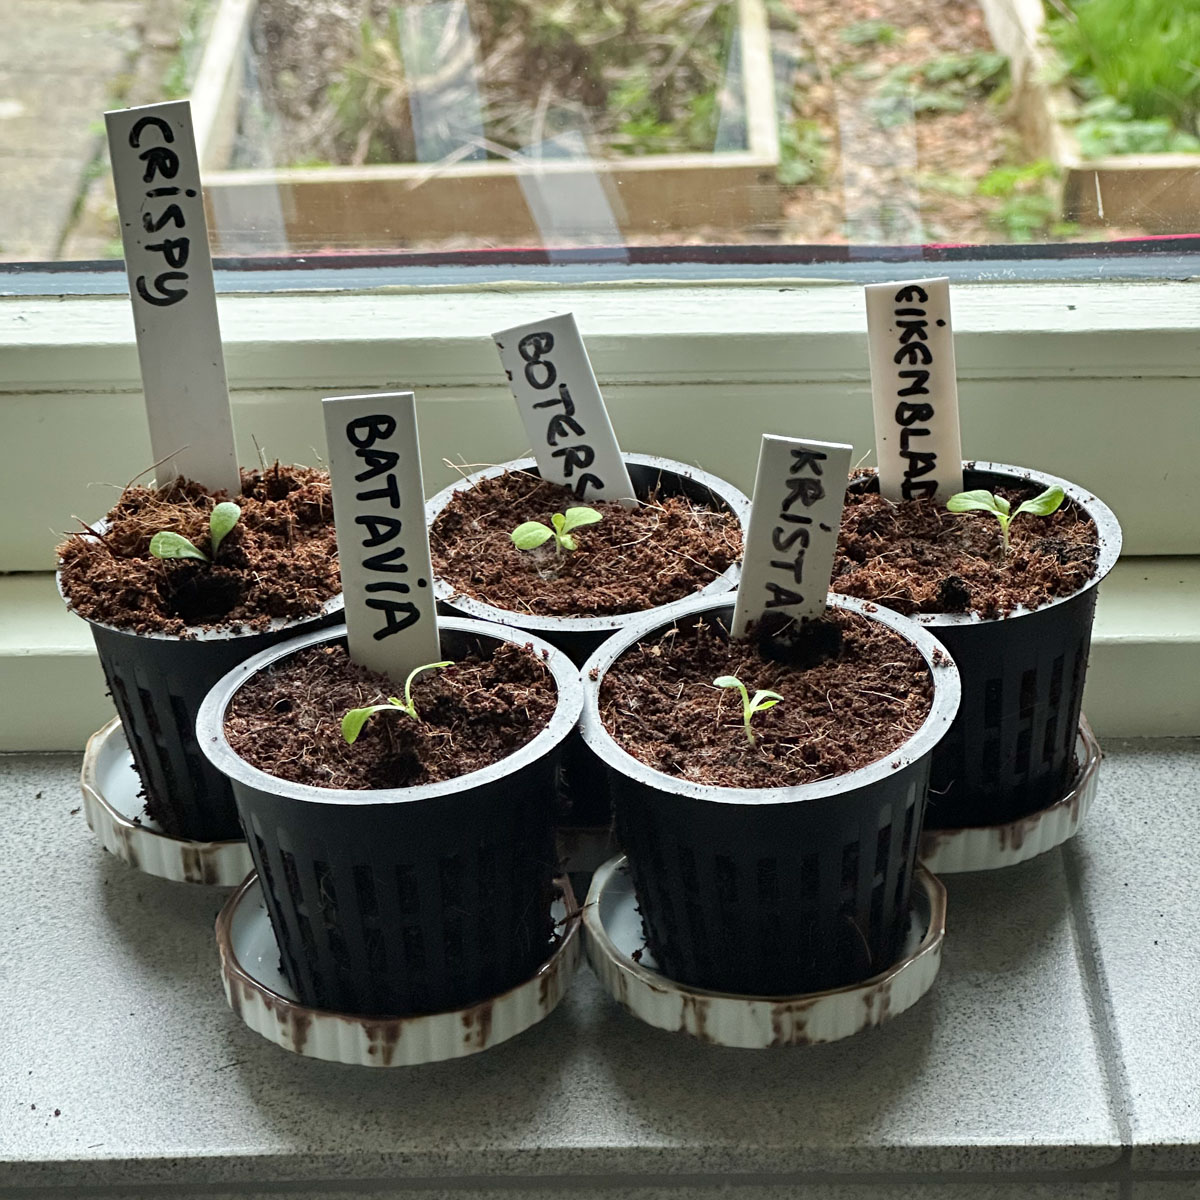
Together in one square
Put the pots together in one square in a raised bed, or in an MM-mini. Different varieties can share the same square or MM-mini. Keeping all the young plants together makes caring for them much easier.
It is far simpler to protect one square from slugs, birds and bad weather than nine separate squares across the raised bed. Cover it with a plant cover or a piece of mesh and you are done.
A few weeks later, the plants will be large enough to move into their own squares.
It is far simpler to protect one square from slugs, birds and bad weather than nine separate squares across the raised bed. Cover it with a plant cover or a piece of mesh and you are done.
A few weeks later, the plants will be large enough to move into their own squares.
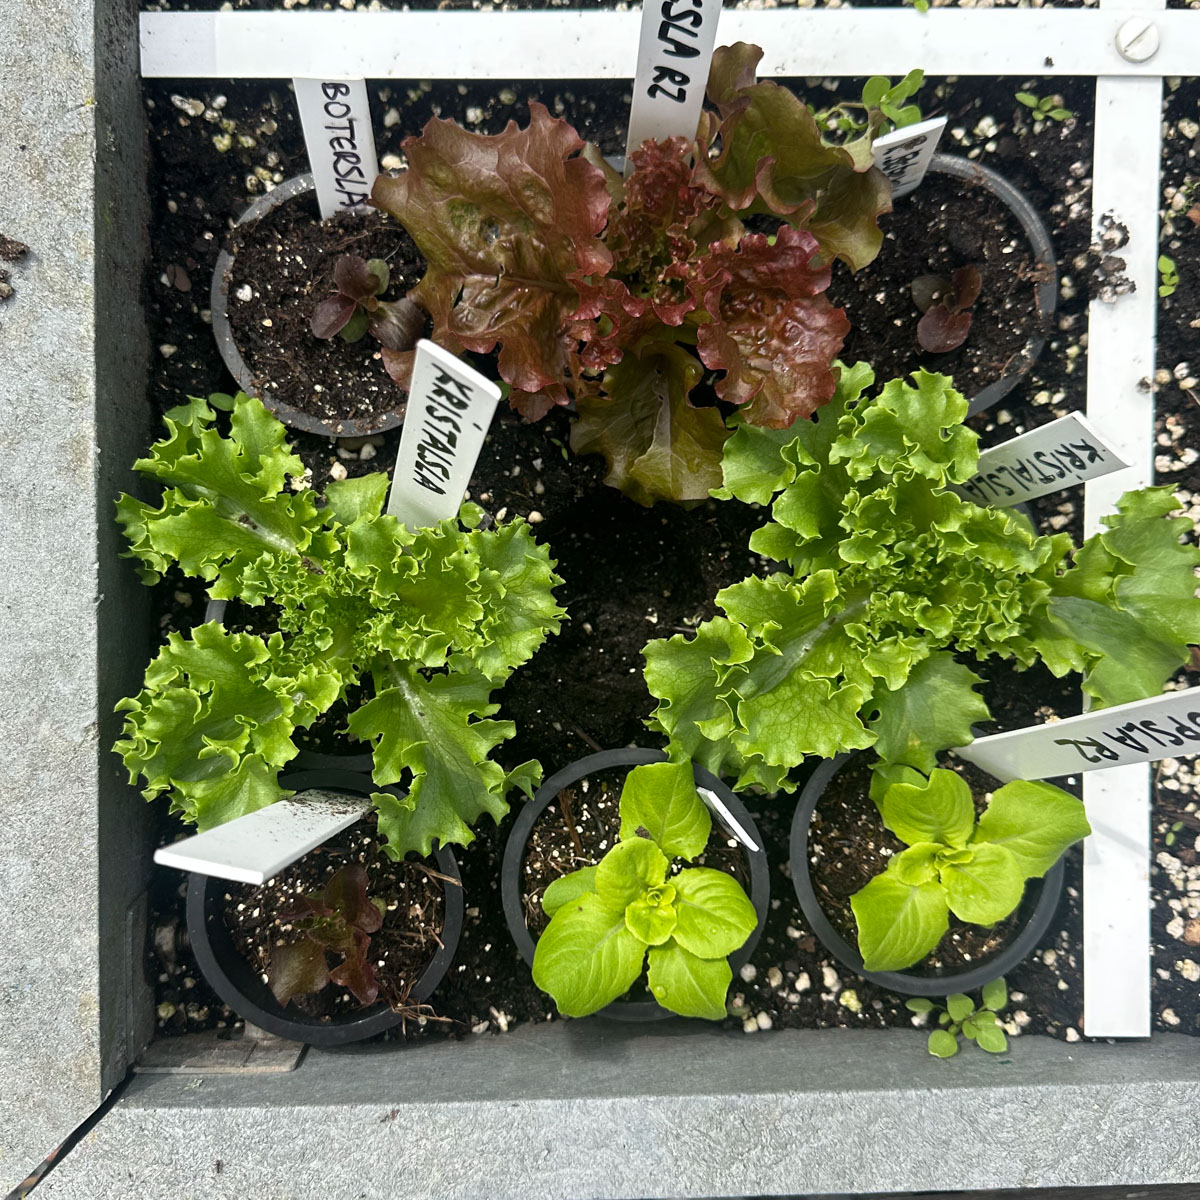
When a square becomes free, carefully remove a plant from its pot, make a hole in the centre of the square and plant it.
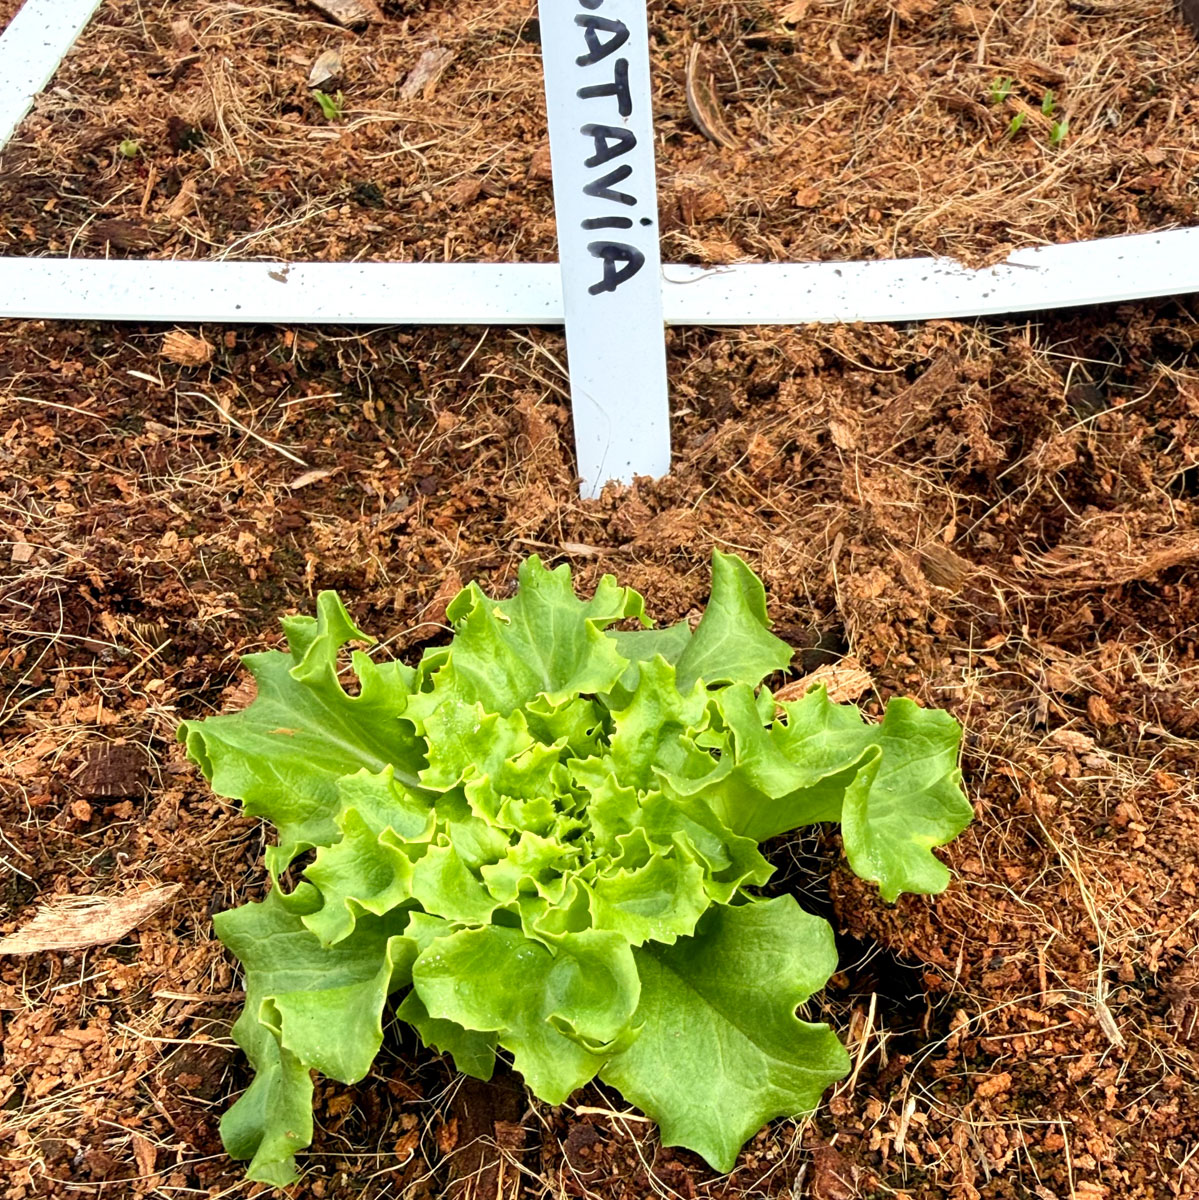
A few weeks later, you can harvest plenty of leaves. The same plant will look like this:
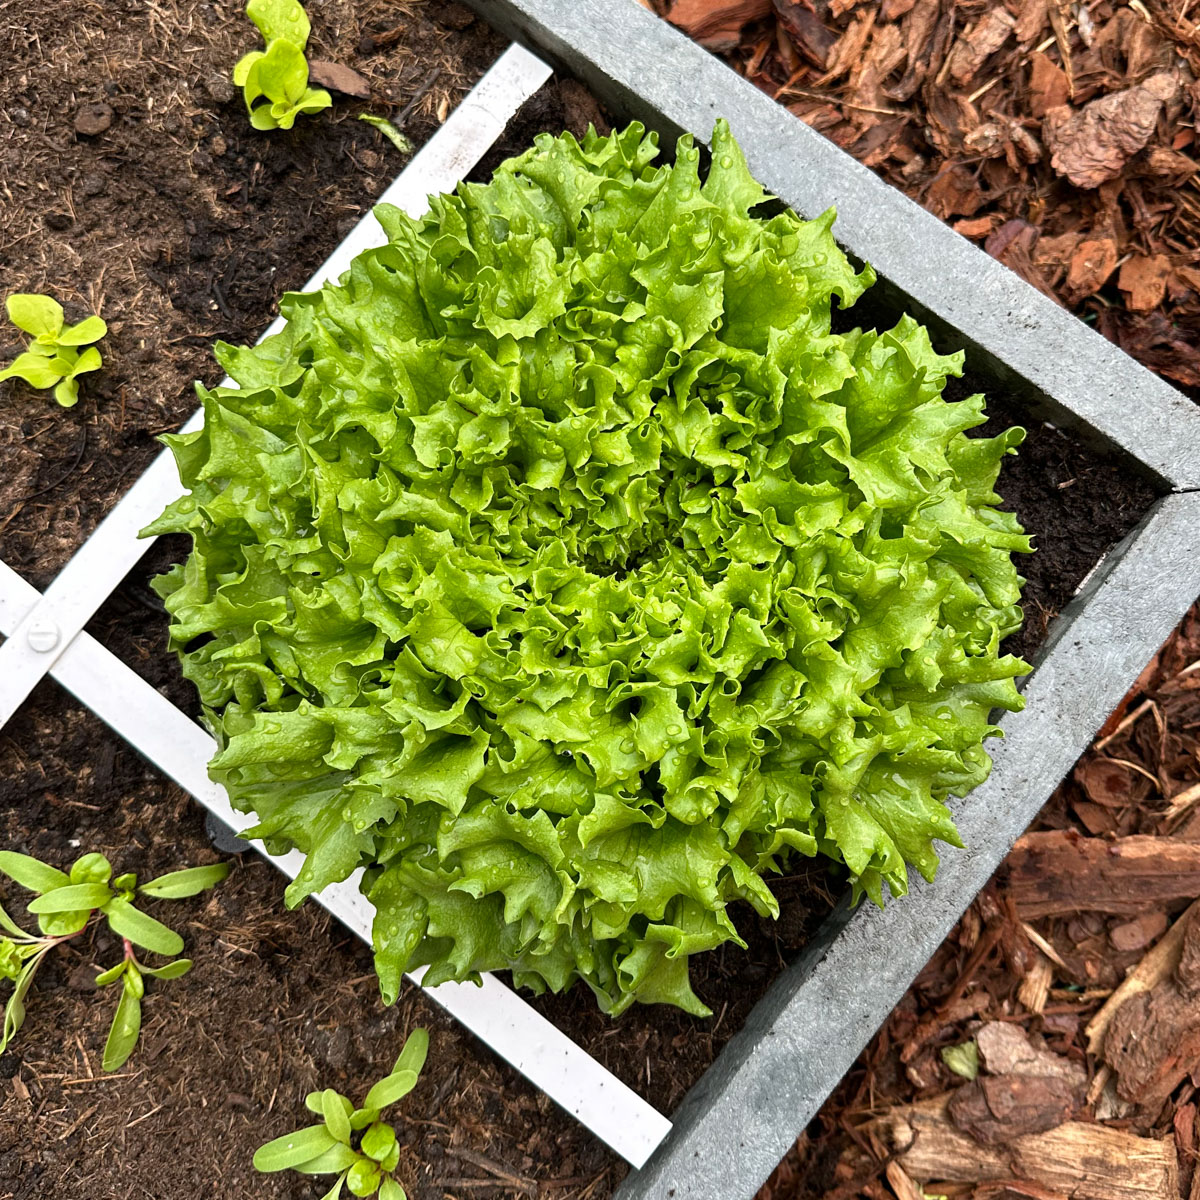
Clever, isn't it?