Heat Today will be hot in the south of the Netherlands: up to 30 degrees! Check whether your reservoir is still full, whether the mix is still moist, shade vulnerable plants around midday, and wait with sowing until it cools down.
Tomato
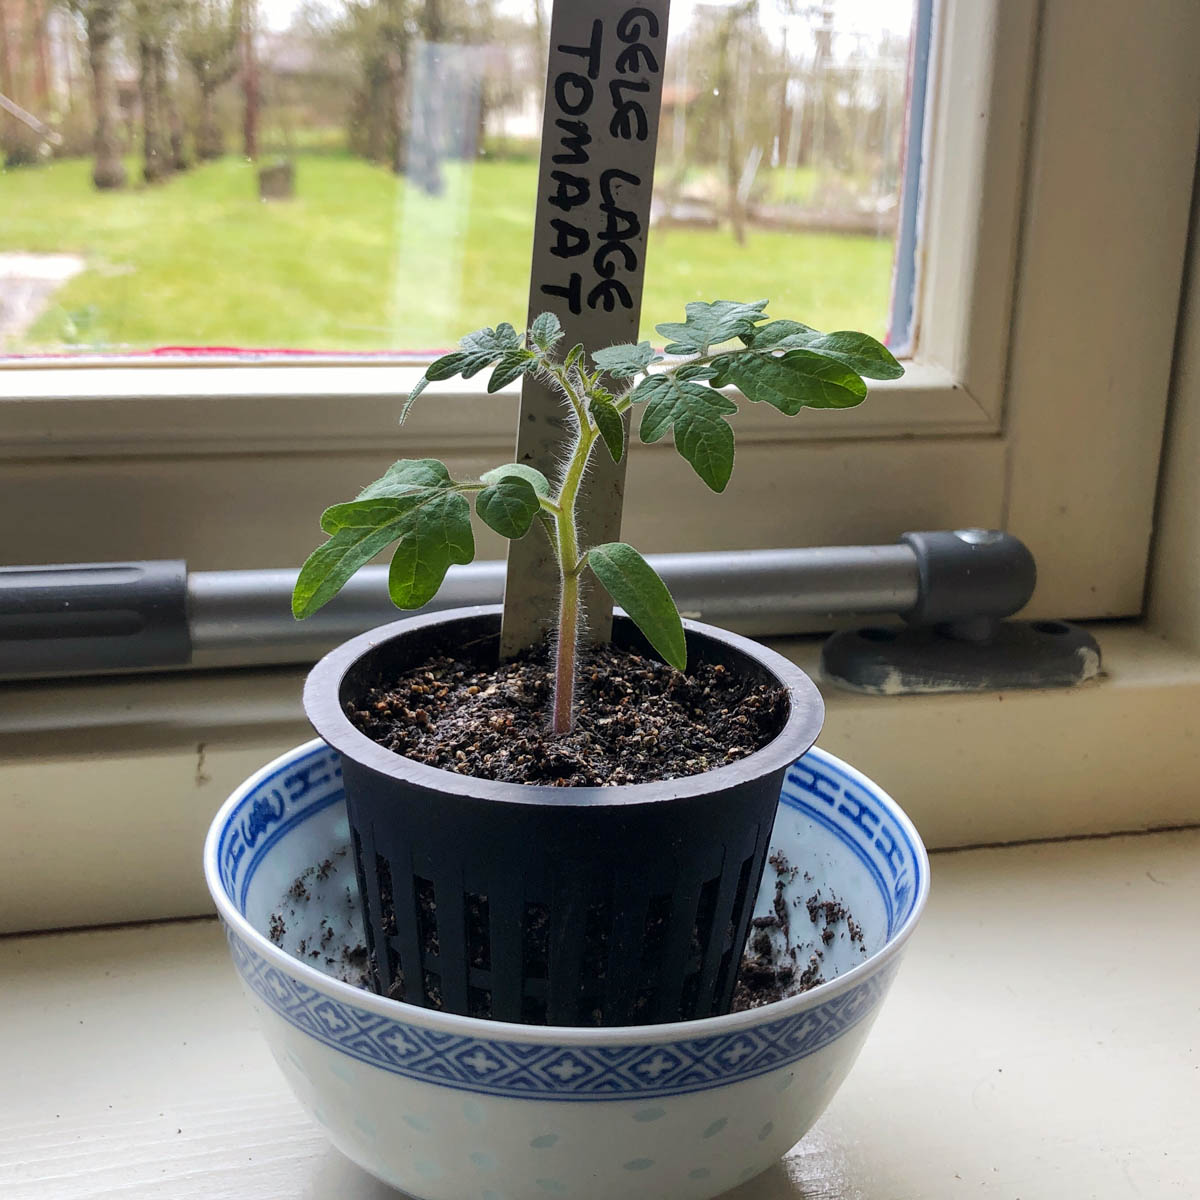
How to sow and grow Yellomato
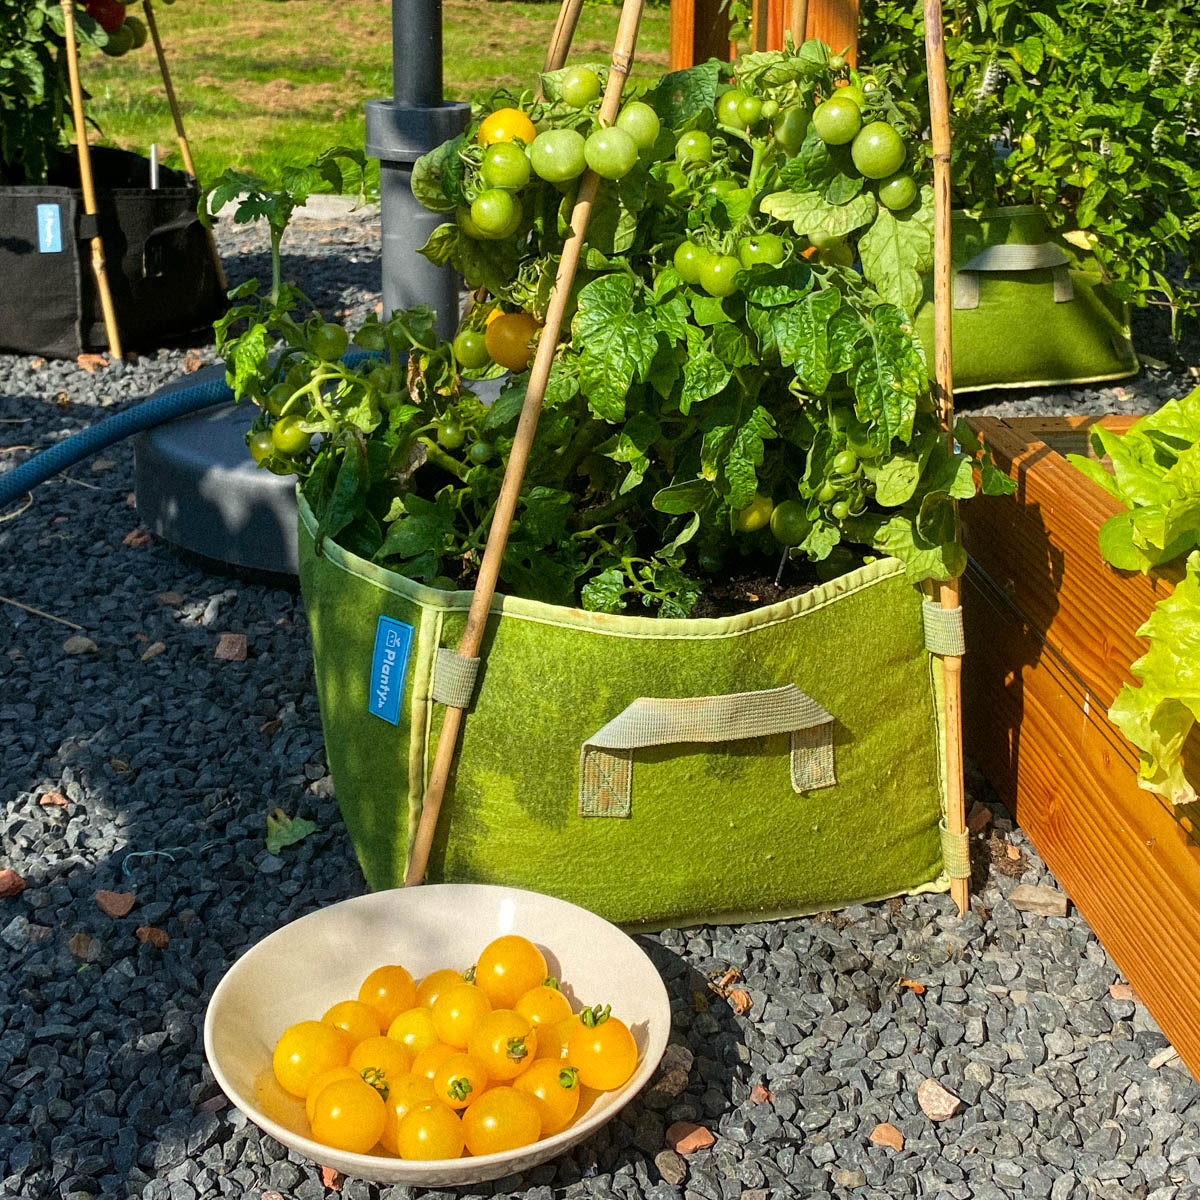
Our Yellomato produces loads of tomatoes: fresh, sweet and very juicy.
The plants stay compact, only 30-45 cm tall, so Yellomatoes are perfect for growing in a garden box or grow bag.
The plants stay compact, only 30-45 cm tall, so Yellomatoes are perfect for growing in a garden box or grow bag.

What is a Yellomato?
Most tomato plants grow tall and need tying to a trellis or rack so they do not fall over.
Yellomato is different: this yellow bush tomato stays small and compact. It may need a little support when the plant is full of tomatoes, but a bamboo cane is enough.
The plant produces beautiful yellow cherry tomatoes with a sweet, juicy taste.
Yellomato is different: this yellow bush tomato stays small and compact. It may need a little support when the plant is full of tomatoes, but a bamboo cane is enough.
The plant produces beautiful yellow cherry tomatoes with a sweet, juicy taste.
How do you sow and grow Yellomato?
Yellomato is included in the free Makkelijke Moestuin app. Use it, and you get step-by-step guidance from seed to harvest.
Each plant goes through several stages, which we call levels. The app tells you exactly what to do at each level and checks in when your plants are ready for the next one.
So you do not need to know how to grow Yellomatoes before you start: the app takes you through every step.
But if you would like to read more about those steps, here is what the process looks like: