Heat Today will be hot in the south of the Netherlands: up to 33 degrees! Check whether your reservoir is still full, whether the mix is still moist, shade vulnerable plants around midday, and wait with sowing until it cools down.
How to sow and grow snow peas
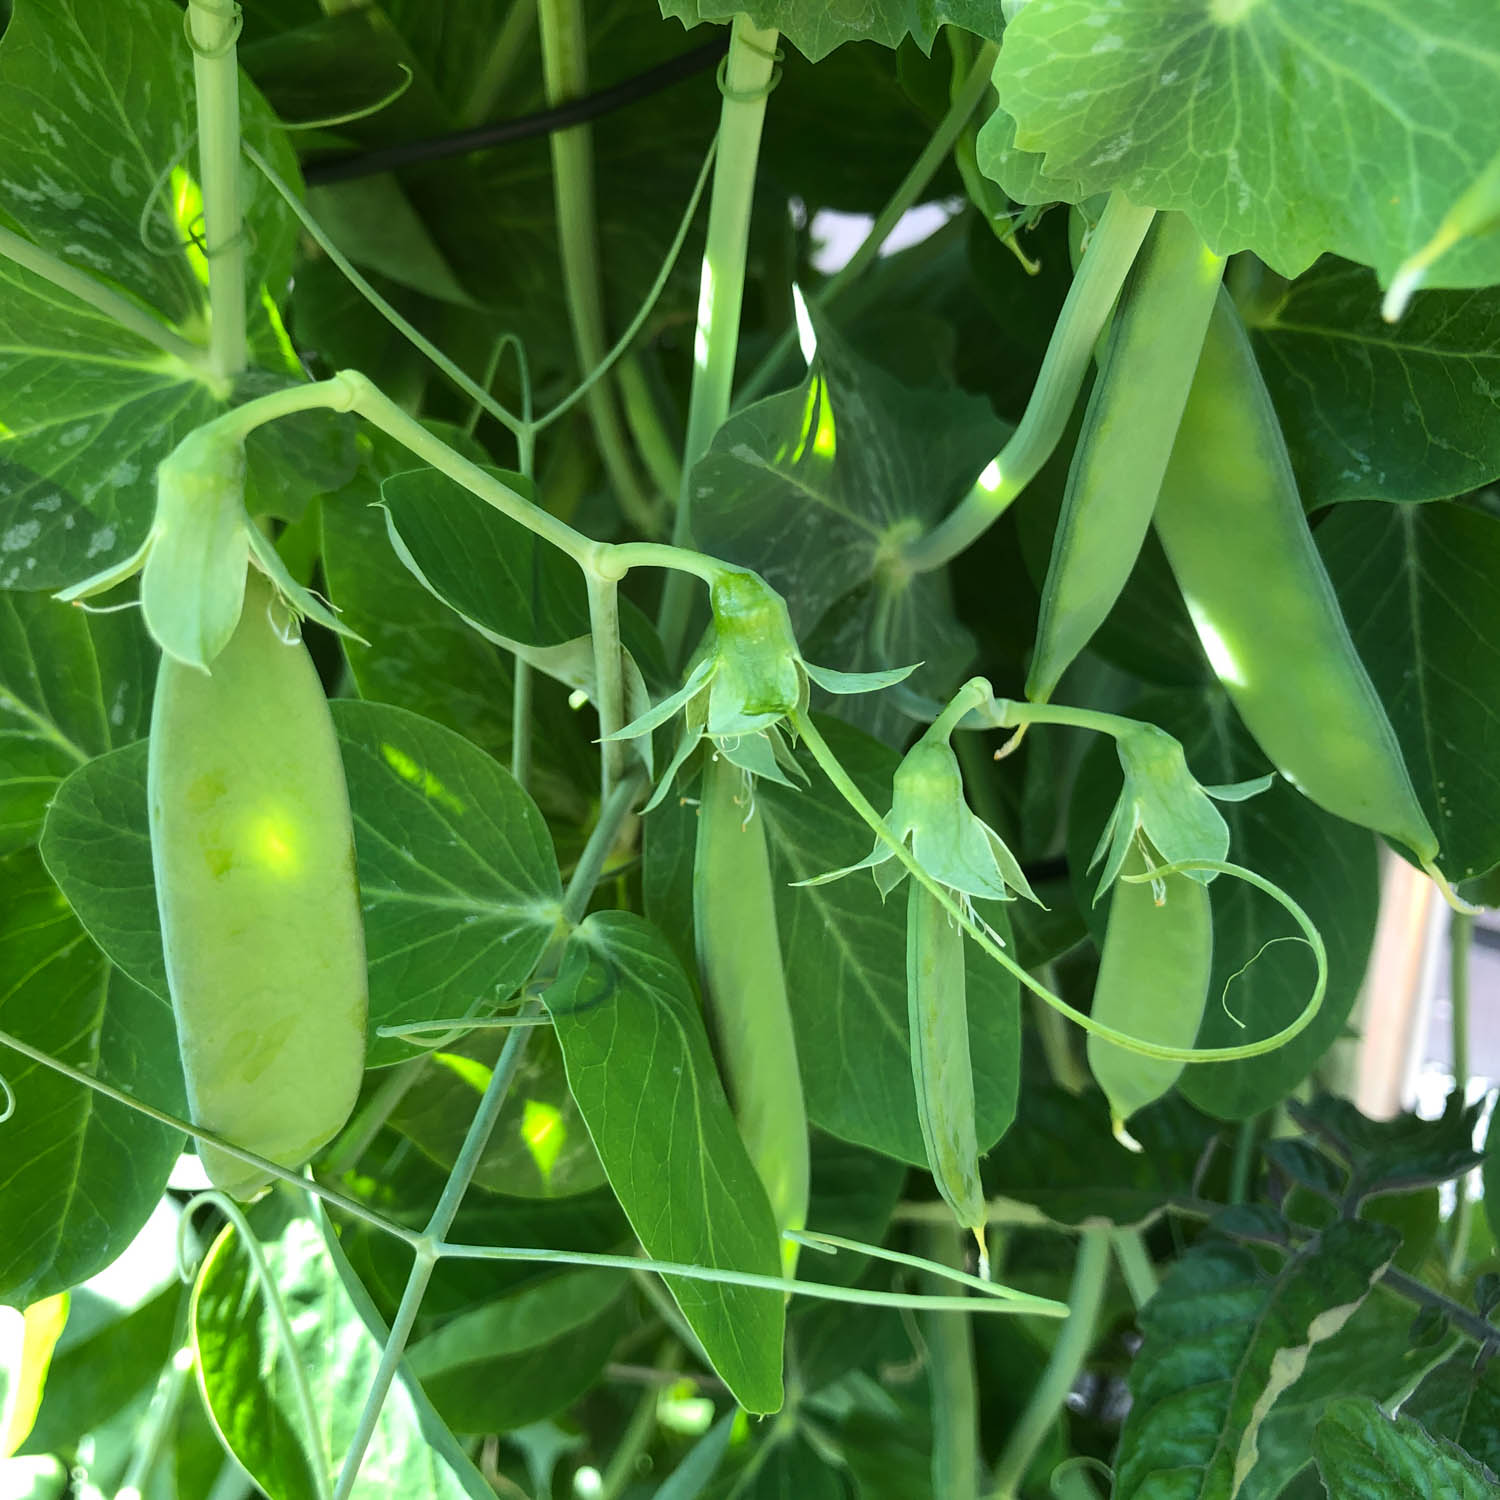
What are snow peas?
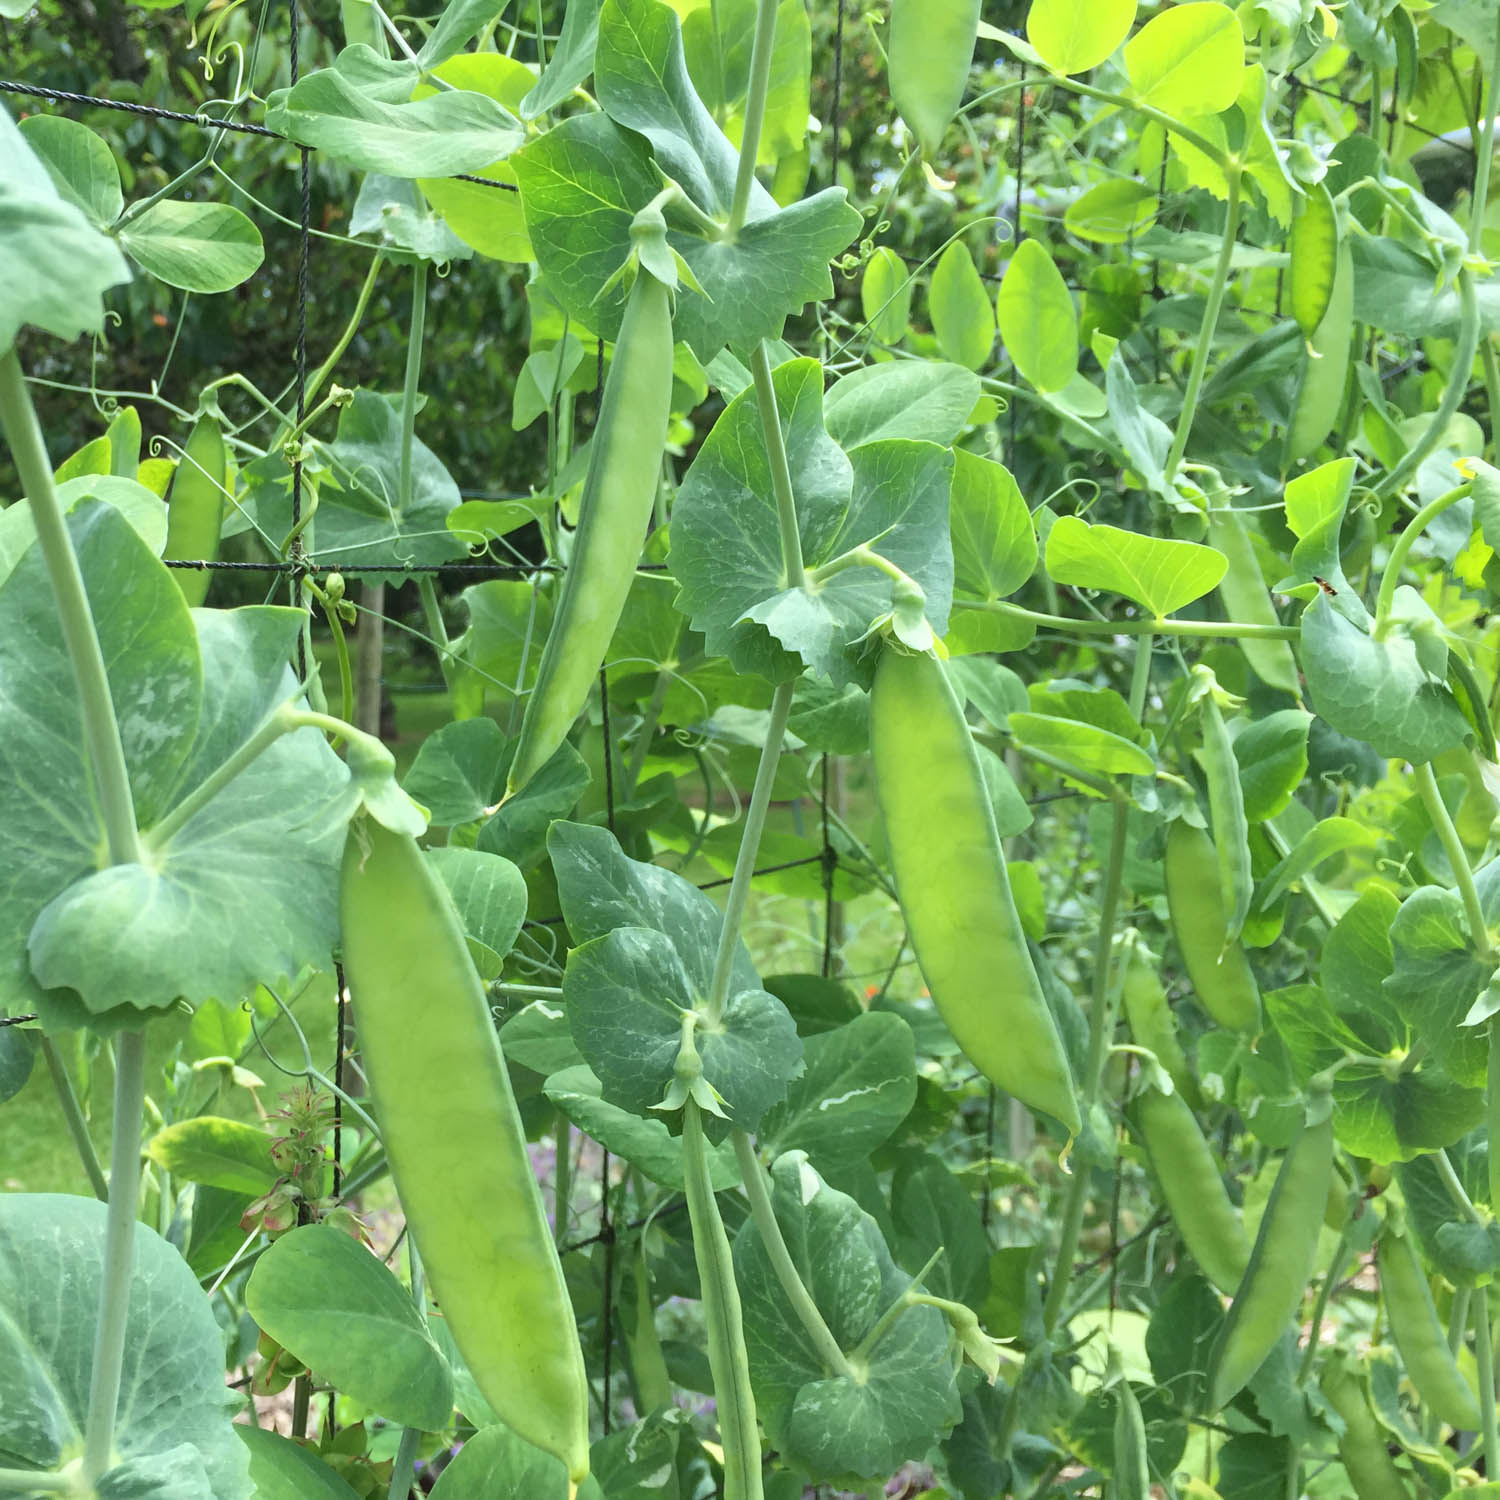
Snow peas belong to the pea family, just like garden peas and sugar snaps.
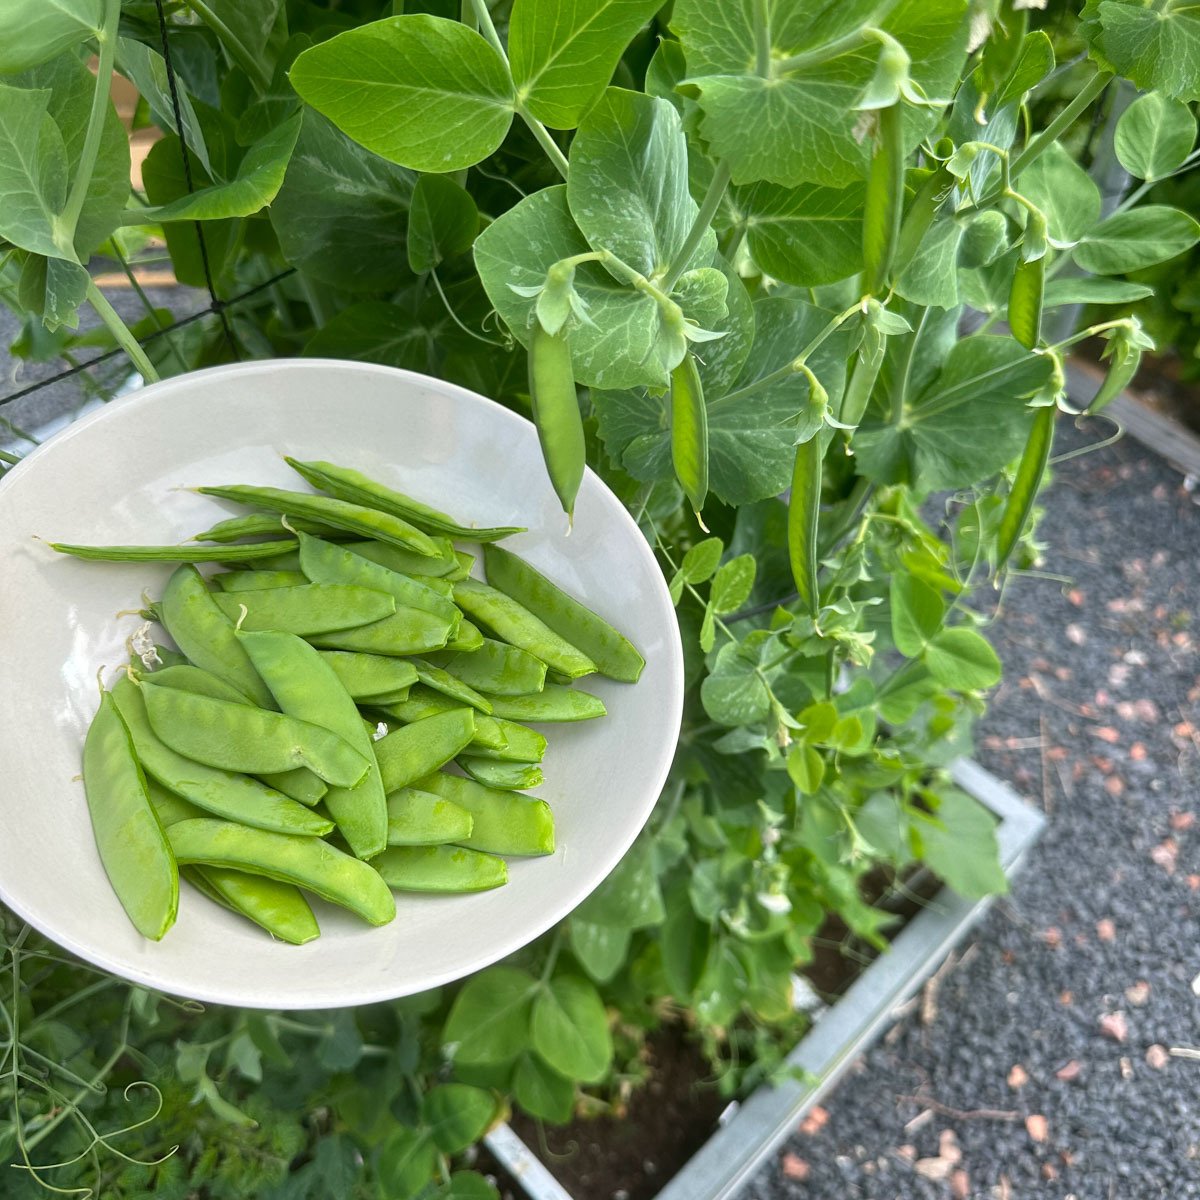
Unlike those peas, however, you harvest the pods while they're still flat, before the peas inside become plump. At that stage, they're crisp and quick to prepare.
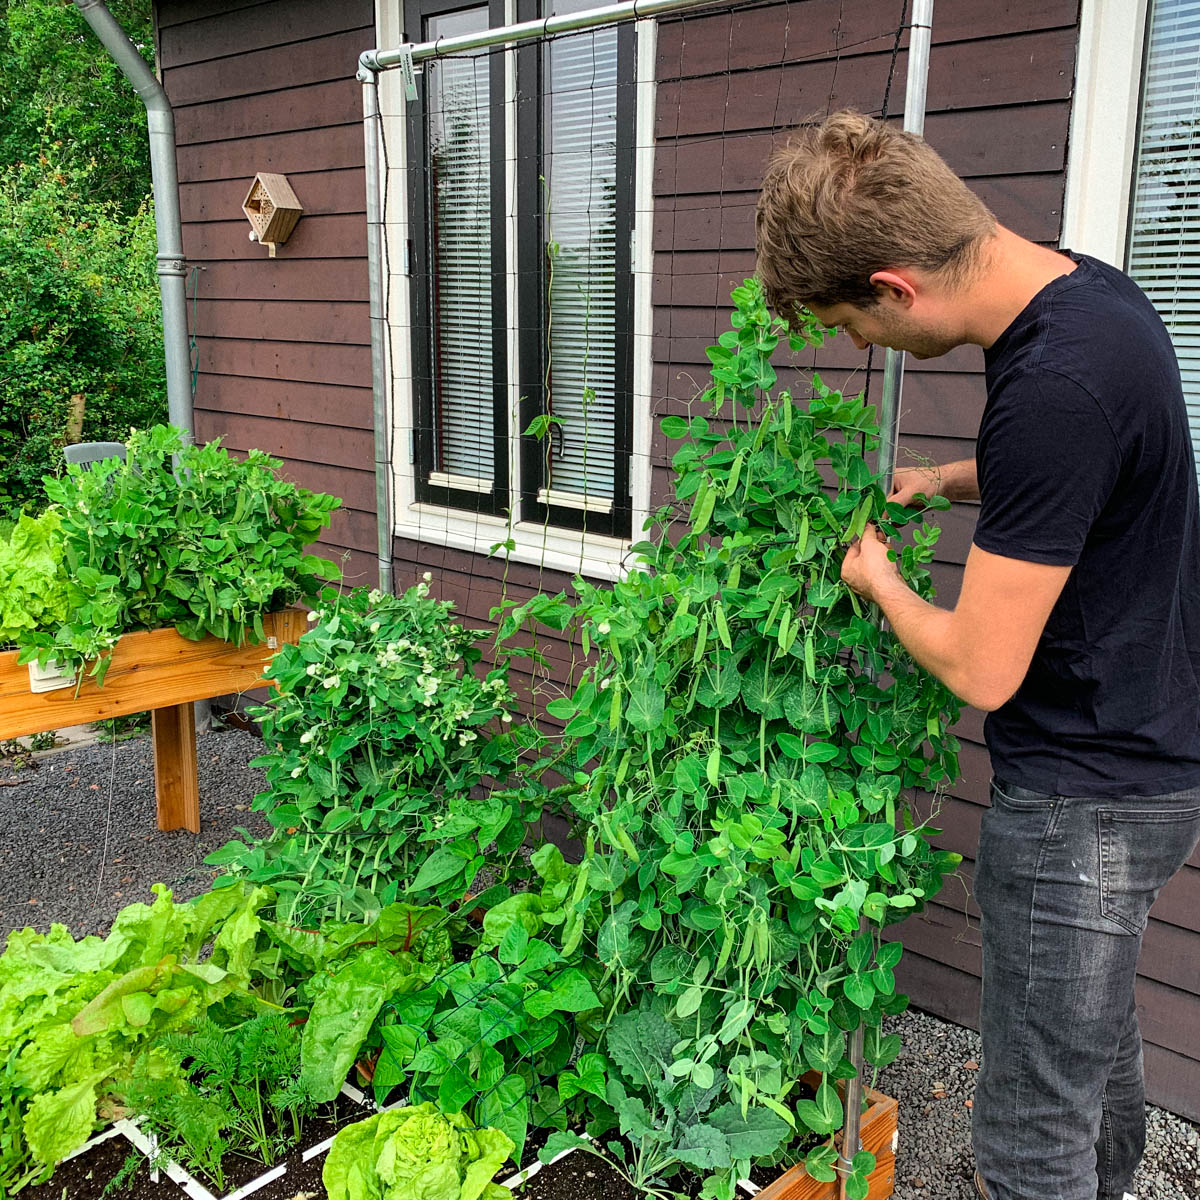
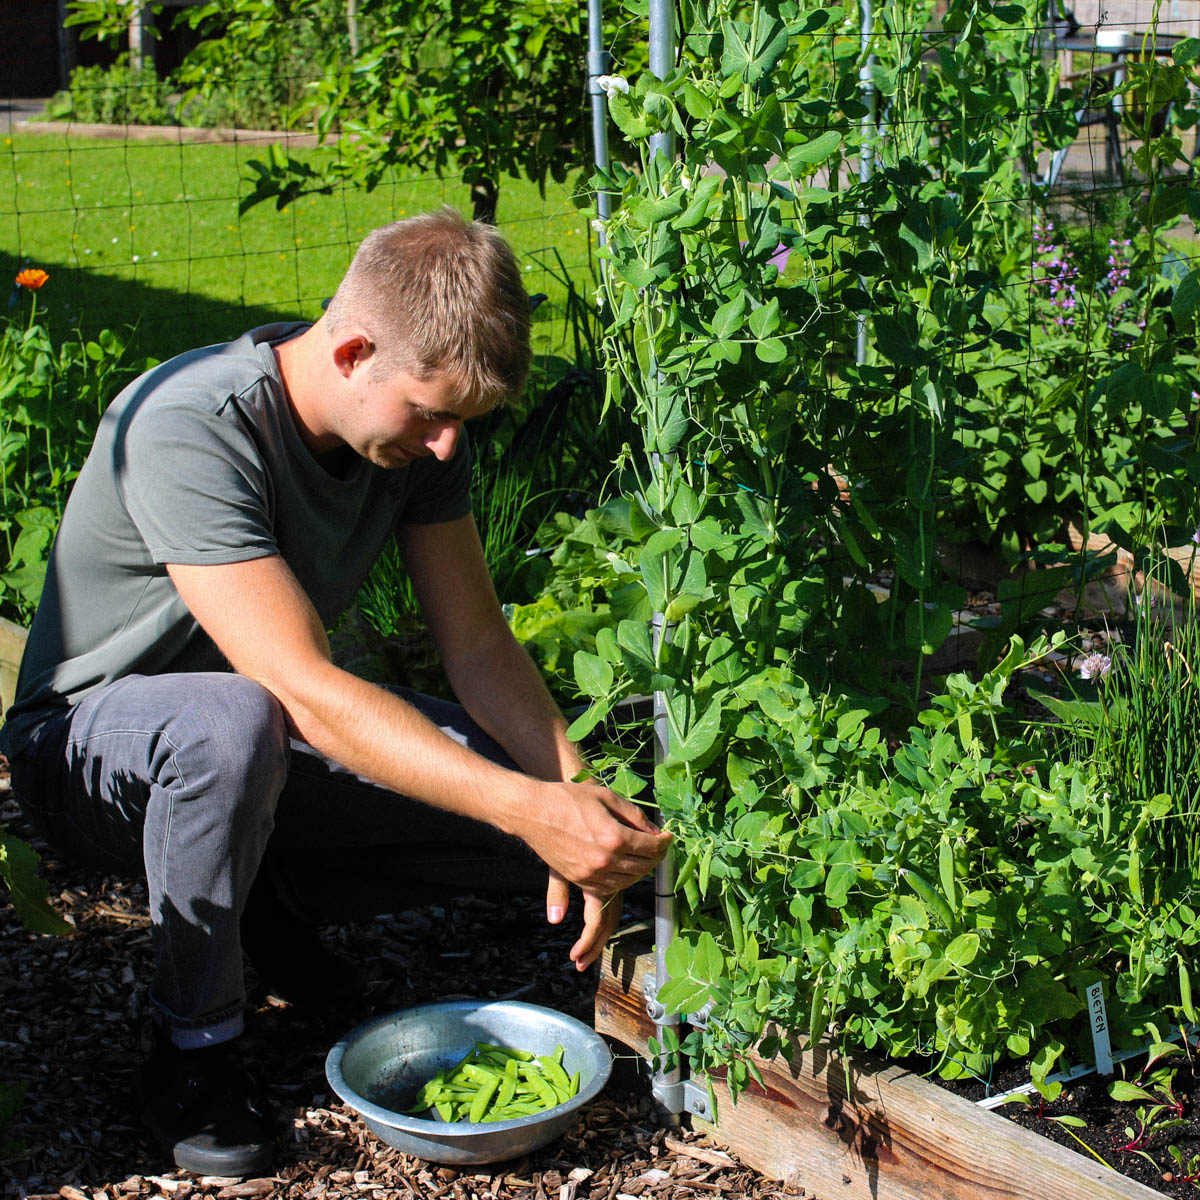
Many varieties grow to around 1 metre tall, but ours can reach 180 cm, so we grow it beside a trellis. This gives you a huge harvest without taking up much space.
Are snow peas healthy?
Snow pea
The plants tolerate cold well, so you can sow them from mid-February. The more sun they get, the faster they grow and the sweeter the pods become.
Children love them.
- Variety: Heraut
- Family: legume
- Plants per square: 8
- Height: 130 to 180 cm
- Sowing time: mid-February to the end of June, and August
- Sowing depth: 2 to 3 cm
- Time to harvest: 9 to 10 weeks
- Germination: 6 to 24 days at 7 to 23°C
- Sunlight: prefers sun early and late in the year; in late spring it grows in sun or partial shade
- Packet contents: about 40 seeds, enough for 4 to 5 squares

What do you need to grow your own snow peas?
- one 30 x 30 cm square
- MM-mix or HarvestKit Coco Mix
- a spot with at least 4 hours of sunlight a day
- a trellis for the snow peas to climb
How do you sow and grow snow peas?
These snow peas are included in the free Makkelijke Moestuin app. Use it and you'll get step-by-step guidance from seed to harvest.
Each vegetable goes through a number of stages, which we call levels.
The app tells you exactly what to do at each level and regularly asks you to check whether your plants are ready to move on to the next one.
So you don't need to know how to grow snow peas successfully before you start.
But if you'd like to read ahead, here's what the entire process looks like.
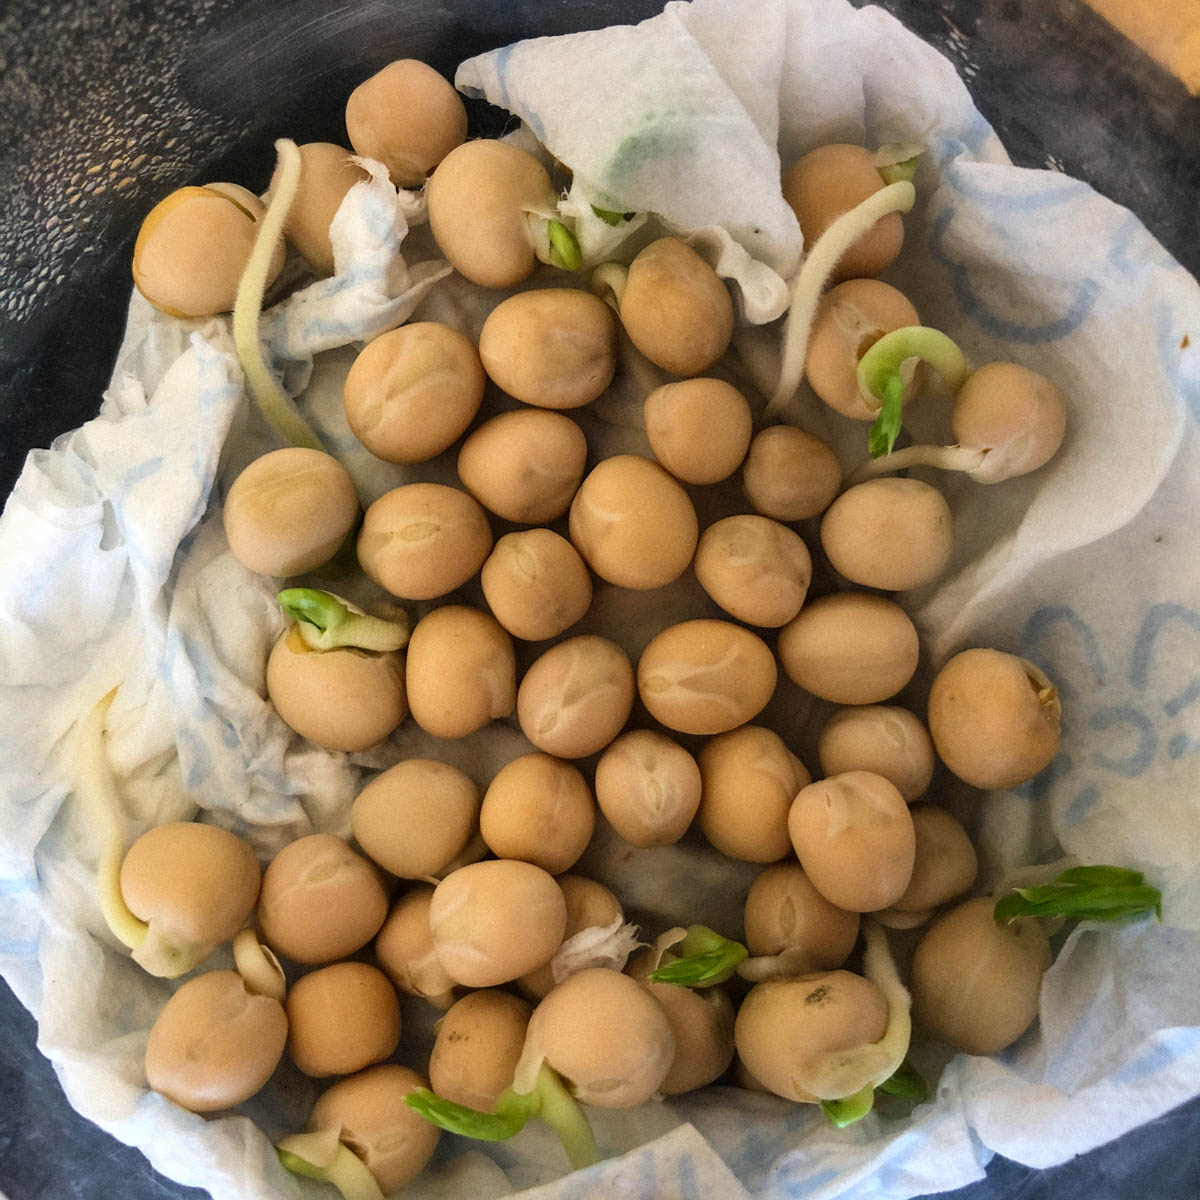
Level 1: Pre-sprouting snow peas
Level 1: Pre-sprout snow peas
Before sowing the peas outside in your raised bed, let them develop a small root. This helps them emerge more reliably.
The easiest way is to place them between damp sheets of kitchen roll. The peas germinate after about four days, after which you sow them directly in your raised bed.
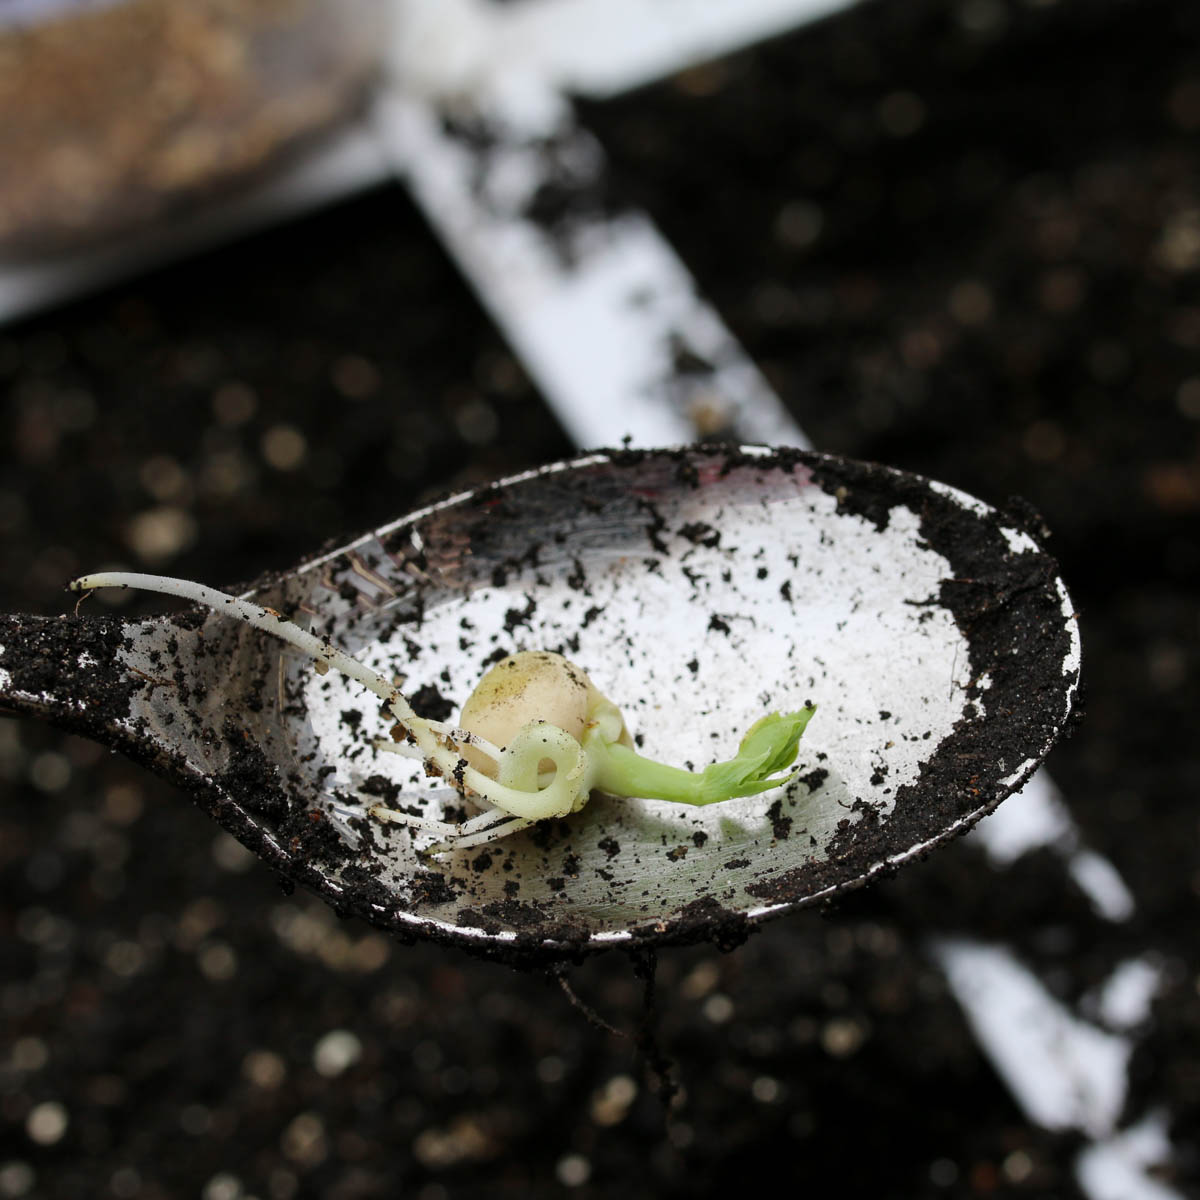
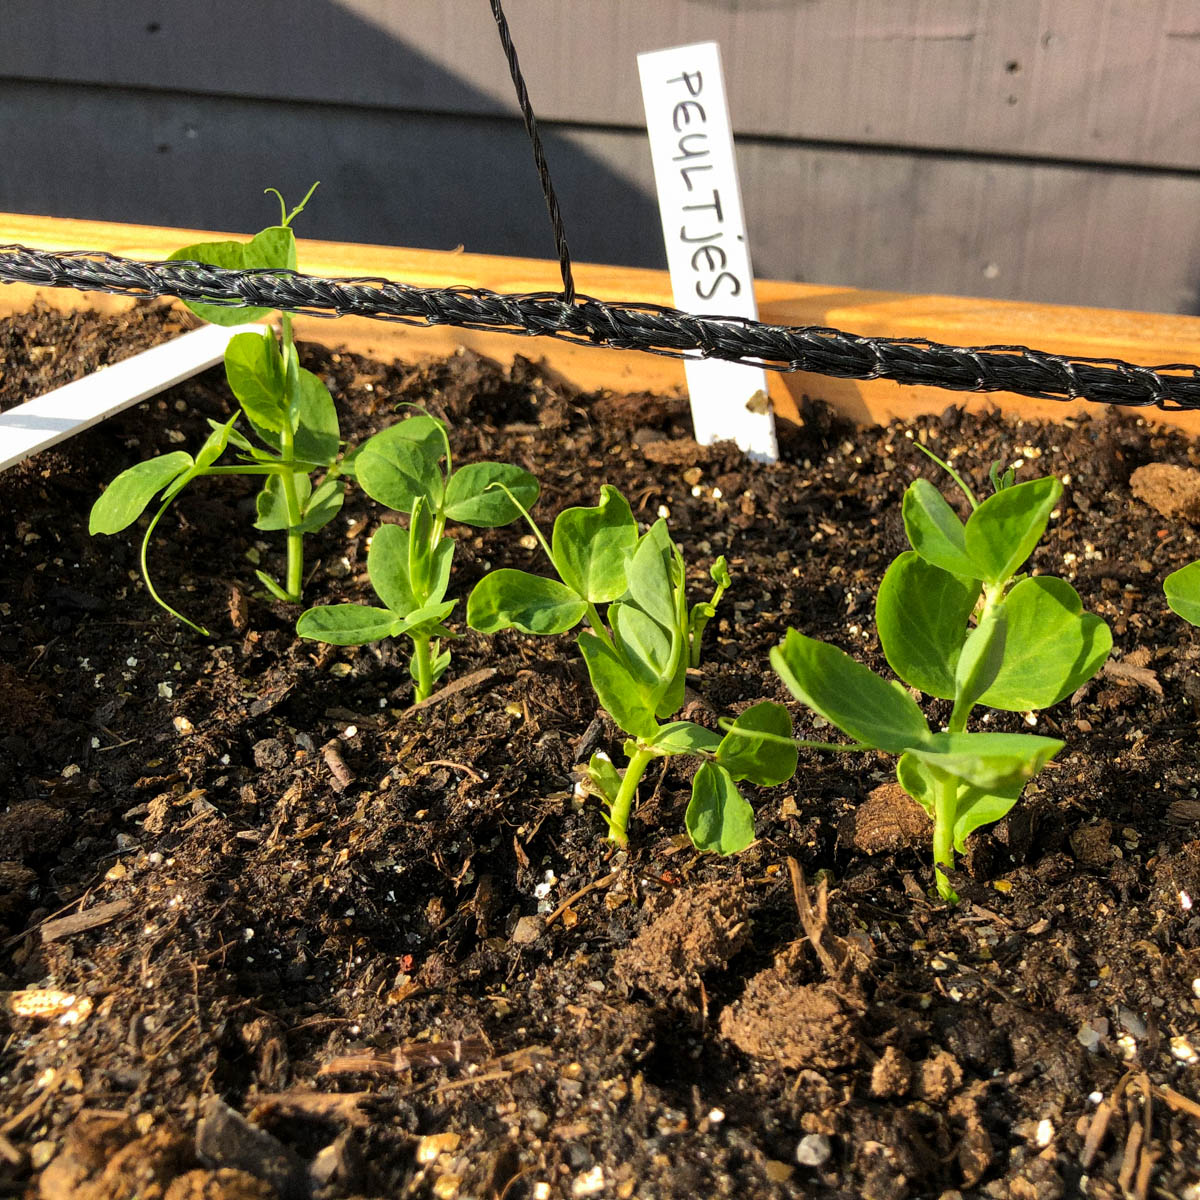
Level 2: Sowing peas
Level 2: Sow snow peas
- make 8 holes in the square, 2 to 3 cm deep
- choose the best peas and place 1 in each hole, taking care not to damage the roots
- carefully close the holes
If it's still very cold in early spring, it will take a little longer. You can speed things up by covering them with an MM-Muts or some plastic containers. This also stops birds from picking out the peas.
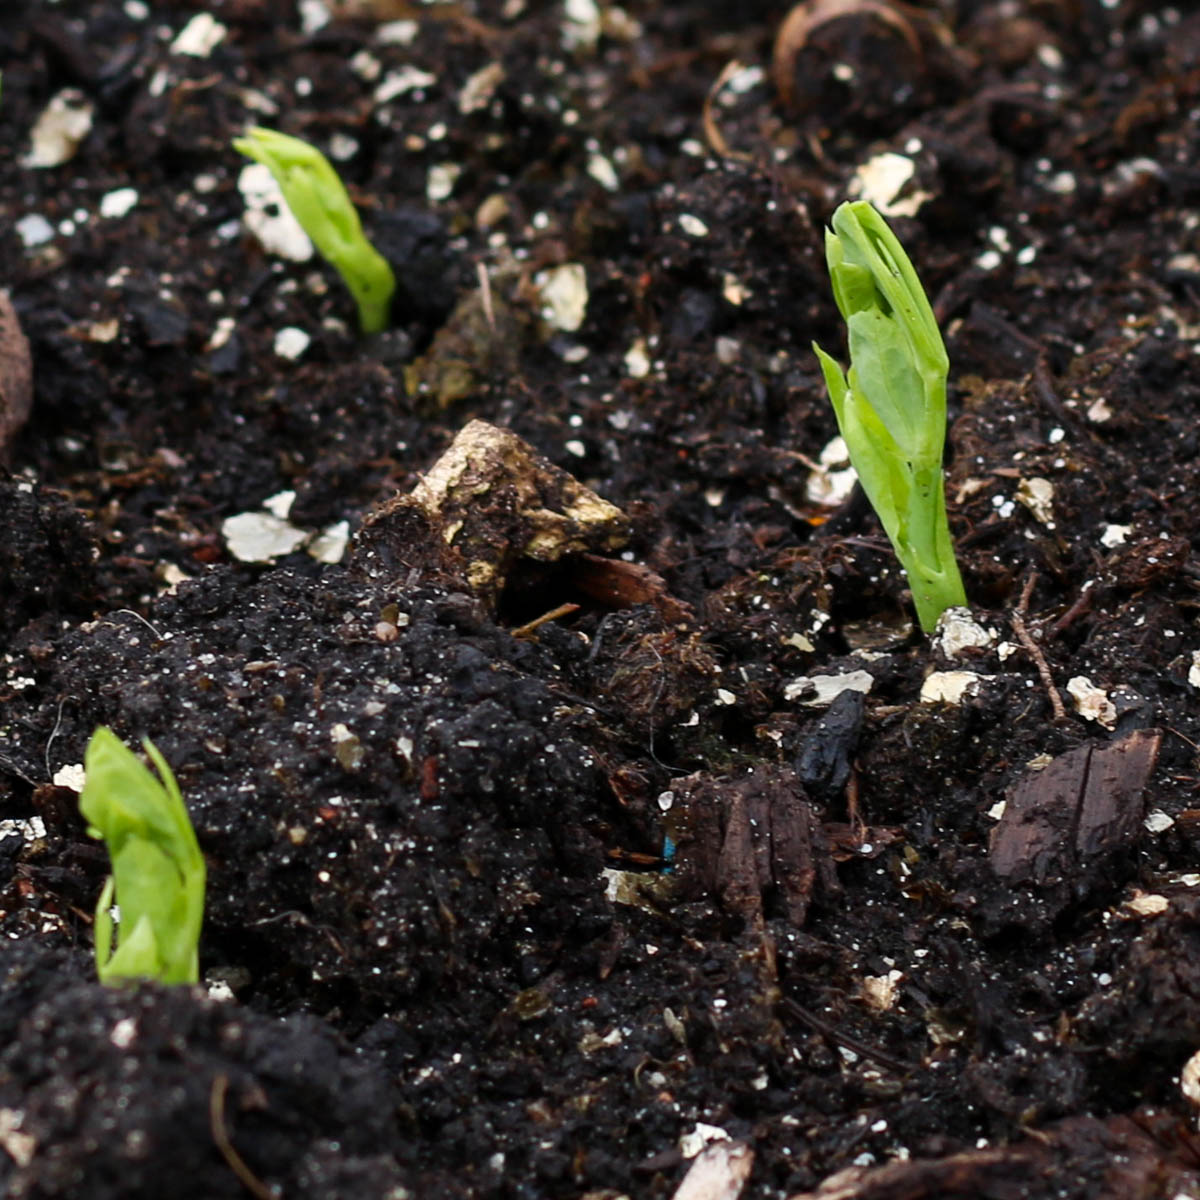
Level 3: Pea seedlings
Level 3: Snow pea seedlings
Then it's time for the next level.
Level 4: Caring for your snow pea plants
Level 4: Care for your snow pea plants
You hardly need to do anything. They'll grow quickly all on their own. Easy 🙂
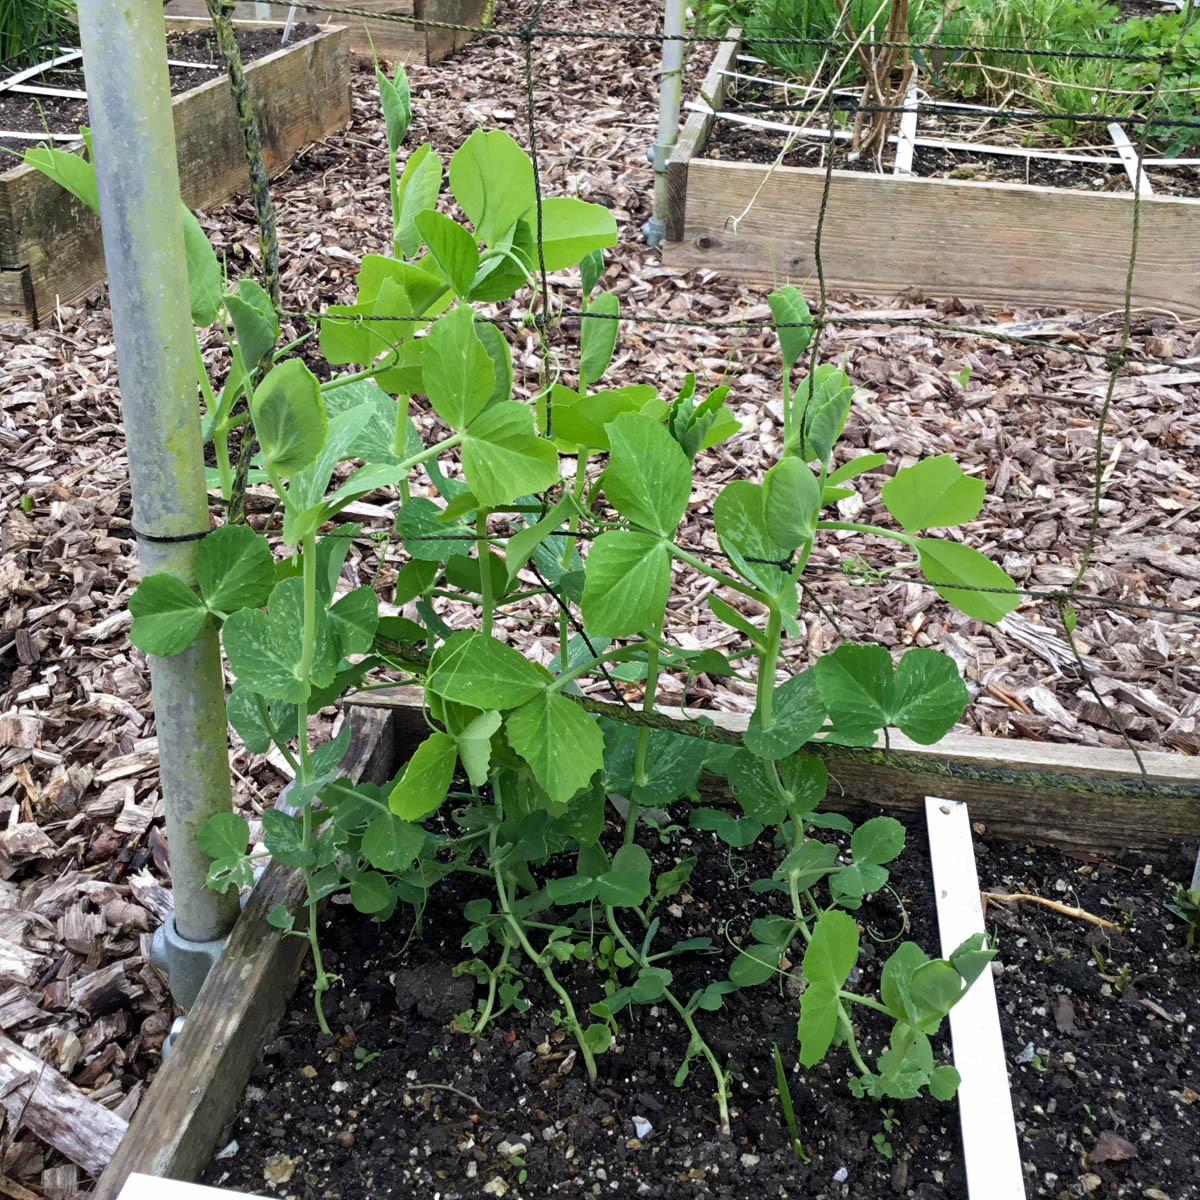
Level 5: Climbing snow peas
Level 5: Climbing snow peas
Guide the snow pea tentacles to the bottom of the trellis: they'll grab on once they sense it's there.
In a week or 2, you'll see the first flowers.
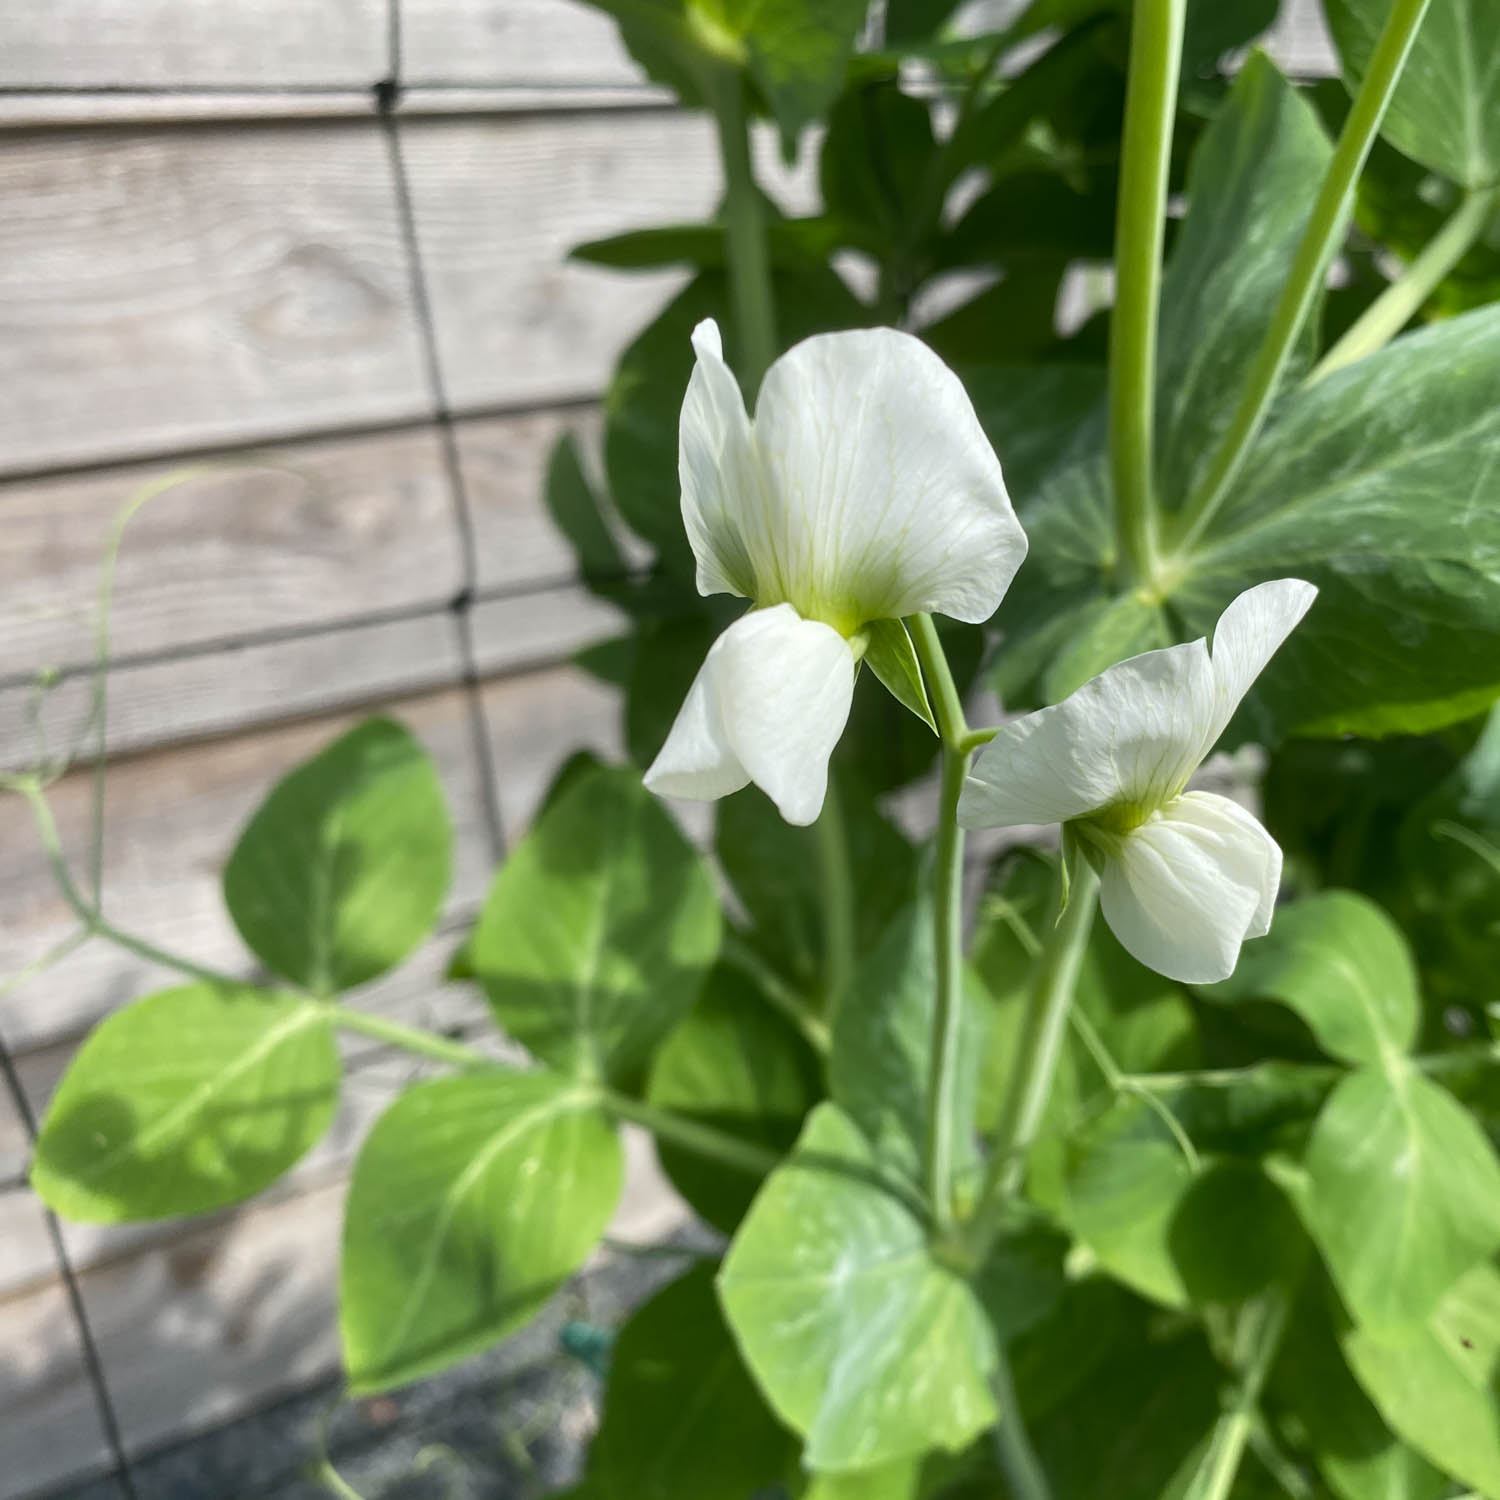
Level 6: Blossoming snow peas
Level 6: Flowering snow peas
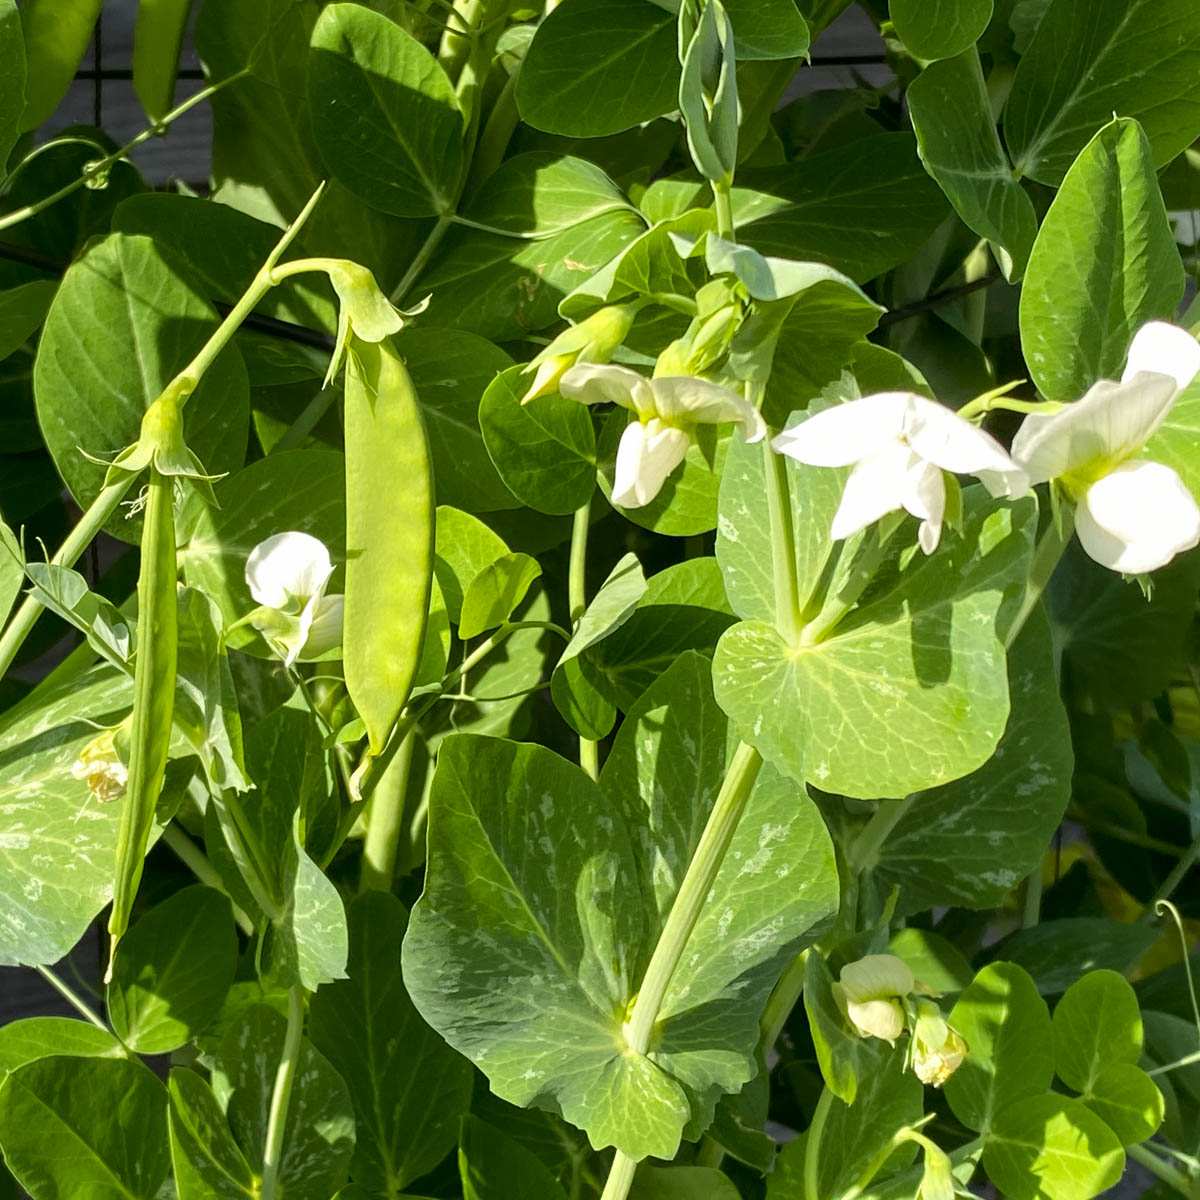
Level 7: Harvest the first snow peas
Level 7: Harvest your first snow peas
At this stage, it's normal for the leaves to turn yellow and look scraggly - especially the undersides of the leaves.
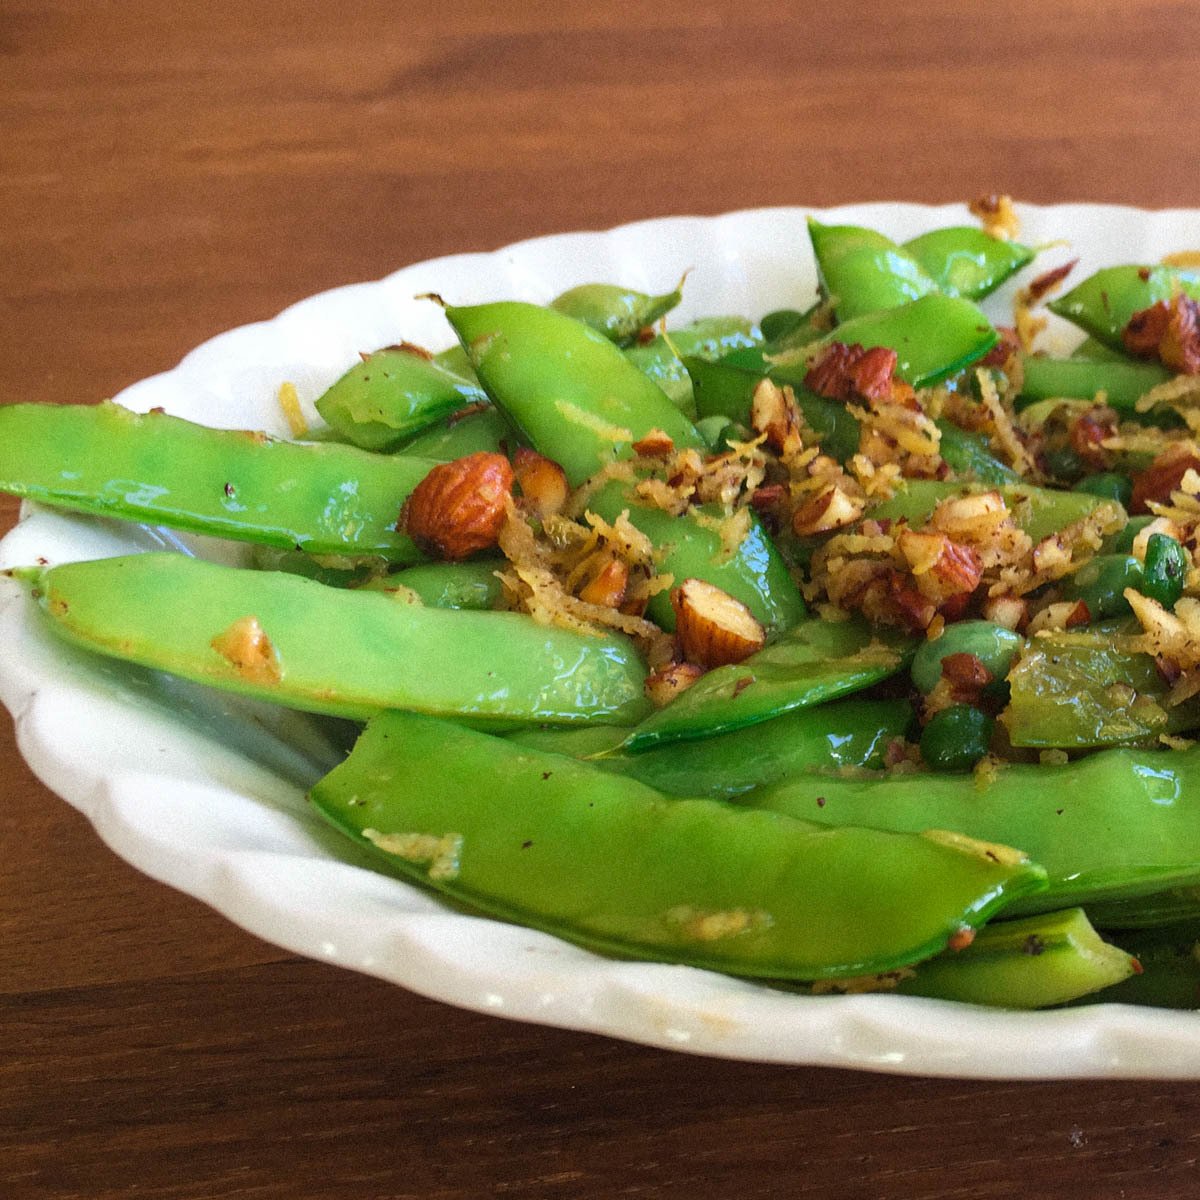
How do you harvest and cook snow peas?
You eat the pods with the peas inside.
Blanch or steam the snow peas and toss them in a wok or stir-fry dish, or make salads with them. The fresh snow pea flavor goes well with a lot of other vegetables.
The last levels
The next levels
At the final level, empty the square and prepare it for the next vegetable.
So, what's stopping you from growing snow peas yourself?