
How to sow and grow baby pumpkins
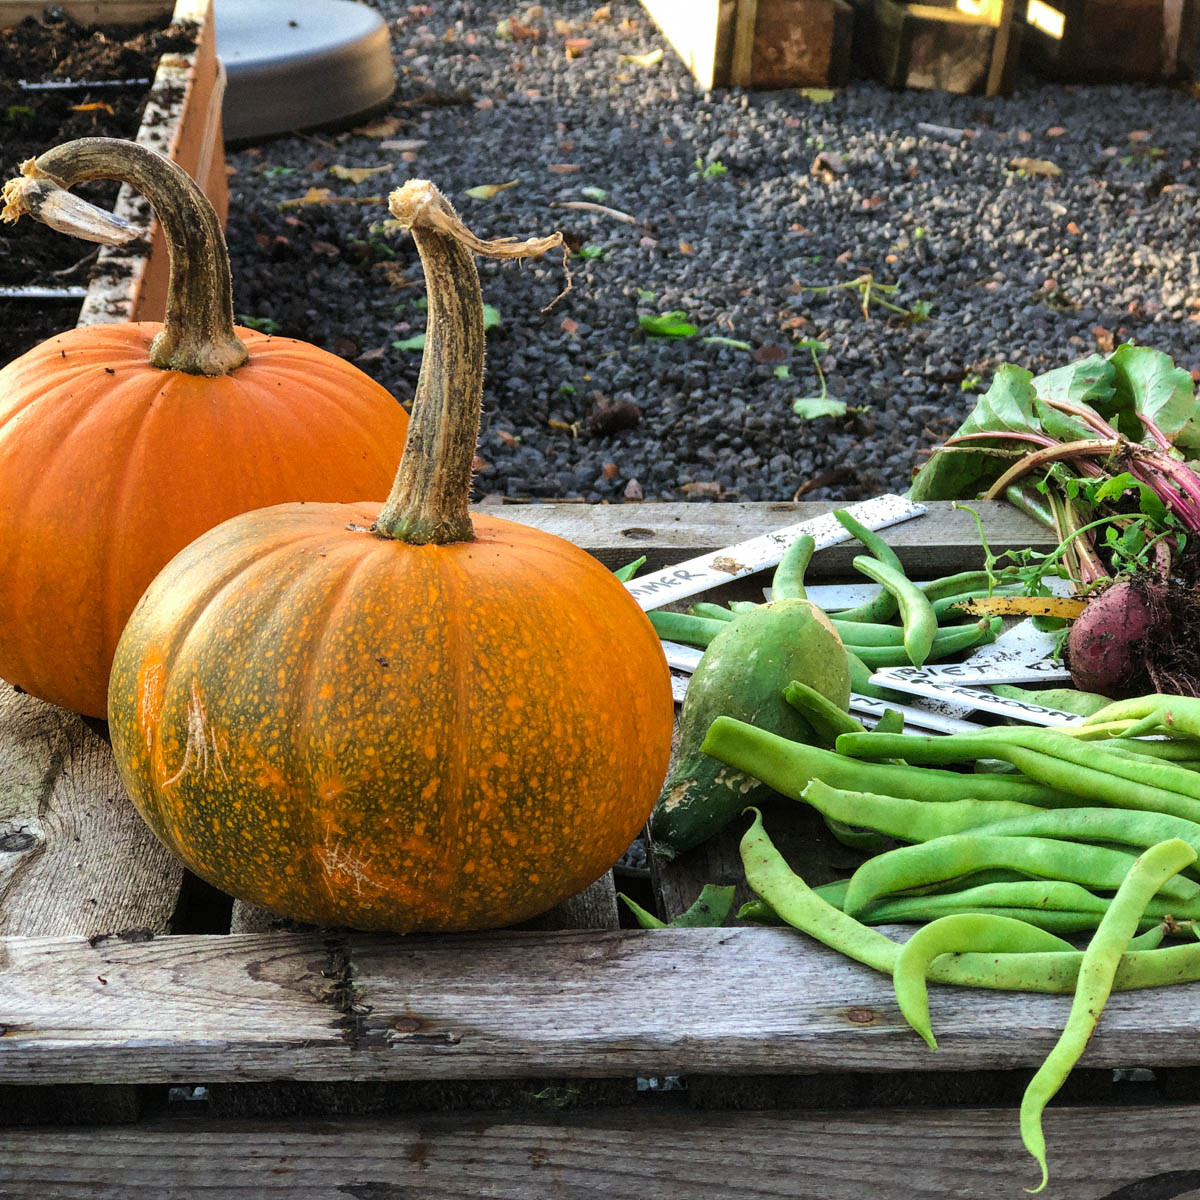
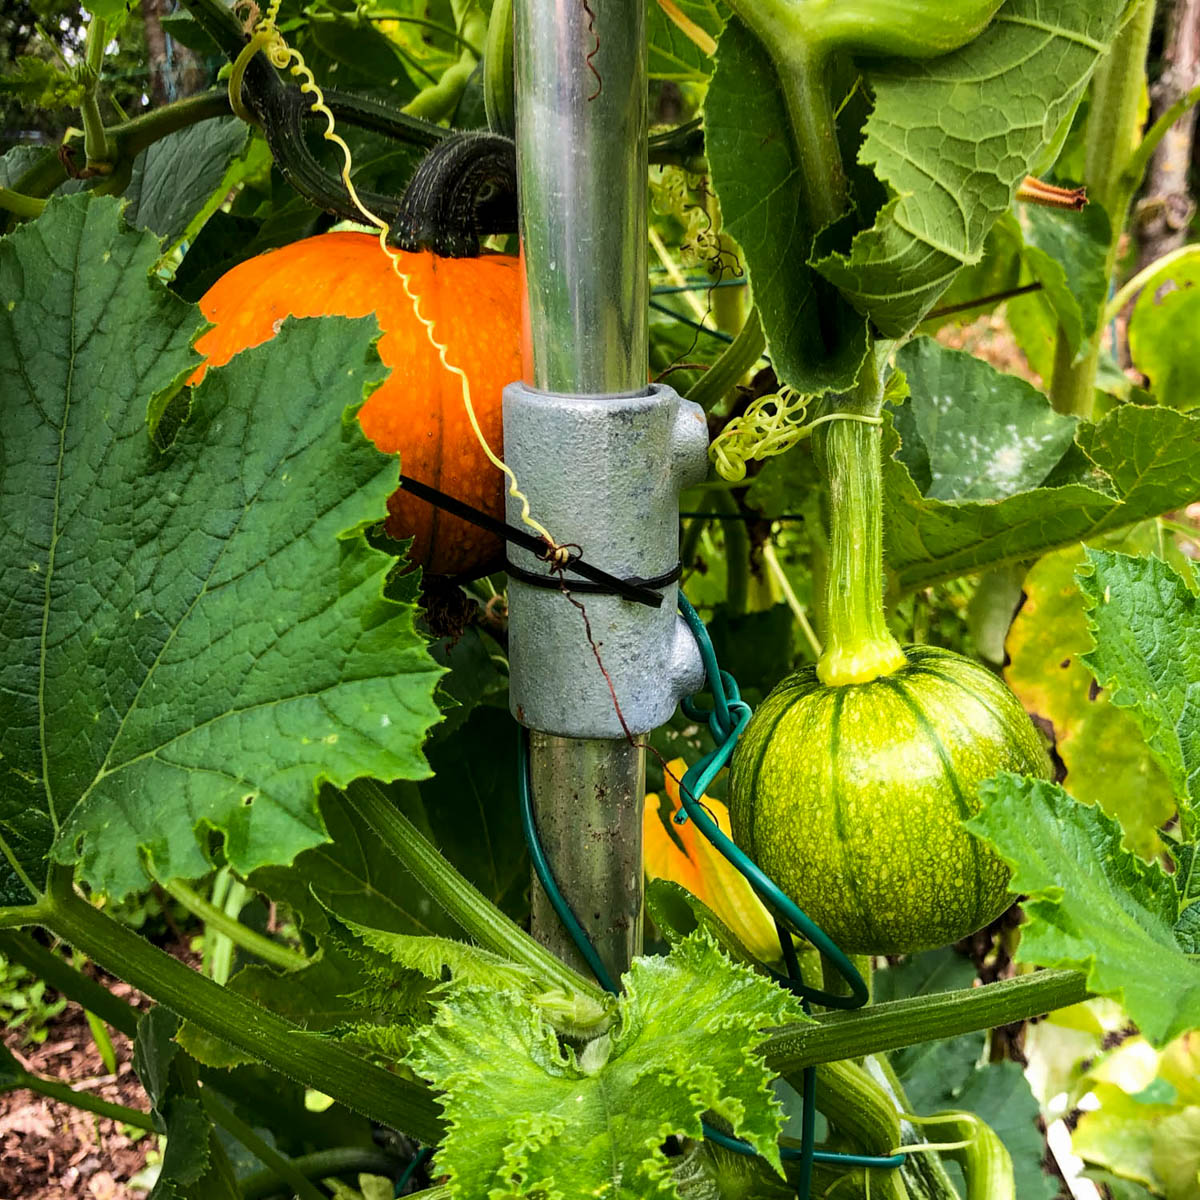
This variety produces pumpkins about 15 to 20 cm across, making it ideal for growing on a trellis.
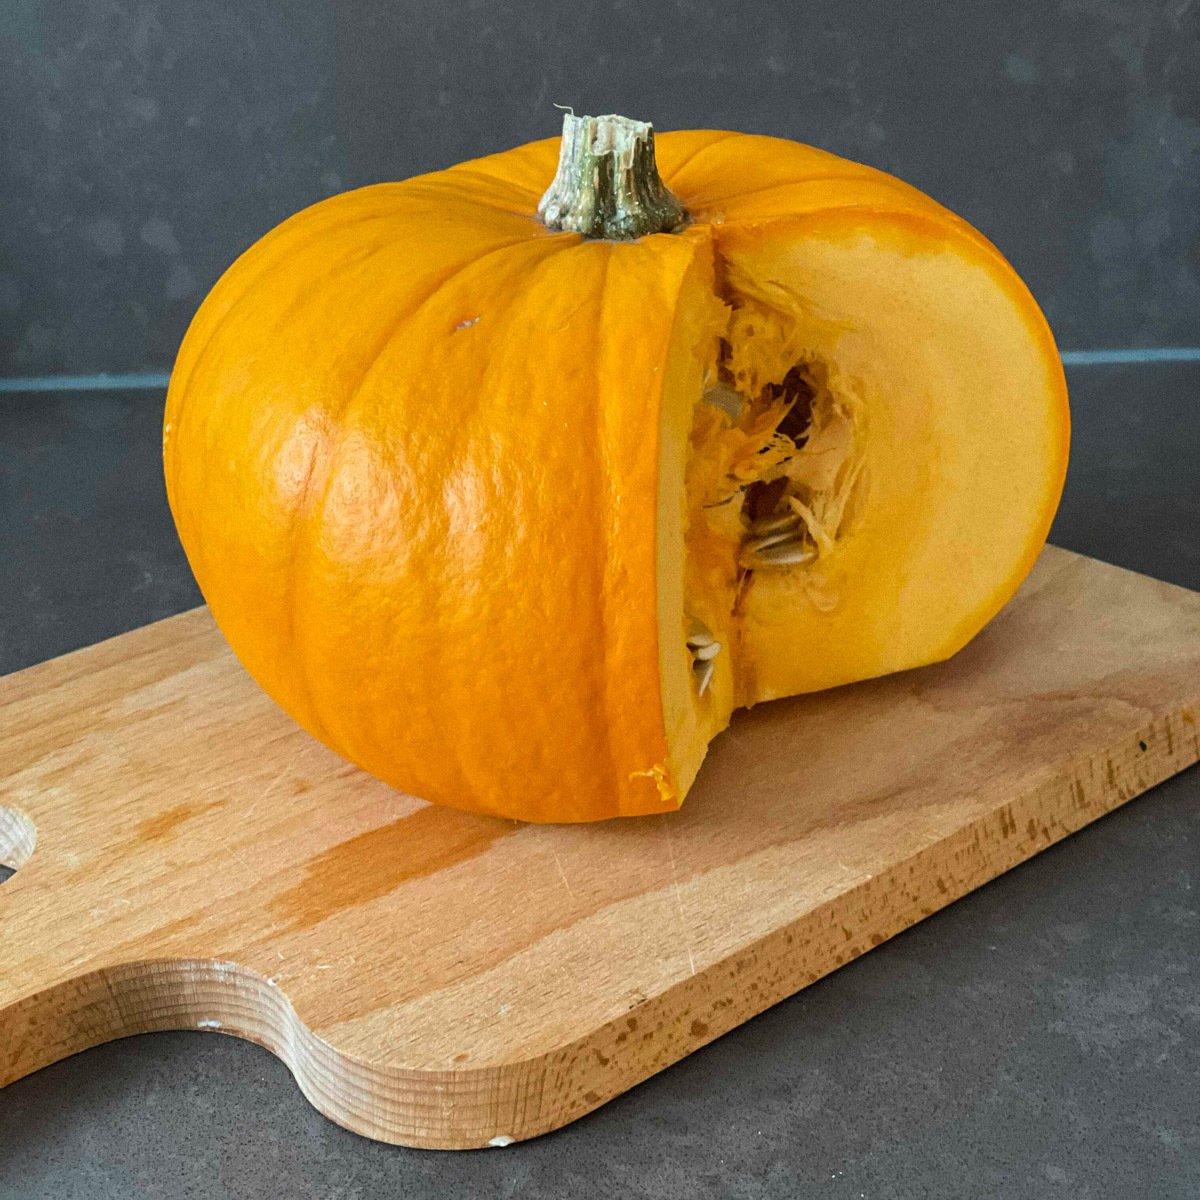
The firm, tasty flesh is perfect for grilling, pumpkin pie and delicious pumpkin soup. There is no need to peel it.
The firm, tasty flesh is perfect for grilling, pumpkin pie and delicious pumpkin soup. There is no need to peel it.
What is a baby pumpkin?
A baby pumpkin is an ordinary pumpkin that produces smaller fruit than most other varieties.
People have grown pumpkins for food for a very long time. In Central and South America, they were cultivated as early as 9000 BCE. They were, and remain, popular among Indigenous peoples in what is now the United States. Pumpkins reached Europe around the 16th century.
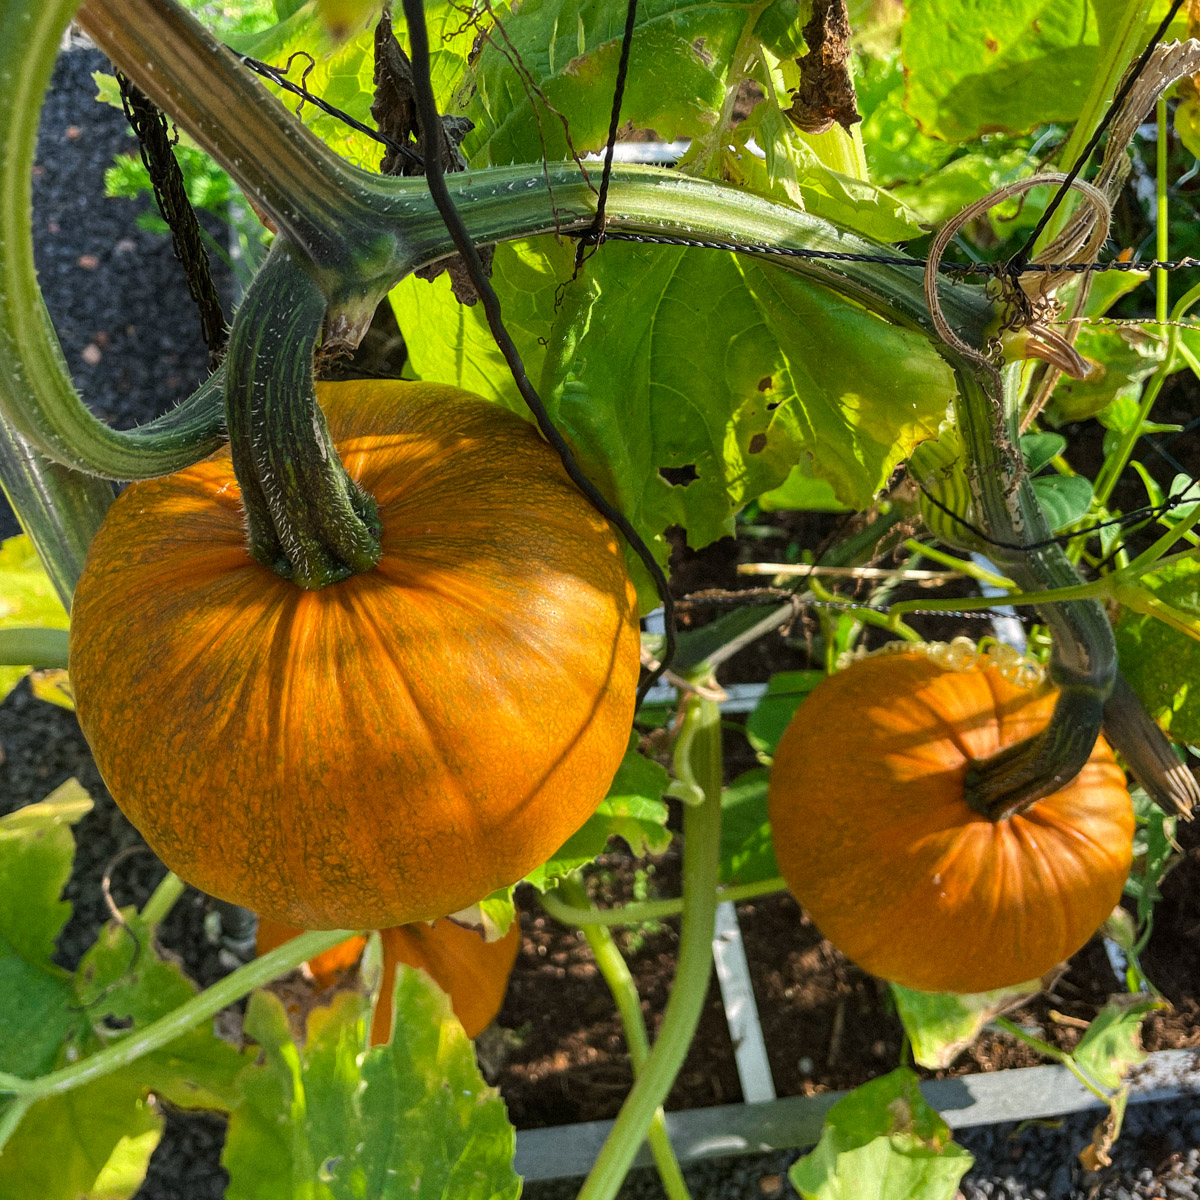
There are now hundreds of varieties, ranging from enormous pumpkins to ones smaller than a tennis ball, in all kinds of colours and shapes. Our variety produces relatively small fruit that can ripen on a trellis.
Are pumpkins nutritious?
Pumpkins provide beta-carotene, which the body converts to vitamin A. They also contain fibre, vitamin C, potassium and smaller amounts of several other vitamins and minerals.
They are a colourful, versatile addition to a varied diet.
They are a colourful, versatile addition to a varied diet.
More about our baby pumpkin seeds
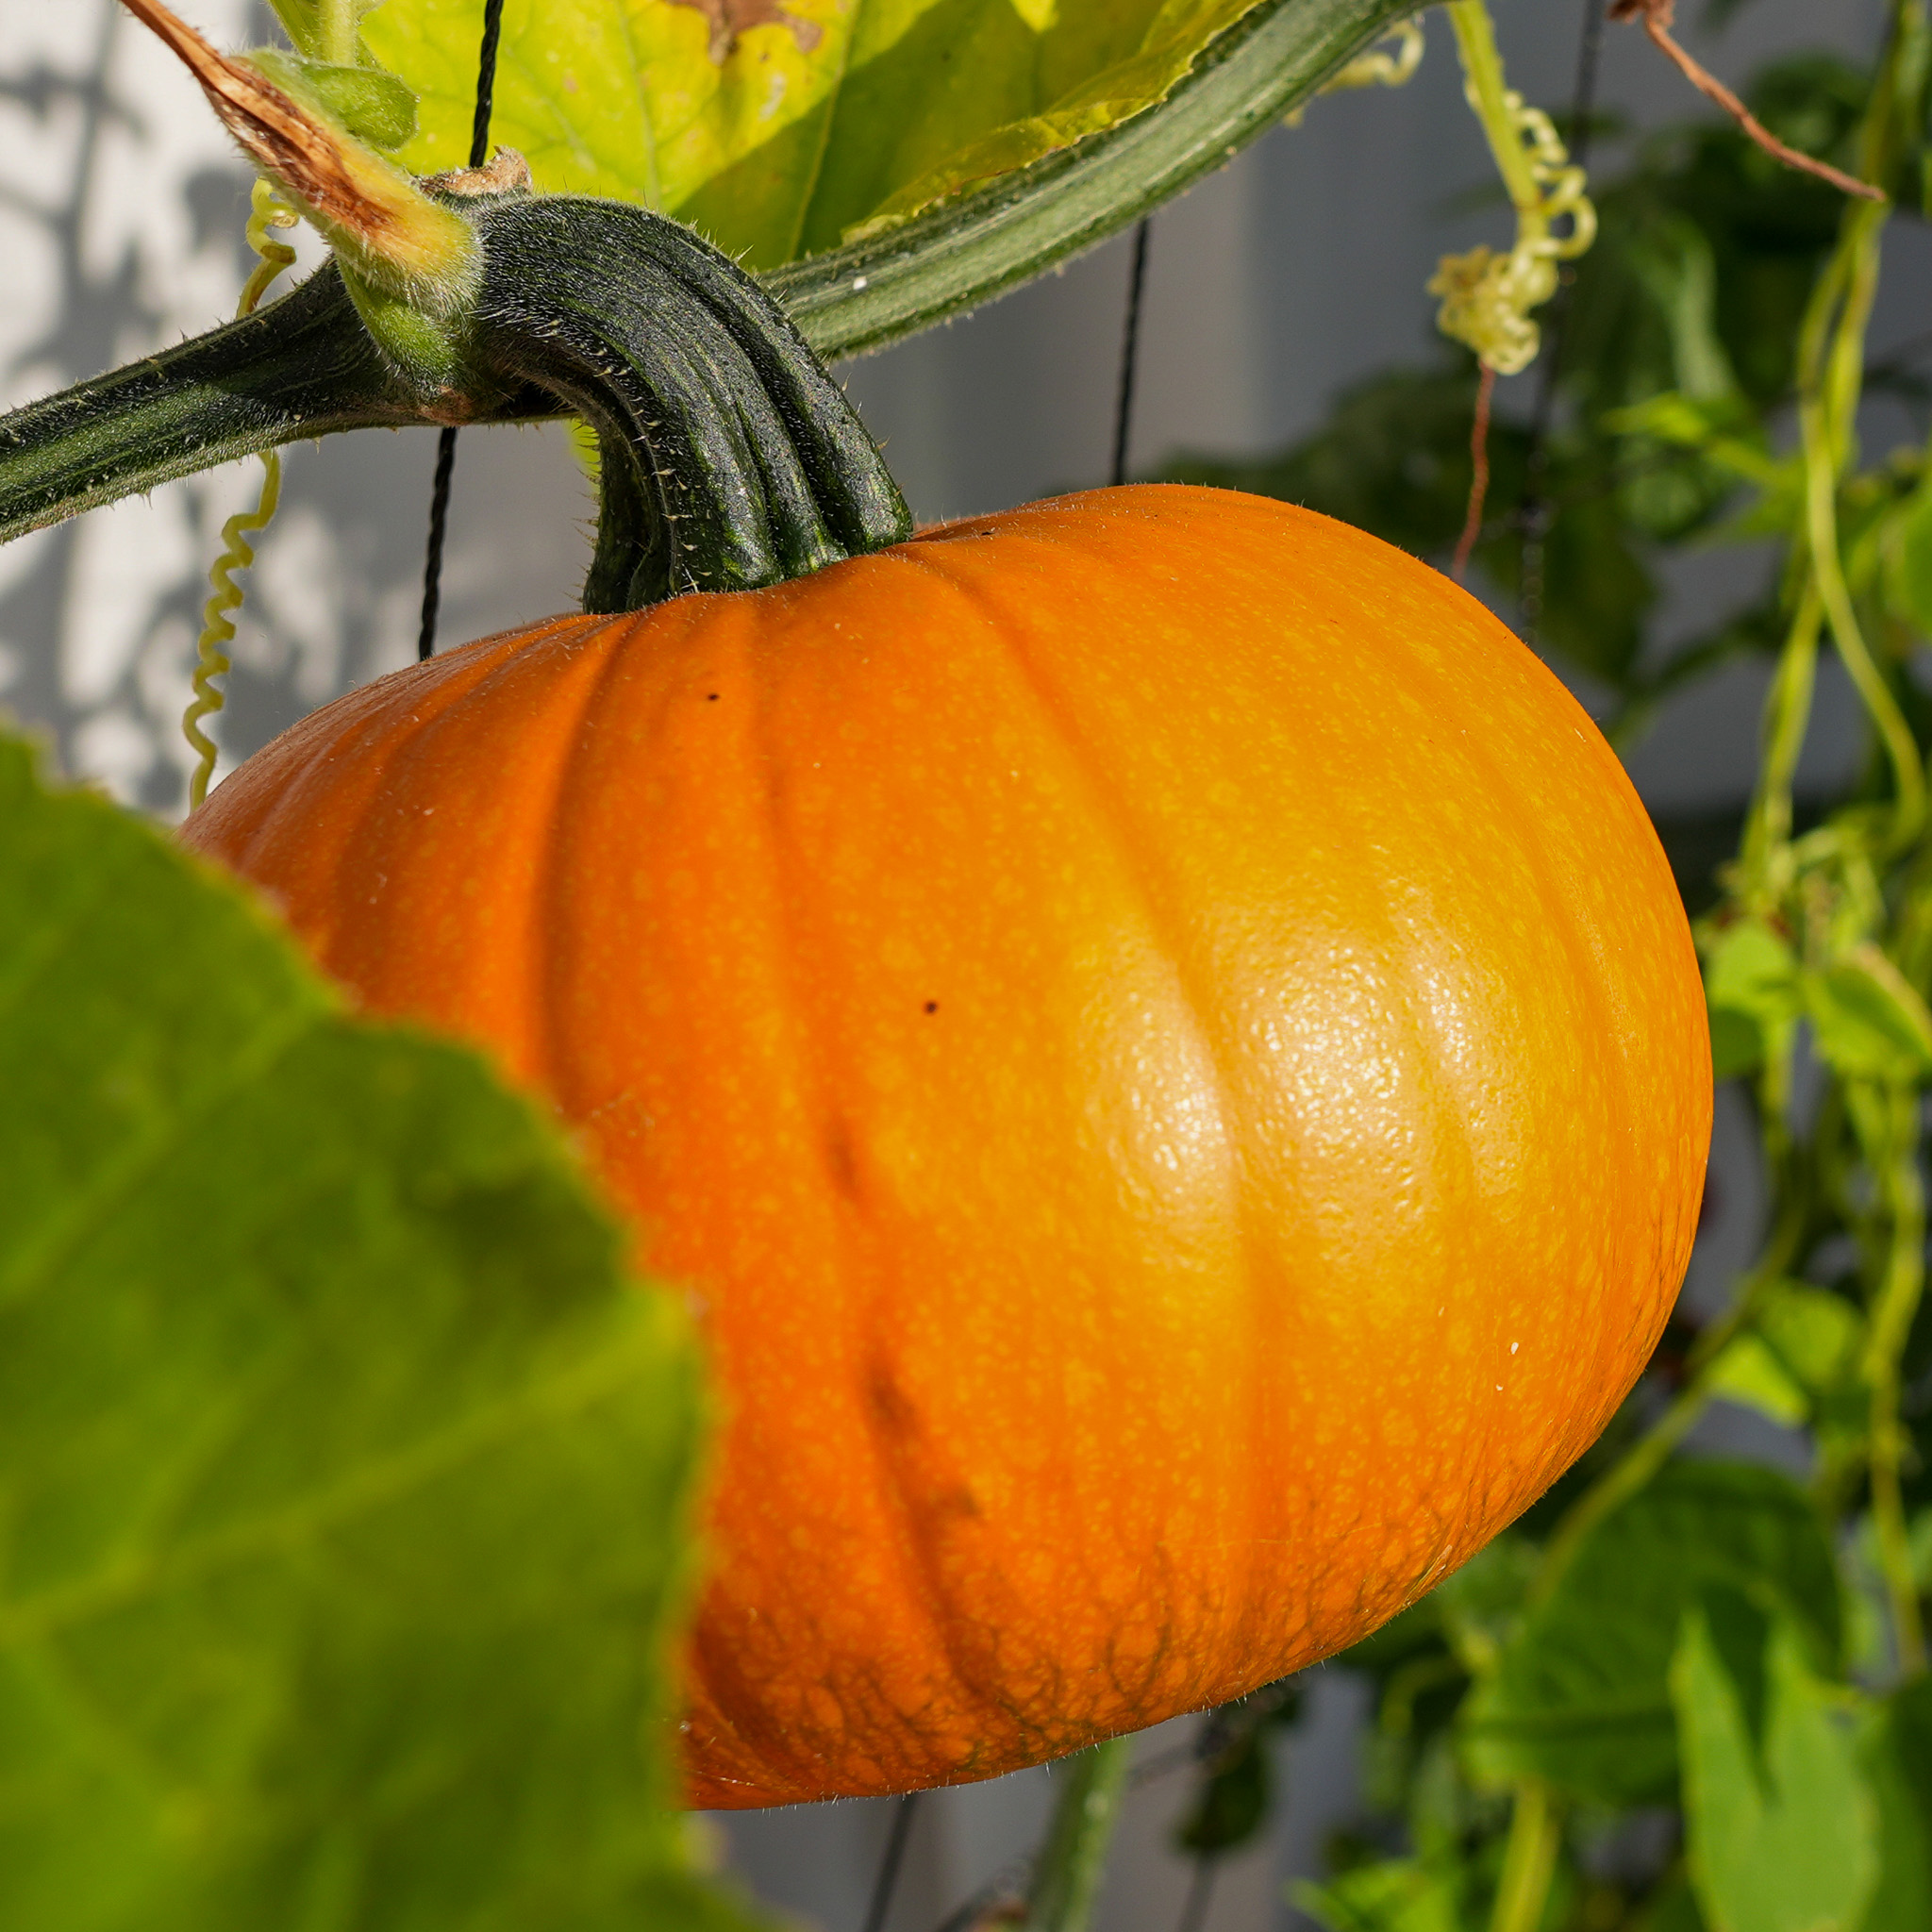
A delicious pumpkin with relatively small fruit, making it easy to train up a trellis and ideal for raised beds.
- Variety: Babybear
- Family: fruiting vegetables
- Plants per square: 1 beside the trellis
- Height: 200 cm or more
- Start indoors: from late April to late May
- Germination: 7 to 21 days at 15 to 20°C
- Time to harvest: from 15 weeks
- Sunlight: needs a sunny spot
- Packet contents: 8 seeds, enough for 4 to 8 squares
What do you need to grow baby pumpkins?
In addition to the seeds, you will need the following to start them indoors:
- MM seed-starting mix or MM coconut seed-starting mix
- MM-Airpots (the larger size)
- clear cling film (not needed with coconut mix)
Once the plant is large enough to go outside, you will need:
- one 30 × 30 cm square
- Makkelijke Moestuinmix
- a spot that receives at least 8 hours of sunlight a day
- a trellis or another support to guide the plant upwards
- MM plant food
How do you sow and grow baby pumpkins?
This pumpkin is included in the free Makkelijke Moestuin app. It guides you from seed to harvest.
Every vegetable passes through a series of stages, which we call levels. The app tells you exactly what to do at each level and regularly asks you to check whether your plants are ready for the next one.
Every vegetable passes through a series of stages, which we call levels. The app tells you exactly what to do at each level and regularly asks you to check whether your plants are ready for the next one.
So you do not need to know how to grow pumpkins successfully before you begin. But if you would like to read ahead, you can do so below.
Level 1: Starting pumpkins indoors by pre-sprouting the seeds
Pumpkins are true summer vegetables. Their seeds only germinate above 20°C, and the seedlings are very sensitive to lower temperatures. That is why you start them indoors around late April or early May, then plant the young pumpkin outside around the end of May.
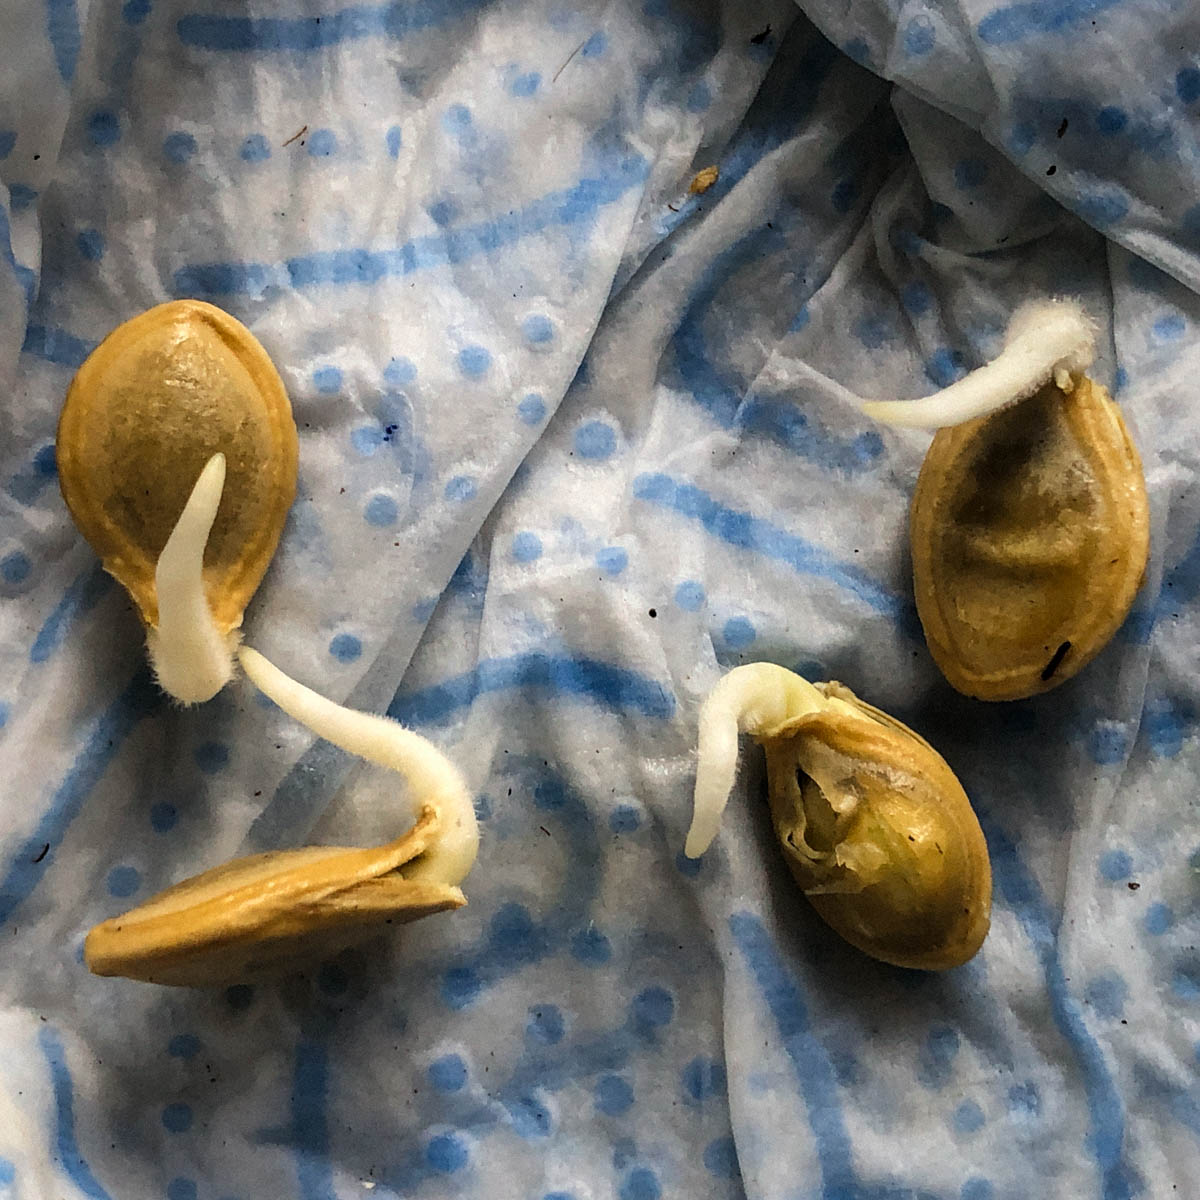
Before sowing the seeds in a pot, let each one develop a small root. This is called pre-sprouting and helps you see which seeds have germinated.
It is easy: dampen a piece of kitchen paper or toilet paper and place the seeds between the layers.
Check occasionally for a root. You may see one after 2 to 3 days, although it sometimes takes a little longer.
Level 2: Planting the pre-sprouted seeds in MM-Airpots
You will need:
- pre-sprouted seeds
- 2 large MM-Airpots
- MM seed-starting mix or MM coconut seed-starting mix
- clear cling film (not needed with coconut mix)
Please note: MM coconut seed-starting mix does not contain plant food. When preparing it for the first time, add one heaped tablespoon of MM plant food.
Fill 2 MM-Airpots with seed-starting mix and dampen it slightly.
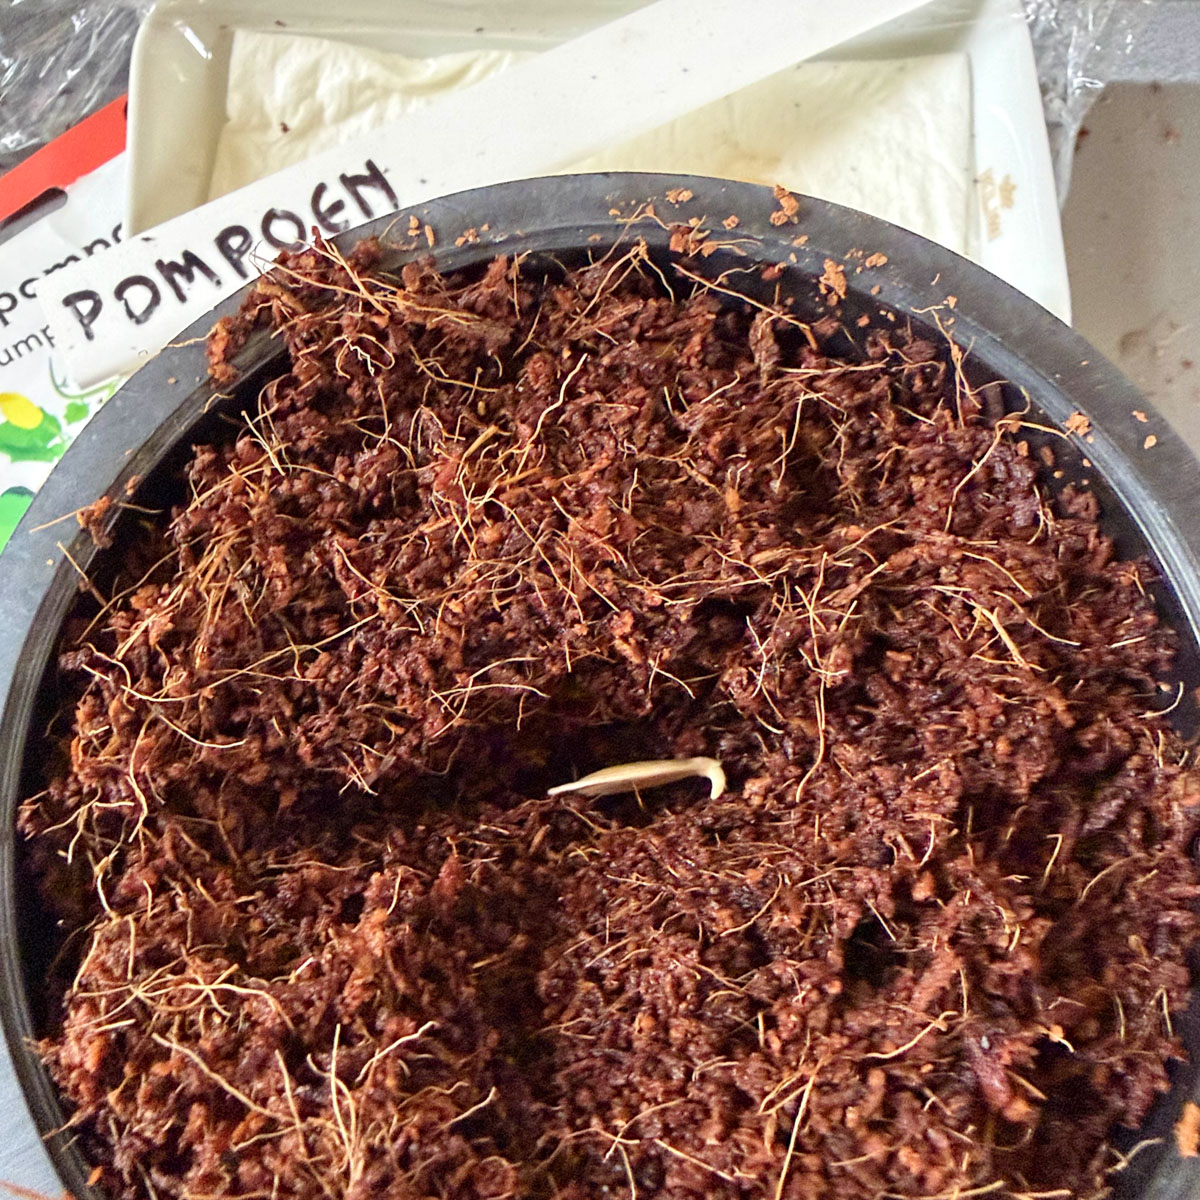
Make a hole in the mix and carefully place the seed inside without damaging the root. Close the hole, then cover the Airpot with cling film to keep the mix and seed damp (not needed with coconut mix).
Finally, place the pot in a warm part of your living room. Avoid putting it above a radiator or in full sun, as it can quickly become too warm.
Level 3: Pumpkin seedlings
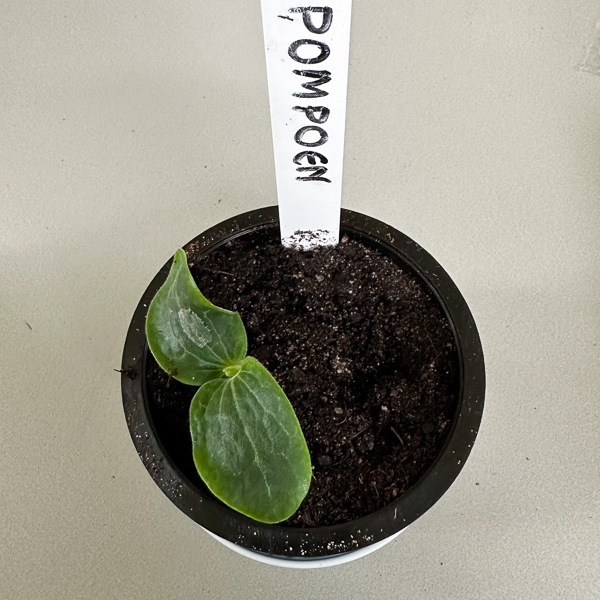
As soon as the seedlings emerge, you know things are going well. From then on, place the pots in the brightest spot you have, preferably somewhere that is not too warm.
Keep the mix damp and turn the pots a quarter turn every day. This prevents the seedlings from leaning to one side.
After another 5 days or so, it is time for the next level.
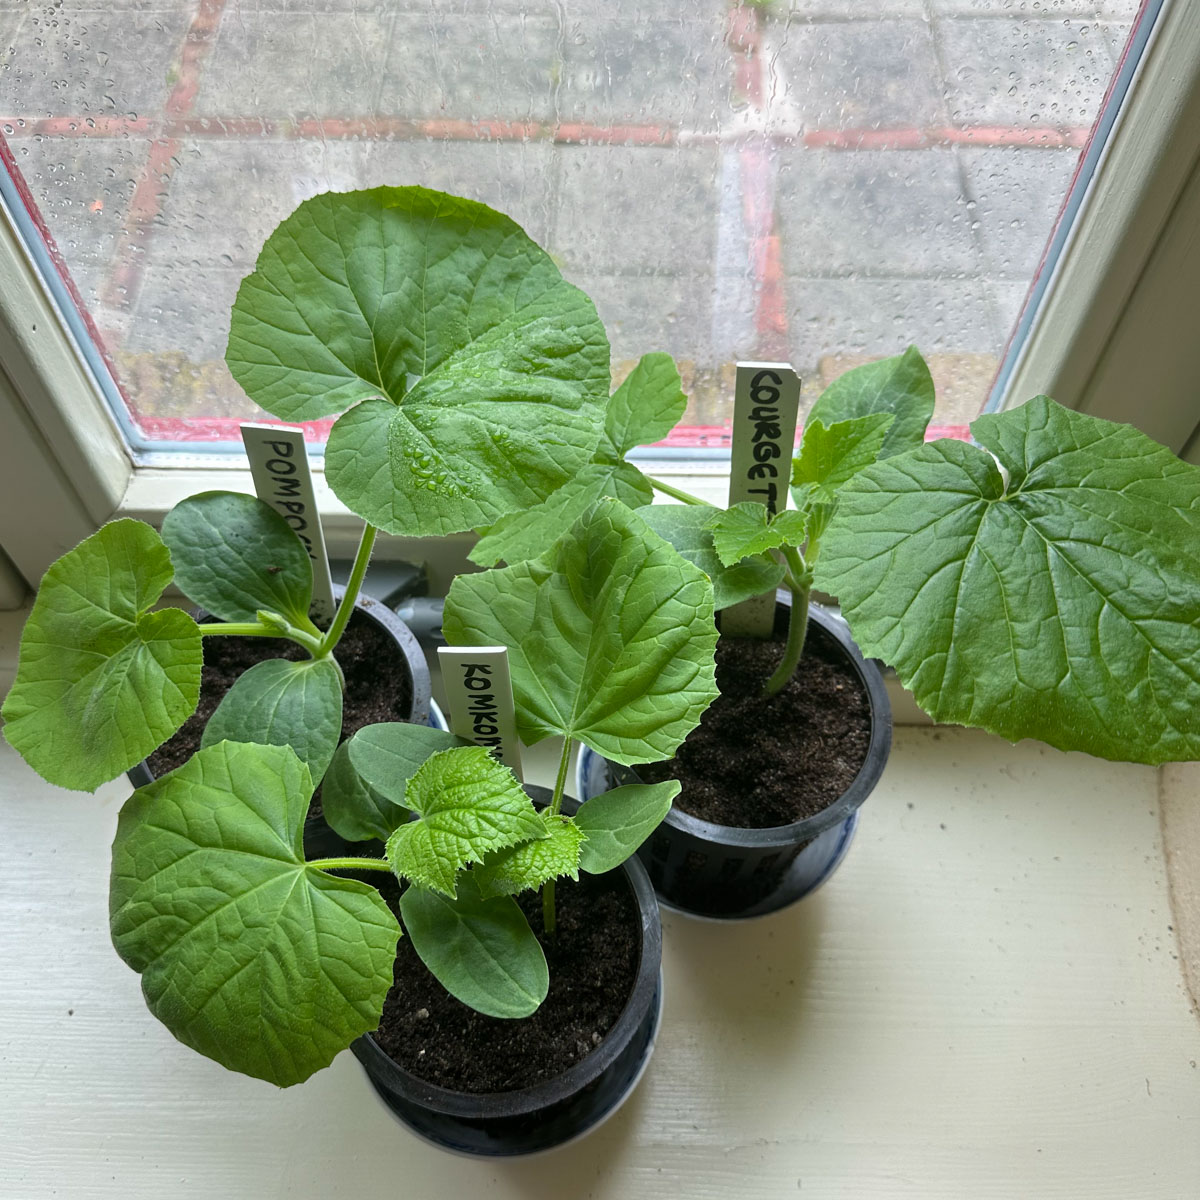
Levels 4 and 5: Caring for your plants on the windowsill
Keeping young plants healthy on a windowsill can be tricky.
Give them plenty of light without letting them get too warm: full sunlight, but no warmer than 20°C.
Turn them a quarter turn every day to prevent leaning, and keep the mix damp.
Levels 6 to 10: Getting used to outdoor conditions
During the second half of May, gradually get the plants used to outdoor conditions by leaving them outside a little longer each day.
At the final level, they remain outside all day and only come indoors at night.
At the final level, they remain outside all day and only come indoors at night.
Level 11: Plant the best pumpkin beside the trellis
Once your plant is used to outdoor conditions, choose the strongest one and move it to your outdoor raised bed. Plant it at the back beside the trellis.
Add 30 ml, or 2 tablespoons, of plant food to the planting hole and put the plant in.
Add 30 ml, or 2 tablespoons, of plant food to the planting hole and put the plant in.
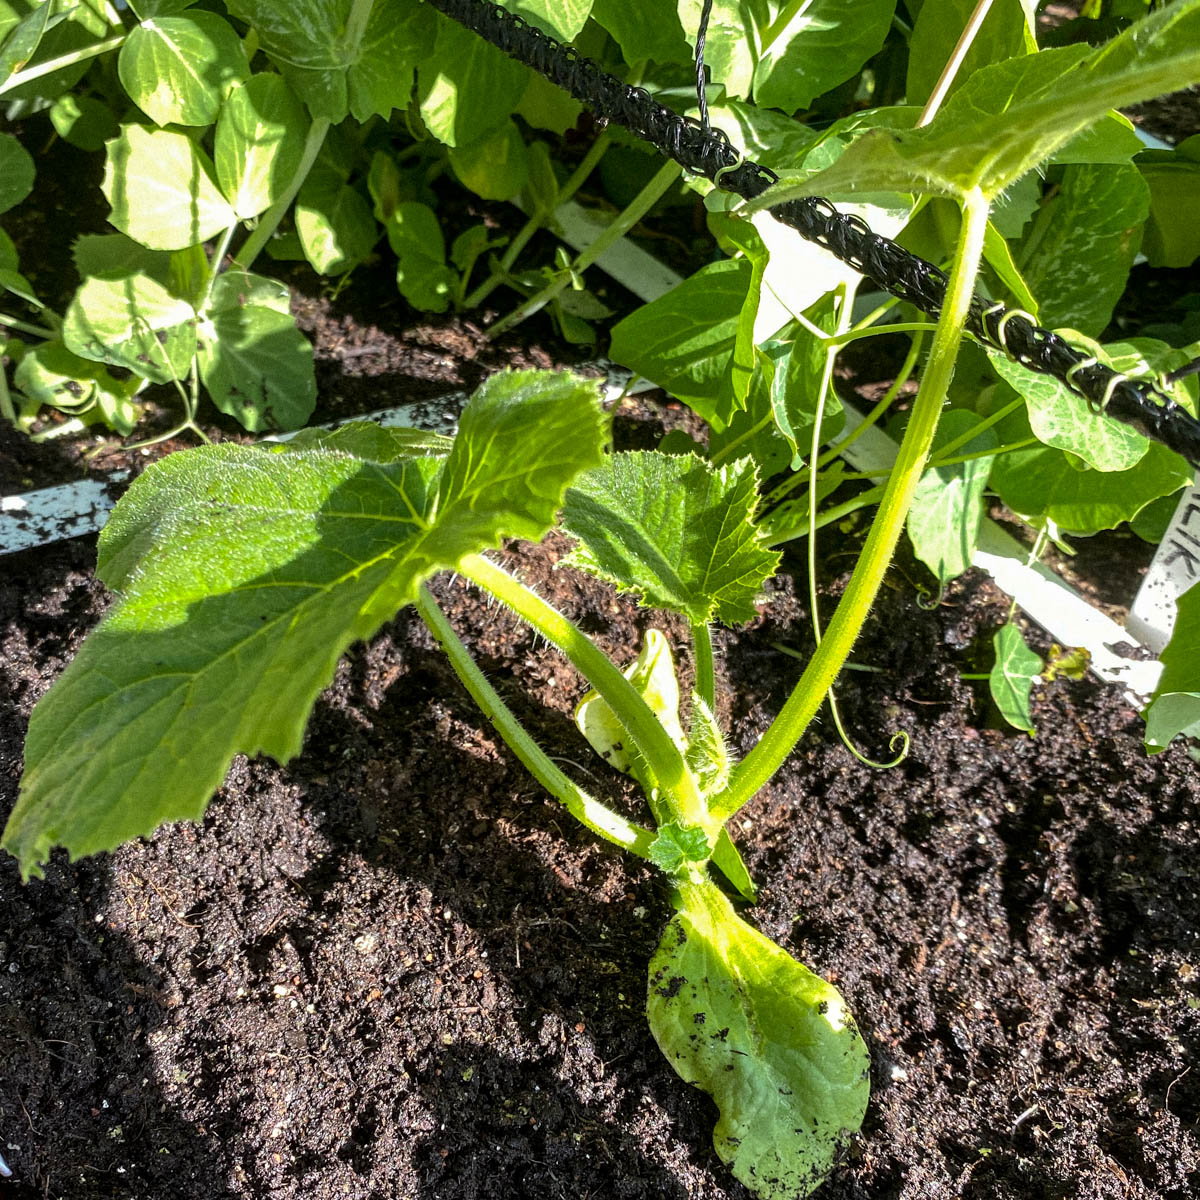
Levels 12 and 13: Care and the trellis
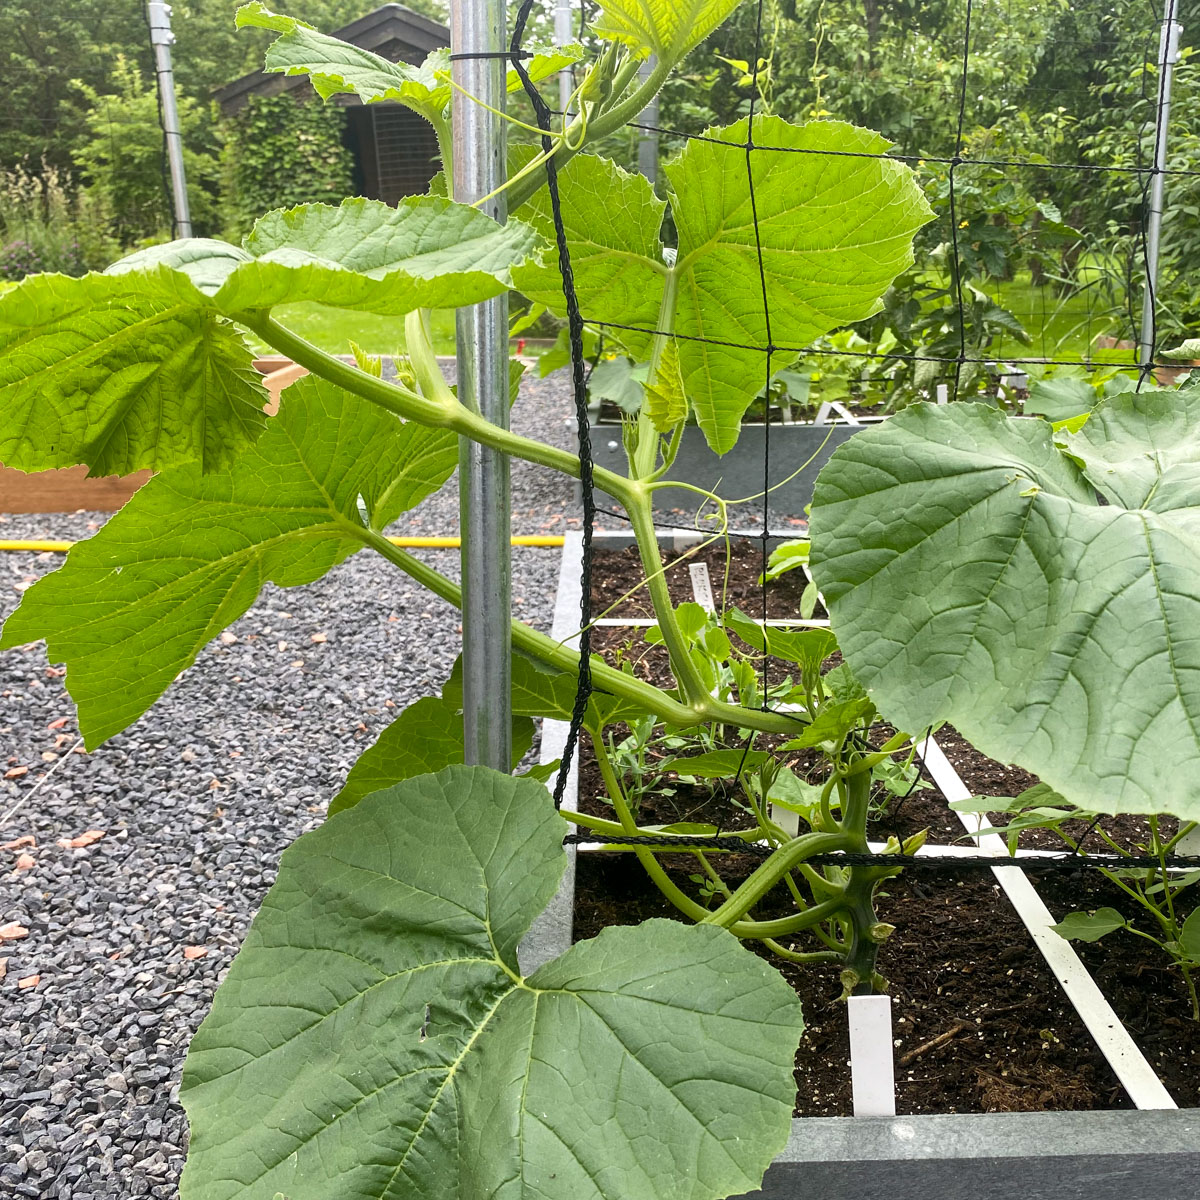
The weather may not be very warm yet, so the plant may still be growing slowly. Make sure it grows upwards rather than sideways. If necessary, place a small cane beside it to guide it towards the trellis.
Once the plant is established, its main stem grows very quickly. Weave it through the trellis in horizontal loops, using plant clips or ties if needed.
Remove side shoots straight away, as they use energy that the plant needs elsewhere.
Levels 14 and 15: Flowering and plant food
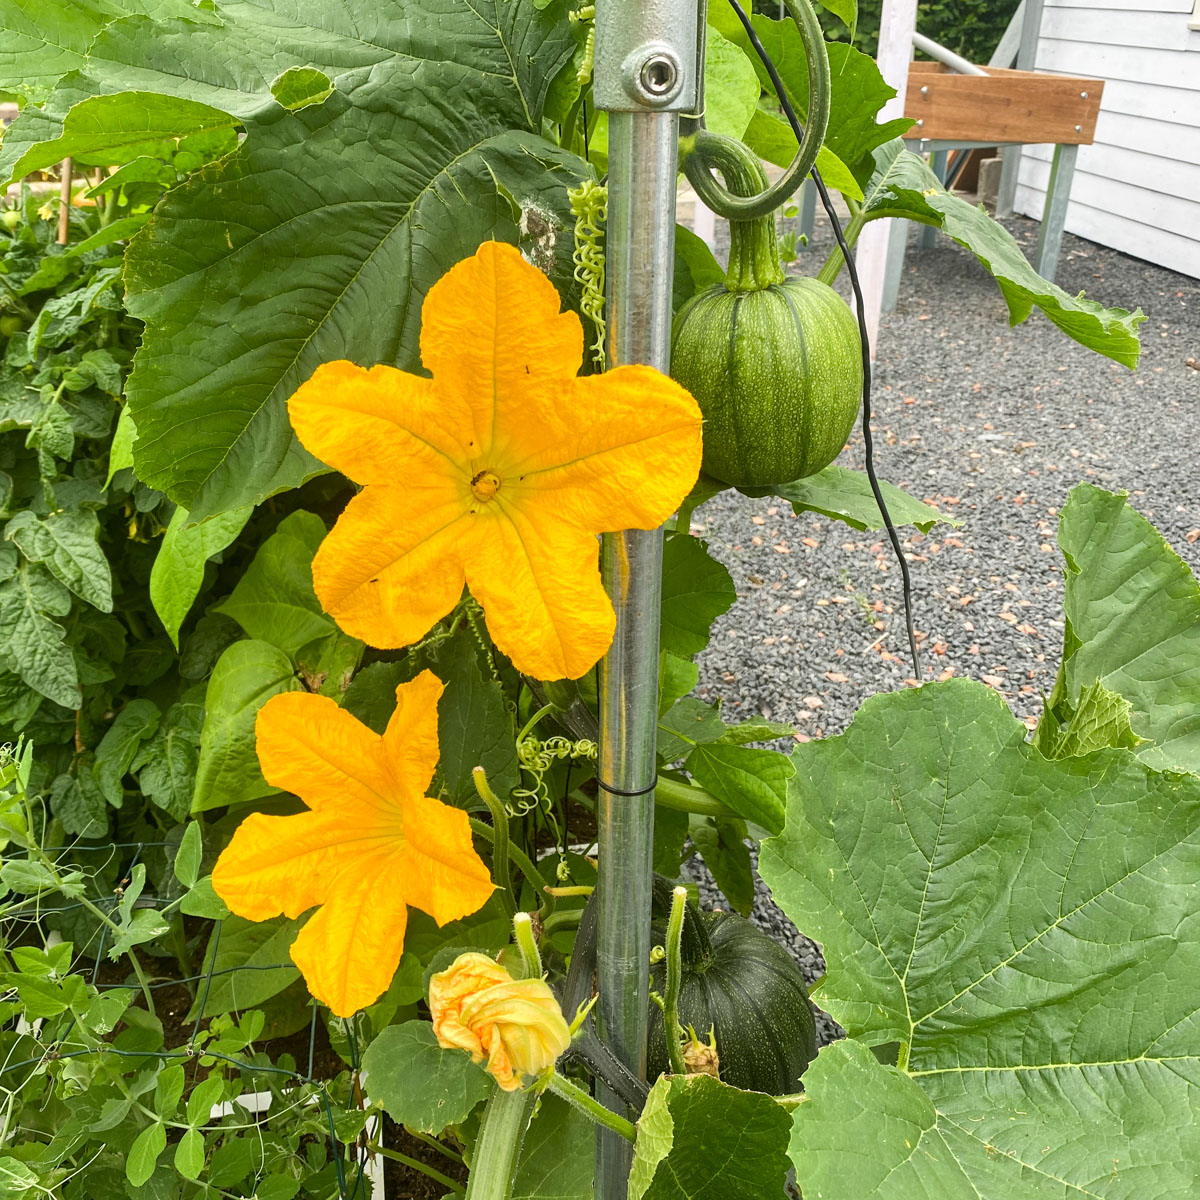
At this level, you will see the first flowers. There are 2 types: male and female. Male flowers grow on a plain stem, while female flowers sit on a swelling that will develop into the pumpkin.
Pumpkins grow slowly. It can take as long as 3 months for a flower to become a harvestable fruit.
Once several pumpkins are growing, the plant needs plenty of nutrients. Scatter extra plant food around its base every 5 weeks. The app will remind you.
Pumpkins grow slowly. It can take as long as 3 months for a flower to become a harvestable fruit.
Once several pumpkins are growing, the plant needs plenty of nutrients. Scatter extra plant food around its base every 5 weeks. The app will remind you.
Level 16: Ripening
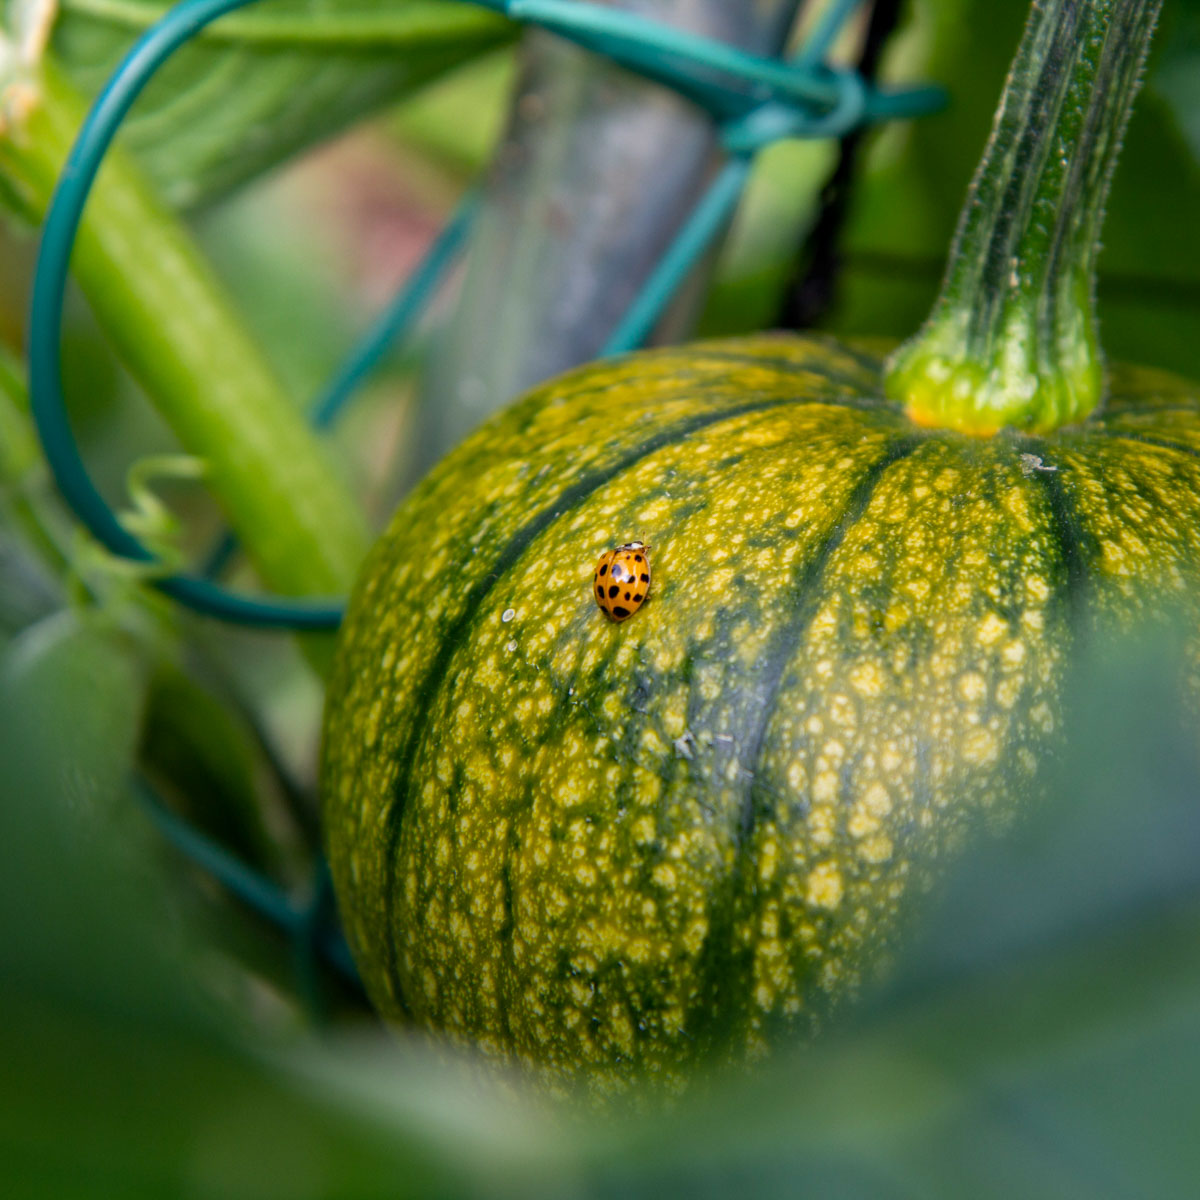
At this level, the fruit slowly changes from green to orange.
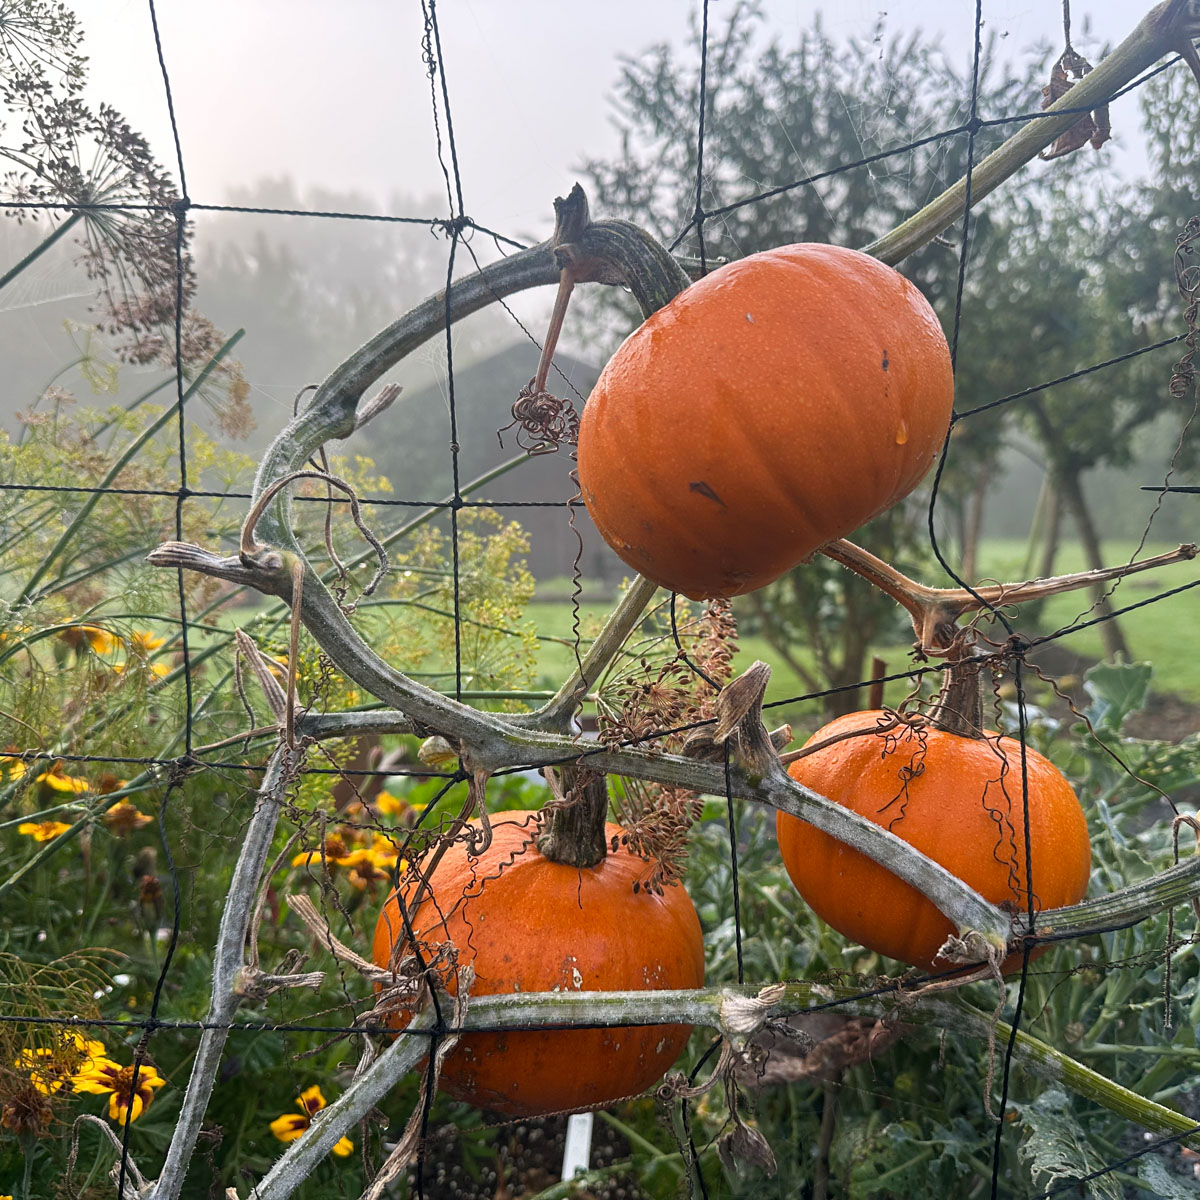
But take care: a pumpkin is only ready to harvest when it is evenly orange and the stem has become corky and completely dry.
If a pumpkin falls off earlier, place it on a sunny windowsill and let it continue ripening.
If a pumpkin falls off earlier, place it on a sunny windowsill and let it continue ripening.
Summer is coming to an end and the days are getting shorter. The plant itself often begins to look less attractive. That does not matter: the pumpkins are what count.
The final levels
By this time, the nights are becoming colder. Pumpkin plants do not cope well with that, so their leaves become unattractive and often develop mildew.
The pumpkins still on the vine will continue to ripen. Leave them attached for as long as possible, until they are completely orange. If they fall off earlier, place them on a sunny windowsill to finish ripening.
Once fully ripe, these pumpkins can be stored for about 2 months in a cool, dry place.
After harvesting the final pumpkin, remove the plant and clear the MM-mix in the square.
How can you use baby pumpkins?
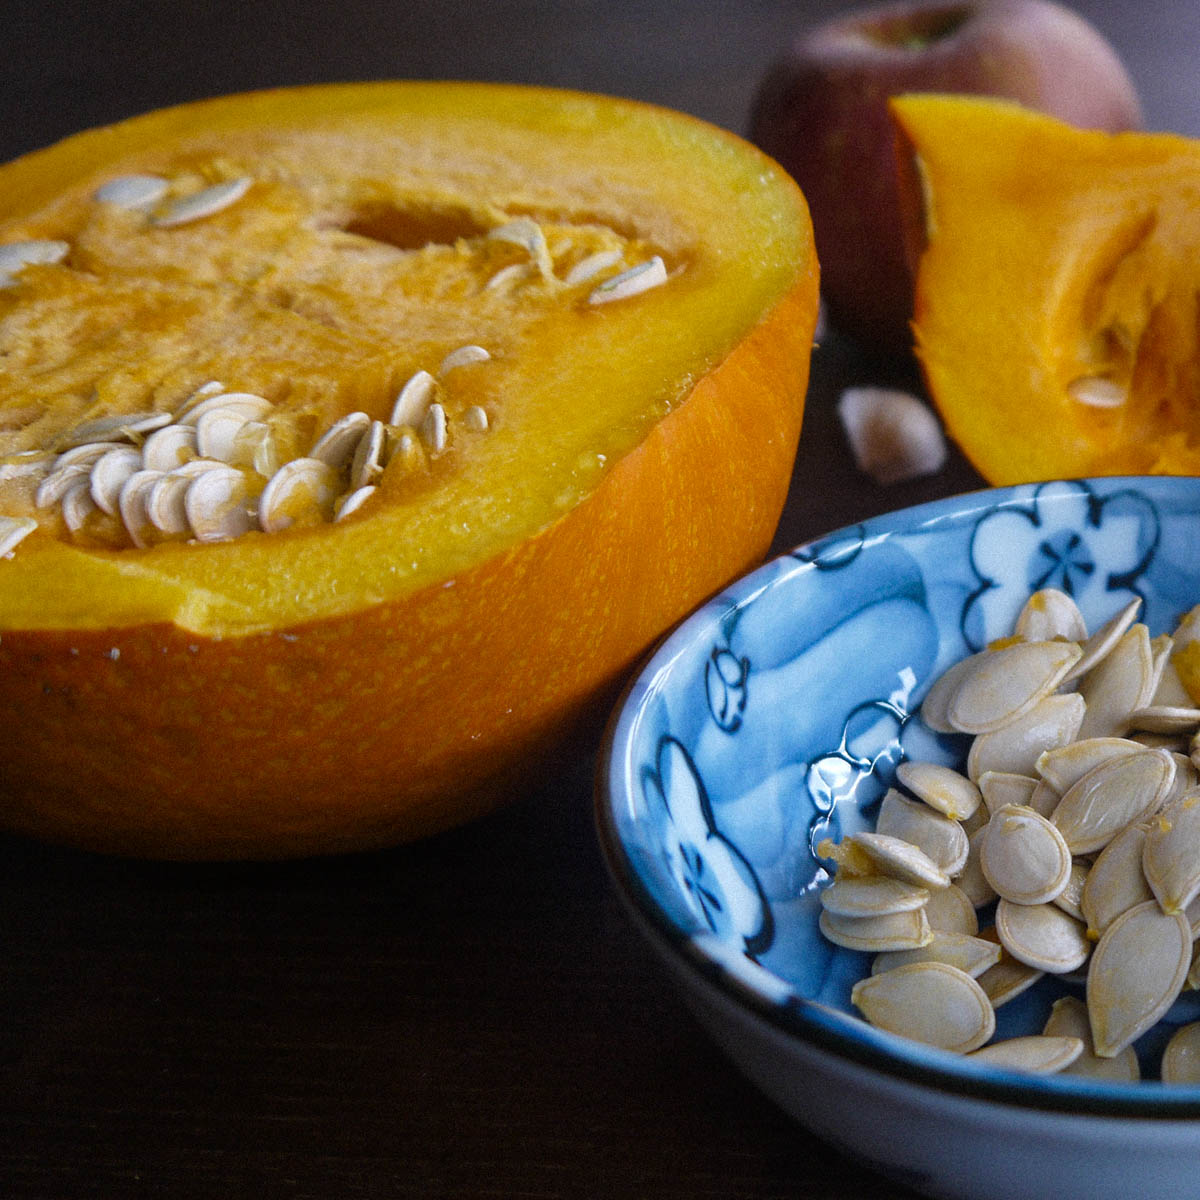
This variety produces plenty of pumpkins measuring about 15 to 20 cm across. They have firm flesh and do not need peeling.
They are ideal for pumpkin pie, pumpkin soup and grilling, but there are many more possibilities. You can roast, stuff, stew, deep-fry, purée or preserve them, add them to pancakes or quiche, and even make vegetarian bitterballen, Dutch bite-sized croquettes.
The thin-skinned seeds are excellent roasted as a snack, and the flowers are edible too. They have a mild flavour and make an attractive edible garnish or addition to a salad. You can also dip them in batter and fry them.
So, what is stopping you from growing baby pumpkins?
Our baby pumpkins are delicious and great fun to grow. Our app and materials give you plenty of help along the way.
Good luck!