
Lettuce
How to sow and grow endive
There are many different types of endive. In our shop, we sell Summer endive: a fast-growing, mild-tasting variety you can grow from spring into autumn.
- Time to harvest
- 8 weeks
- Number per square
- 1
- Sunlight
- grows in sun or shade
Step by step
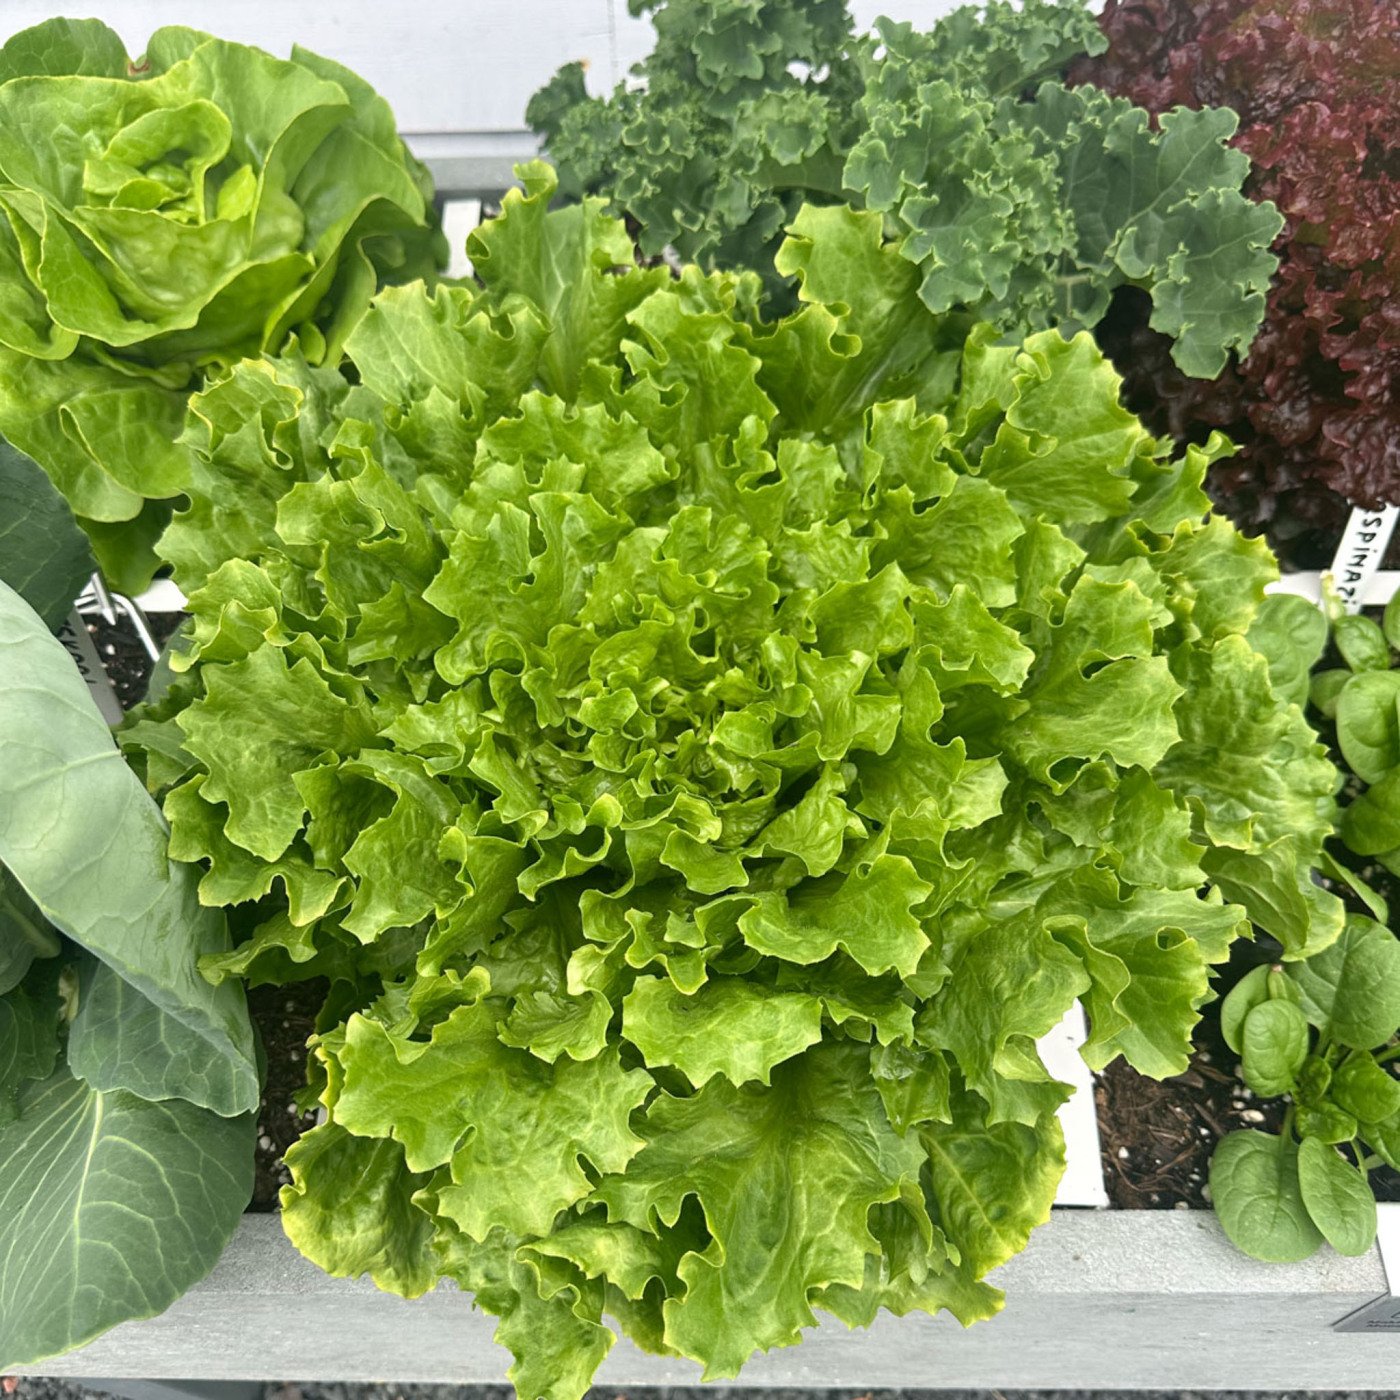
What is endive?
Endive (Cichorium endivia) is an annual leafy vegetable related to chicory.
People have eaten it for a very long time. The Romans used it both as a vegetable and as a remedy for digestion and the liver. It spread to the rest of Europe around the 16th century.
There are two varieties: curly endive (var. crispum, also known as frisée), which has a slightly more bitter flavour, and broad-leaved endive (var. latifolia), which tastes milder.
People have eaten it for a very long time. The Romans used it both as a vegetable and as a remedy for digestion and the liver. It spread to the rest of Europe around the 16th century.
There are two varieties: curly endive (var. crispum, also known as frisée), which has a slightly more bitter flavour, and broad-leaved endive (var. latifolia), which tastes milder.
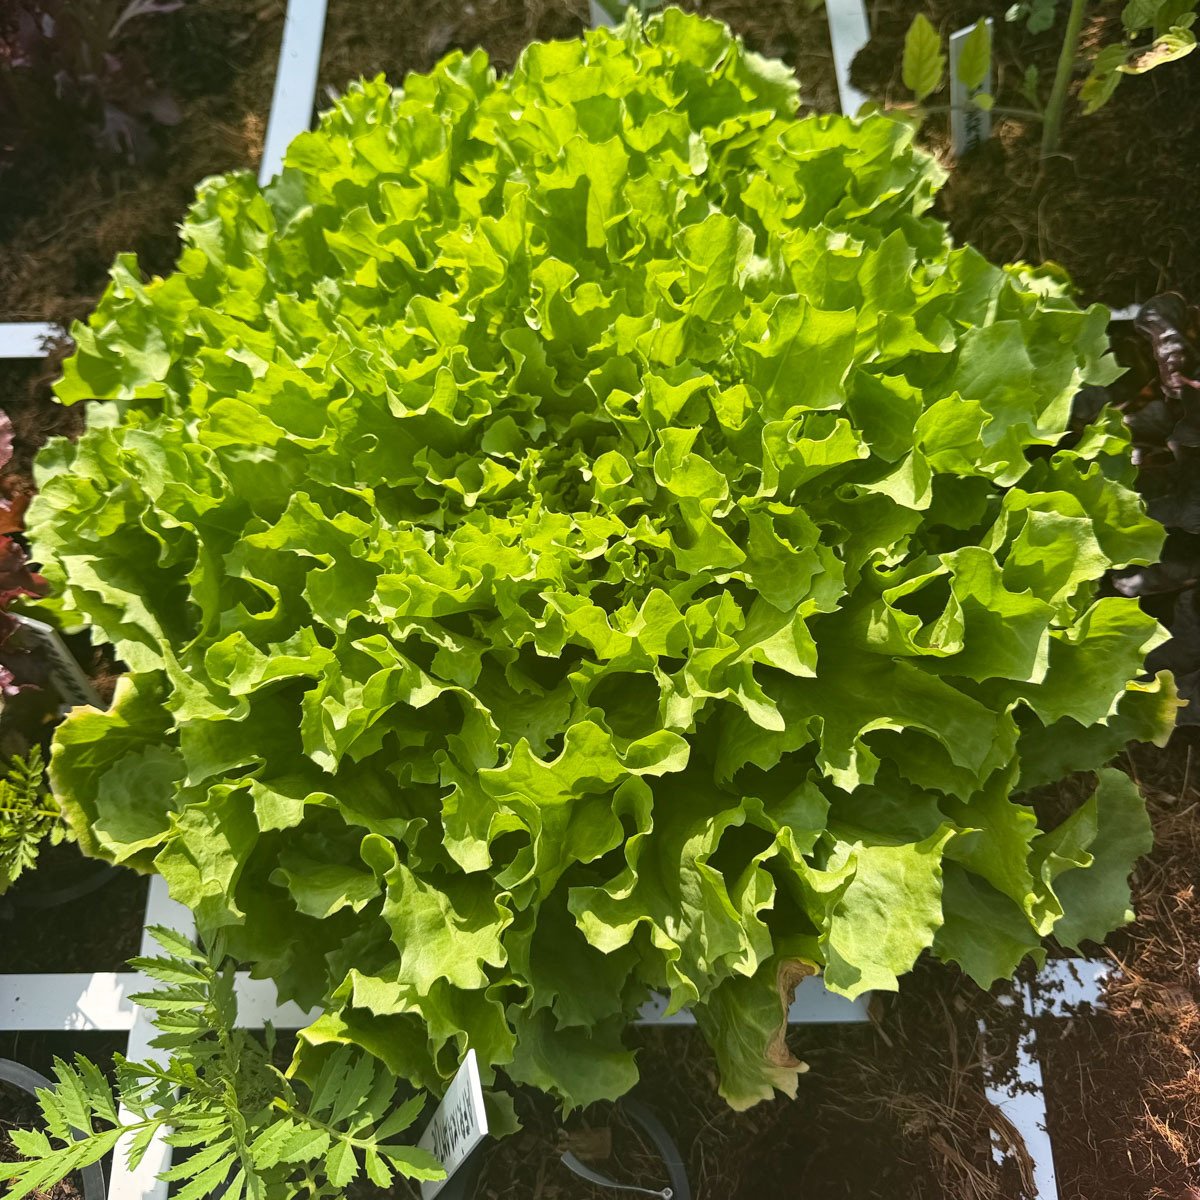
Endive is full of vitamins and minerals
Endive is rich in vitamins A, B11 (folic acid), C, and in minerals like calcium, iron, magnesium, zinc, and potassium. Endive also contains a lot of vitamin K, which is important for the blood and bones.
So, it helps you get strong and fights off anemia.
So, it helps you get strong and fights off anemia.
More about our Summer endive
This endive variety forms large heads with lots of crisp leaves and a wonderfully mild flavour. The head grows quickly, is slow to bolt, and because the leaves grow upright the head stays cleaner and is easy to harvest.
- Variety: Anconi RZ
- Family: leafy greens
- Number per square: 1
- Height: 15 to 25 cm
- Pre-sowing: March to July
- Sowing depth: 1 cm
- Germination time: 5 to 10 days at 15 to 22°C
- Time to harvest: 8 weeks
- Sunlight: grows in sun or shade
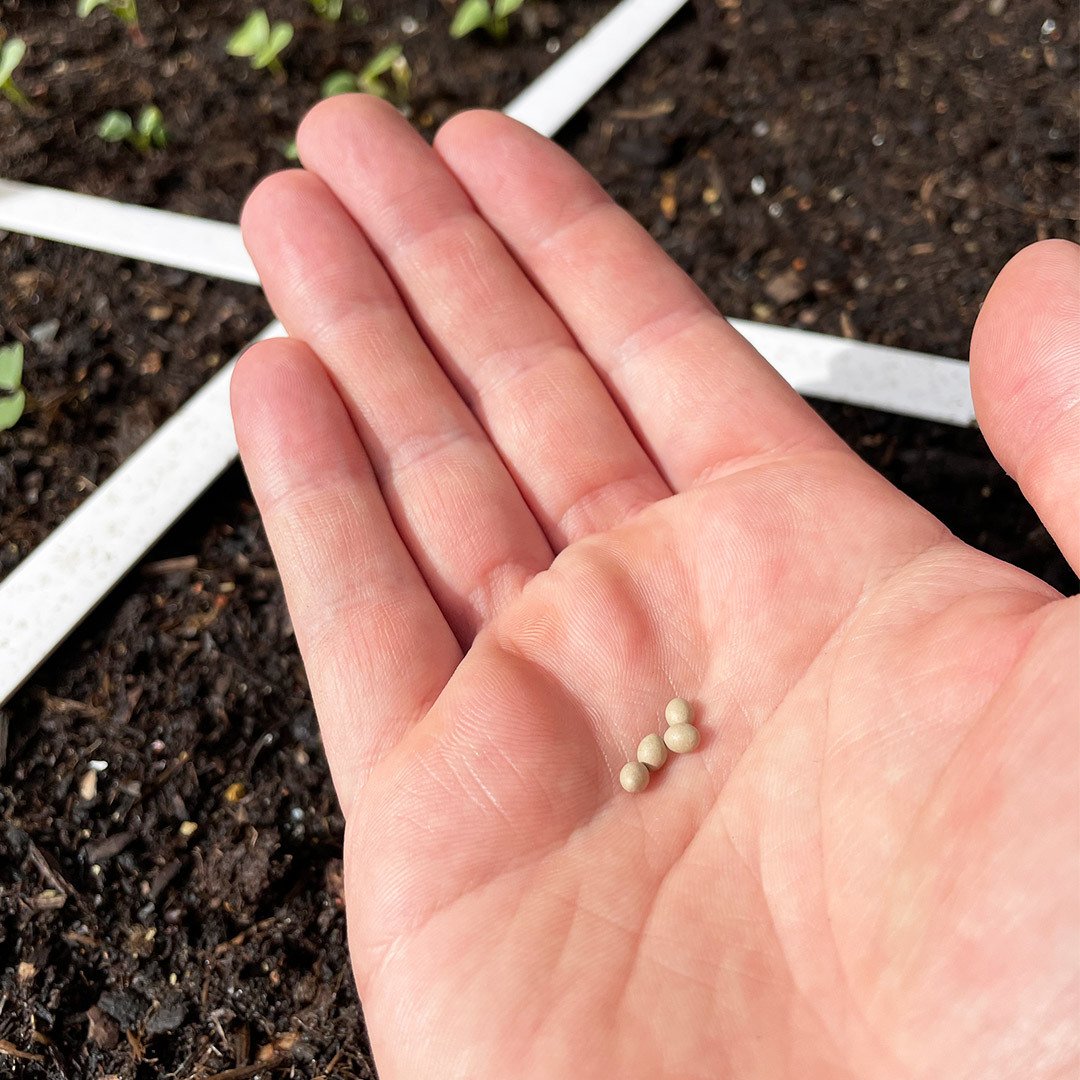
- Packet contents: 12 clay pellets
This variety was specially bred to germinate quickly and grow better than regular endive.
To achieve that, the seeds have been primed, which makes them more fragile. They are protected by a thin clay coating. That makes them more expensive than regular seeds, but each head gives you a huge amount of endive.
You get 12 clay pellets*, each with 1 seed. Sow them carefully.
You get 12 clay pellets*, each with 1 seed. Sow them carefully.
Some of our seeds come in clay pellets. This makes them easy to sow, and the seeds germinate much faster and more reliably than bare seeds.
That is because they are rinsed first and then pre-germinated just a tiny bit, a process called priming. Because this makes the seeds more vulnerable, they are given a protective clay coating.
To harvest as much and as quickly as possible from these seeds, we strongly recommend starting them indoors and only planting them in your raised bed once they are small plants.
Note: pre-germinated seeds do not keep as long as ordinary seeds. The pellets are guaranteed to keep until the expiry date on the packet: January of the coming year. So you need to sow them fairly soon. If you store the pellets somewhere cool and dry, such as the fridge, you can keep them viable for another six months or so.
That is because they are rinsed first and then pre-germinated just a tiny bit, a process called priming. Because this makes the seeds more vulnerable, they are given a protective clay coating.
To harvest as much and as quickly as possible from these seeds, we strongly recommend starting them indoors and only planting them in your raised bed once they are small plants.
Note: pre-germinated seeds do not keep as long as ordinary seeds. The pellets are guaranteed to keep until the expiry date on the packet: January of the coming year. So you need to sow them fairly soon. If you store the pellets somewhere cool and dry, such as the fridge, you can keep them viable for another six months or so.
What do you need to grow Summer endive yourself?
Besides the seeds, you need this for starting them indoors:
- MM-Airpots (small size)
- MM seed-starting mix or MM coconut seed-starting mix
- Cling film and elastic bands (only with the traditional MM seed-starting mix, not with the coconut version)
- One label per pot
Once the plant is big enough to plant outside, you need:
- one 30 x 30 cm square
- Makkelijke Moestuingrond or MM-Mix
- a spot with at least 6 to 8 hours of sunlight per day
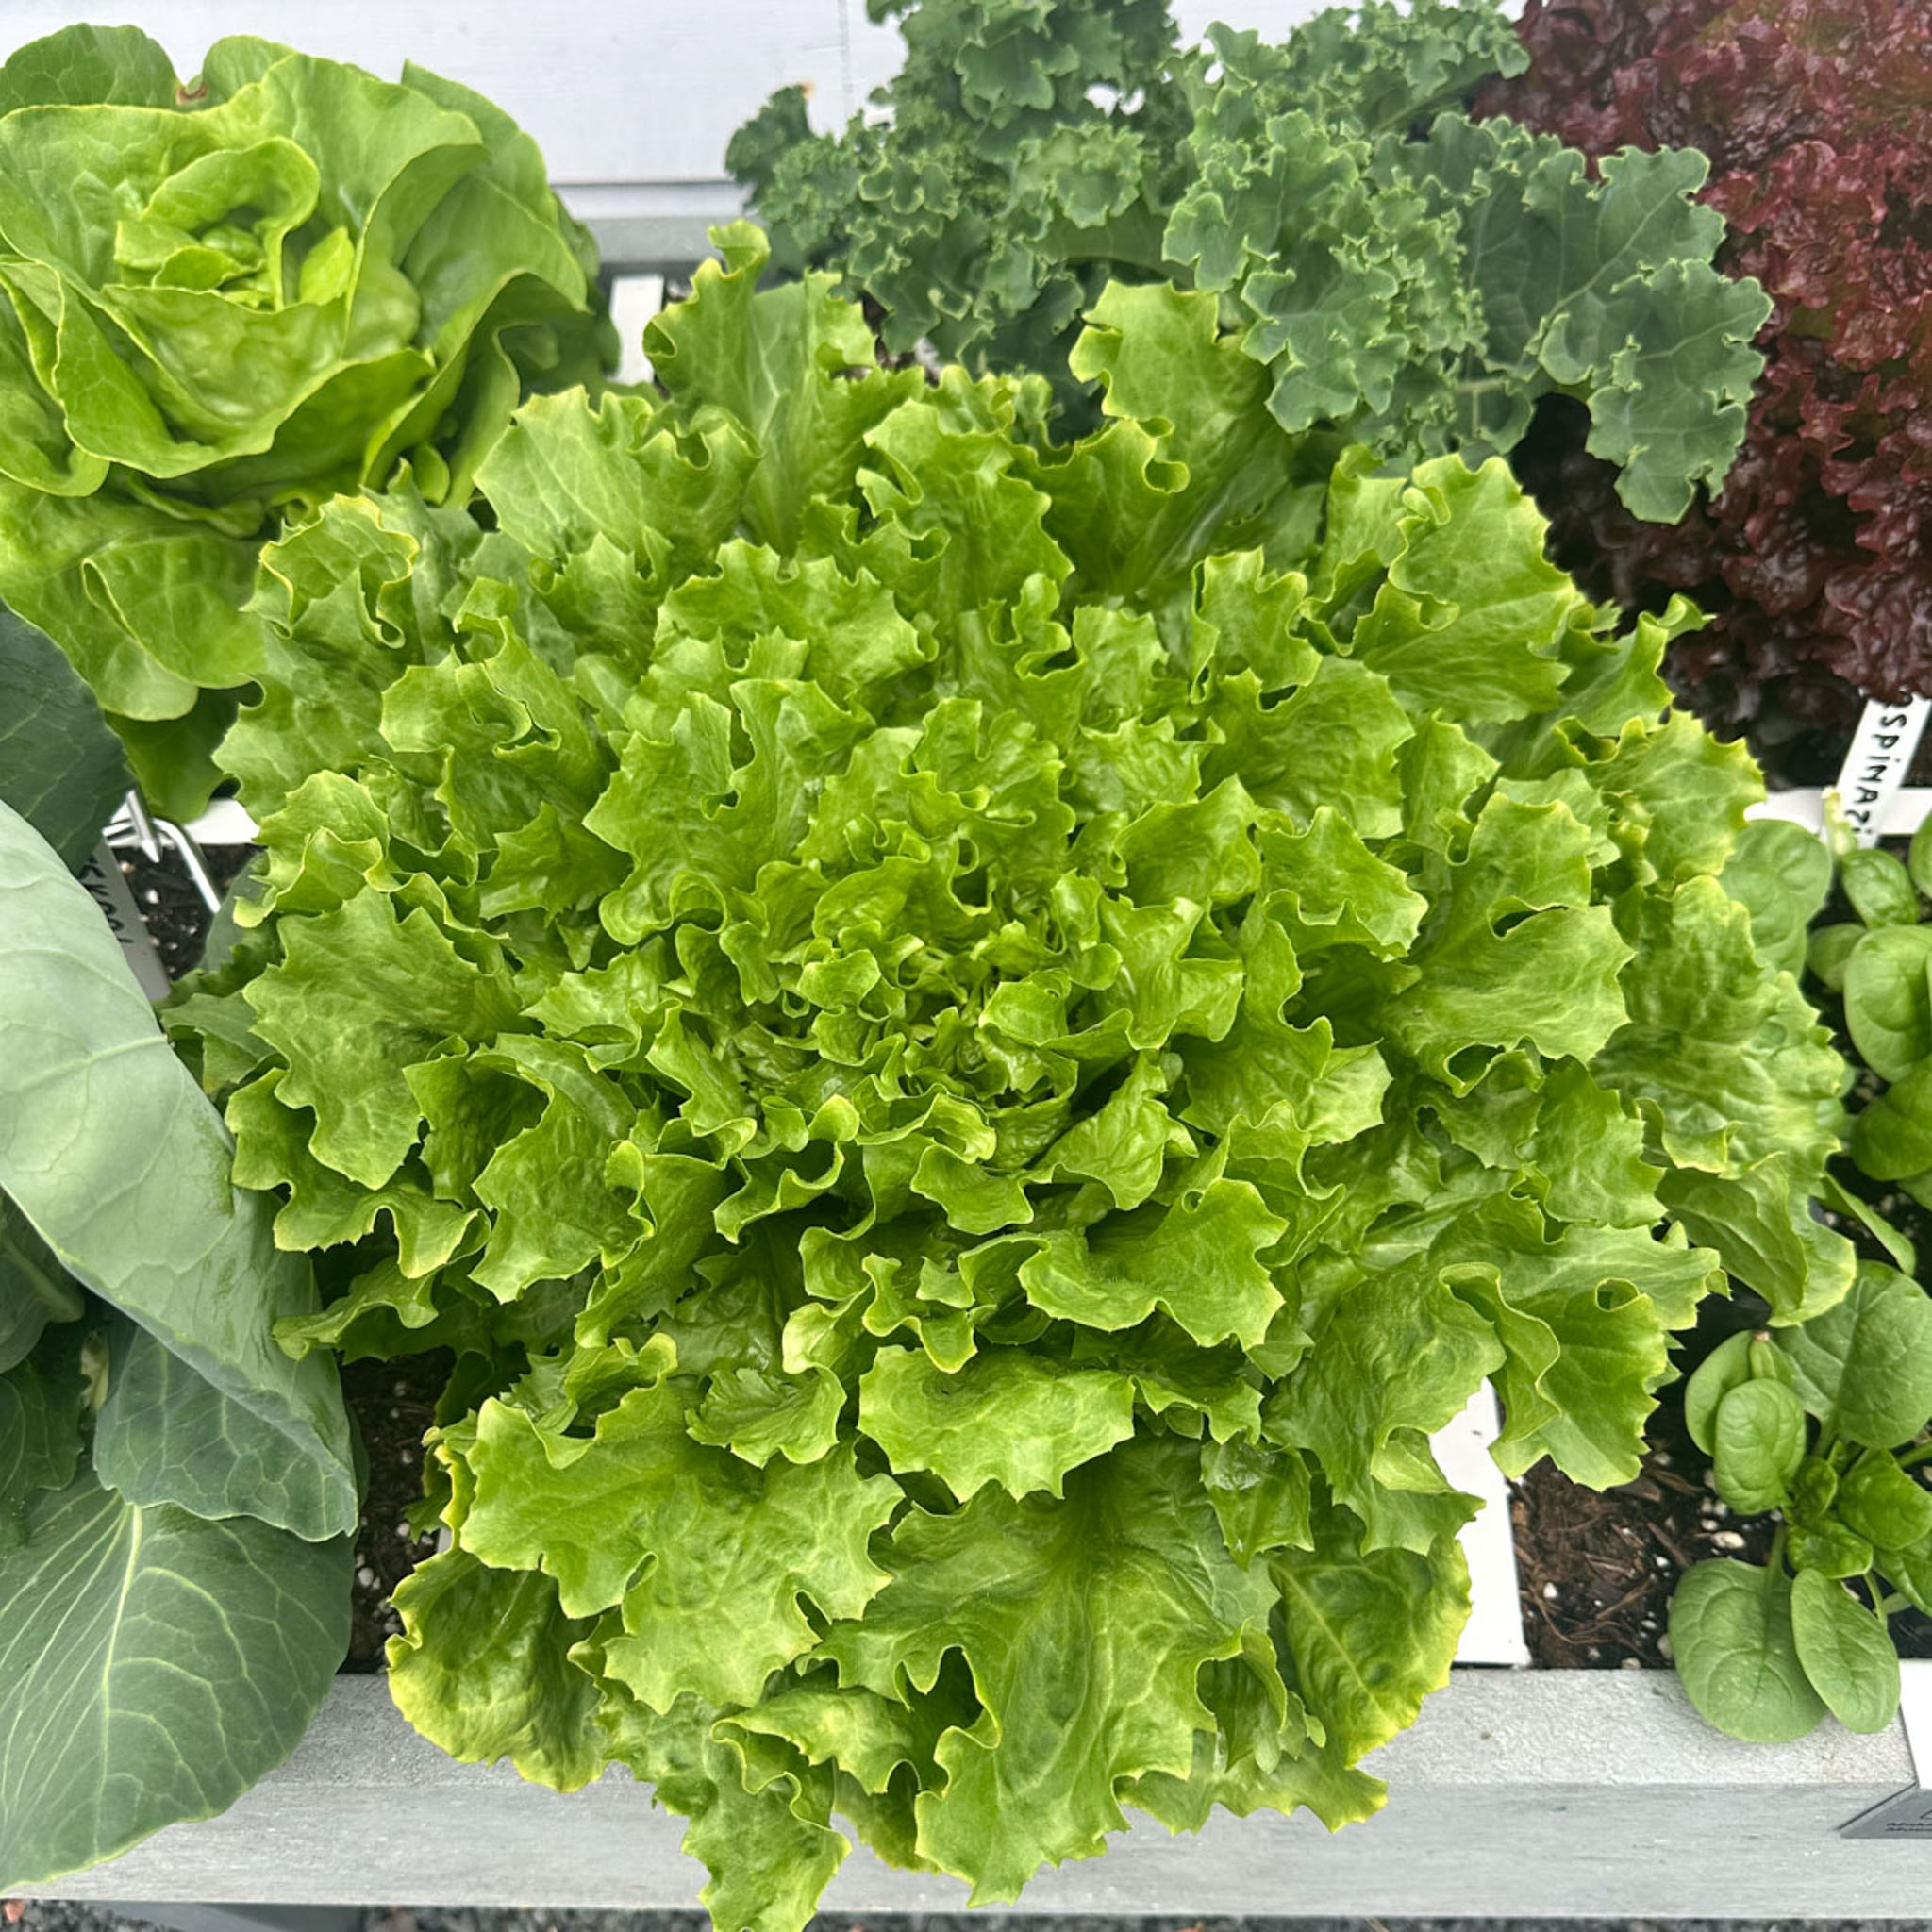
How do you sow and grow Summer endive?
This endive is included in the free Makkelijke Moestuin app. The app explains step by step how to sow, grow and harvest it.
Every vegetable goes through a number of stages - we call them levels. The app tells you exactly what to do at each level and regularly asks you to check whether your plants are ready to move on.
So you do not need to know in advance how to grow Summer endive successfully. But if you would like to read ahead, you can do that below.
Every vegetable goes through a number of stages - we call them levels. The app tells you exactly what to do at each level and regularly asks you to check whether your plants are ready to move on.
So you do not need to know in advance how to grow Summer endive successfully. But if you would like to read ahead, you can do that below.
Level 1: Pre-sowing
Summer endive takes about 8 weeks to grow from a seed into a head you can harvest from for the first time. Because the seeds are in clay pellets - and are therefore quite expensive - you want to be sure they germinate well. That is why we always pre-sow them indoors first and only plant the grown seedling in its own square about 4 weeks later.
That way you make the best use of your squares, because something else can grow there during those four weeks.
That way you make the best use of your squares, because something else can grow there during those four weeks.
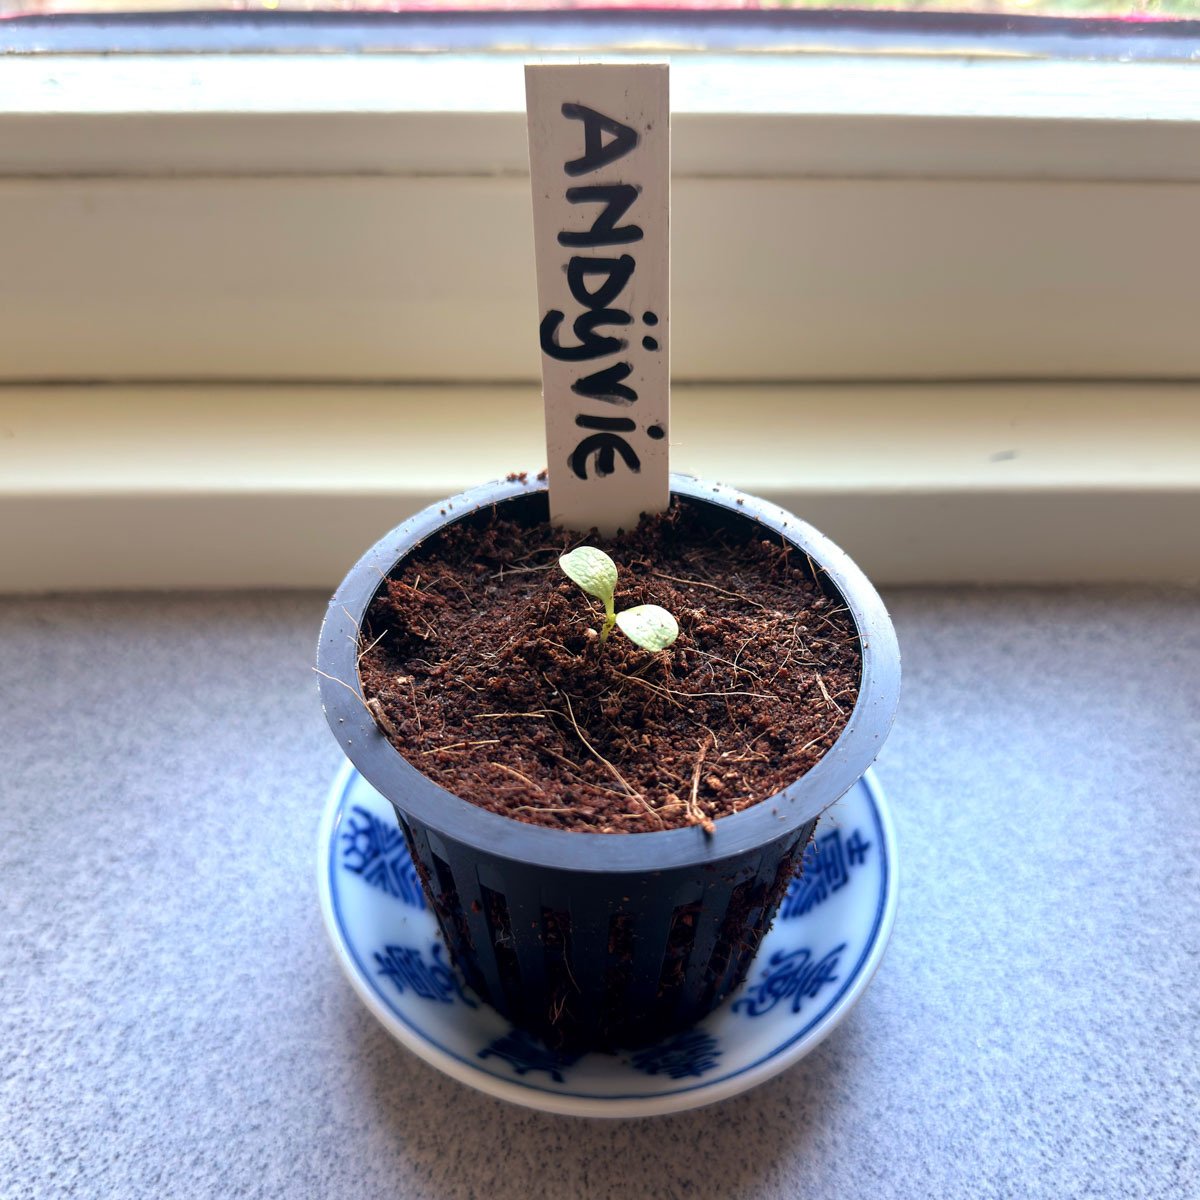
Pre-sowing works best in small MM-Airpots with MM seed-starting mix. They do not take up much space and get exactly enough nutrition for their first growth.
Levels 2 and 3: Moving outside
As soon as the seedling appears, remove the film. From then on, put the pot in full light, preferably somewhere no warmer than about 16°C. A few days later, the seedling is big enough to go outside.
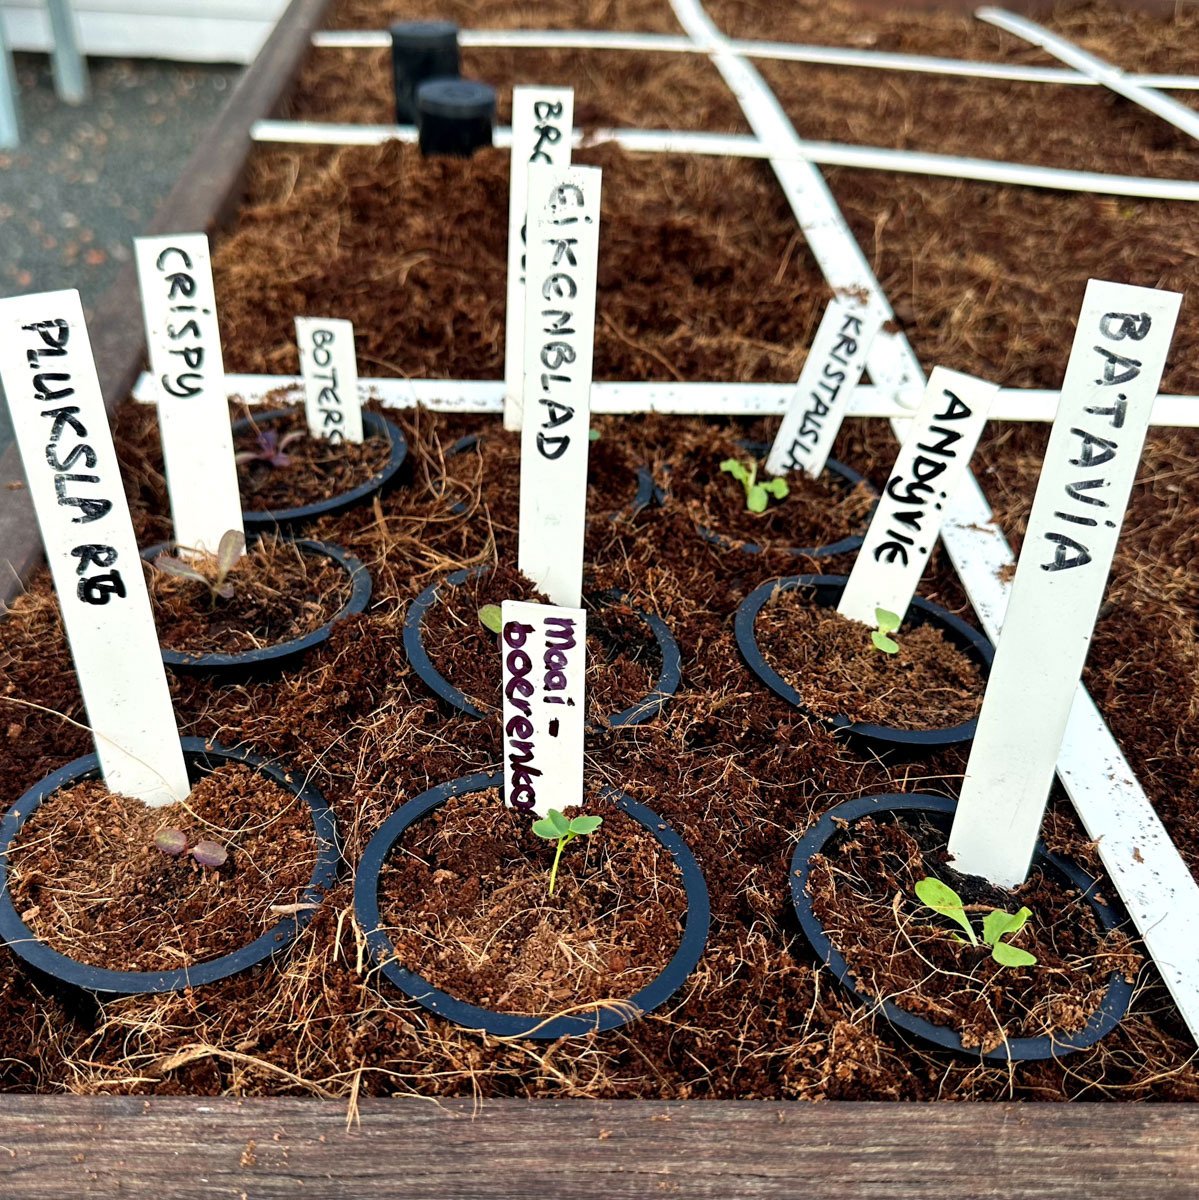
In March and April, put the pot somewhere protected from frost and bad weather. From May onwards, even that is no longer necessary, as long as slugs cannot reach it.
You can tuck it into an empty square or an MM-mini. Even 9 pots fit in there easily:
In March and April, put the pot somewhere protected from frost and bad weather. From May onwards, even that is no longer necessary, as long as slugs cannot reach it.
You can tuck it into an empty square or an MM-mini. Even 9 pots fit in there easily:
Level 4: Planting out into its own square
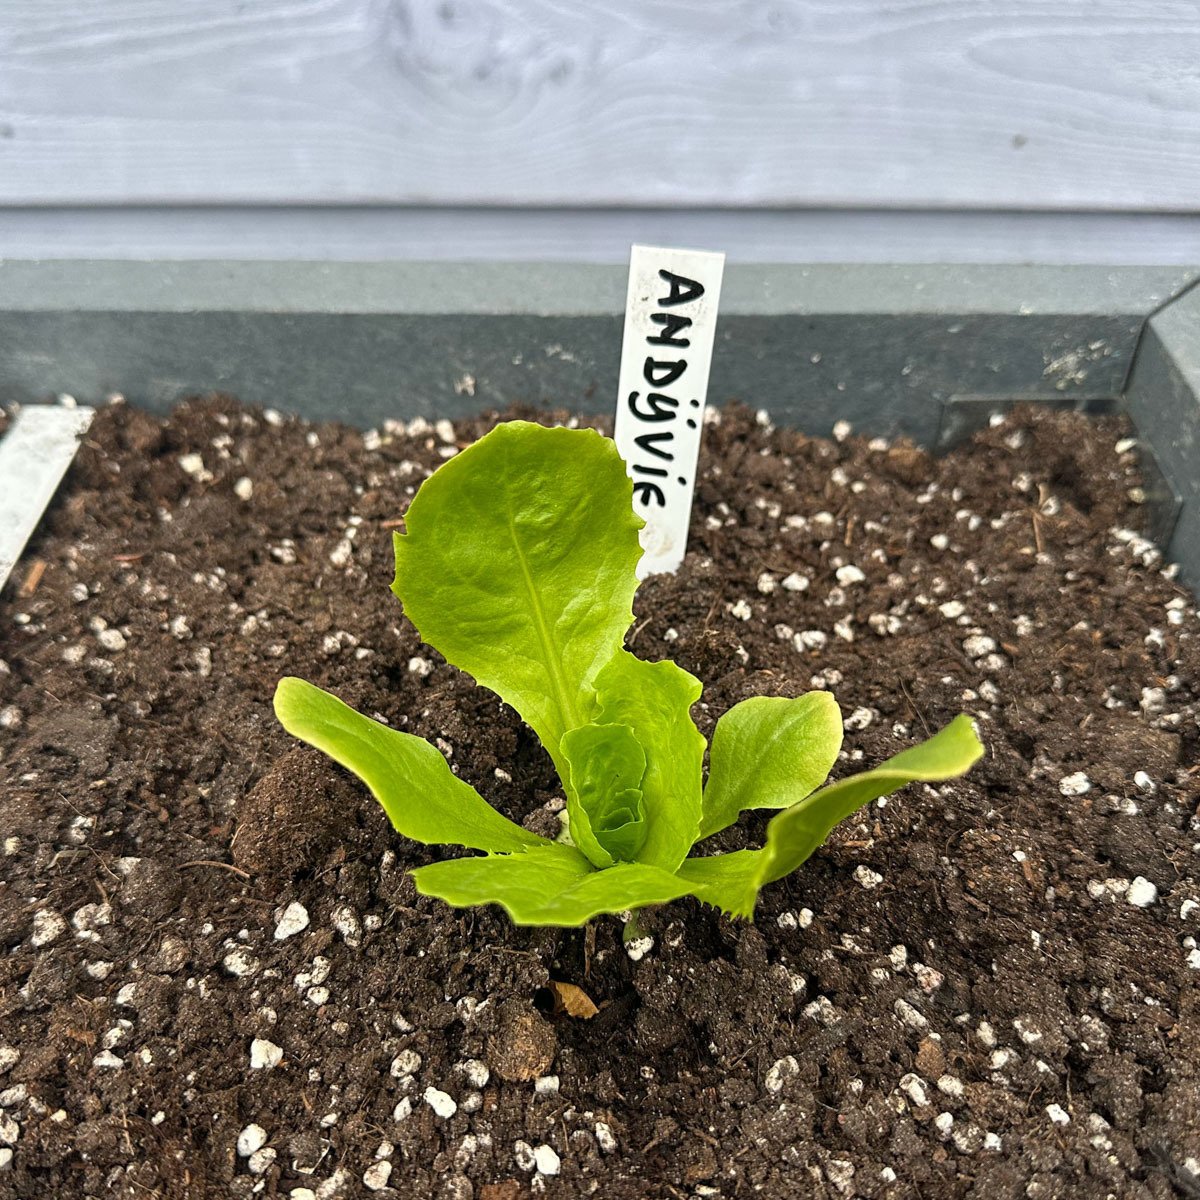
About 4 weeks after sowing, your plant is big enough to plant out into its own square.
Make a hole in the middle of the square and pour in a little water if needed. Then carefully remove the plant from its pot and place it in the hole.
Make a hole in the middle of the square and pour in a little water if needed. Then carefully remove the plant from its pot and place it in the hole.
Level 5: Care in your raised bed
Caring for Summer endive is simple: keep the mix moist.
The plant grows by itself and is not usually bothered by diseases or pests. Easy.
The plant grows by itself and is not usually bothered by diseases or pests. Easy.
Level 6: Harvesting
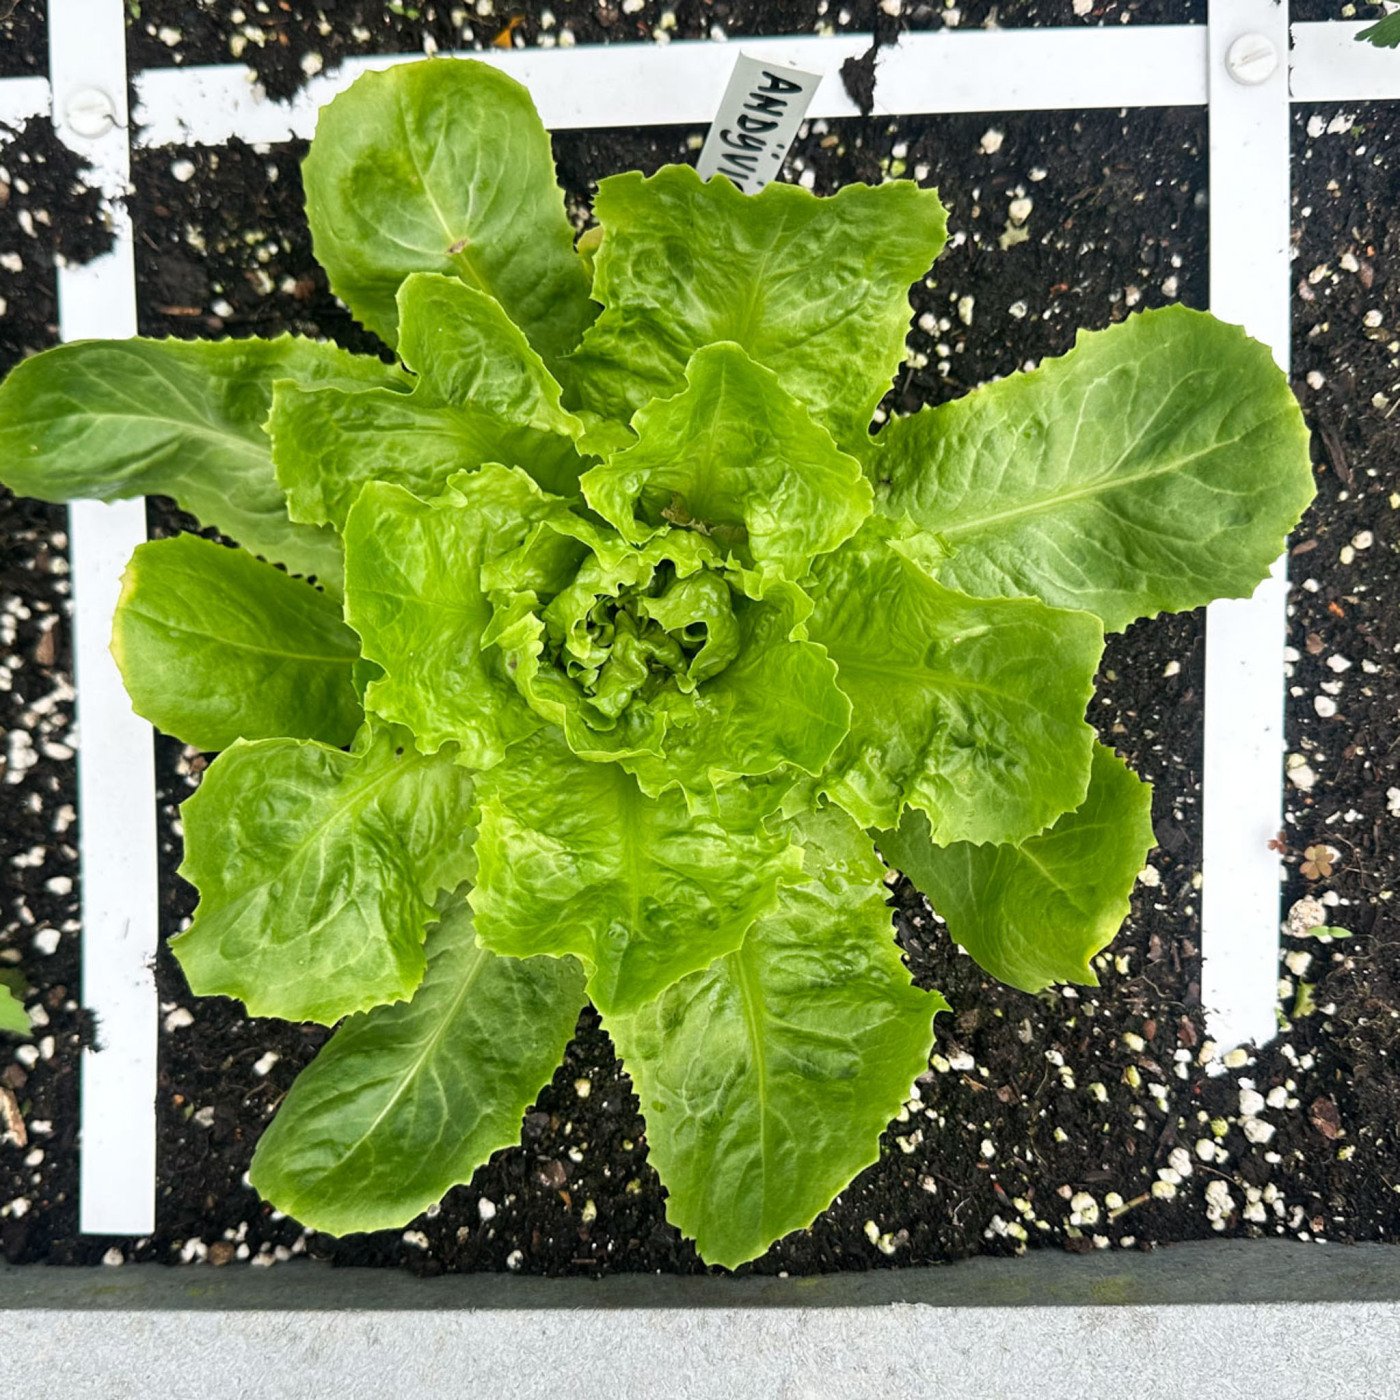
About 8 weeks after sowing, the head is large and fills the whole square. Ready to harvest:
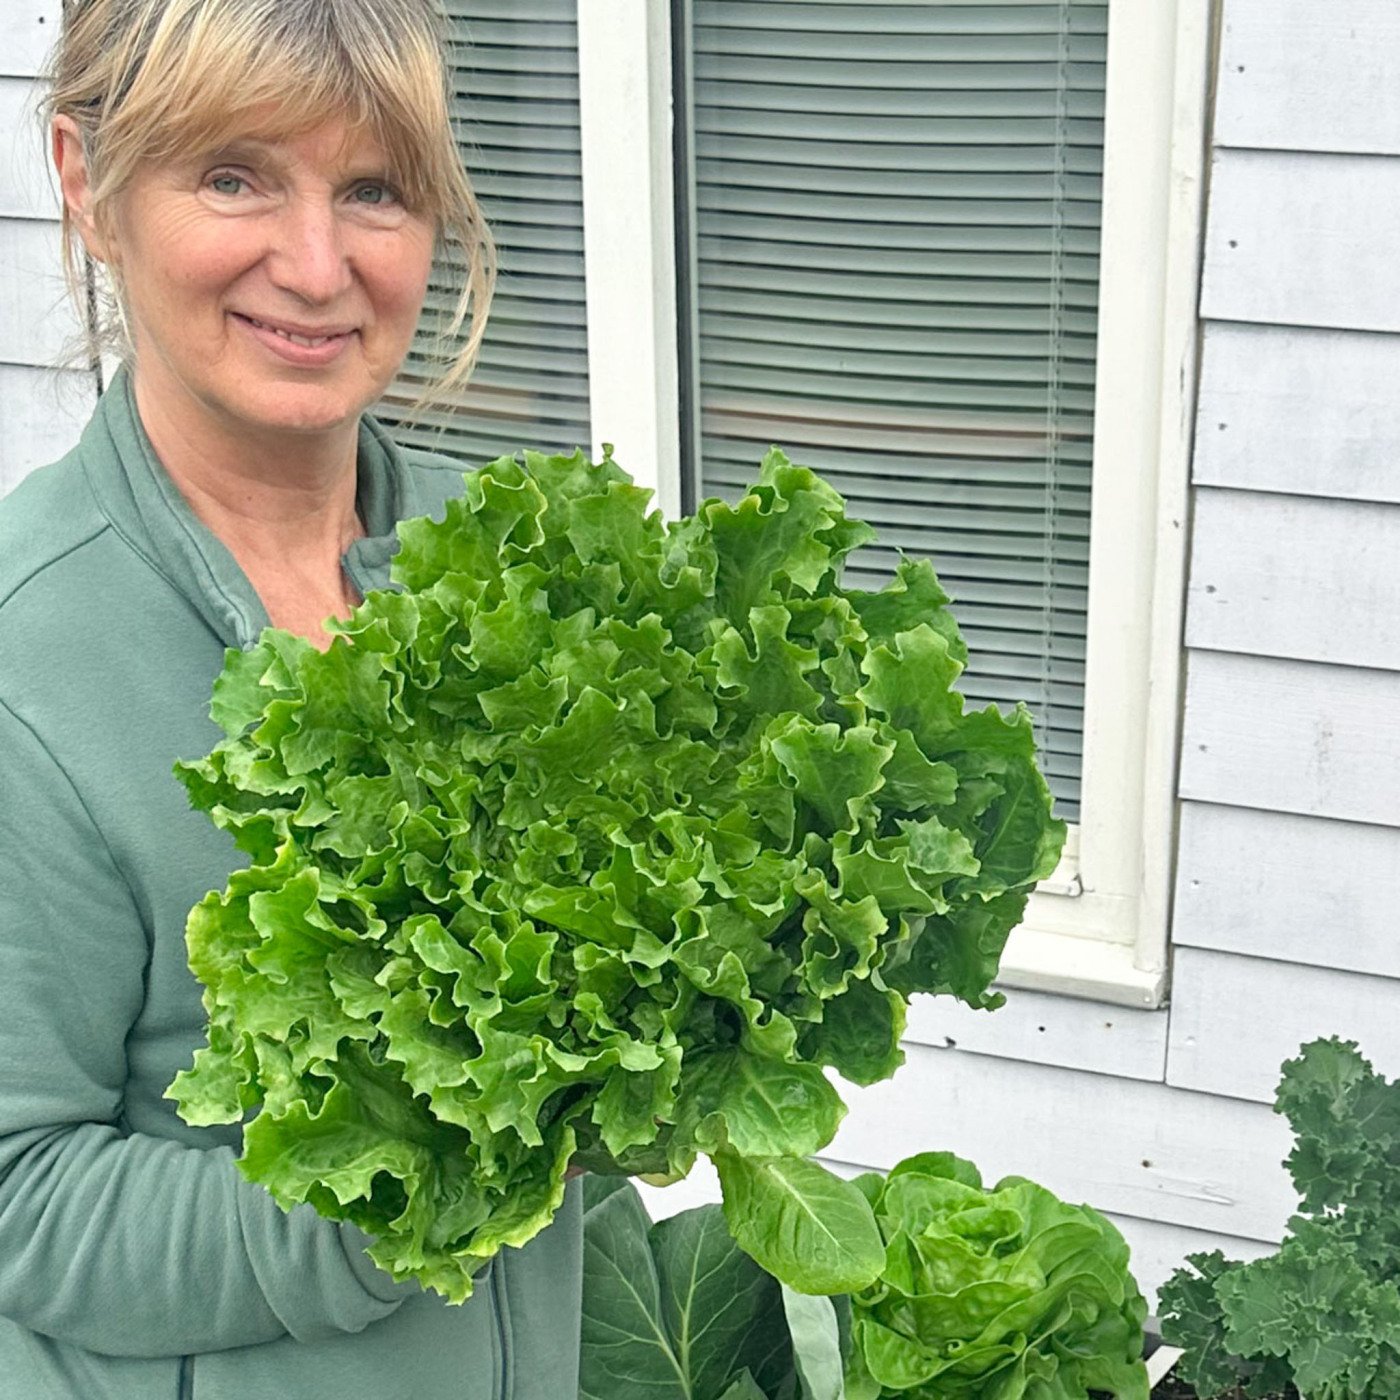
We harvest the whole head at once, but you can also harvest a generous amount of the outer leaves now and then. The plant will keep growing from the inside, so you can harvest from it for longer.
This variety is slow to bolt, even in the middle of summer. But because the inner leaves are so tasty too, it is often better to harvest the whole plant earlier.
Finally, prepare the square or your MM-mini for the next vegetable.
This variety is slow to bolt, even in the middle of summer. But because the inner leaves are so tasty too, it is often better to harvest the whole plant earlier.
Finally, prepare the square or your MM-mini for the next vegetable.
What do you use Summer endive for?
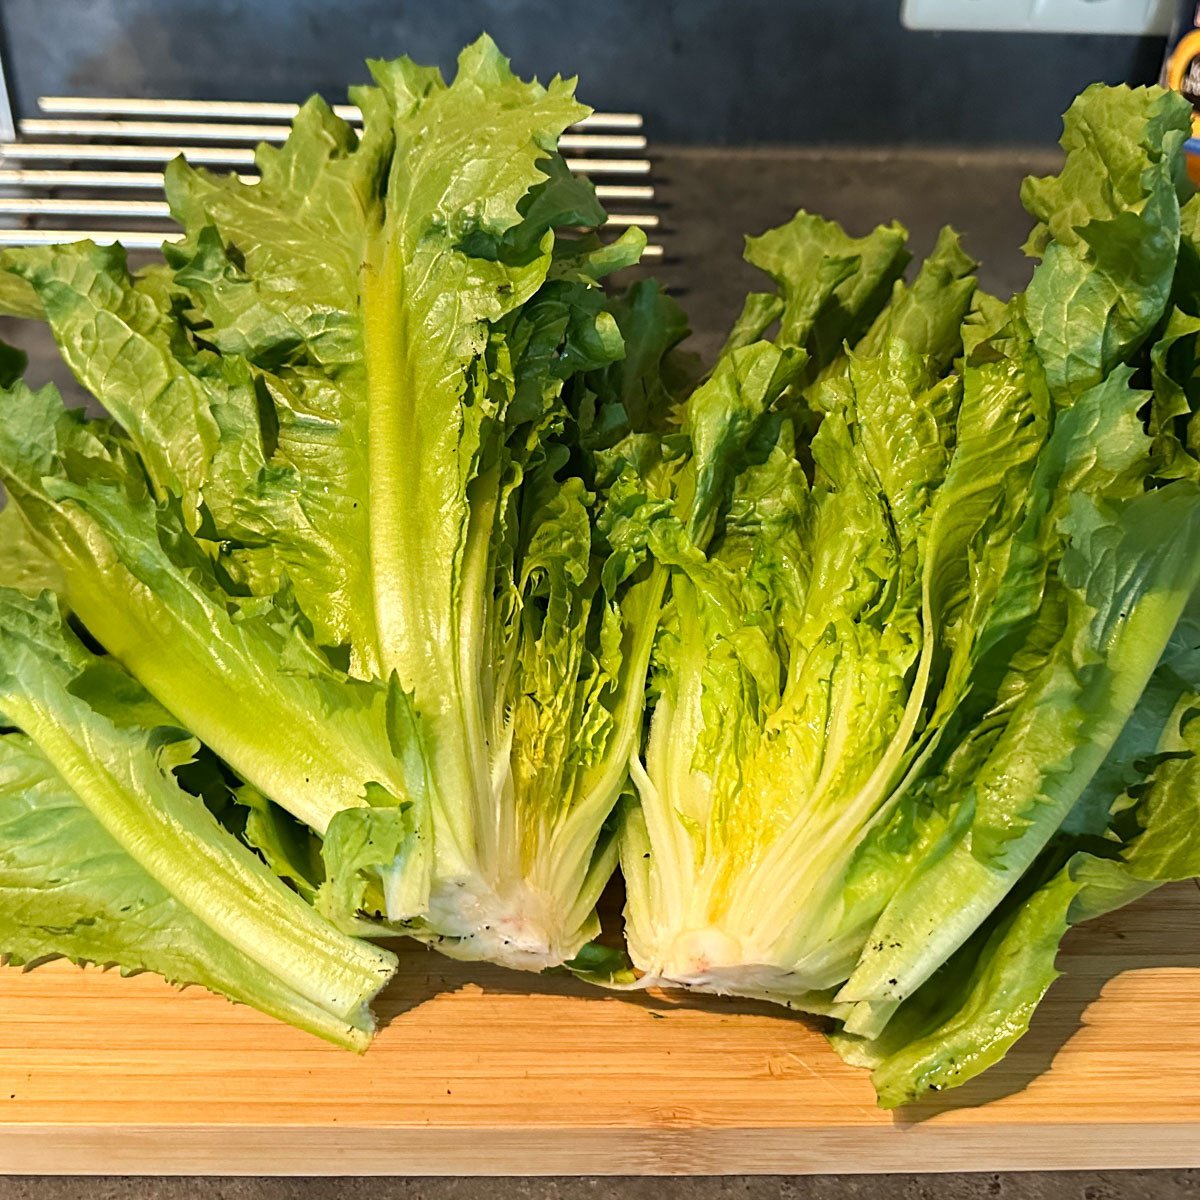
You eat the leaves of endive.
The raw light-green leaves are delicious in salads. Raw endive stamppot - a Dutch mashed-potato dish - is also very good, especially with cheese or bacon.
The raw light-green leaves are delicious in salads. Raw endive stamppot - a Dutch mashed-potato dish - is also very good, especially with cheese or bacon.
You can also briefly cook it, make soup with it or use it in a stir-fry.
So, what is stopping you from sowing and growing Summer endive yourself?
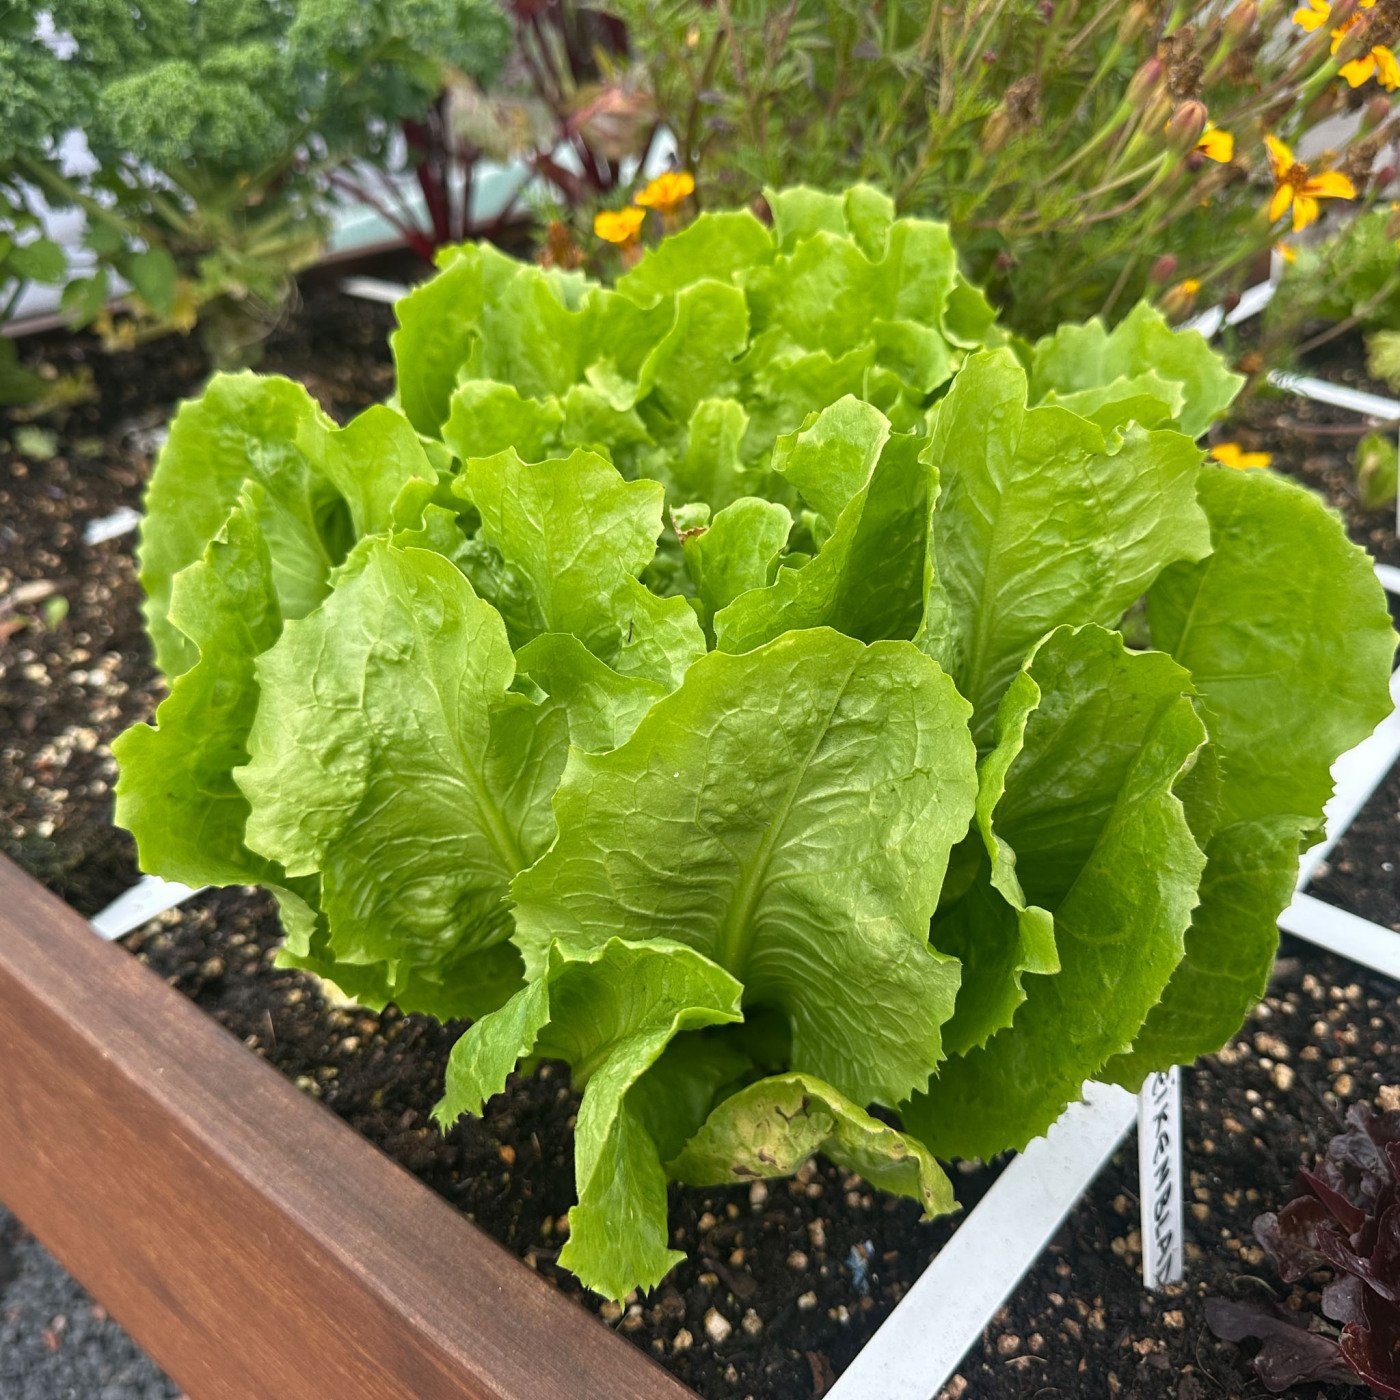
It is a tasty, easy vegetable to grow, you can harvest it for a long time, and the leaves look fantastic. If you regularly add a fresh young plant to your raised bed, you can enjoy delicious endive from early May through October.
That is what makes this endive so special: it grows just as well in early spring as it does in summer and autumn. You can enjoy it throughout the entire growing season.
That is what makes this endive so special: it grows just as well in early spring as it does in summer and autumn. You can enjoy it throughout the entire growing season.
And finally: with our materials and app, it is almost impossible to go wrong 😀
And finally: with our materials and app it is almost impossible to fail.
Good luck!
Good luck!