Heat Today will be hot in the south of the Netherlands: up to 33 degrees! Check whether your reservoir is still full, whether the mix is still moist, shade vulnerable plants around midday, and wait with sowing until it cools down.
Start indoors
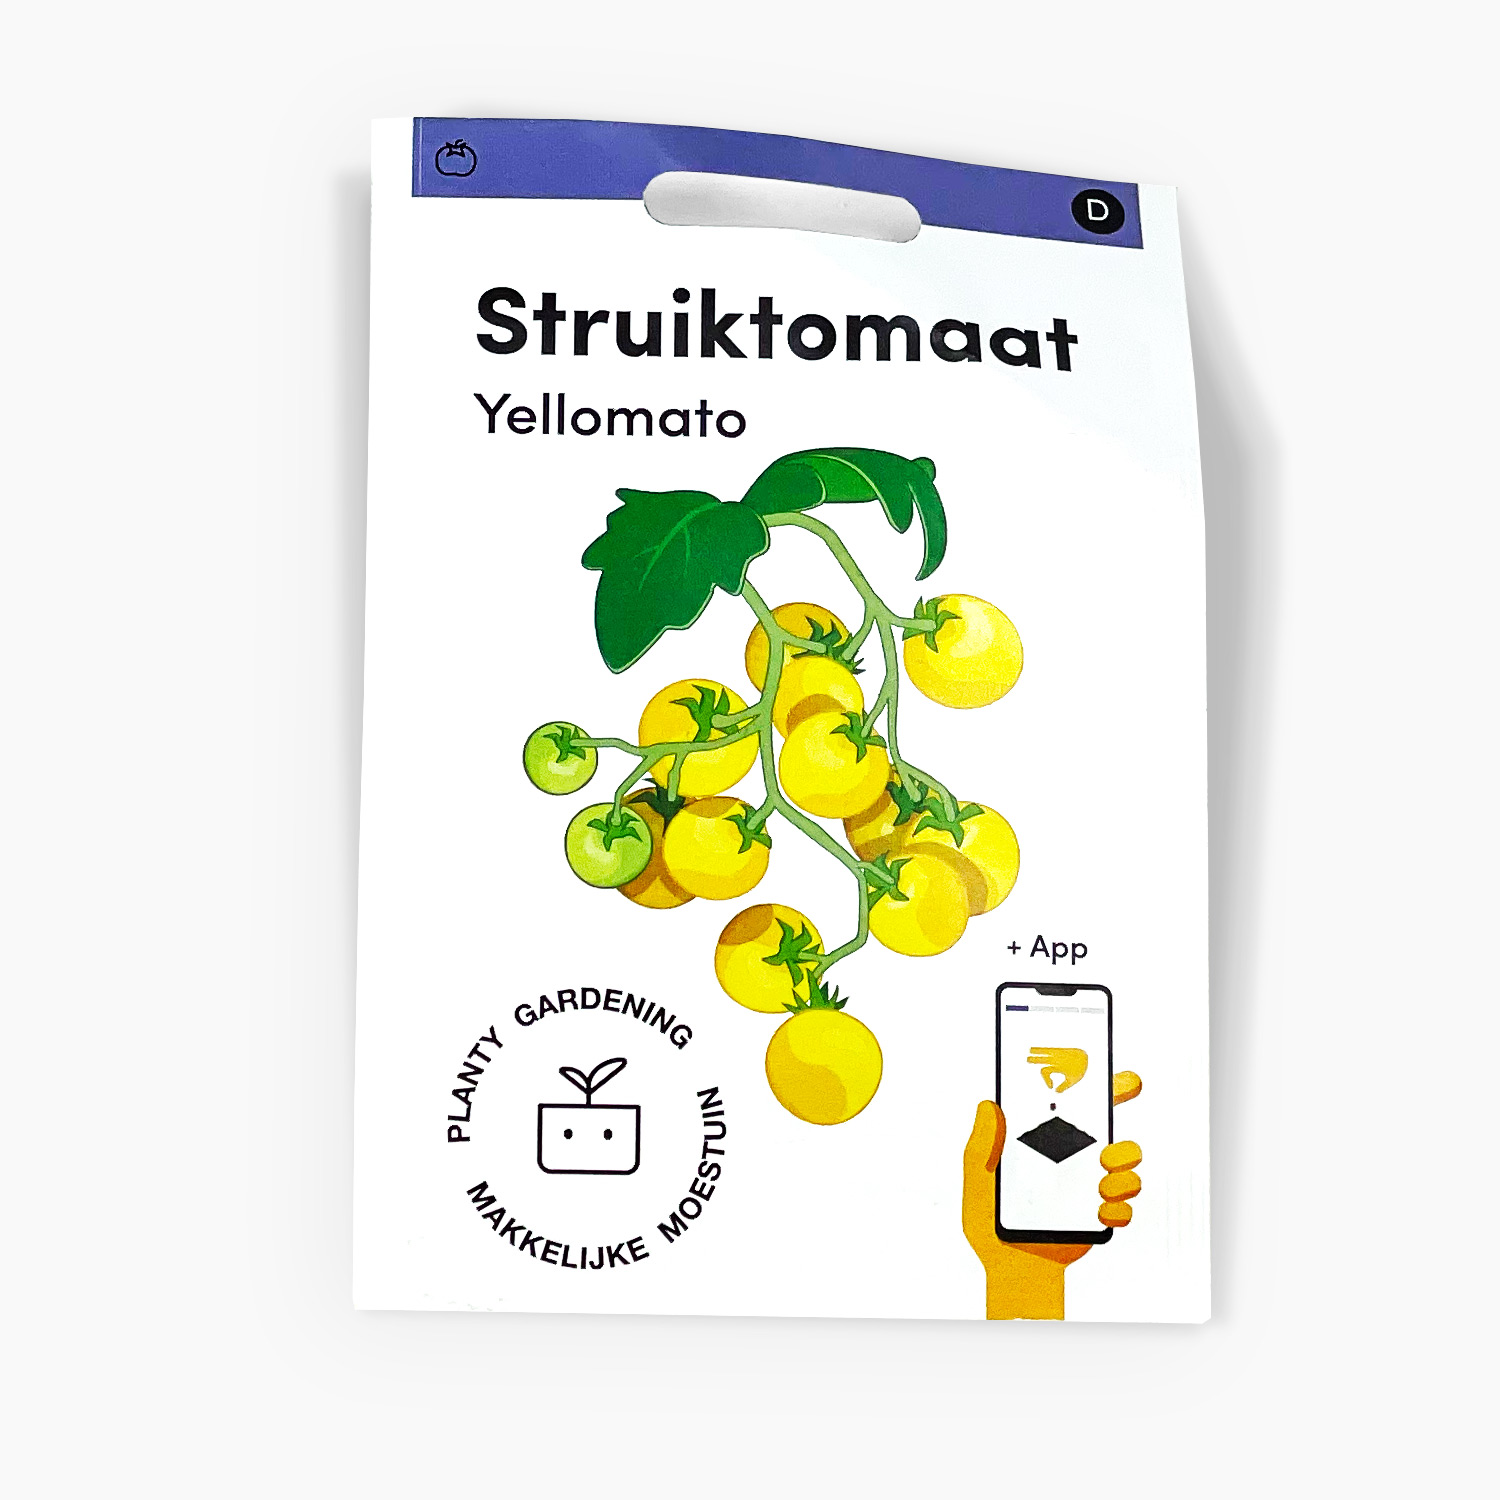
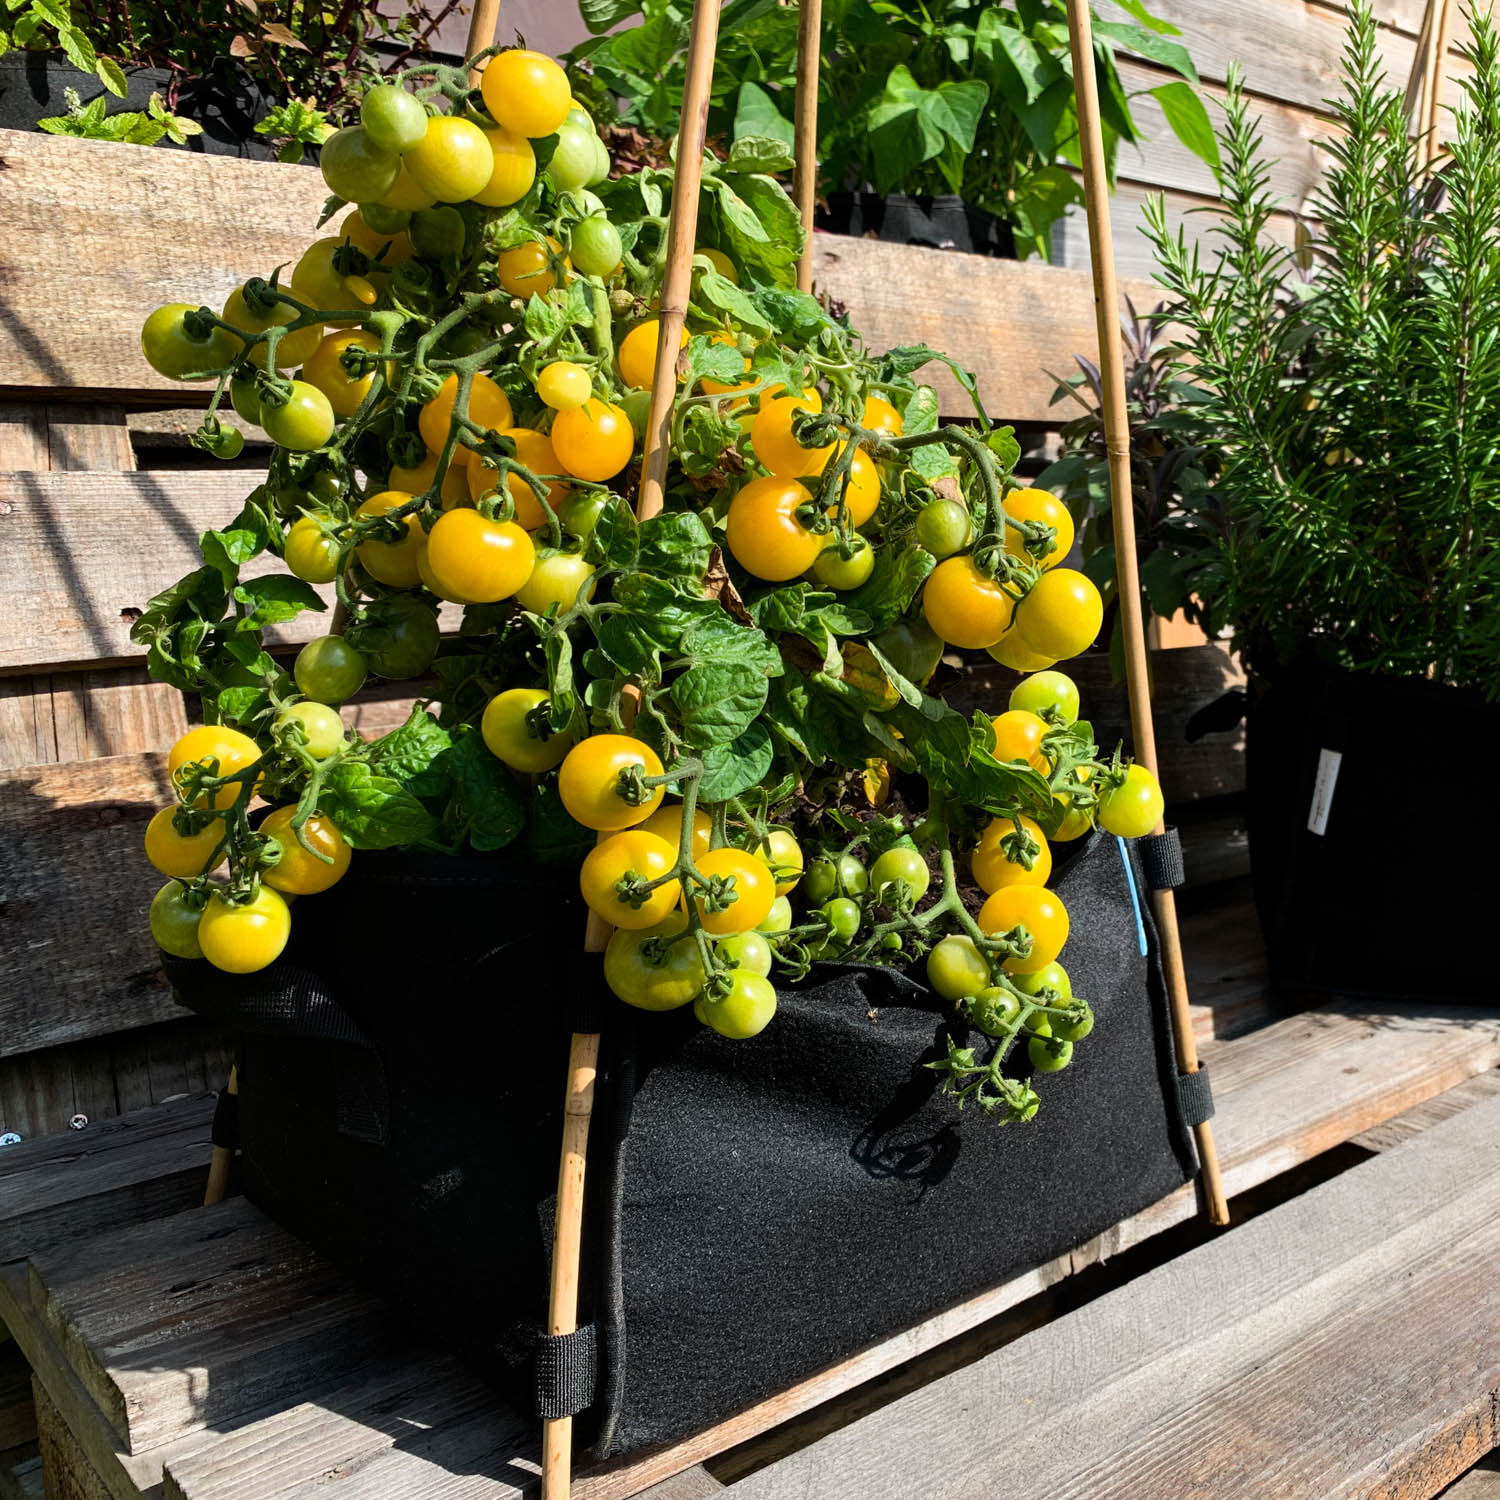
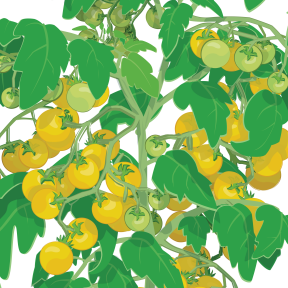
Yellomato
Product information
In Stock
Free delivery from € 30 🇳🇱
Choose your own delivery date
Additional

Description
Specifications
Height: 30-45 cm
Contents: 10 seeds
In the app
Sowing: 25 March - 30 April

Level 1
started indoors

Level 2
seedlings emerging

Level 3
seedlings

Level 4
small plants

Level 5
plants repotted

Level 6
hardening off: day 1

Level 7
hardening off: day 2

Level 8
hardening off: day 3

Level 9
hardening off: day 4

Level 10
hardening off: day 5

Level 11
planted in final position

Level 12
small plant

Level 13
medium-sized plant

Level 14
flowers visible

Level 15
first tomatoes visible
Level 16
harvesting

Level 17
end of season
- Currently only shipping to the Netherlands and Belgium
- Choose your preferred delivery date
- Sent by PostNL or Transmission
- Track & Trace in your inbox
- The app helps you with almost everything you do in your vegetable garden: sowing, tending, and harvesting.
- If something goes wrong, the app tells you what steps to take.
- If that doesn’t work, you can ask us for advice.
- If that still doesn’t help, we’ll look for other solutions together. Until we get it right.
More about our Yellomato
- Variety: cherry tomato 'Gourmandise Yellow'
- Family: nightshade
- Number per square: 1
- Height: 30-45 cm
- Start indoors: mid-March through April. Plant outdoors in mid-May.
- Position: 2nd or 3rd row. Also ideal for the MM-mini.
- Time to harvest: from 16 weeks
- Germinates: from 20°C in 6-10 days.

What do you need to grow Yellomato yourself?
Besides the seeds, you need this for indoor seed-starting:
- MM seed-starting mix or MM coconut seed-starting mix
- MM-Airpots, both the small and larger size
- clear kitchen film (not needed with coconut)
- an MM-mini or one 30 x 30 cm square
- MM-Mix or MM coconut mix
- a sunny spot with at least 8 hours of sunlight a day
- MM plant food

How do you sow and grow Yellomato?
Every vegetable goes through several stages, which we call levels.
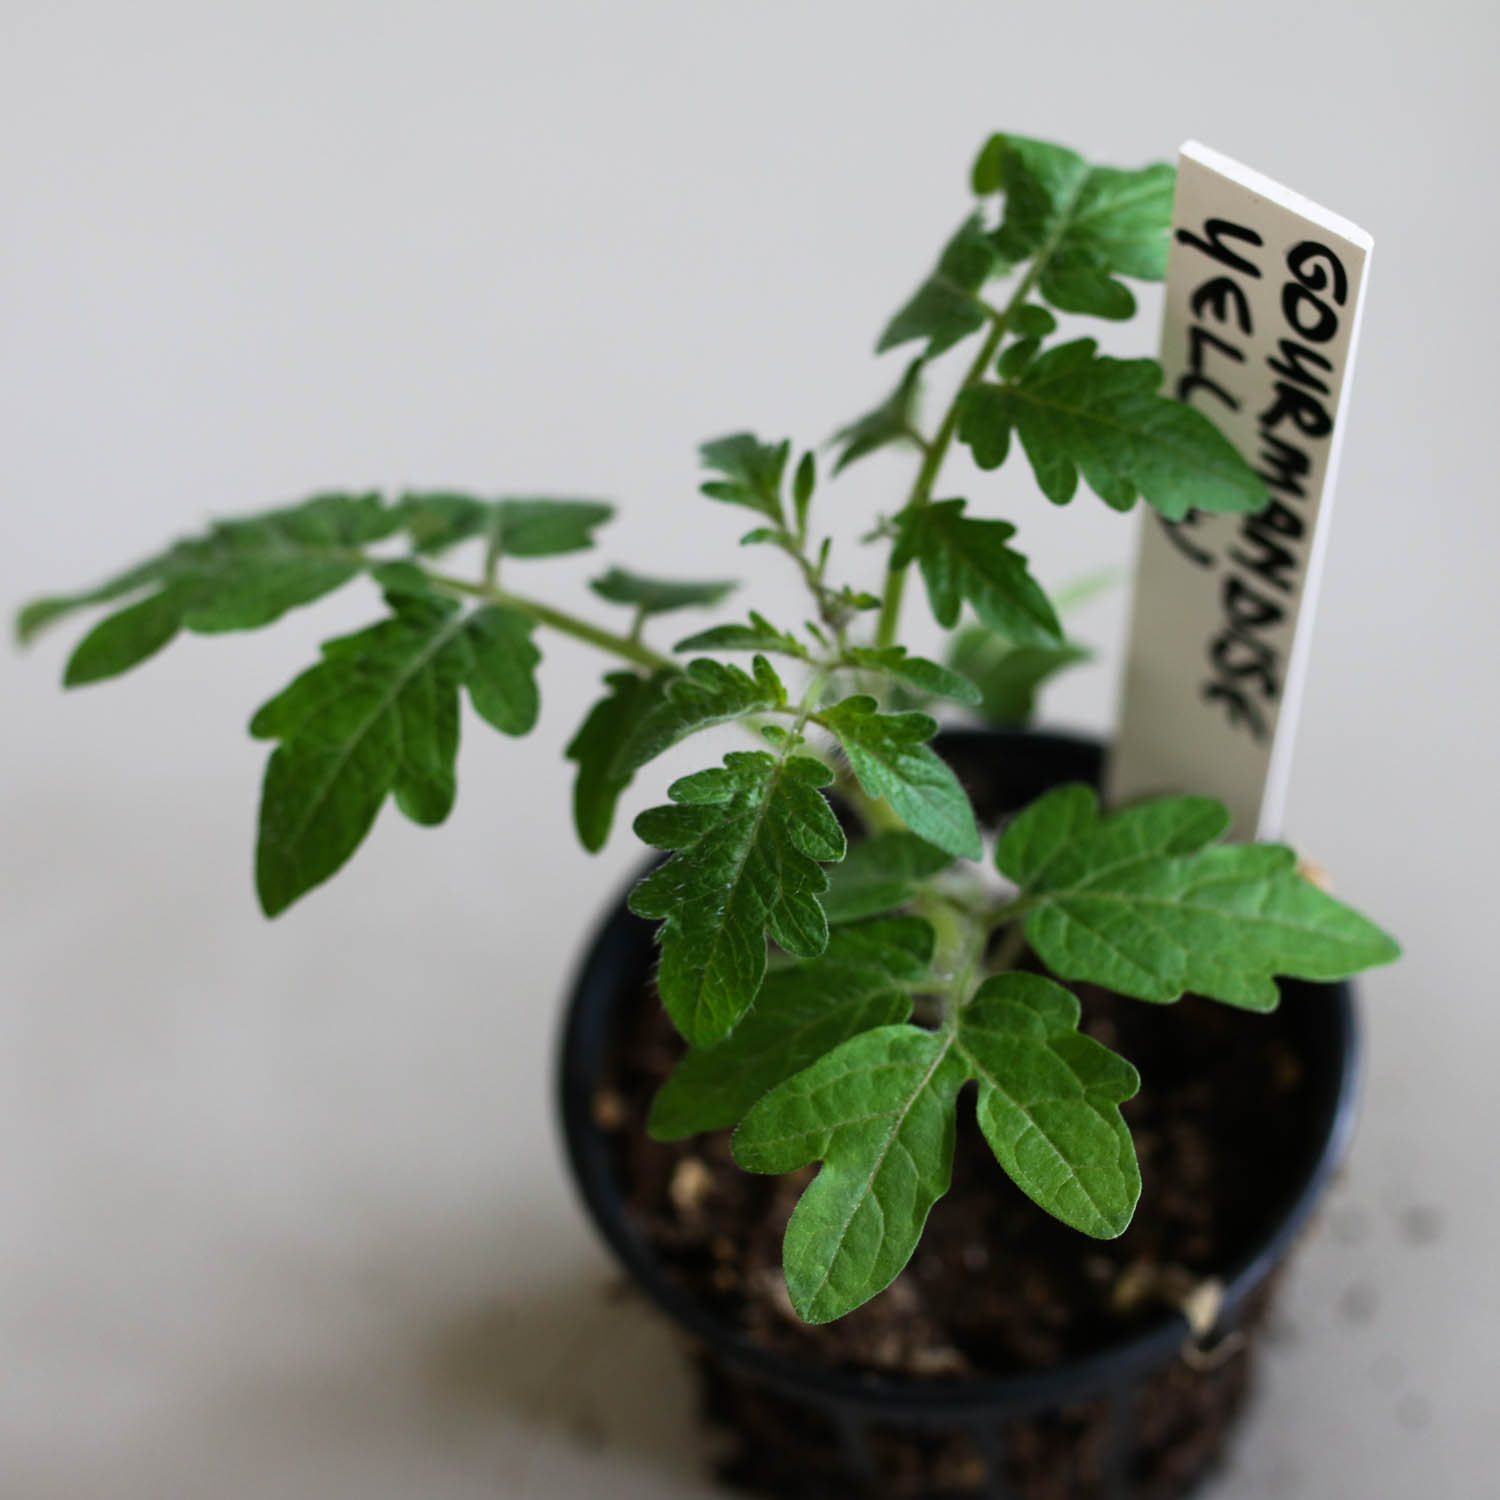
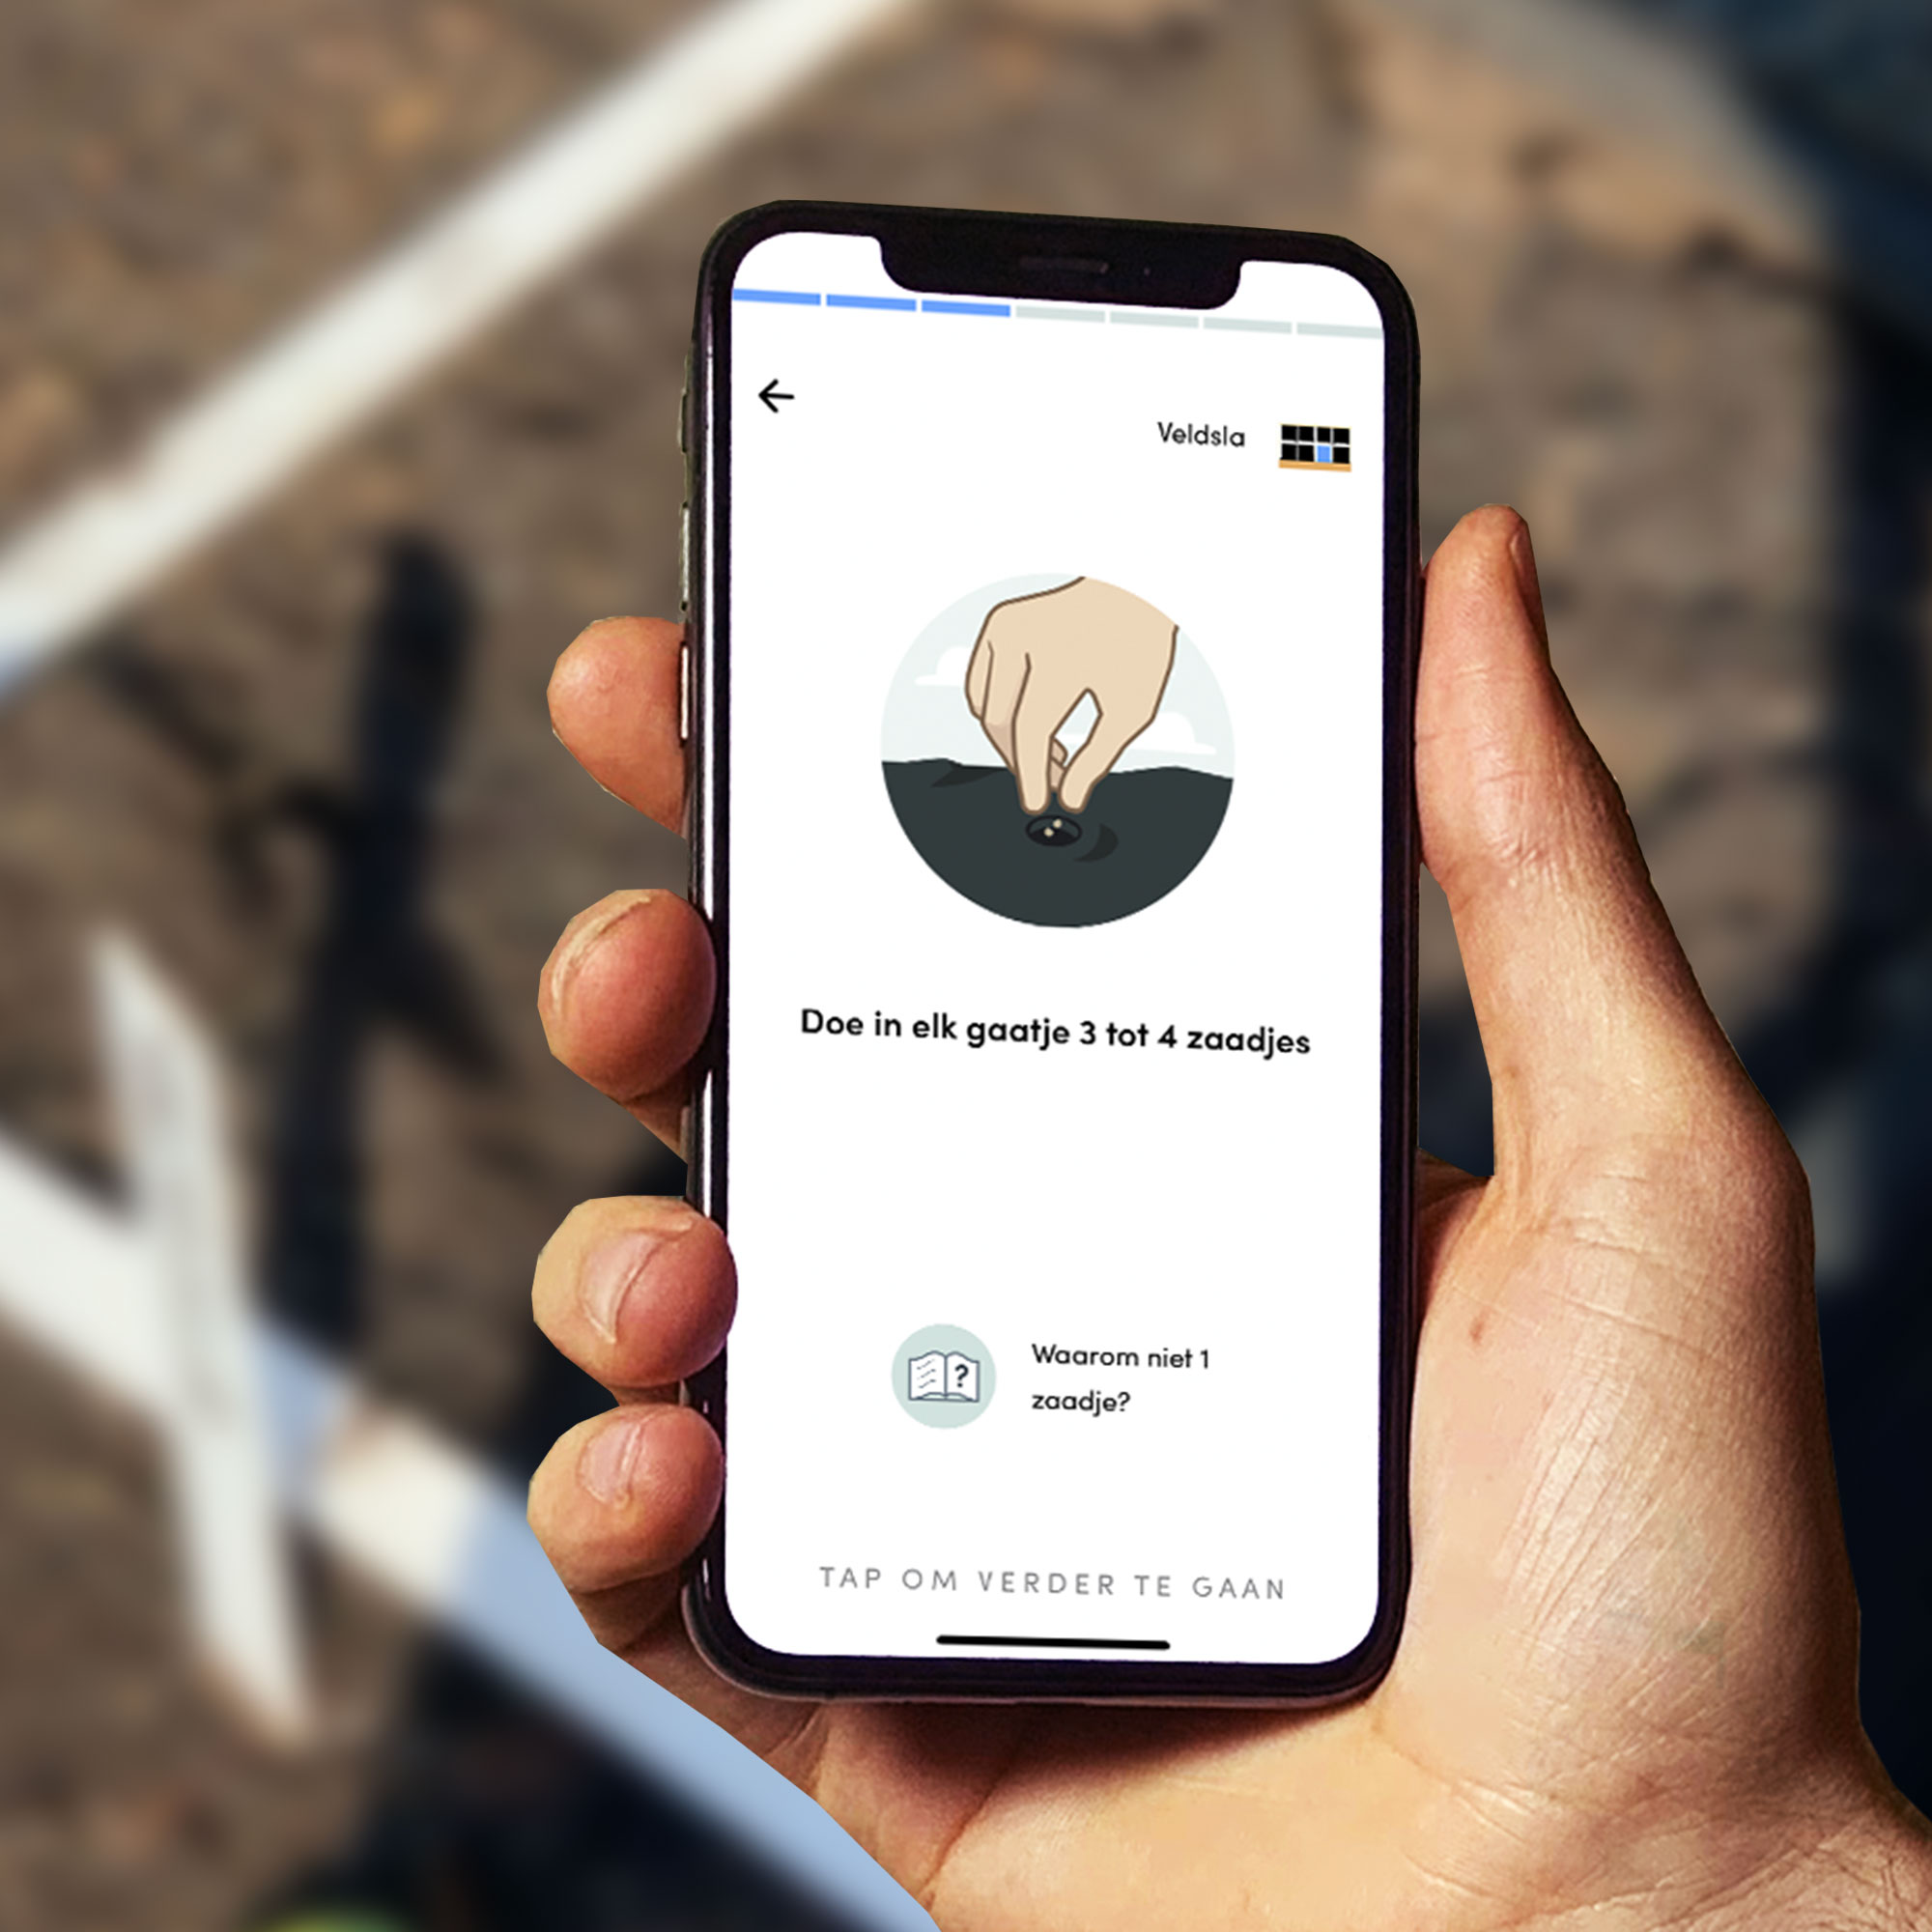
Level 1: Starting Yellomato indoors
- Fill 2 small MM-Airpots with MM seed-starting mix or MM coconut seed-starting mix
- Put 1 seed in each pot, 1 cm deep.
- Cover the pots with a piece of clear kitchen film (not needed with coconut seed-starting mix).
- Put the pots in a warm spot in the living room.
Levels 2 and 3: Seedlings
They probably will not both come up at exactly the same time, but after a week they should both have germinated. From then on, put the pots in the brightest spot you have, but preferably not too warm.
Turn the pots a quarter turn every day. This prevents the seedlings from growing crooked.

Levels 4 and 5: Looking after the seedlings on the windowsill
Turn them a quarter turn every day to prevent crooked growth, and keep the mix moist. With traditional MM seed-starting mix, water from above; with coconut, water in the saucer the pot stands in.
After another 10 days or so, move the seedlings into a larger pot with only mix. This lets them make extra roots, gives them fresh food and helps them grow even better.

Levels 6 to 10: Hardening off

Level 11: Plant the strongest tomato plant in your garden box or MM-mini

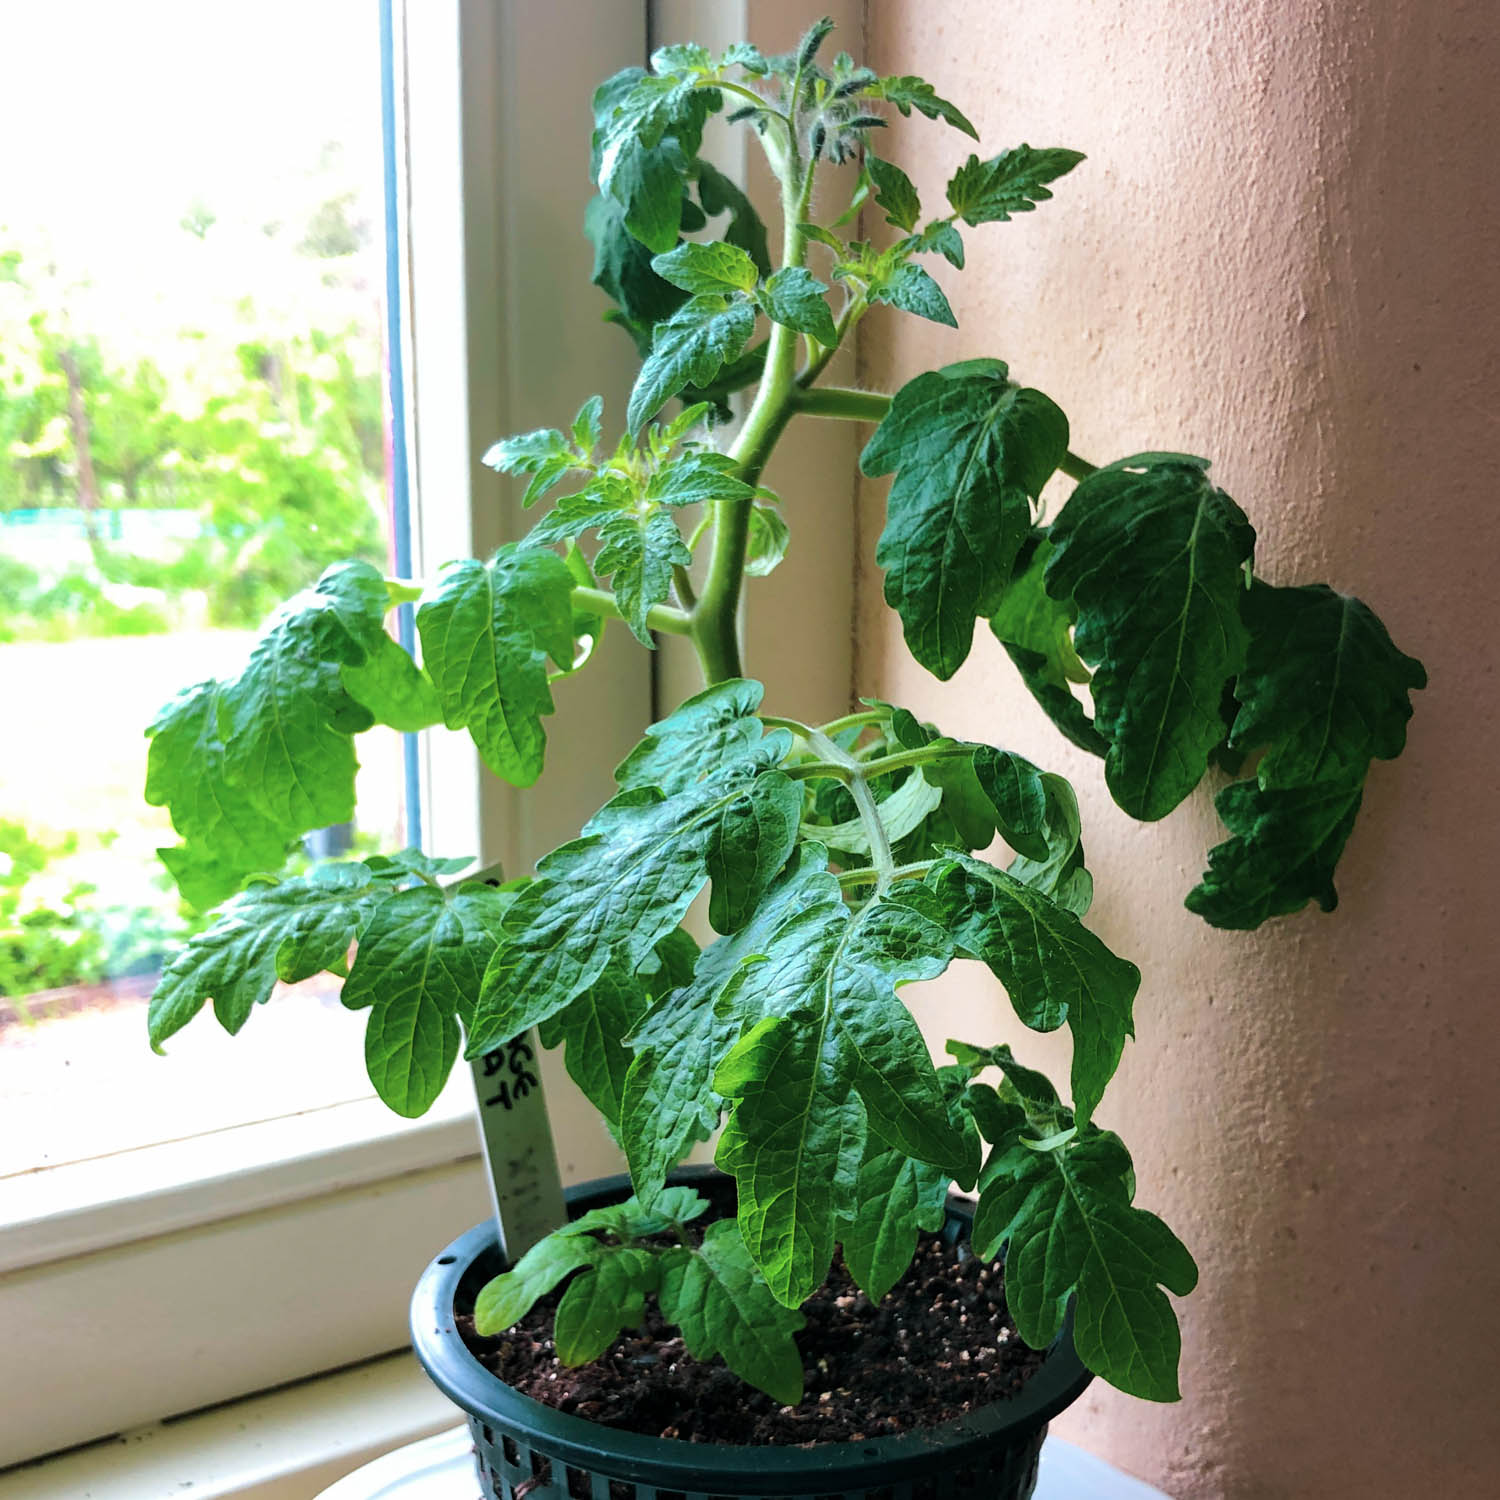
Levels 12 to 14: Looking after your tomato plant

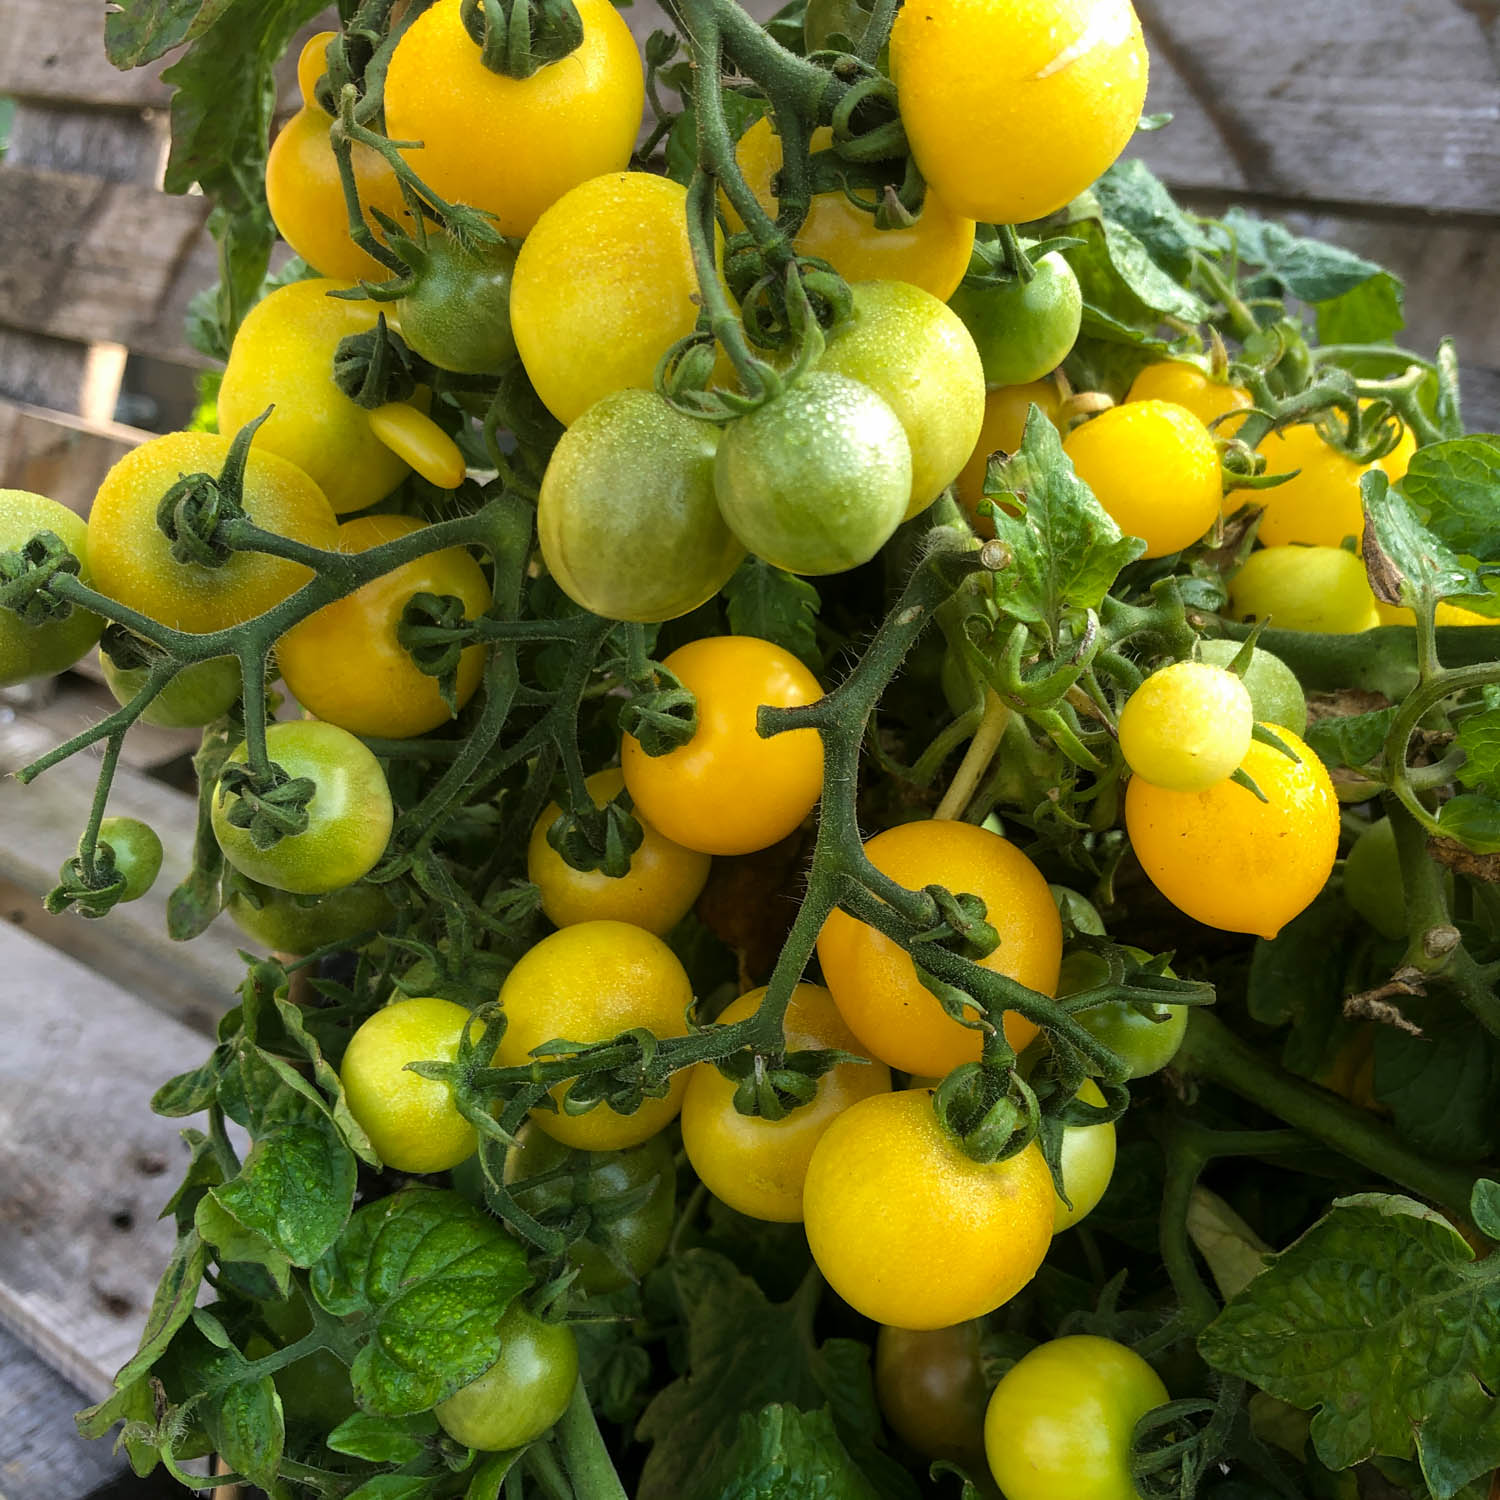
Level 15: Harvesting the first tomatoes
They stay pale green for quite a while at first, then slowly turn bright yellow. That is when you can pick them.
Ripe tomatoes come off the plant easily: the stalk snaps off without much effort. Or use scissors and cut them from the stems.

What do you use Yellomatoes for?

Tomatoes have been studied a lot, especially lycopene, a compound found in large amounts in tomatoes. Lycopene gives tomatoes their colour and may also help reduce the risk of cancer and cardiovascular disease.
The final levels

So, what is stopping you from sowing and growing Yellomatoes yourself?
