
Sowing and growing dill
Dill is an aromatic culinary herb with delicate leaves and beautiful yellow flower umbels.
Our compact dill produces lots of extra leaves and flowers later, so you can harvest it for longer.
Our compact dill produces lots of extra leaves and flowers later, so you can harvest it for longer.
- Sowing time
- mid-April through July
- Time to harvest
- from 9-10 weeks
- Plants per square
- 4
- Sunlight
- preferably full sun, but partial shade is fine too
Step by step
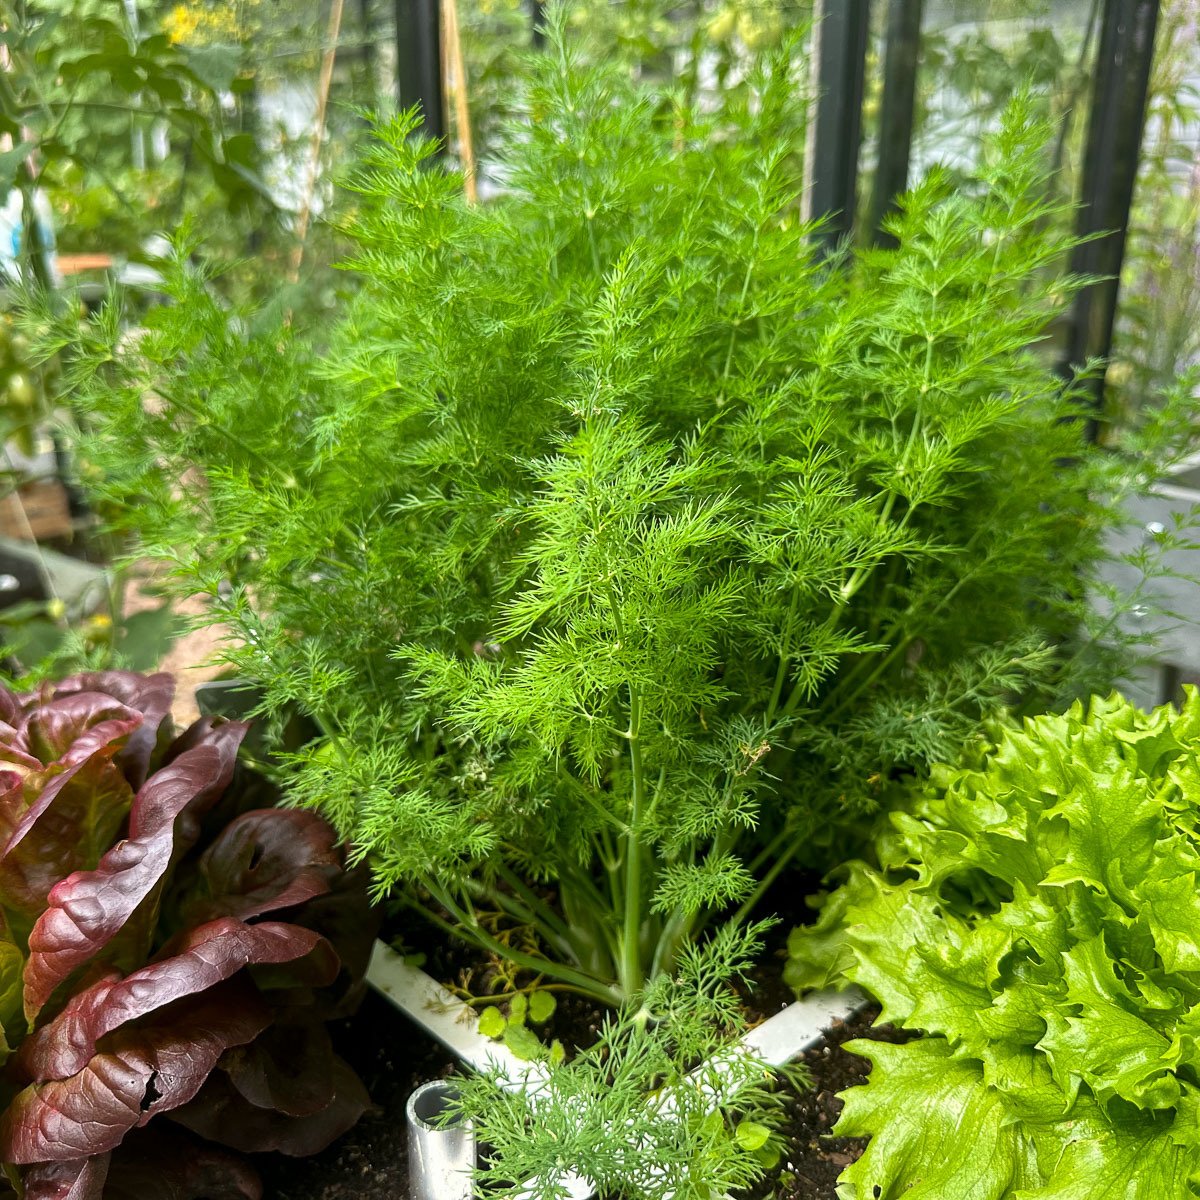
What is dill?
Dill is a well-known culinary herb.
It is an annual plant with beautiful yellow flower umbels and fine, needle-like leaves. The leaves have a mild but distinctive flavour.
Fresh dill is used much more widely in Scandinavian and Baltic countries than it is here, but the herb has also been known in warmer regions for a very long time.
Sprigs of dill were found in the tomb of the Egyptian pharaoh Amenhotep II, who lived around 1400 BC. The herb is also mentioned in the Bible.
Fun fact: the Pharisees used it to pay their taxes, and Roman gladiators ate heaps of dill because they believed it made them stronger 🙂
It is an annual plant with beautiful yellow flower umbels and fine, needle-like leaves. The leaves have a mild but distinctive flavour.
Fresh dill is used much more widely in Scandinavian and Baltic countries than it is here, but the herb has also been known in warmer regions for a very long time.
Sprigs of dill were found in the tomb of the Egyptian pharaoh Amenhotep II, who lived around 1400 BC. The herb is also mentioned in the Bible.
Fun fact: the Pharisees used it to pay their taxes, and Roman gladiators ate heaps of dill because they believed it made them stronger 🙂
Vitamins and minerals in dill
Dill is very good for you. In fact, it contains far more vitamins than most vegetables.
For example, 100 grams of young, fresh dill leaves provide 257% of the recommended daily amount of vitamin A and 140% of vitamin C.
Dill also contains vitamins B1, B2, B3, B5 and B11 (folate), plus iron, manganese, copper, potassium, magnesium, phosphorus, zinc and calcium. Great for strong bones.
A nice bonus, right?
For example, 100 grams of young, fresh dill leaves provide 257% of the recommended daily amount of vitamin A and 140% of vitamin C.
Dill also contains vitamins B1, B2, B3, B5 and B11 (folate), plus iron, manganese, copper, potassium, magnesium, phosphorus, zinc and calcium. Great for strong bones.
A nice bonus, right?
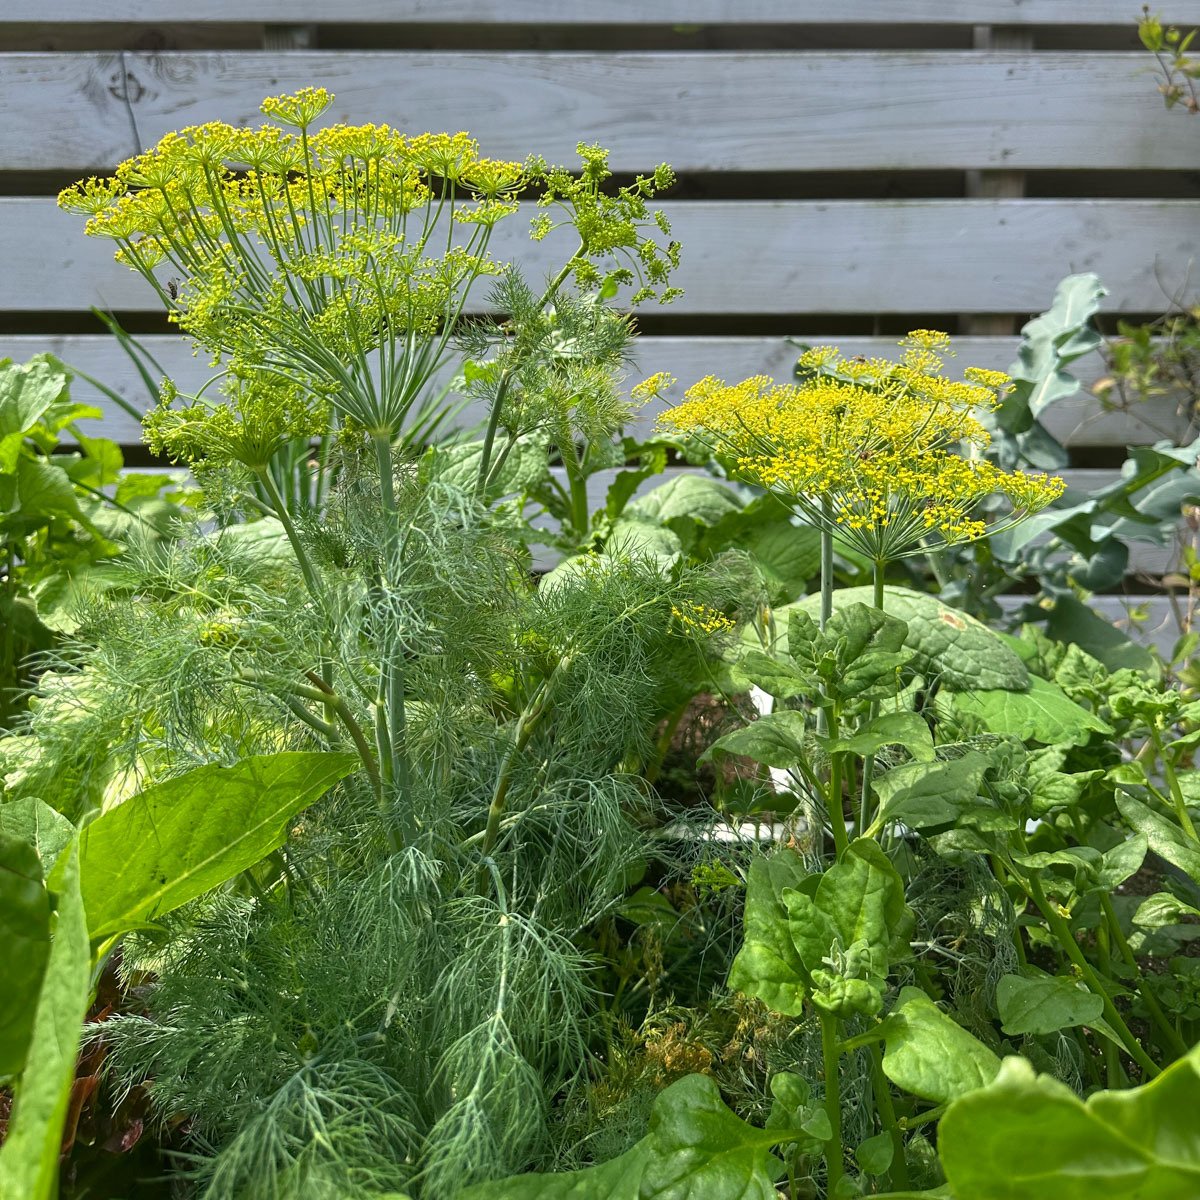
More about our Dill
Our dill is compact, produces more leaves than ordinary varieties and is slower to flower.
We mainly grow dill for its leaves, which is also how it appears in the app. But if you let the plants flower, you can eventually harvest the seeds too.
- Variety: Dill 'Nano'
- Family: leafy
- Plants per square: 4
- Sowing time: mid-April through July
- Height: 30 to 70 cm (middle and back rows)
- Sowing depth: 0.5-1 cm
- Germination: 15 to 25 days at 20°C or above
- Time to harvest: from 9-10 weeks
- Sunlight: preferably full sun, but partial shade is fine too
- Packet contents: approx. 140 seeds, enough for 10+ squares
What do you need to grow dill?
Besides the seeds, you will need:
- a square in a garden box
- Makkelijke Moestuin soil or Makkelijke Moestuin Mix
- a spot that gets at least 6-8 hours of sunlight a day
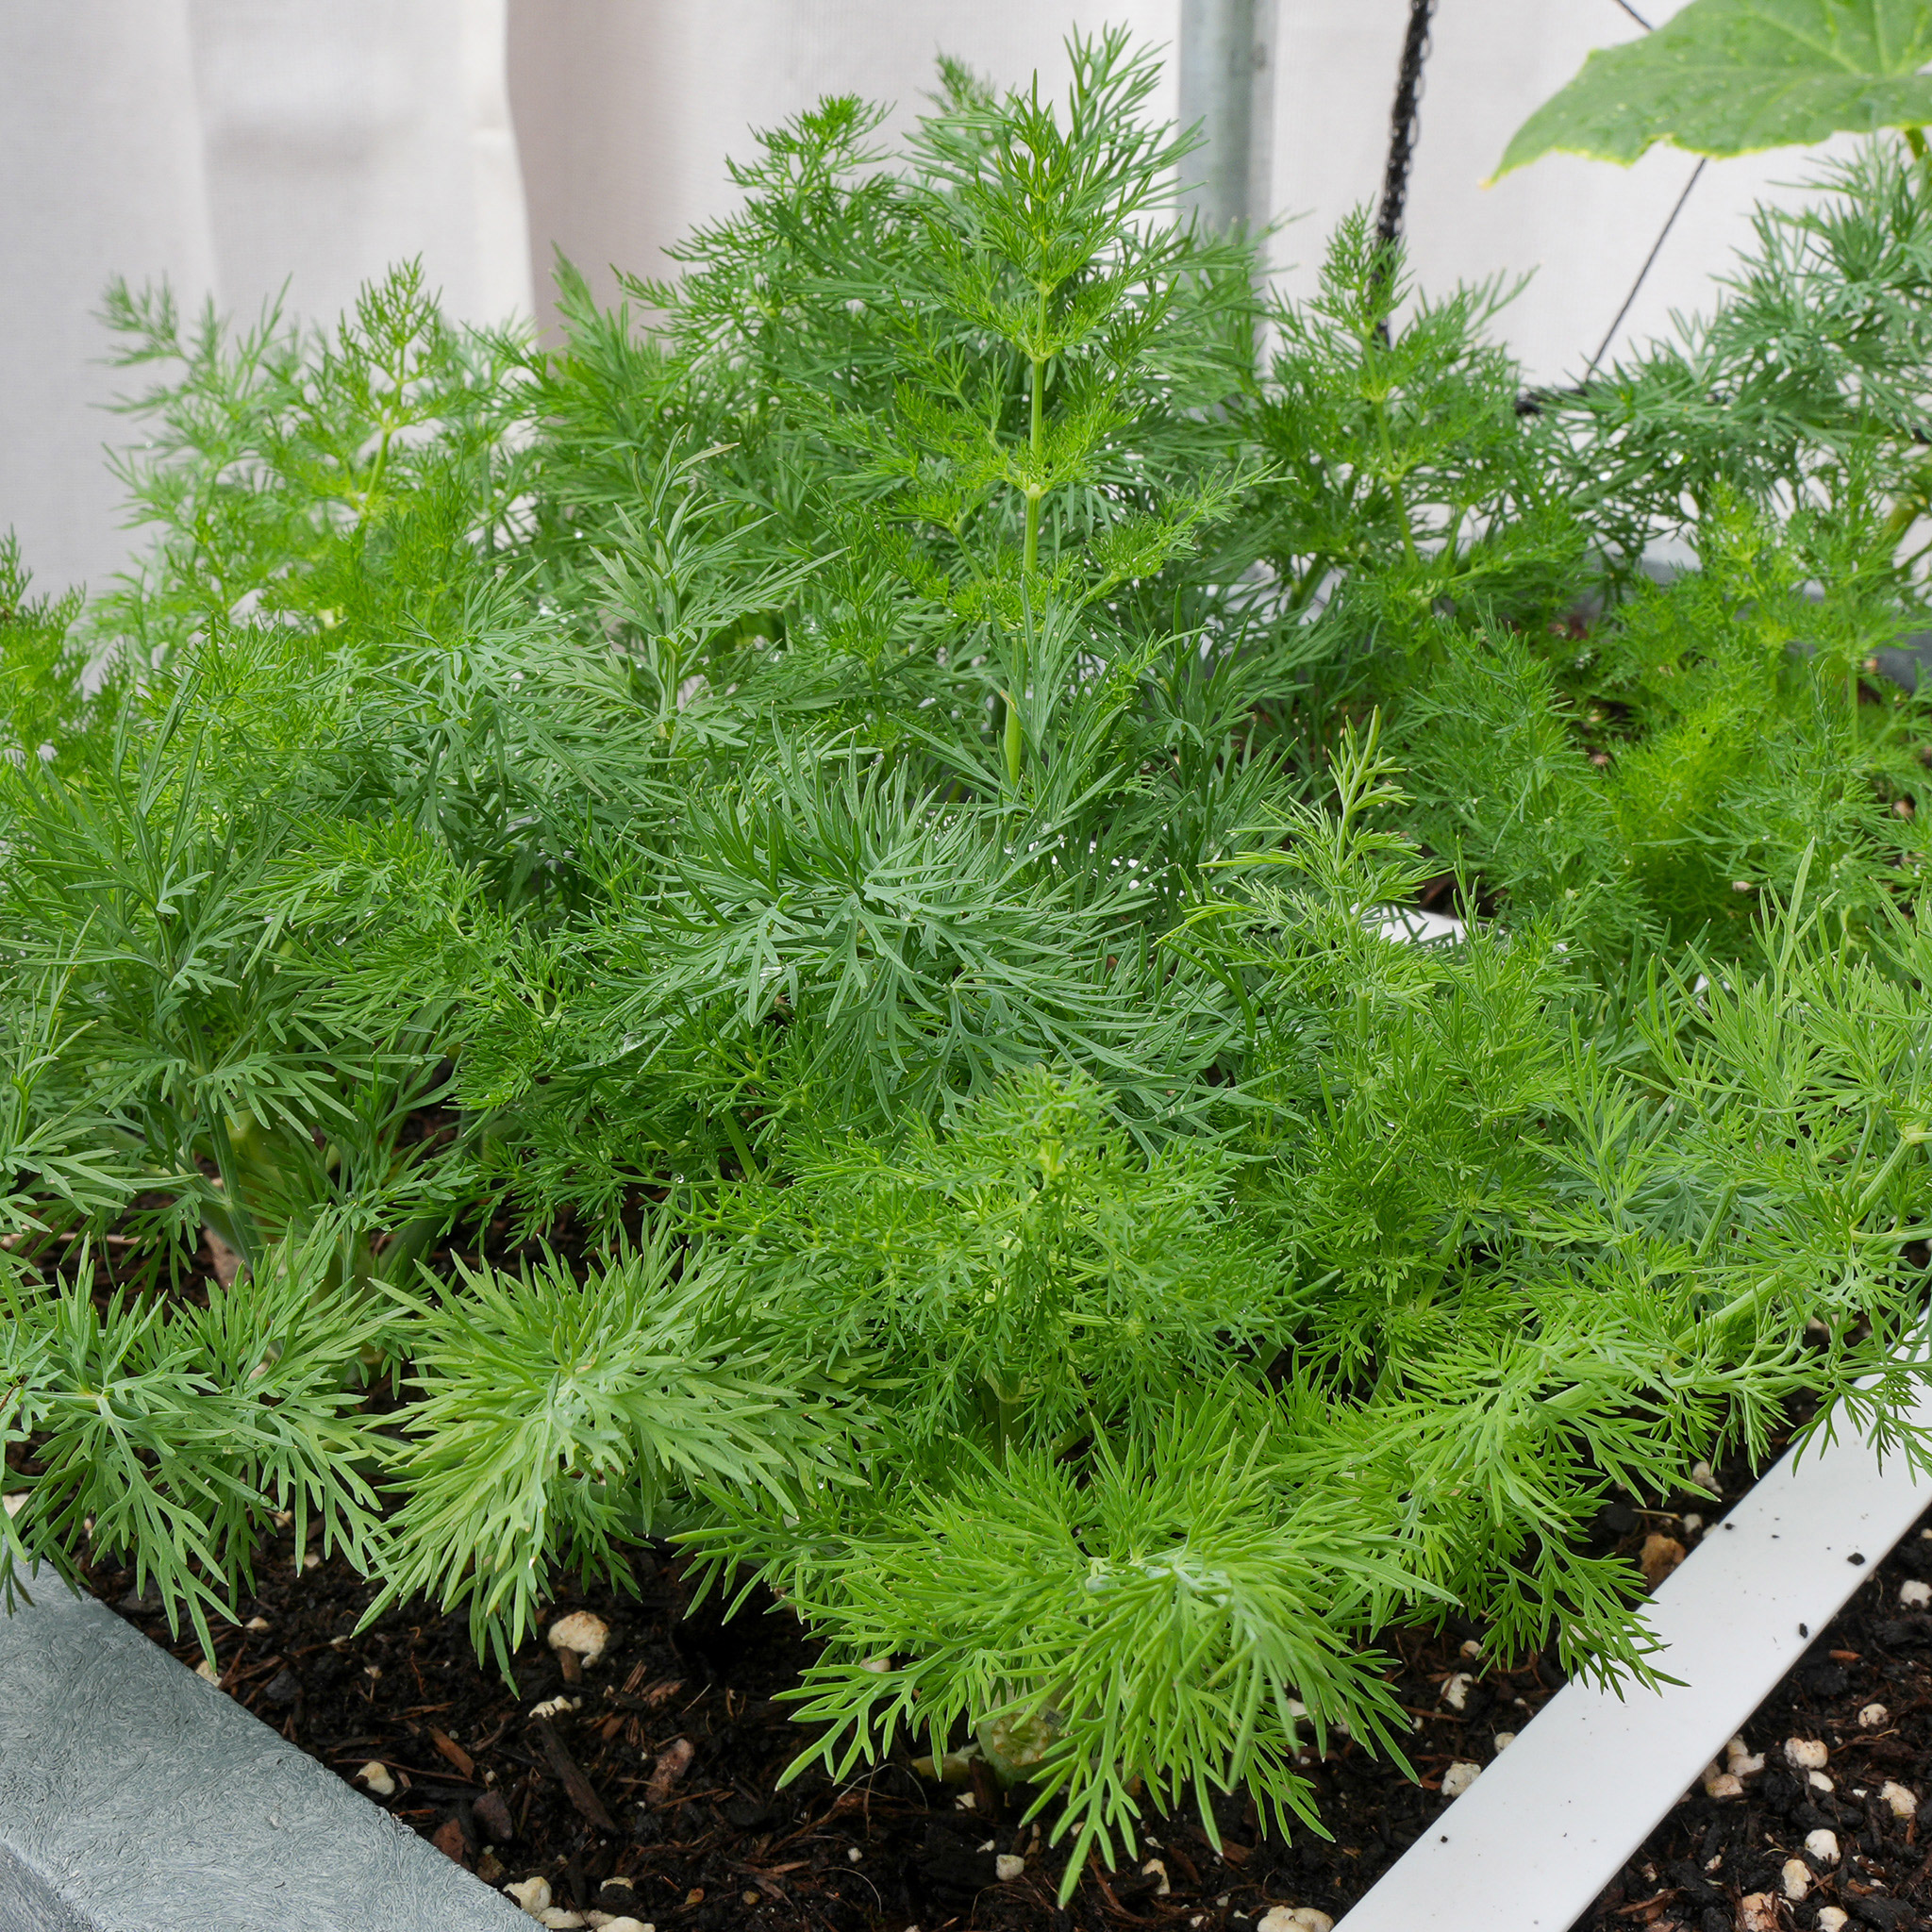
How do you sow and grow dill?
You can find this Dill in the free Makkelijke Moestuin app. Use the app and it will guide you from seed to harvest.
Every vegetable and herb goes through several stages: we call them levels. The app tells you exactly what to do at each level and regularly asks you to check whether your plants are ready for the next one.
So you do not need to know how to grow dill successfully beforehand. But if you would like to see what the entire process looks like, read on below.
Every vegetable and herb goes through several stages: we call them levels. The app tells you exactly what to do at each level and regularly asks you to check whether your plants are ready for the next one.
So you do not need to know how to grow dill successfully beforehand. But if you would like to see what the entire process looks like, read on below.
Sowing
Level 1: Sowing dill
Loosen the mix in a square in the middle or back of the box and sow as follows:
- make 4 holes in the square (no deeper than 1 cm)
- place 2 to 3 seeds in each hole
- carefully close the holes
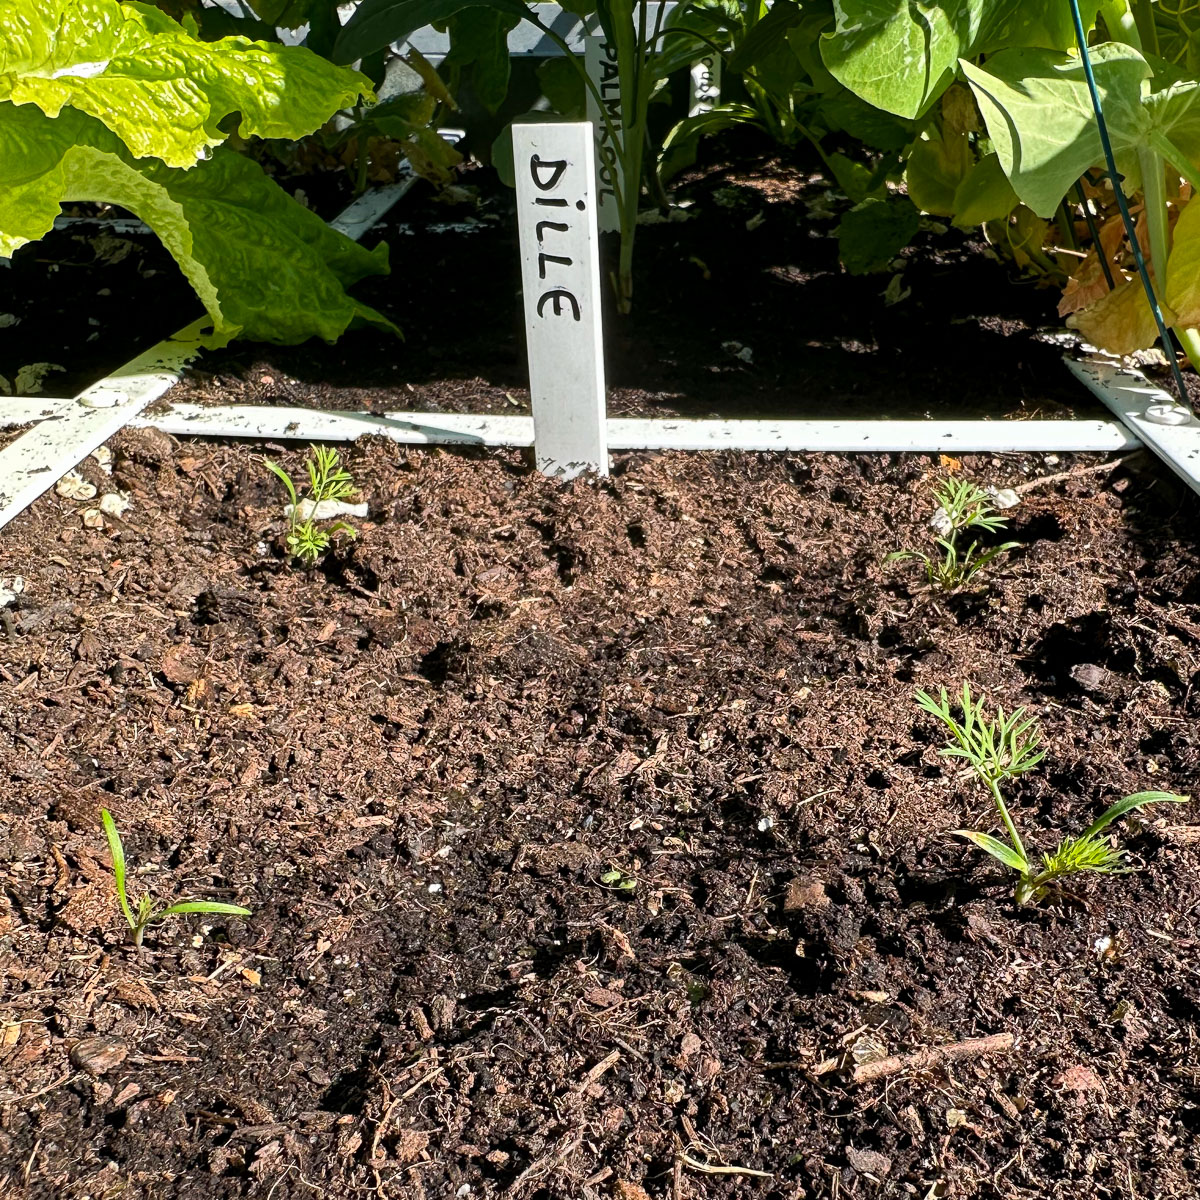
Depending on the weather and time of year, you will see the first green shoots after about 15-25 days.

Seedlings and thinning out
Levels 2 and 3: Seedlings and thinning
Dill seeds germinate quite slowly: it can take over three weeks before the first seedlings appear. But once they do, you know things are going well.
They probably will not all appear at the same time, but most should be up after another week.
They probably will not all appear at the same time, but most should be up after another week.
Then it is time to thin them out. That can be hard to do, but if you do not, none of the plants will have enough room to grow well and you will not get the best harvest.
Note: dill has deep taproots and absolutely does not tolerate transplanting.
Care
Level 4: Caring for dill
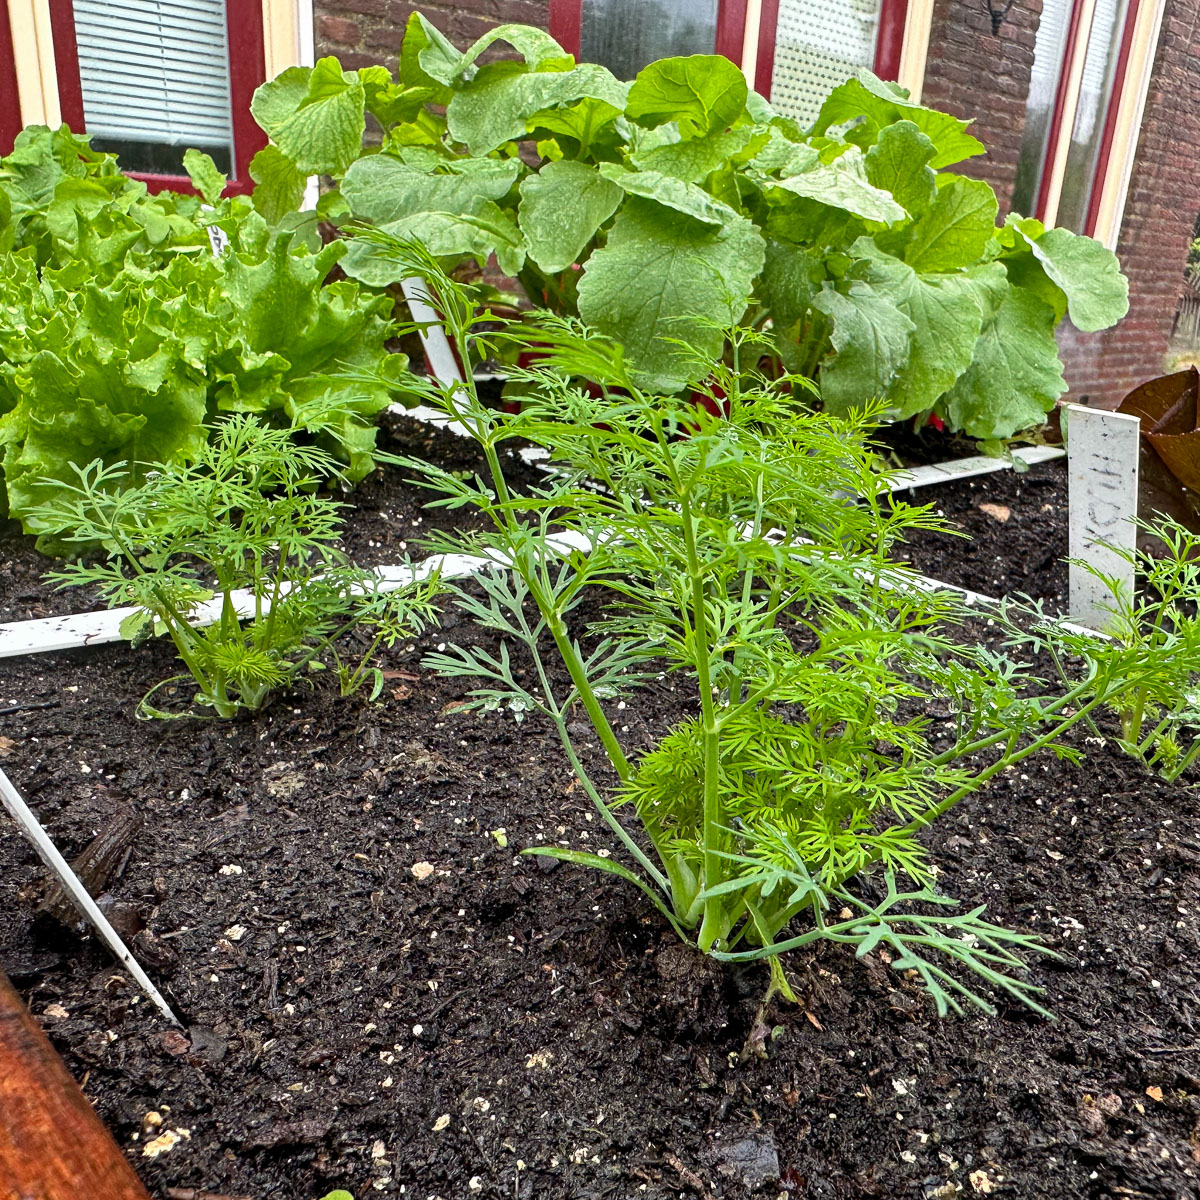
Another four weeks later, your seedlings have grown into small plants. They are still growing painfully slowly: dill requires quite a bit of patience.
On the other hand, you hardly have to do anything over the next few weeks: give them some water during dry weather and occasionally remove dead or yellow leaves. Easy 🙂
The plants are rarely troubled by diseases or pests and even repel black aphids from neighbouring plants. Apparently, they do not like the smell of dill.
Harvesting
Level 5: Harvesting dill
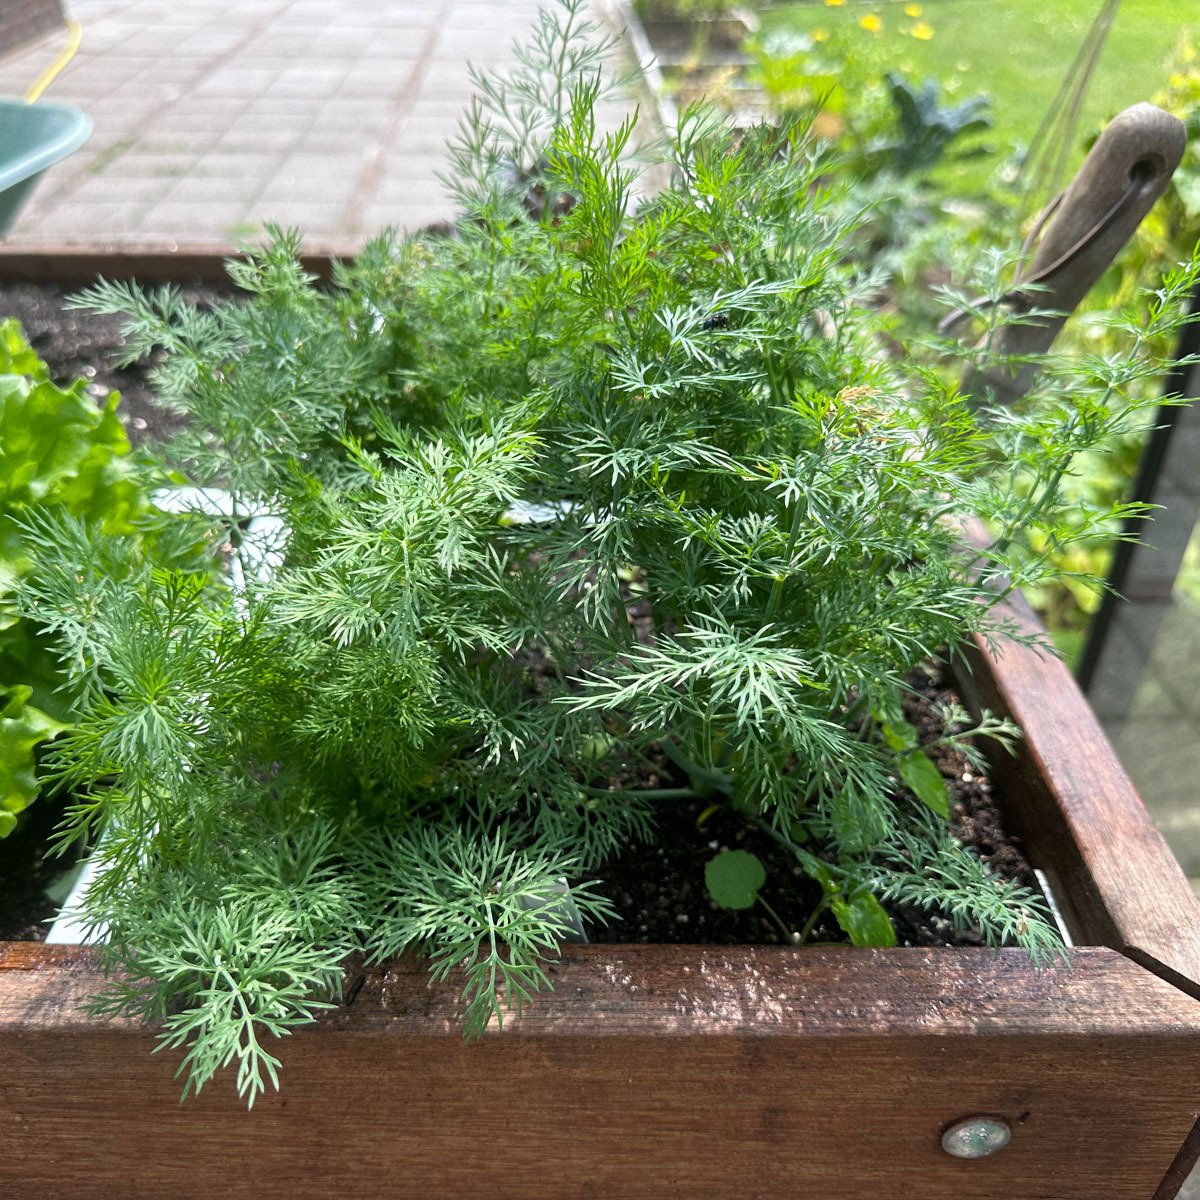
Once your plants have grown into bushy clumps about 15 cm tall, you can start harvesting.
Simply snip or pick off some of the leaves.
Simply snip or pick off some of the leaves.
Level 6: Keep harvesting
During this level, your plants grow quite large, so you can harvest plenty of leaves:
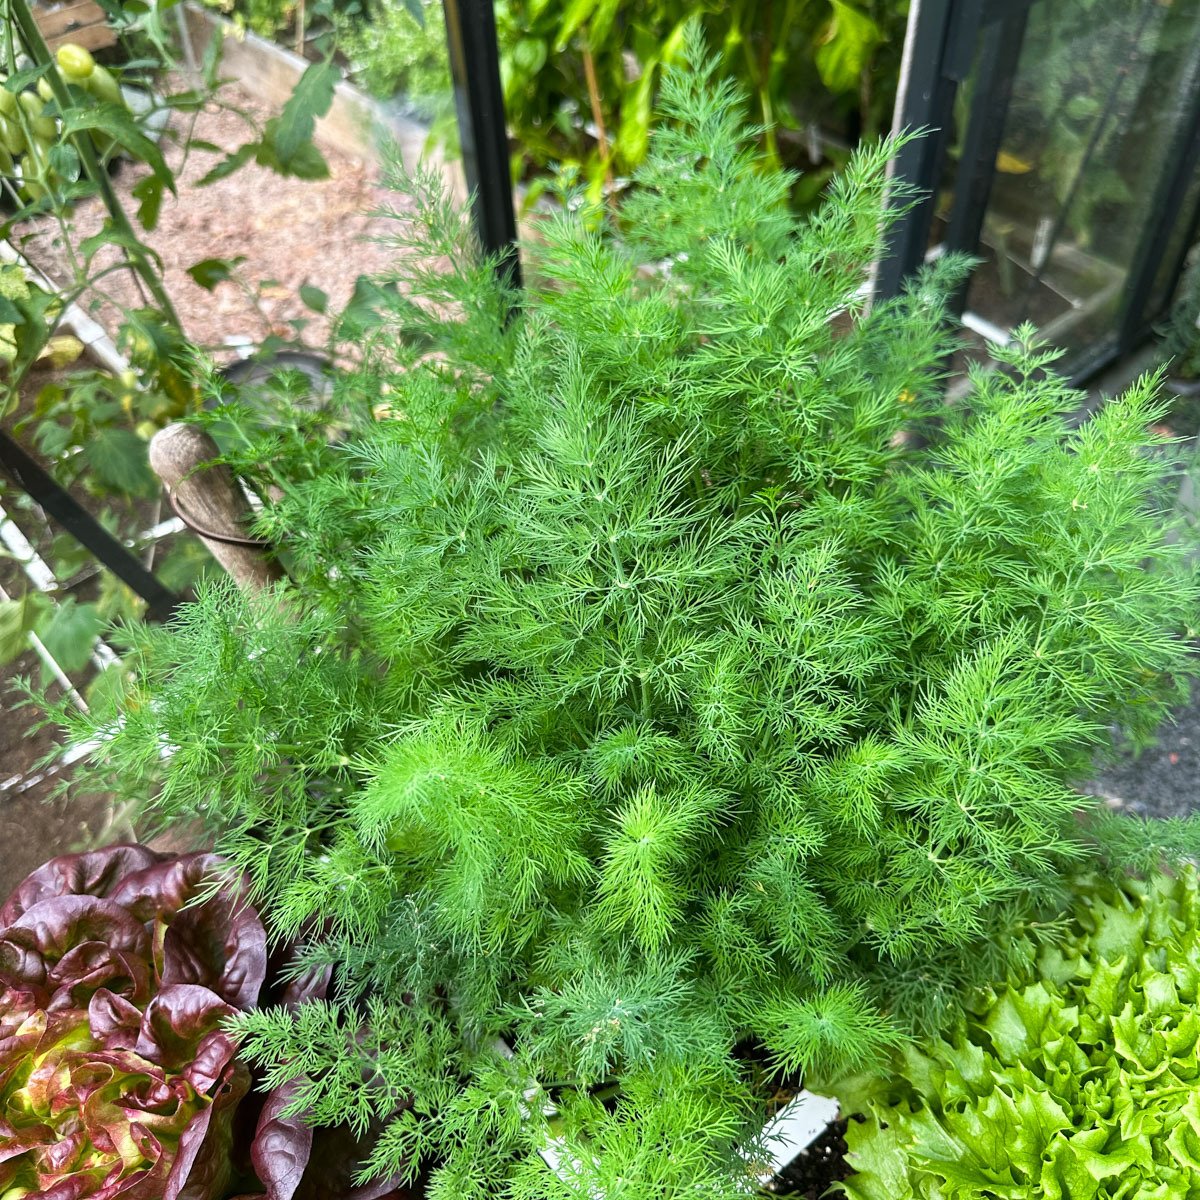
If you want to keep harvesting leaves for as long as possible, snip off the flower buds as soon as you see them.
This encourages the plants to branch out and keep producing new leaves for longer.
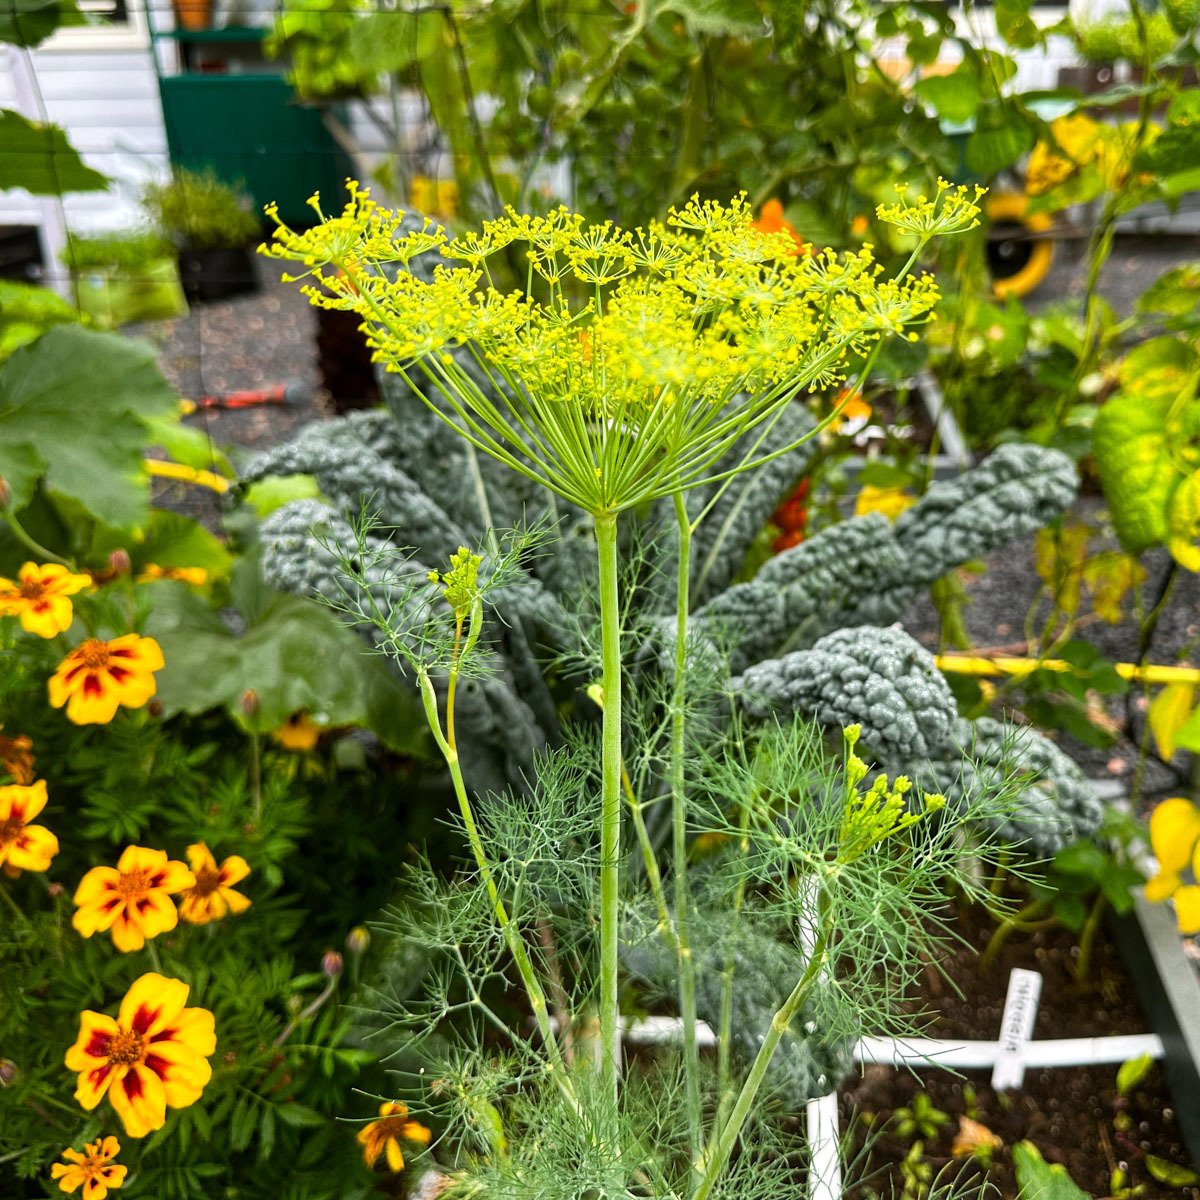
Although letting the occasional stem grow and flower looks beautiful too:
This encourages the plants to branch out and keep producing new leaves for longer.
Although letting the occasional stem grow and flower looks beautiful too:
Using dill in the kitchen
You can use dill leaves in all kinds of dishes. They are usually finely chopped, although small sprigs work well too.
A few ideas:
- as a garnish for soups or roasted vegetables
- in cold salads, including cucumber salads
- in potato salads or on baked or roasted potatoes
- with smoked salmon
- in yoghurt dips such as tzatziki
- to flavour fish, lamb or egg dishes
- in dips, sauces, marinades or salad dressings
- to flavour potato, chicken or tuna salads
Use dill mainly in cold dishes or add it just before serving: it quickly loses its lovely flavour when heated.
The next levels: flowering and harvesting seeds
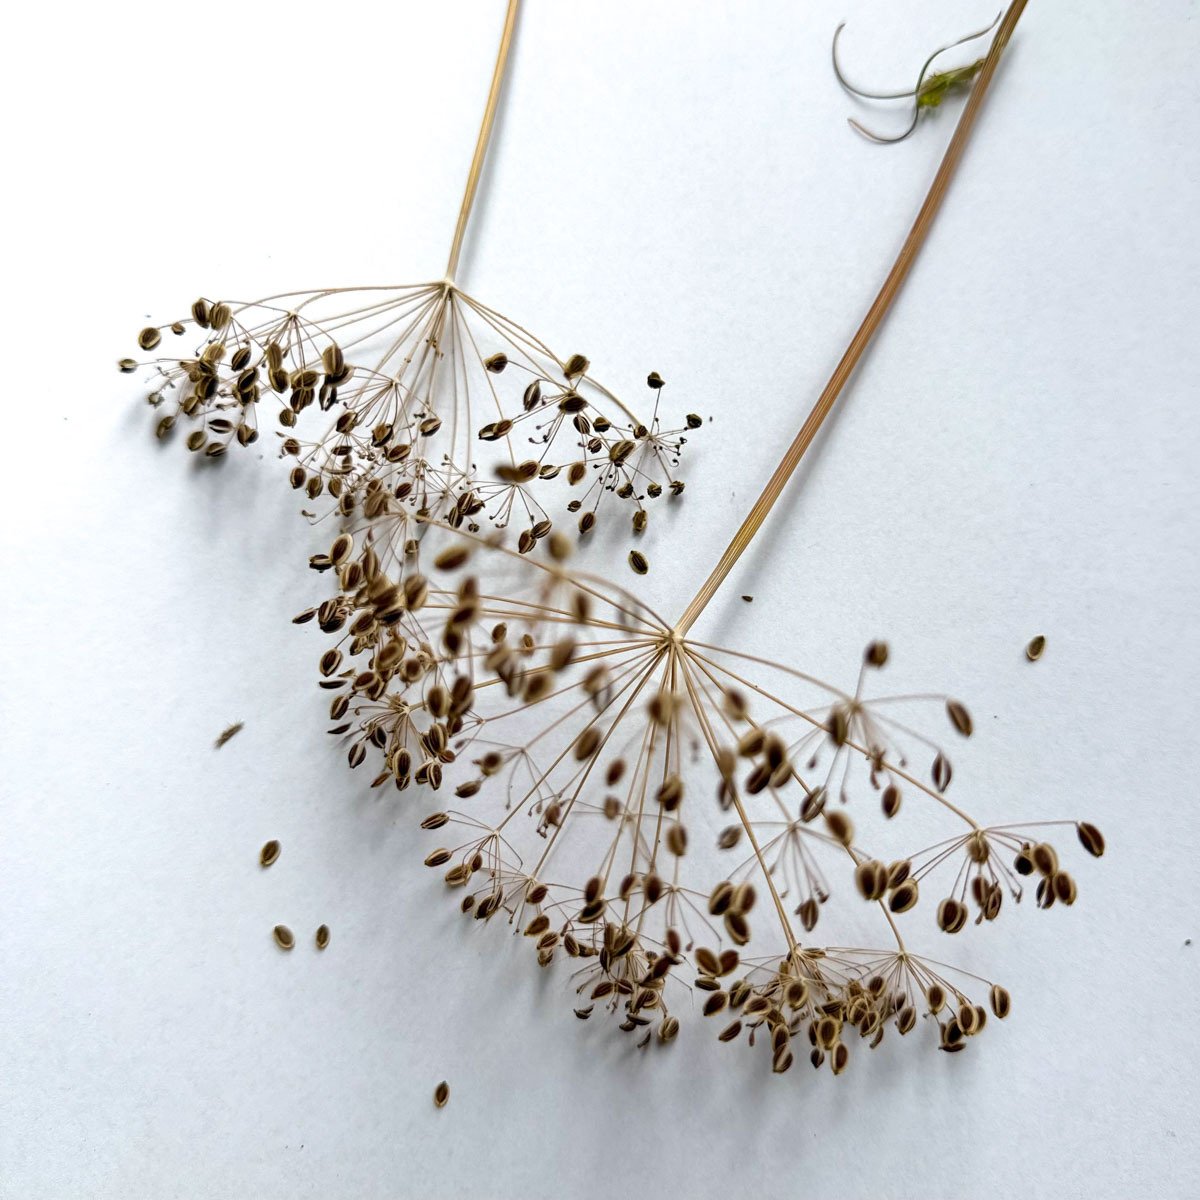
If you would also like to harvest dill seeds, allow a few plants to flower. Green seeds form after the yellow flower umbels.
Wait until they turn brown and dry, then cut off the entire flower heads.
Let them dry a little longer indoors, if you like in a paper bag.
Then rub the seeds from the flower heads and use them in the kitchen. Or store them somewhere dry for later use 🙂
Wait until they turn brown and dry, then cut off the entire flower heads.
Let them dry a little longer indoors, if you like in a paper bag.
Then rub the seeds from the flower heads and use them in the kitchen. Or store them somewhere dry for later use 🙂
Do the plants look tired after flowering and produce hardly any fresh leaves?
Remove them from the square and prepare it for your next vegetable.
Remove them from the square and prepare it for your next vegetable.
Want to sow and grow your own dill?
Our compact dill gives you an extra-generous harvest of aromatic leaves. The app guides you step by step from sowing to harvesting.
Good luck!
Good luck!