
Sowing and growing Multi-cut kale
Want to sow and grow your own kale? Choose this Multi-cut kale. It grows quickly, stays compact and has a wonderfully tender flavour, even in summer.
You can also harvest it for a very long time because the plant keeps growing back.
You can also harvest it for a very long time because the plant keeps growing back.
- Time to harvest
- from 8 weeks
- Plants per square
- 1
- Sunlight
- grows in sun or shade
Step by step
What is Multi-cut kale?
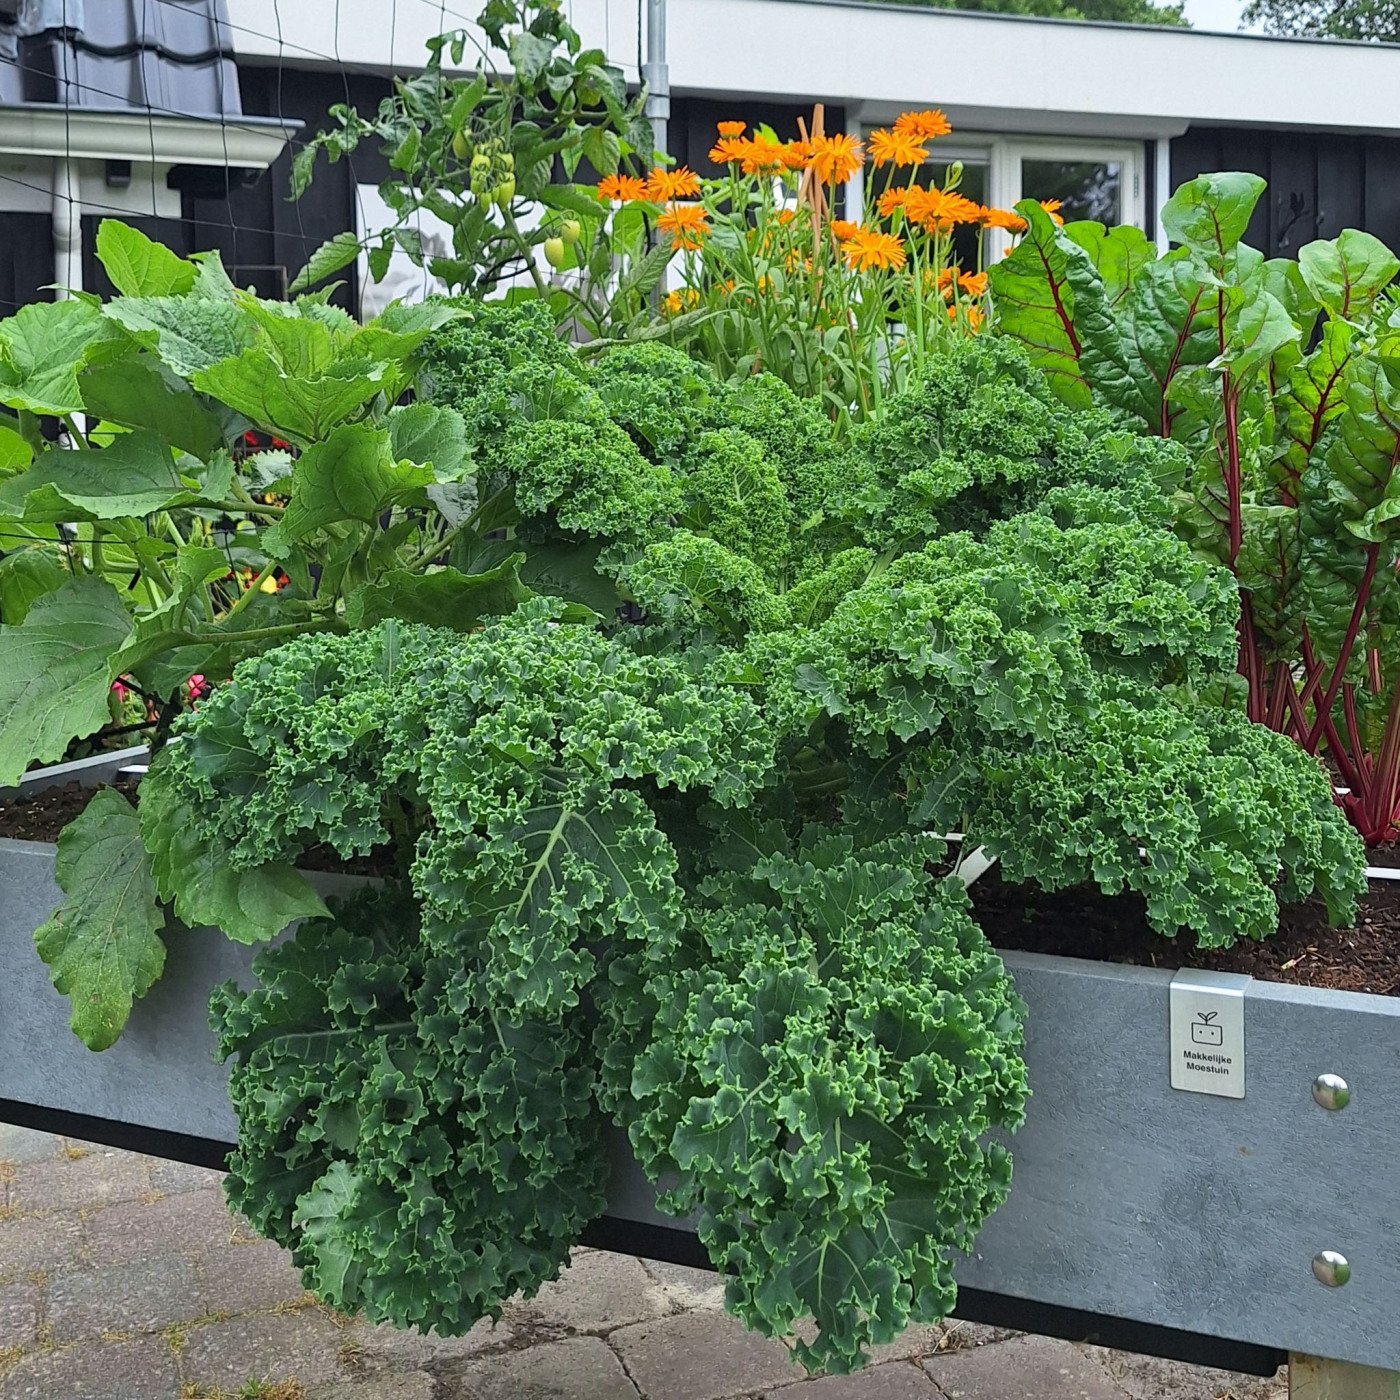
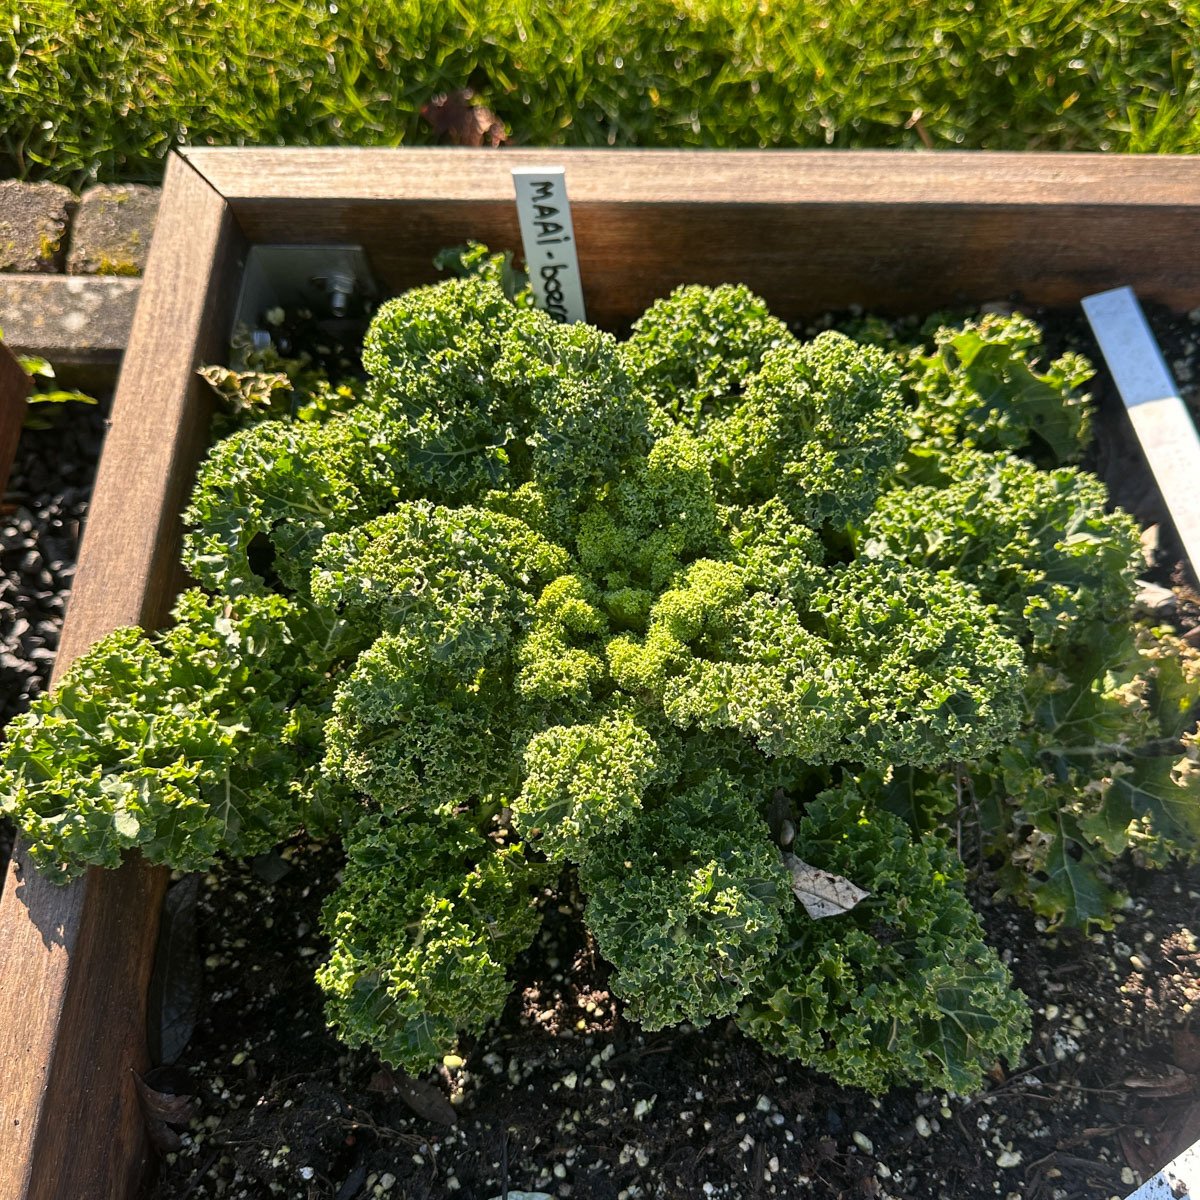
Multi-cut kale looks a lot like ordinary kale, but it has been specially developed to grow faster and more compactly.
Traditional kale spreads out and soon needs about four squares. Multi-cut kale grows more upright, so one square is enough if you regularly harvest the lower leaves, just like with palm kale.
You can also start harvesting much sooner: after just 6-7 weeks, compared with 3 to 4 months for ordinary kale. Its leaves grow back faster too.
Professional growers even cut the entire plant back to about 10 cm above the ground and can do the same again six weeks later. That is where the name Multi-cut kale comes from.
Traditional kale spreads out and soon needs about four squares. Multi-cut kale grows more upright, so one square is enough if you regularly harvest the lower leaves, just like with palm kale.
You can also start harvesting much sooner: after just 6-7 weeks, compared with 3 to 4 months for ordinary kale. Its leaves grow back faster too.
Professional growers even cut the entire plant back to about 10 cm above the ground and can do the same again six weeks later. That is where the name Multi-cut kale comes from.
Is Multi-cut kale nutritious?
Kale is a highly nutritious crop to grow in your vegetable garden. It contains calcium and is a source of vitamins C, A and K.
It also contains iron, copper, phosphorus, folate and potassium.
Kale also provides antioxidants, beta-carotene and fibre. Eating a varied diet with plenty of vegetables is a simple way to get a broad range of nutrients.
More about our Multi-cut kale
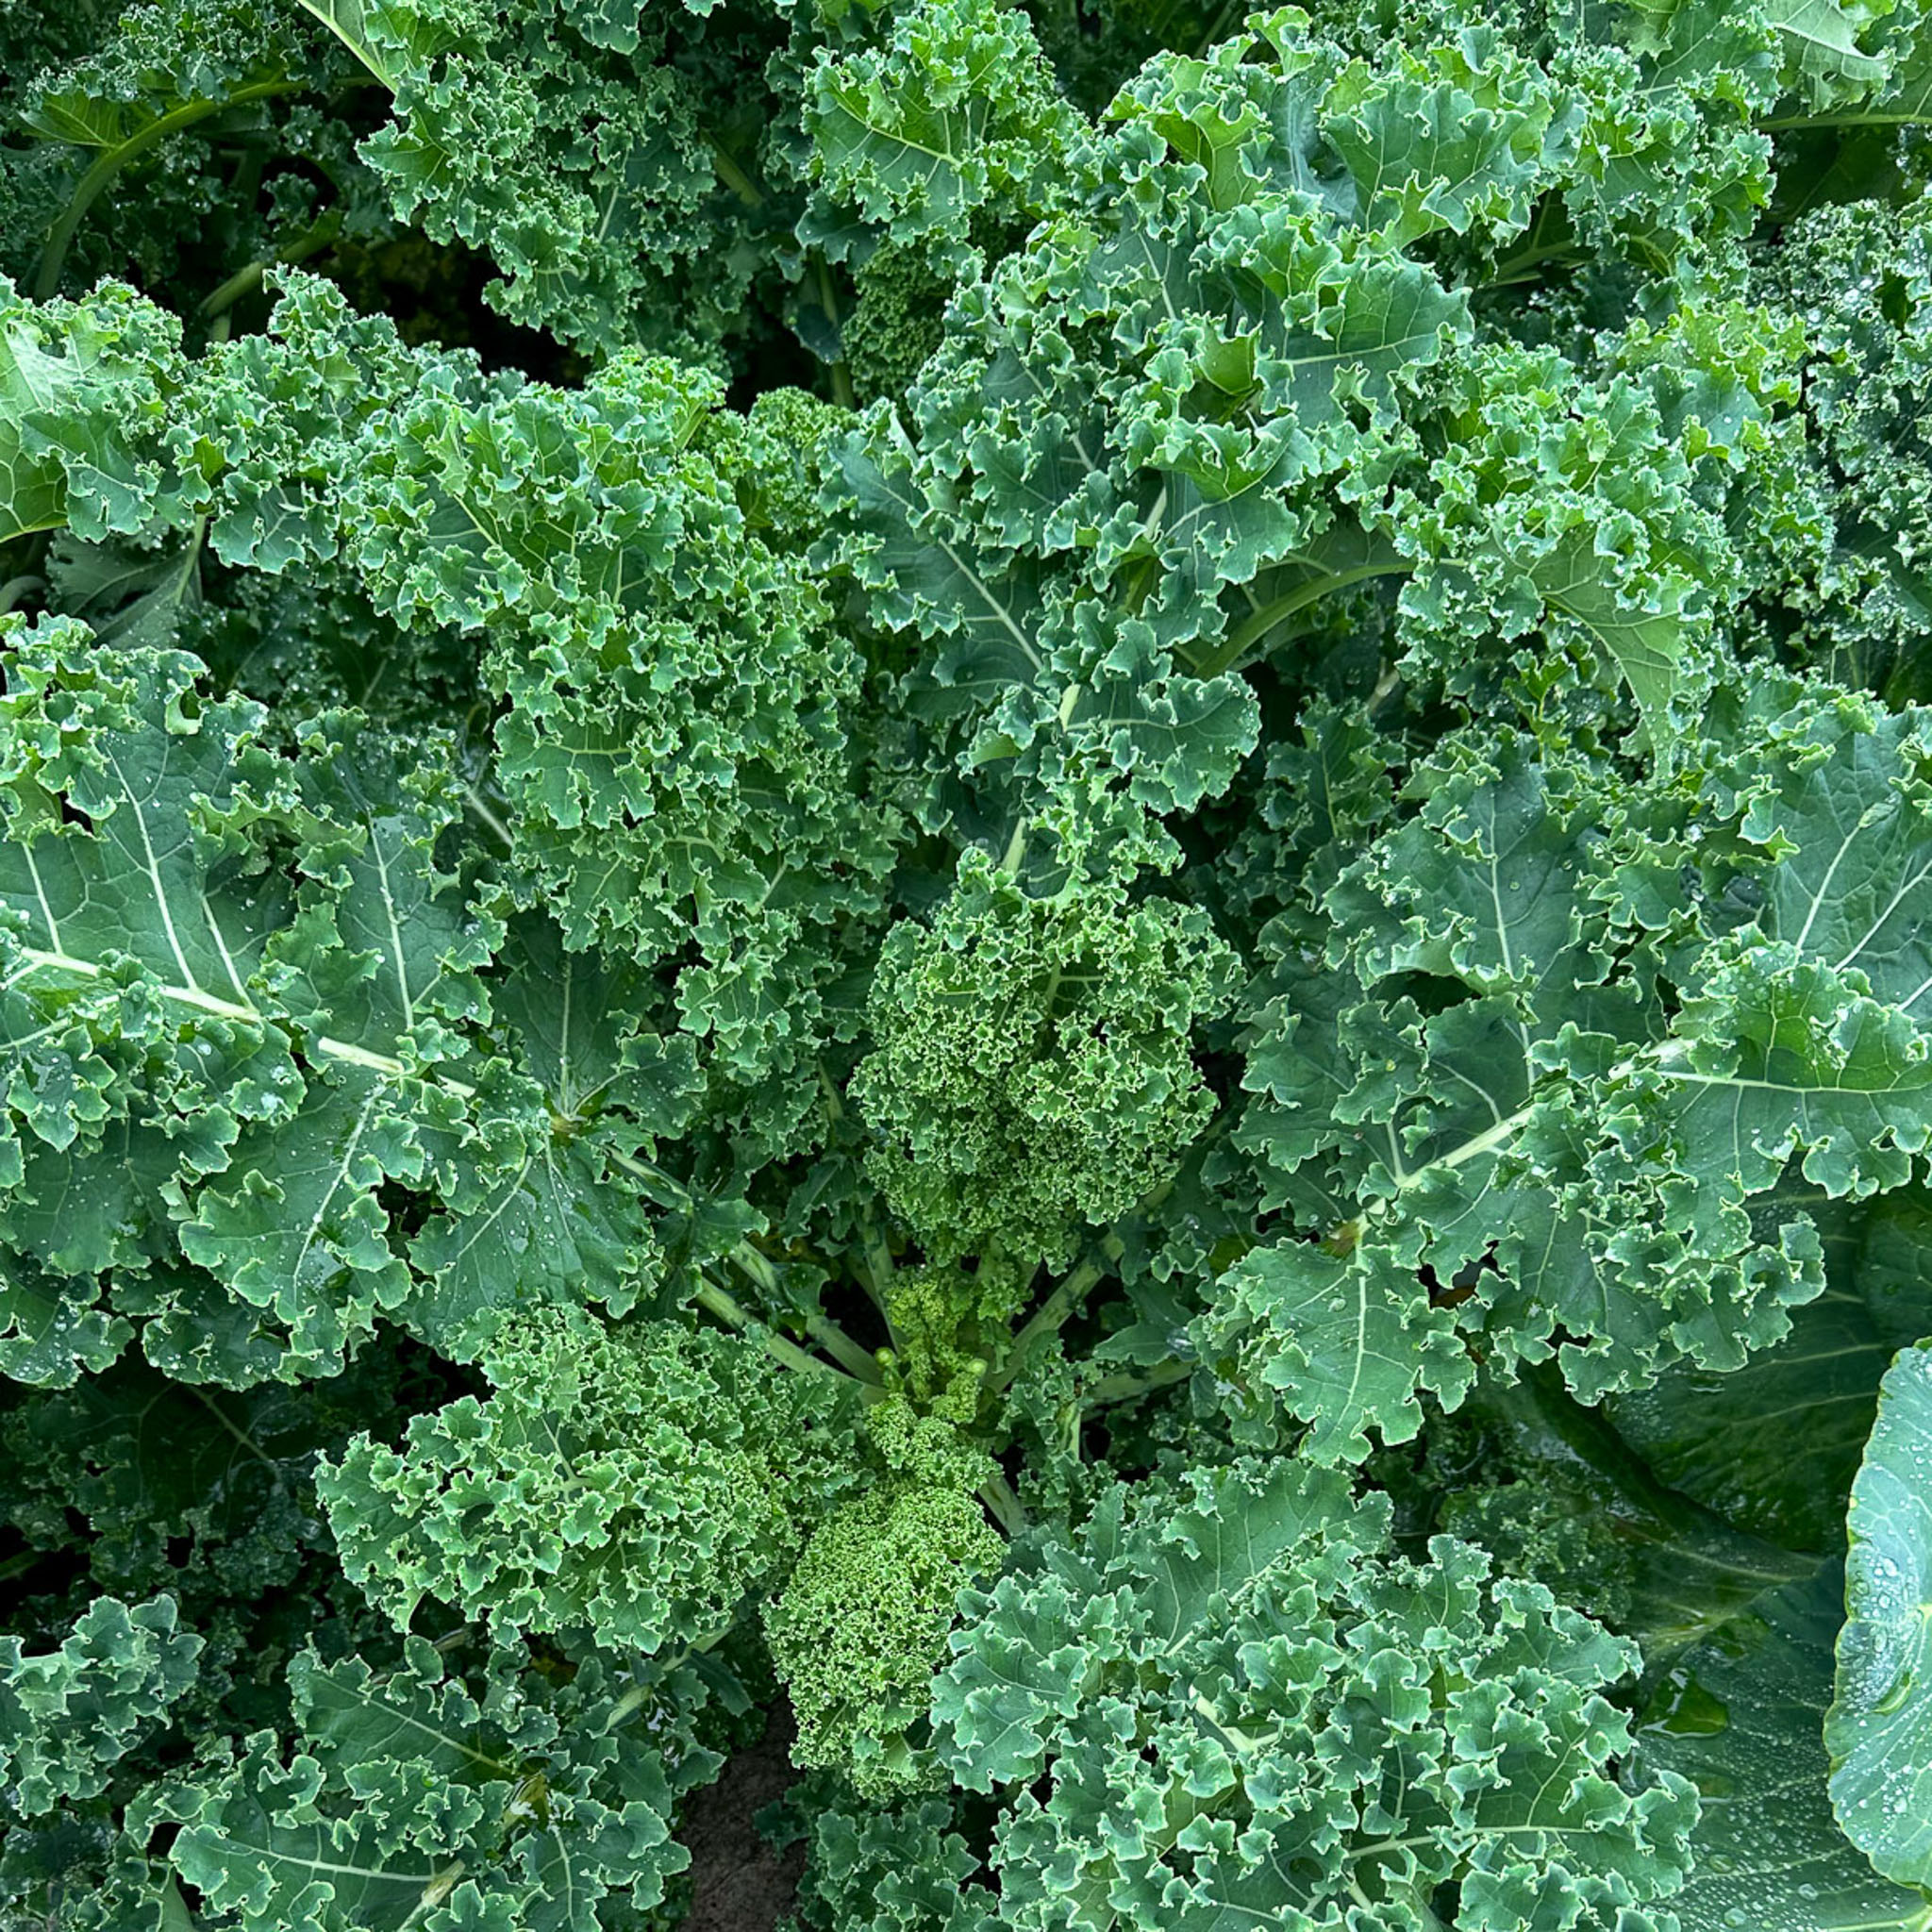
Multi-cut kale isn't just any kale. It's much tastier and more tender than the usual kind, in both summer and winter. It also grows very quickly while staying compact.
- Variety name: Karillo RZ F1
- Family: brassica
- Plants per square: 1
- Height: 45 cm (middle rows)
- Briefly start indoors: March to June (plant outside once the seedling has emerged well)
- Sowing depth: 1 cm (no deeper!)
- Germination: at 7 to 23°C in 5 to 12 days
- Time to harvest: from 8 weeks
- Sunlight: grows in sun or shade
- Packet contents: 10 seeds
- Yield: 1 Multi-cut kale plant that you can pick from for a long time
What do you need to grow Multi-cut kale?
Alongside the seeds, you'll need the following to start them indoors:
- MM pre-sowing mix or MM coconut seed-starting mix
- small MM-Airpots
- Cling film and elastic bands (only with traditional MM pre-sowing mix, not the coconut version)
- One label per pot
Once the seedling is large enough to plant outside, you'll need:
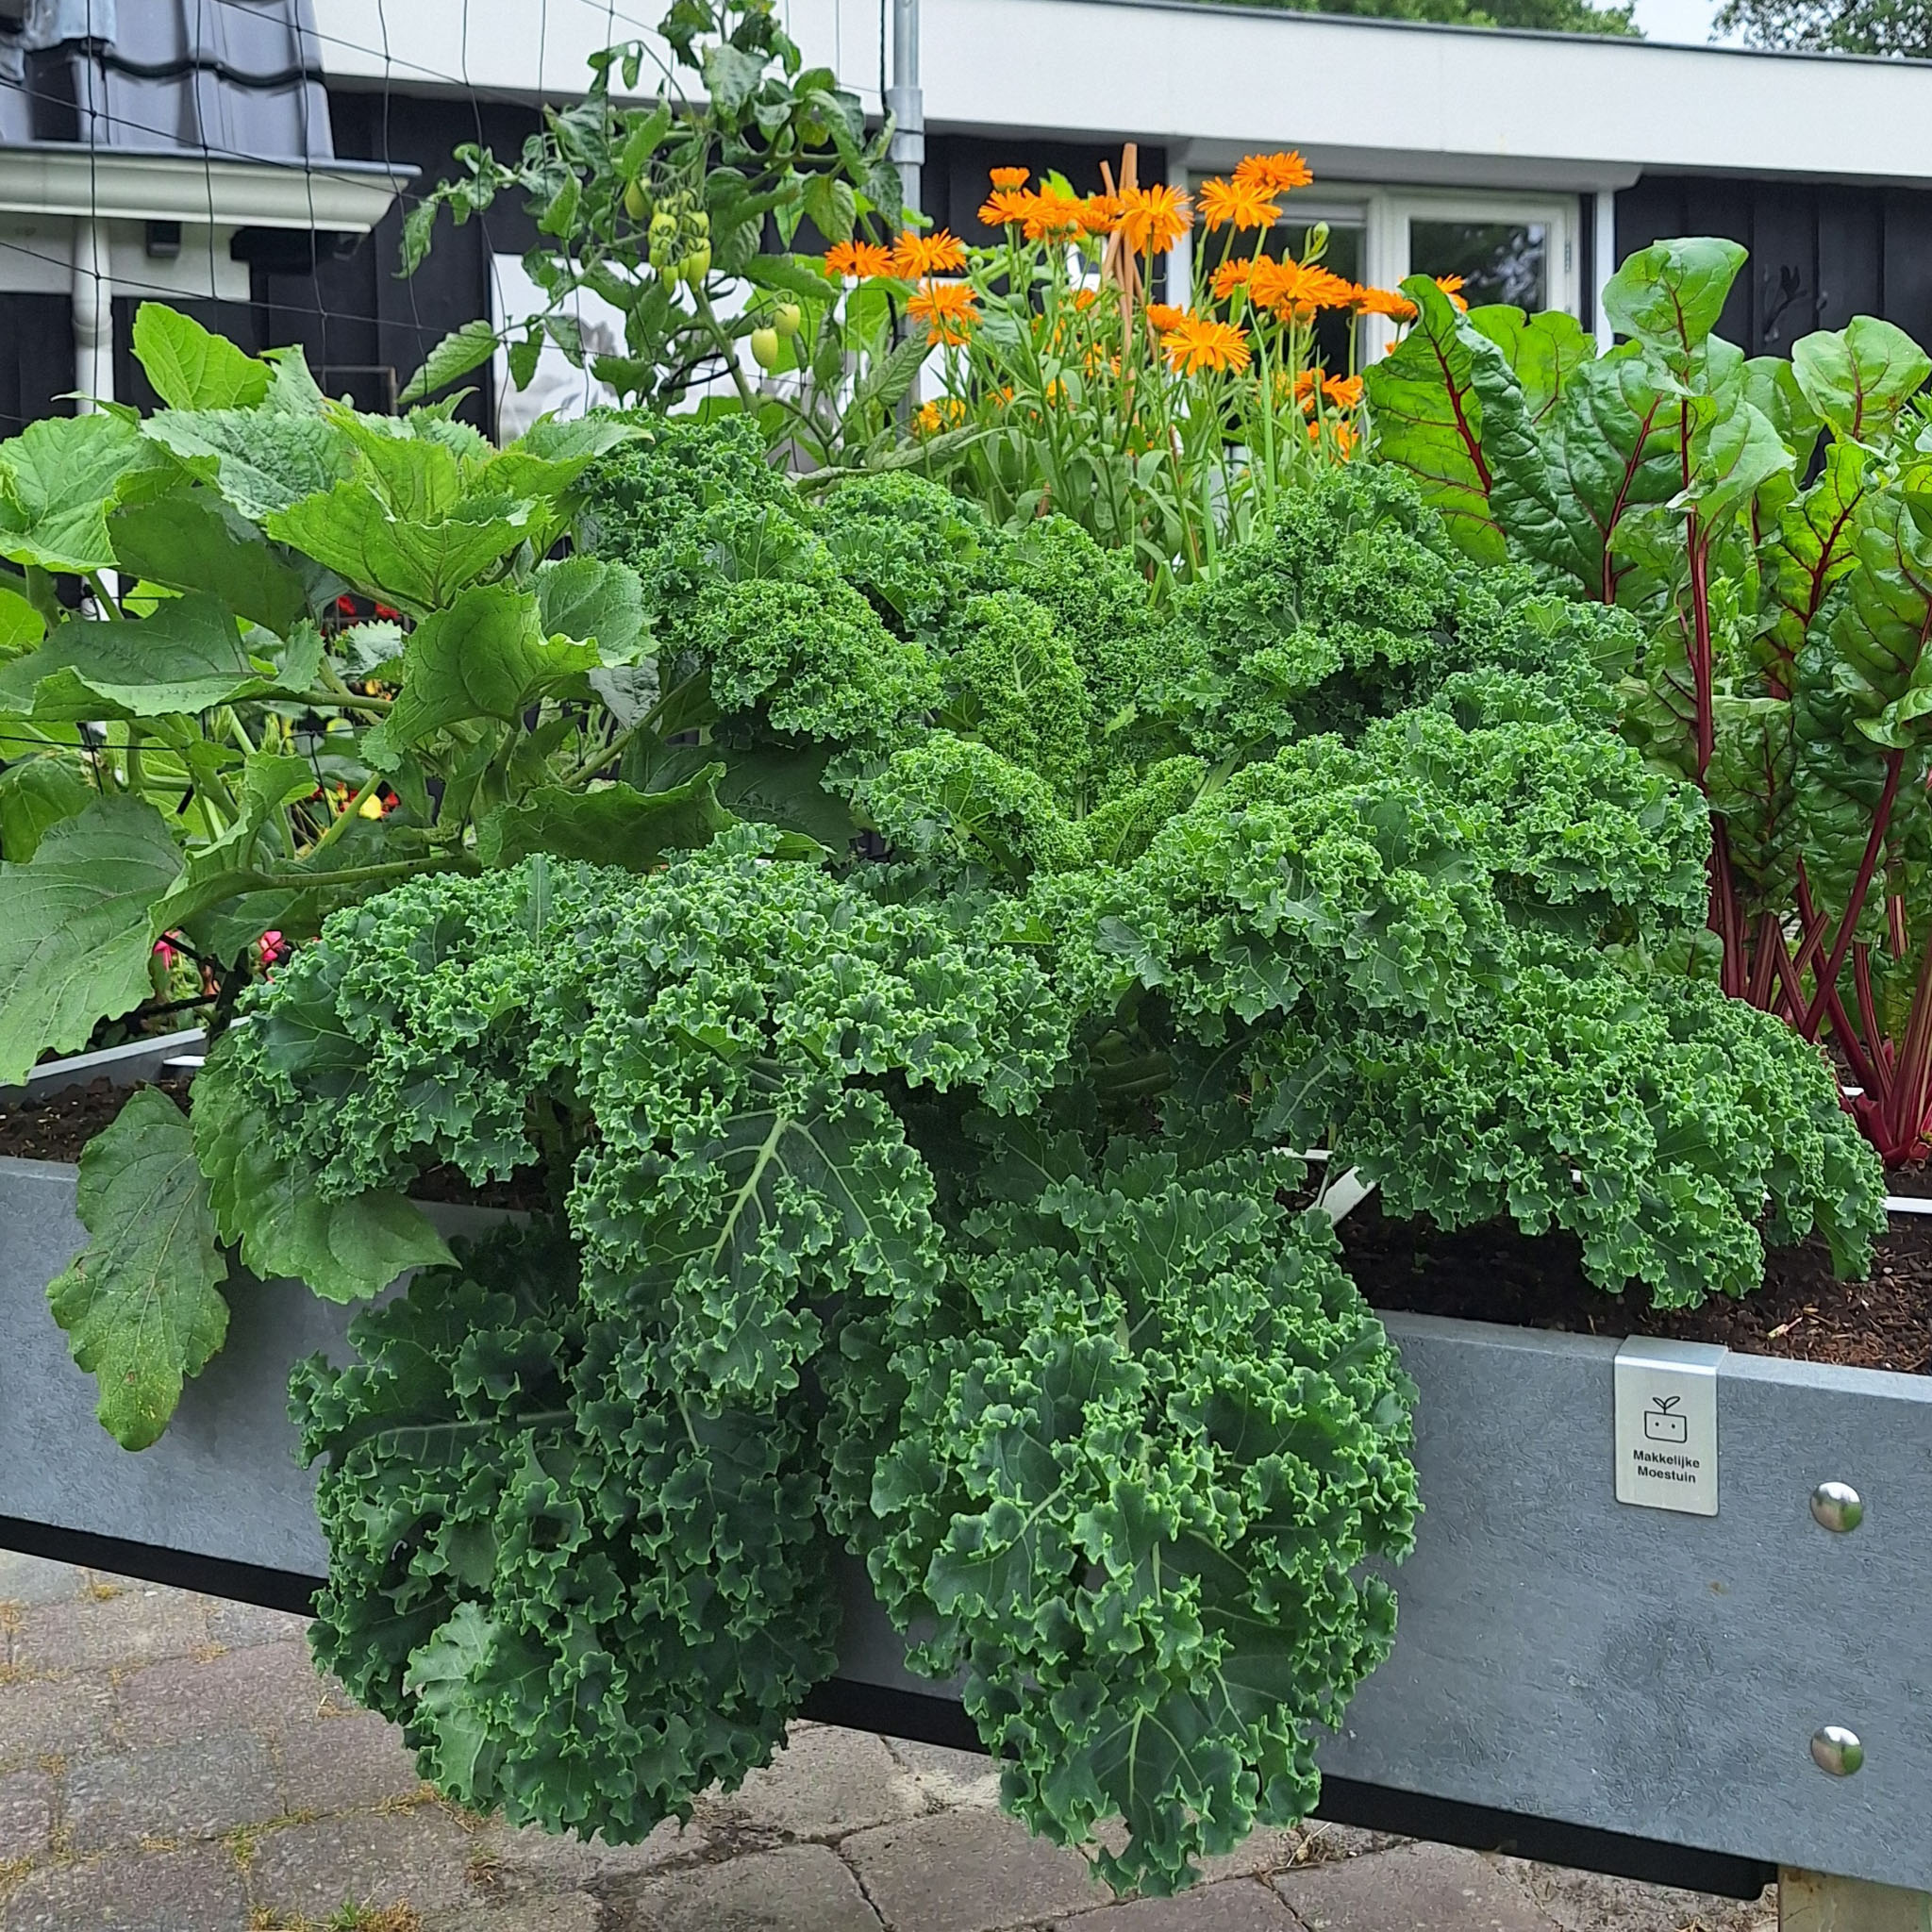
- one 30 x 30 cm square
- MM-Mix (or HarvestKit Coco Mix)
- a spot with at least 6 to 8 hours of sunlight a day
How do you sow and grow Multi-cut kale?
This Multi-cut kale is included in the free Makkelijke Moestuin app. It guides you step by step through sowing, growing and harvesting.
Every vegetable passes through several stages, which we call levels. The app tells you exactly what to do at each level and regularly asks you to check whether your plants are ready for the next one.
So you don't need to know how to grow Multi-cut kale successfully before you begin. But if you'd like to read ahead, you'll find the details below.
Every vegetable passes through several stages, which we call levels. The app tells you exactly what to do at each level and regularly asks you to check whether your plants are ready for the next one.
So you don't need to know how to grow Multi-cut kale successfully before you begin. But if you'd like to read ahead, you'll find the details below.
Level 1: A short indoor start
Multi-cut kale takes about eight weeks to grow from a seed into a plant you can harvest from. Because the seeds are fairly expensive, you'll want to make sure they germinate well. That's why we always start them indoors and only move the young plant into its own square about 4 weeks later.
This also helps you make the most of your squares, because something else can grow there during those four weeks.
This also helps you make the most of your squares, because something else can grow there during those four weeks.
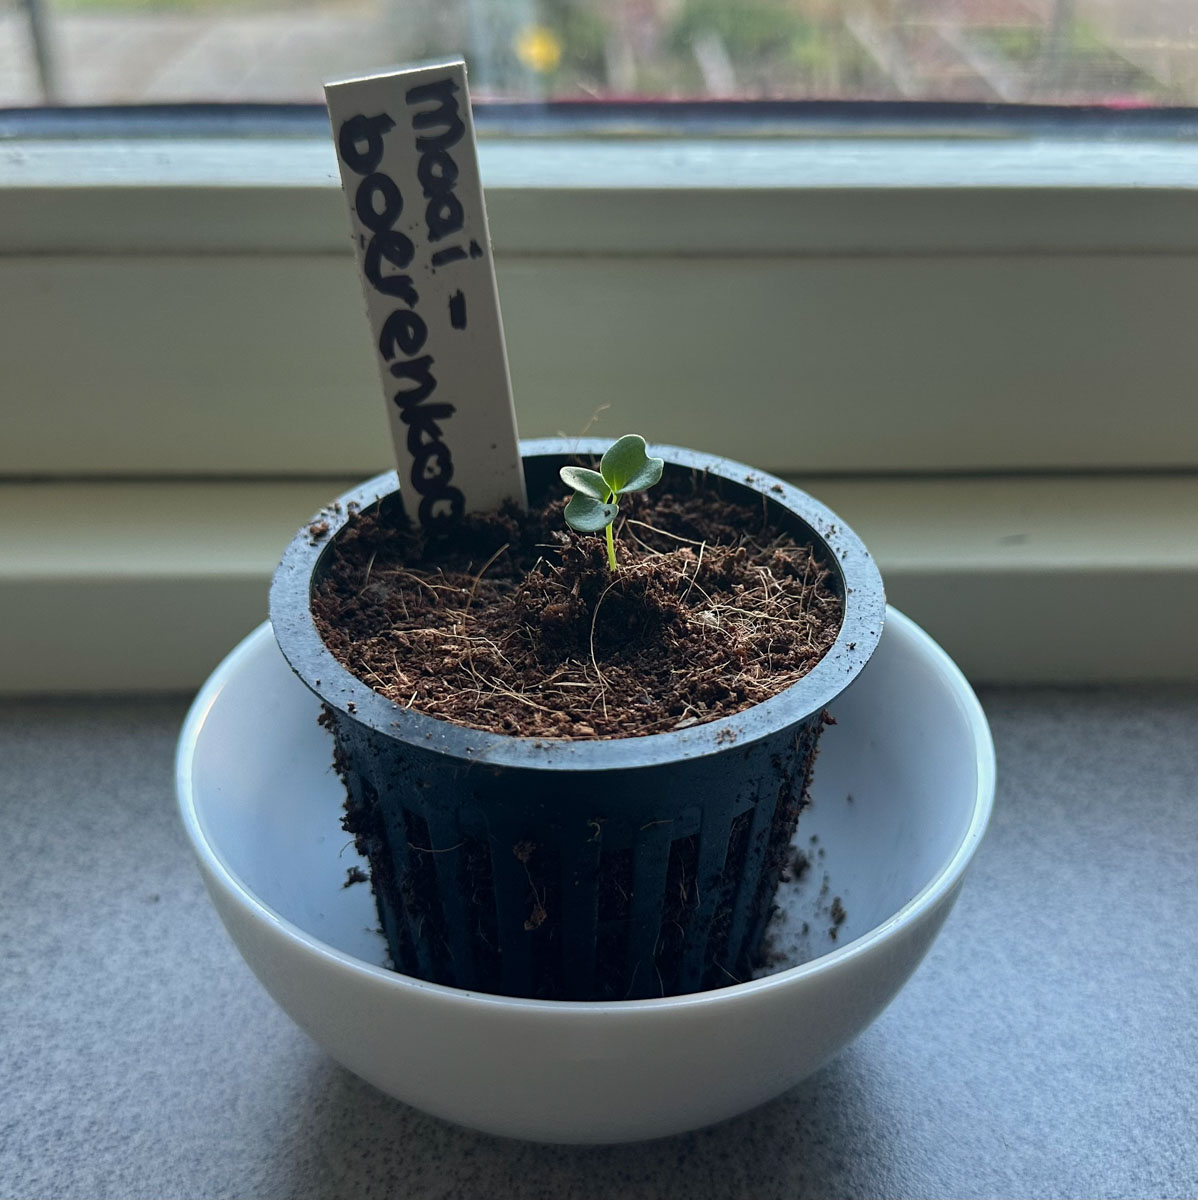
Starting the seeds works best in small MM-Airpots filled with MM pre-sowing mix. They don't take up much room and give the seedlings just enough nutrition for their first growth.
Levels 2 and 3: Moving outdoors
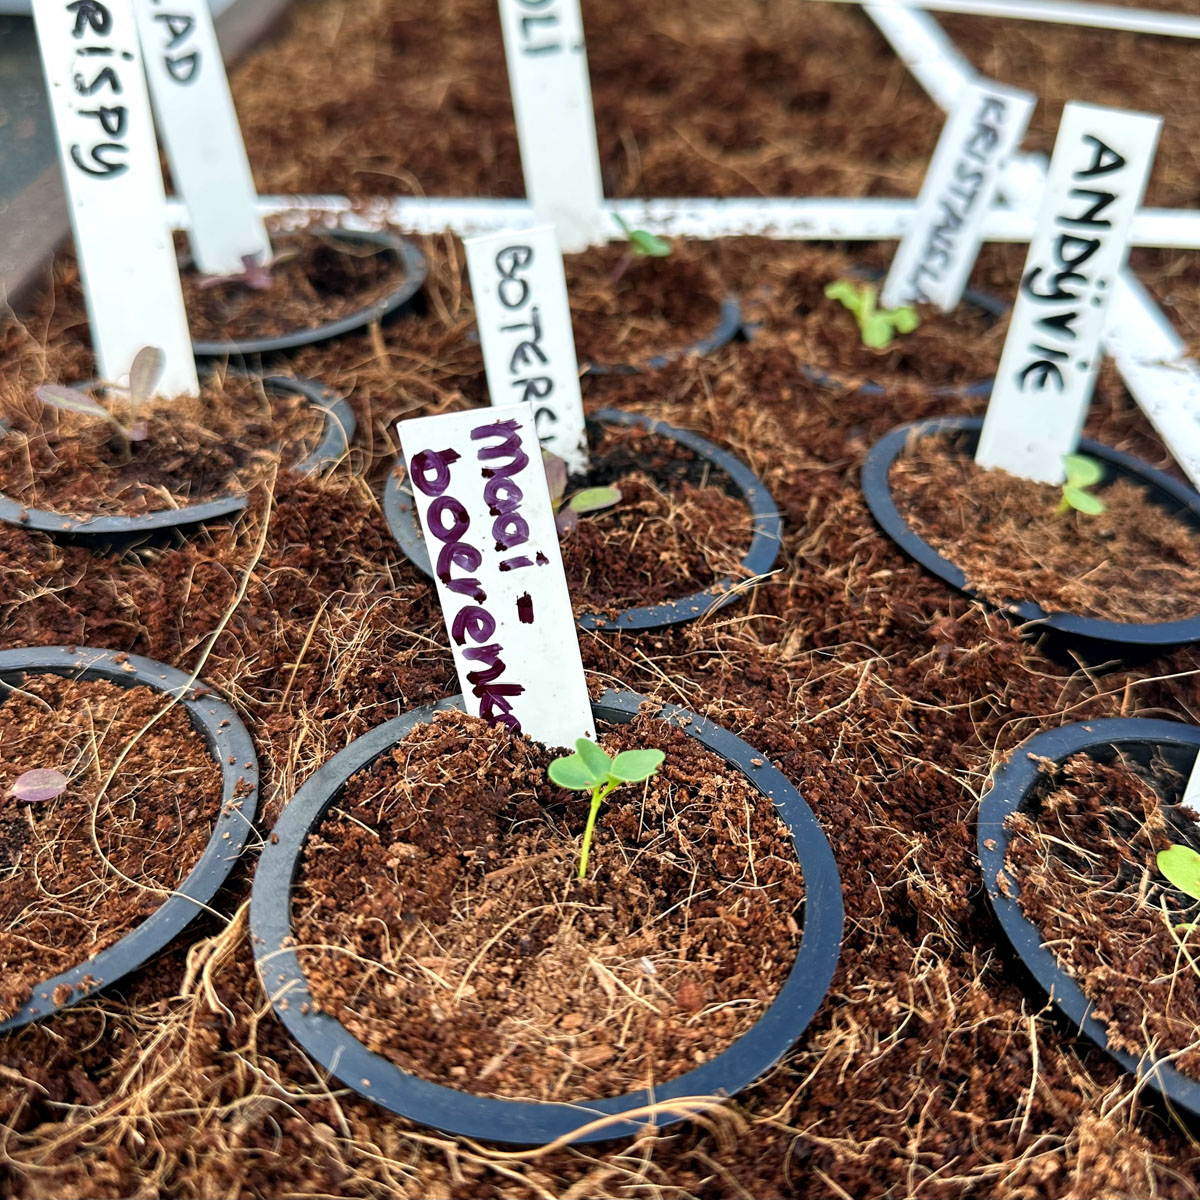
As soon as you see the seedling emerge, put the pot in full light, ideally somewhere no warmer than 16°C. A few days later, the seedling will be large enough to go outside. Put the pot in an empty square or an MM-mini, for example; either can easily hold 9 pots.
In March and April, give the seedlings some extra protection from frost and bad weather when needed. From May onwards, even that is no longer necessary, as long as slugs can't reach them.
In March and April, give the seedlings some extra protection from frost and bad weather when needed. From May onwards, even that is no longer necessary, as long as slugs can't reach them.
Level 4: Planting out in its own square
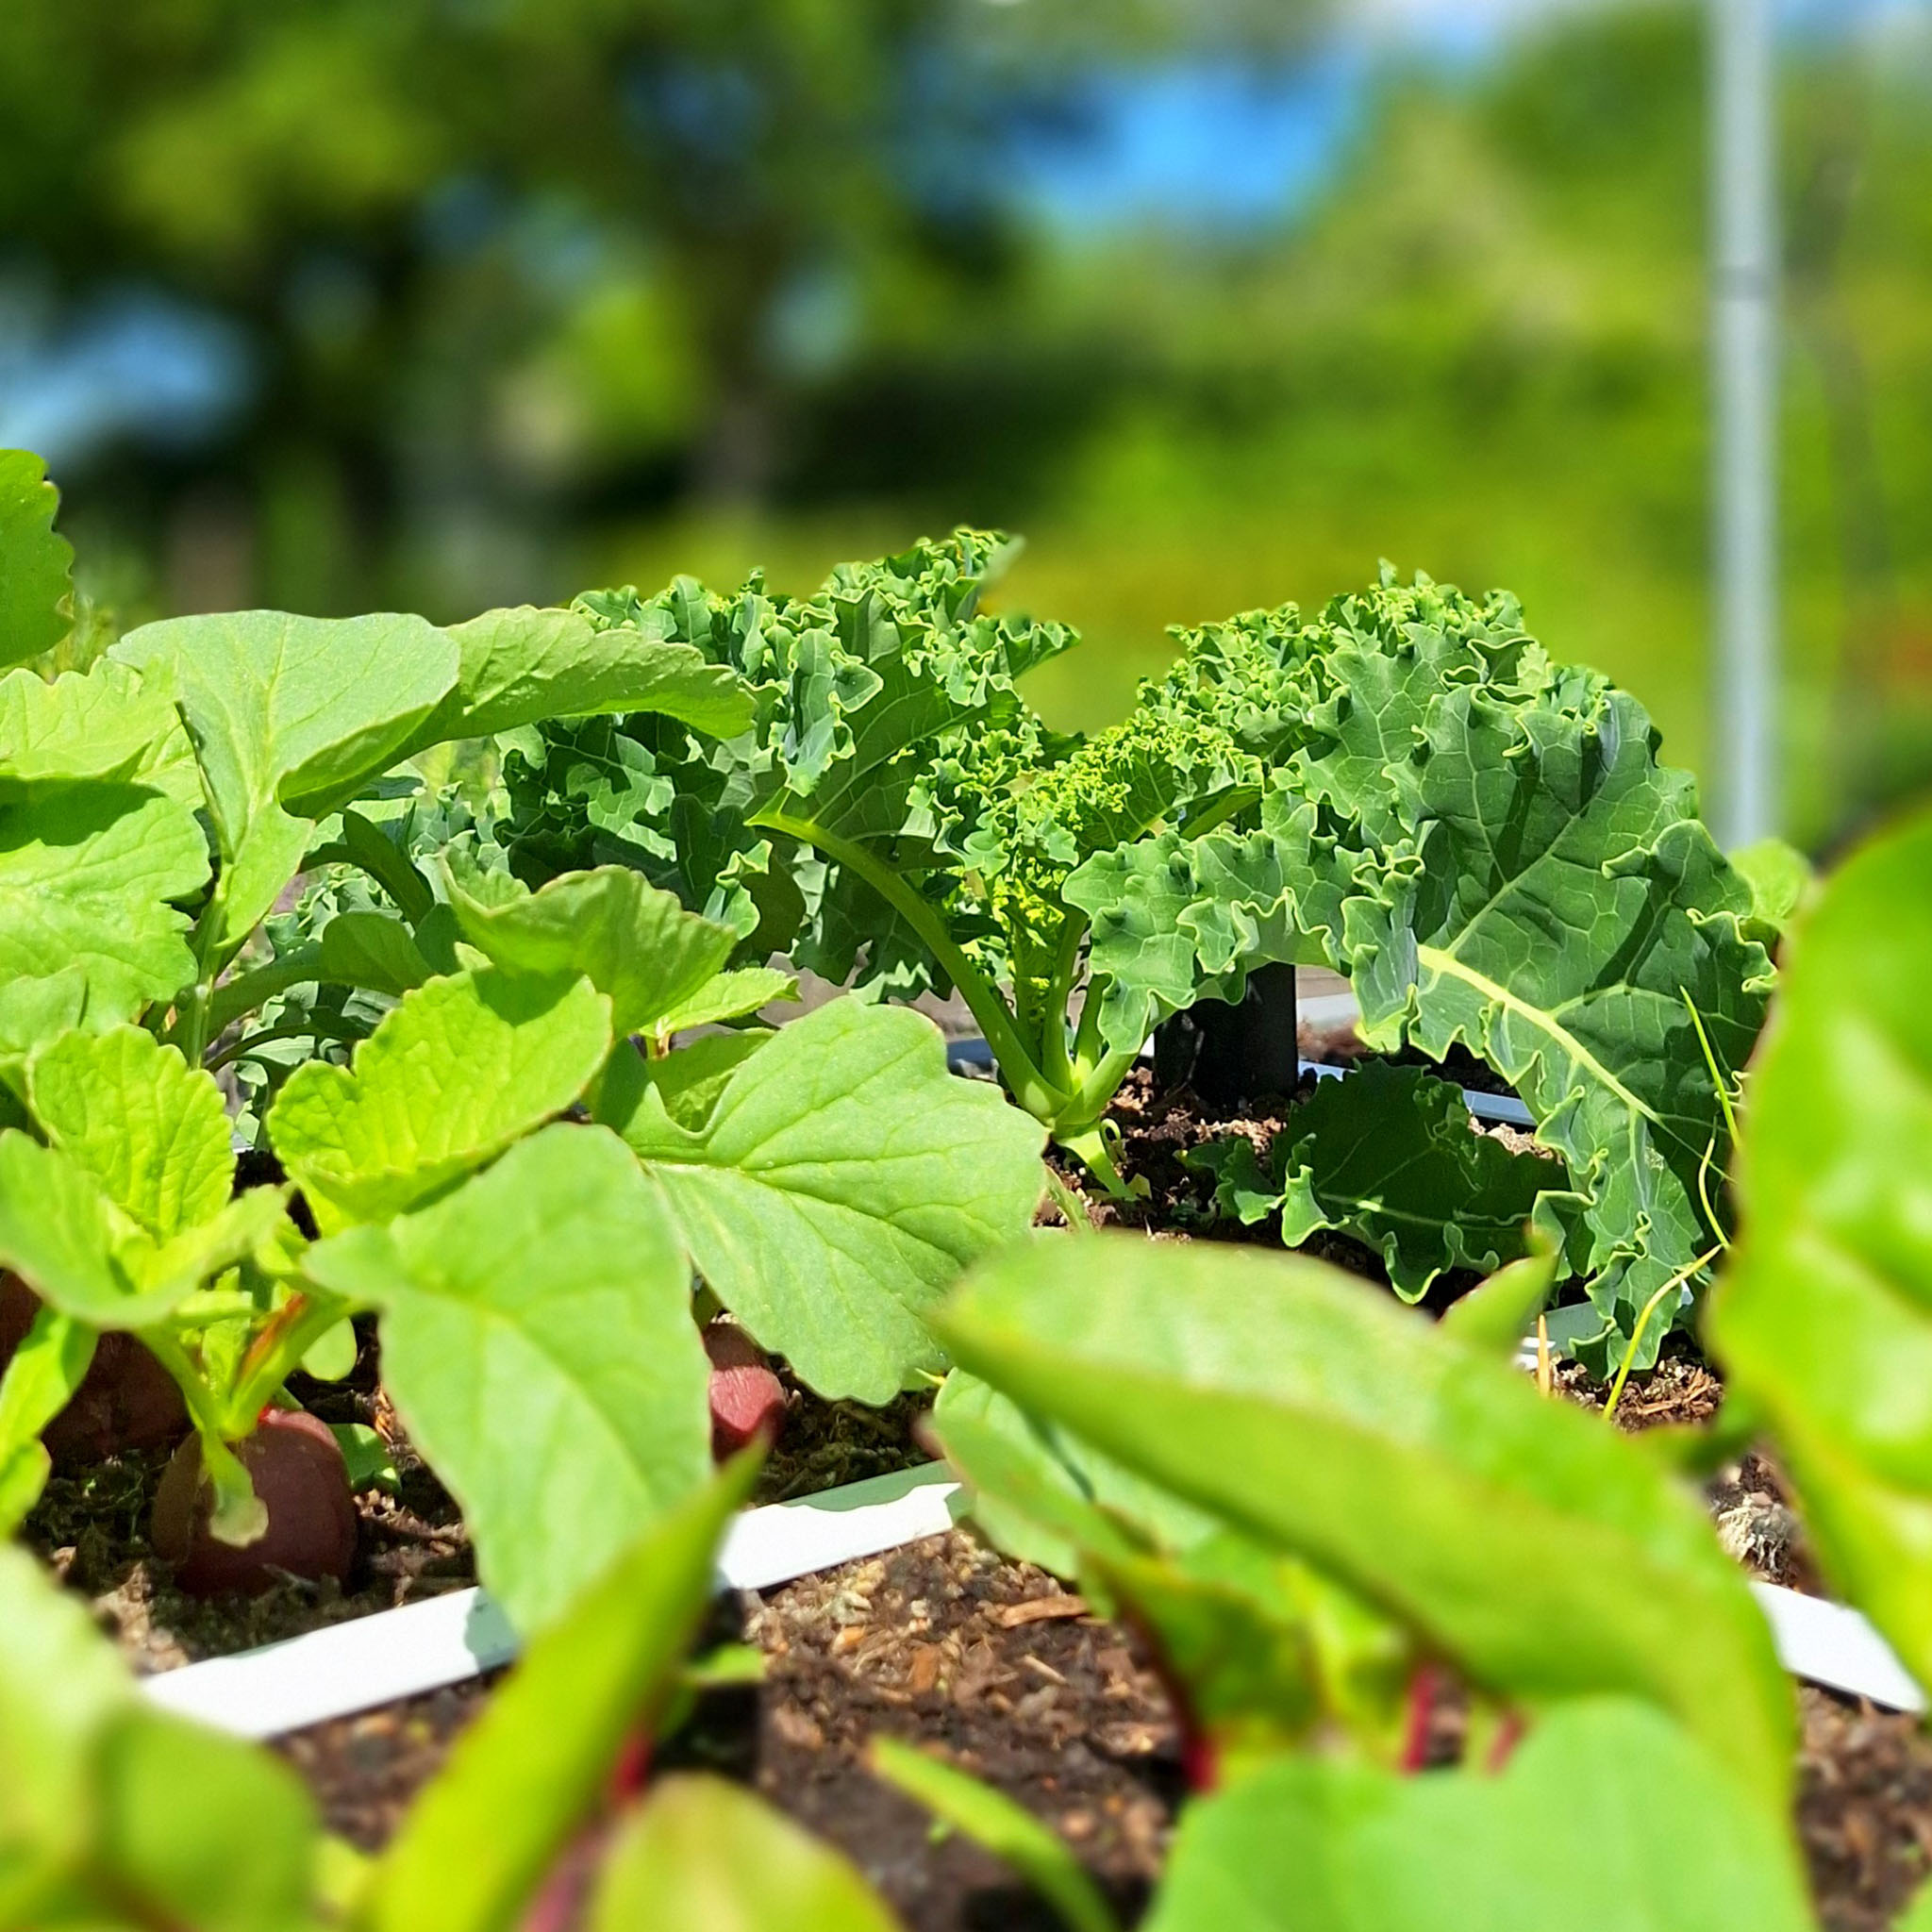
About 4 weeks after sowing, your plant will be large enough to move into its own square.
Choose a square along the edge of your raised bed or, even better, in a corner. This gives the plant a little extra room as it grows.
Choose a square along the edge of your raised bed or, even better, in a corner. This gives the plant a little extra room as it grows.
Keep protecting the plant from slugs, as they love young brassicas.
During butterfly season, almost everyone encounters the greatest enemy of brassicas: the cabbage white. This pretty white butterfly lays eggs on or under the leaves. The caterpillars that hatch from them are more than happy to eat large holes in the leaves.
Read more about cabbage whites and caterpillars.
Keep taking good care of your plant too: water it regularly* and remove weeds straight away, along with any yellow or withered leaves.
*If you have MM water reservoirs, you'll hardly need to water at all. Read more about them here.
Read more about cabbage whites and caterpillars.
Keep taking good care of your plant too: water it regularly* and remove weeds straight away, along with any yellow or withered leaves.
*If you have MM water reservoirs, you'll hardly need to water at all. Read more about them here.
Level 5: Harvesting Multi-cut kale
At this stage, about 8 weeks after sowing, you can start harvesting a few leaves at a time.
Cut or snap off the lower leaves. As long as you leave the growing tip in place, the plant will keep producing new leaves.
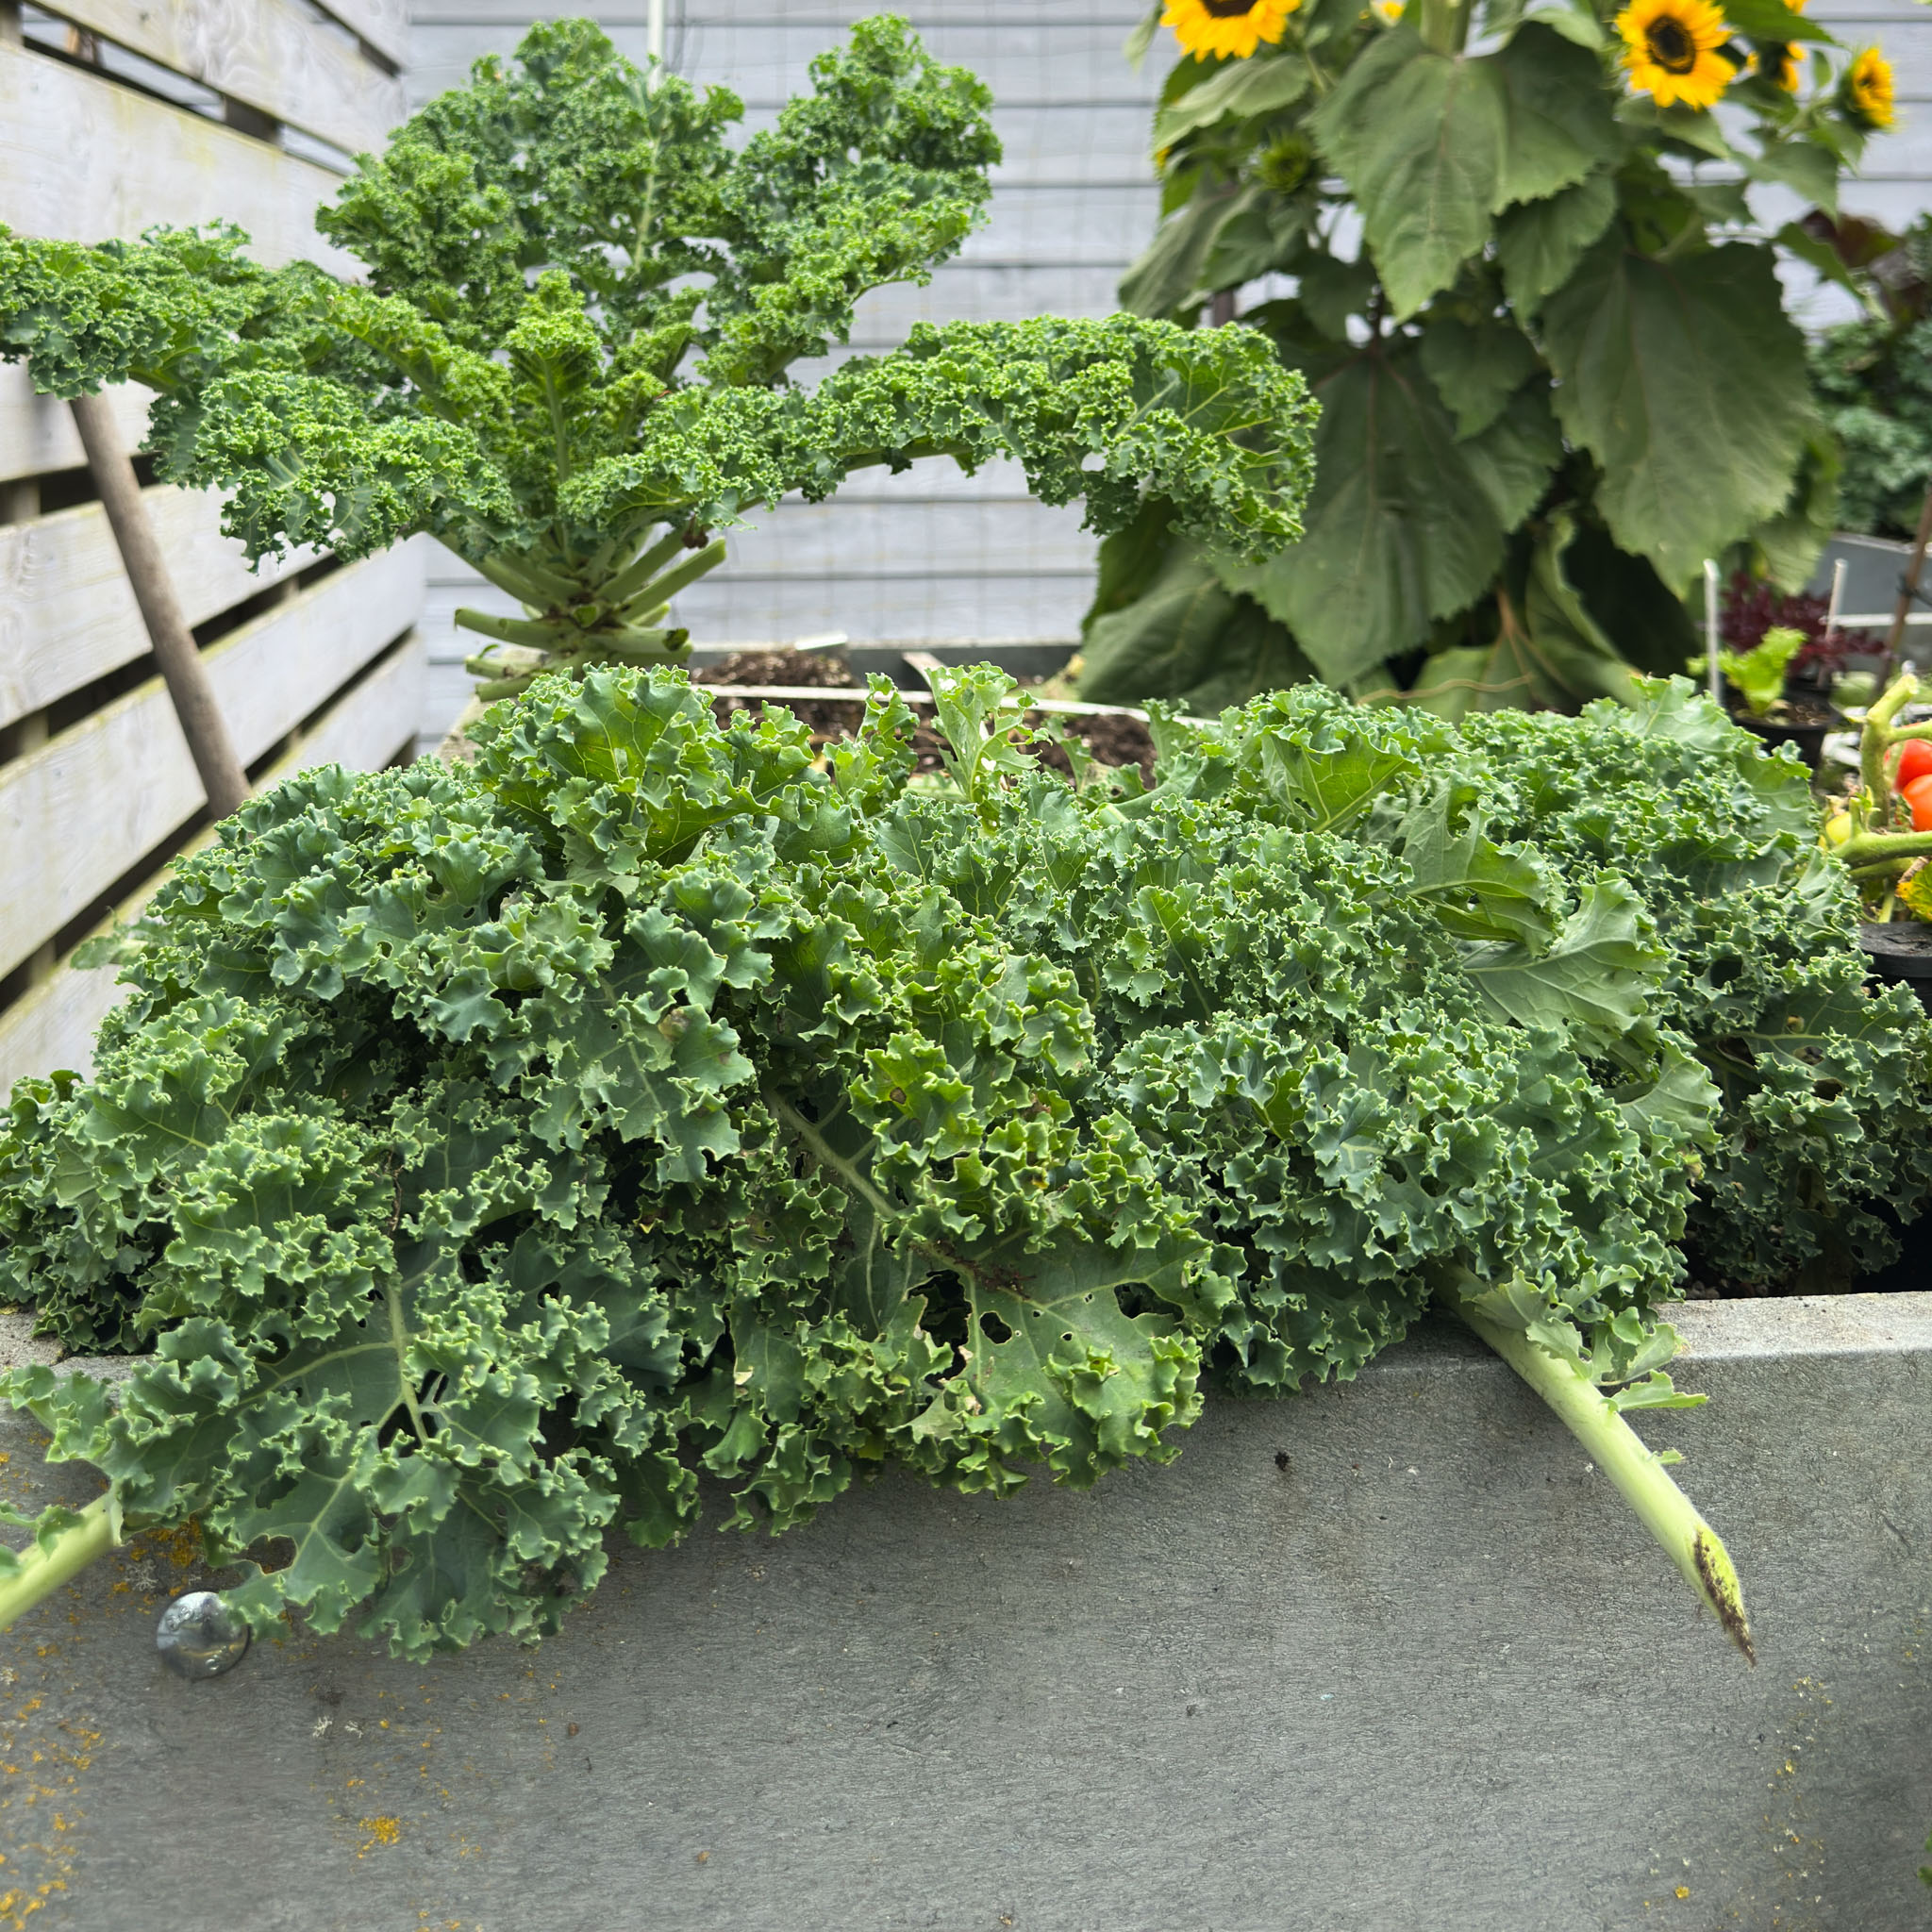
The plant keeps growing throughout the season and can become quite large, so make sure it doesn't get too big and take up too much room.
Keep harvesting generously and remove some leaves regularly. Water in dry weather and remove withered leaves too.
Level 6: Keep harvesting all year round
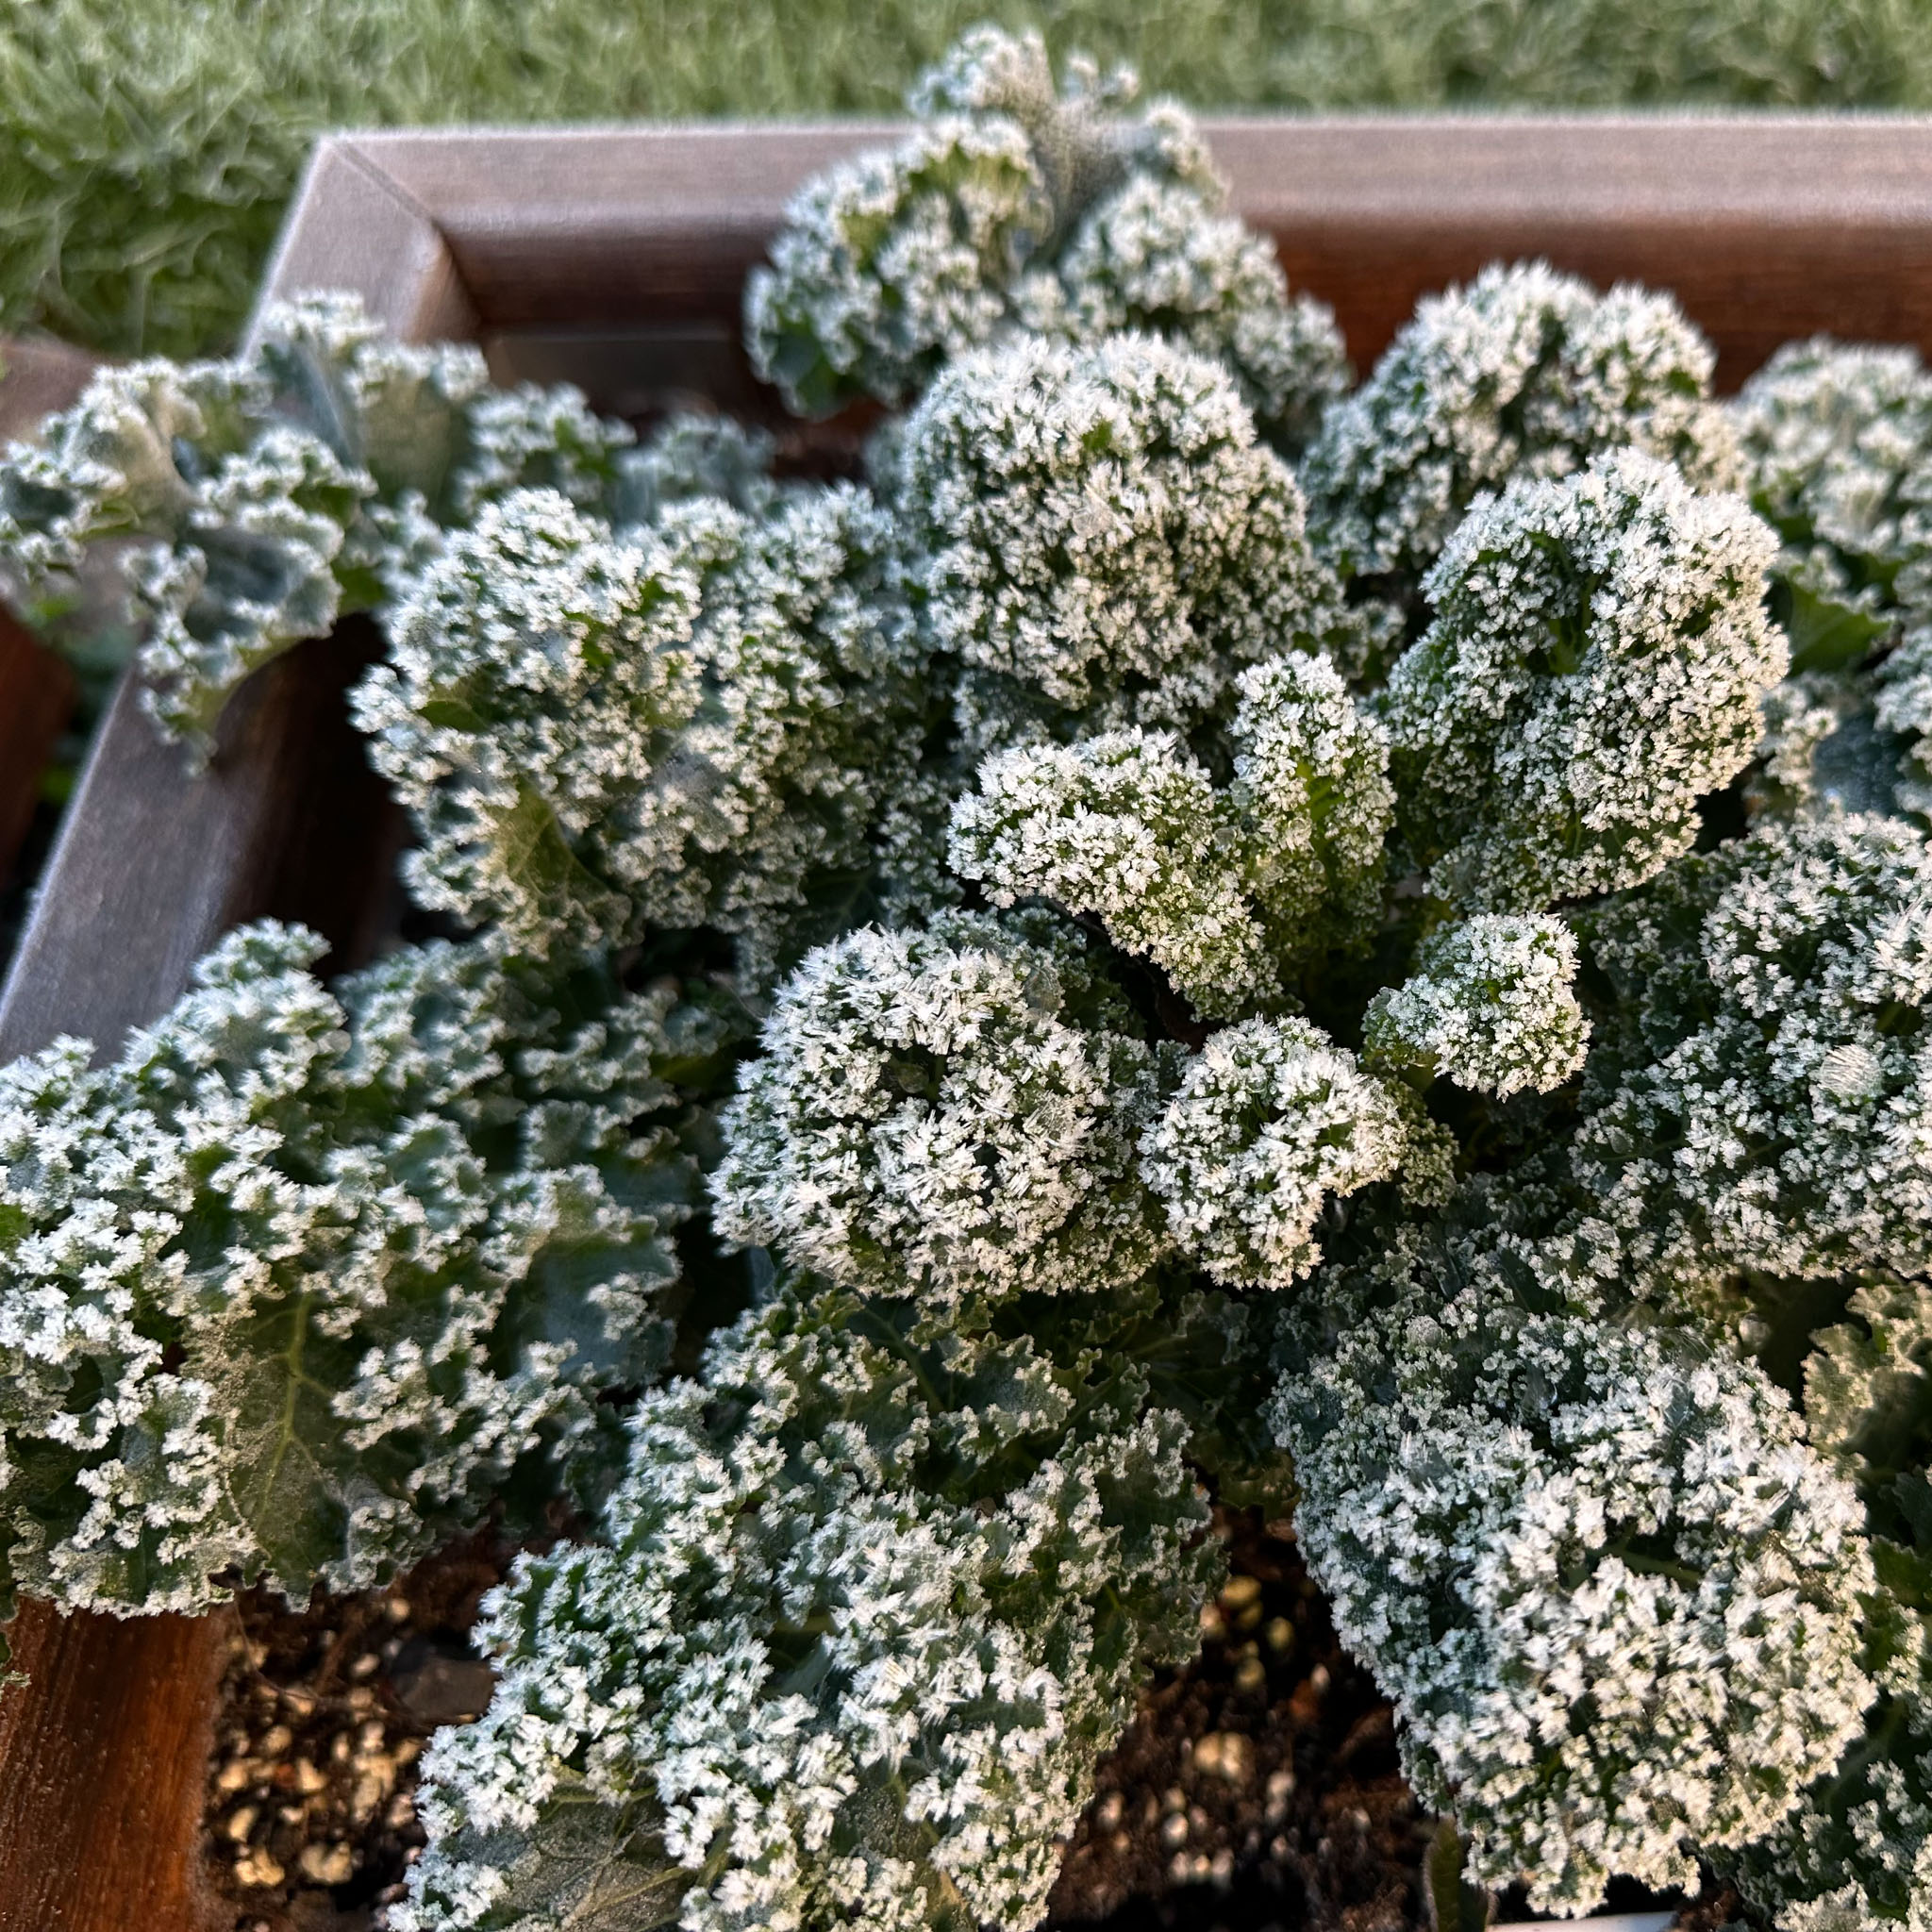
Multi-cut kale tolerates frost well, so you can leave it in place for a long time. Its leaves even become more tender after a frost.
Growth almost stops during winter.
Growth almost stops during winter.
A spring feast for you and the bees
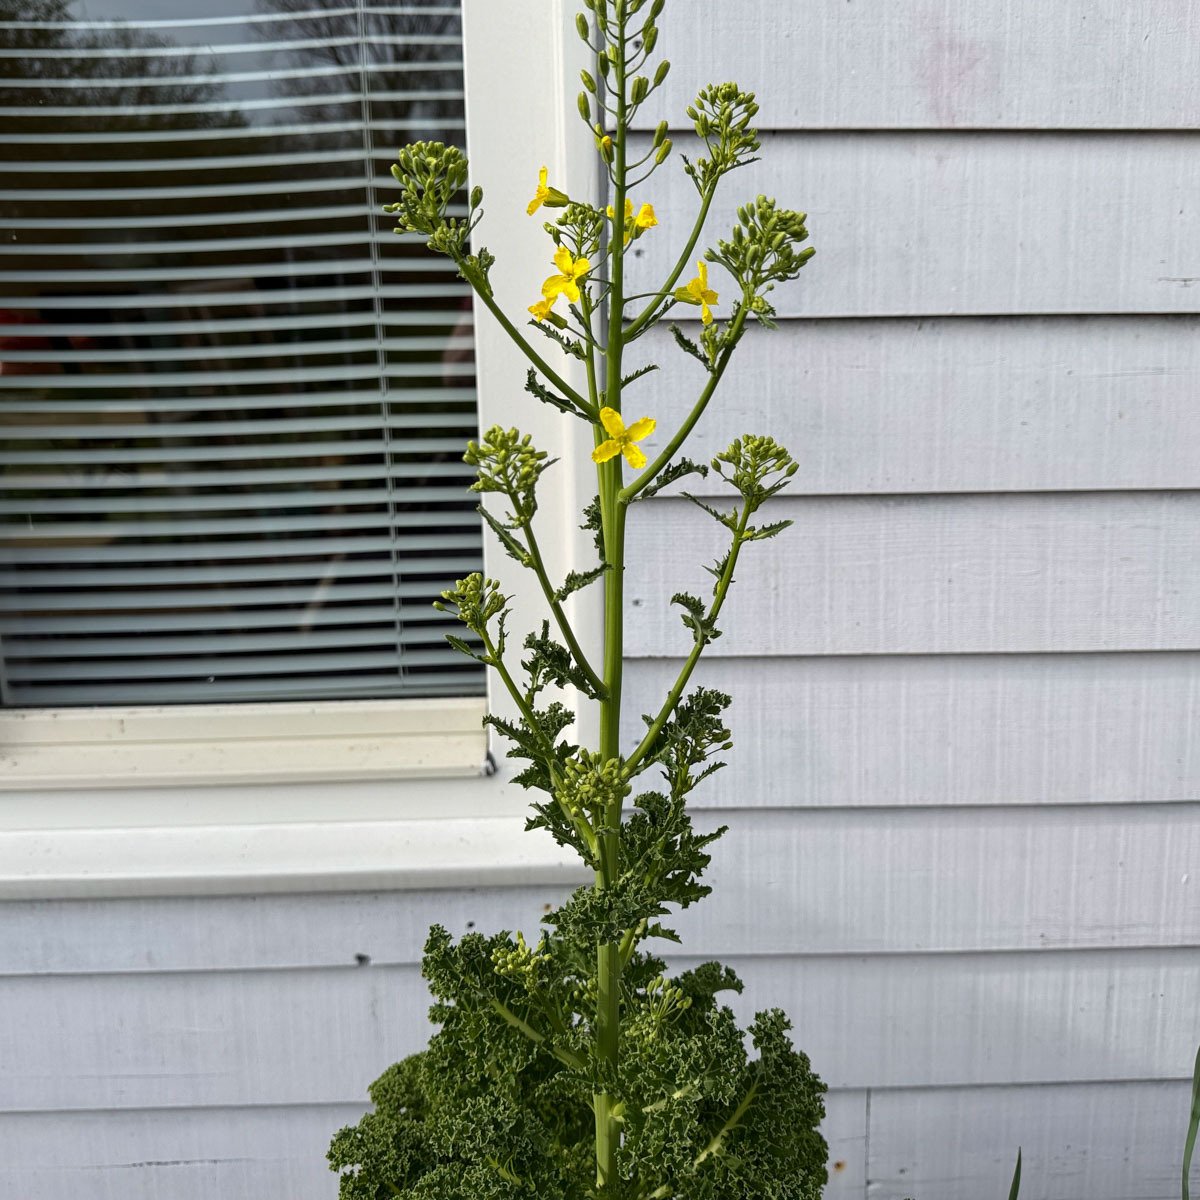
In early spring, the kale plant starts growing strongly again. You can keep harvesting until it begins to flower. Then harvest the remaining leaves and remove the plant from your raised bed.
Or leave the flowering plant in place a little longer for bees, bumblebees and butterflies. That early food is a real gift for them.
How can you use Multi-cut kale?
The best-known dish is the Dutch classic kale stamppot: mashed potatoes and kale. The leaves are just as good in soups and stir-fries.
Their mild flavour also makes finely sliced young leaves a tasty addition to salads or green smoothies.
Or use them in a delicious quiche, as Sonja did:
Or use them in a delicious quiche, as Sonja did:

So, what are you waiting for? Grow your own Multi-cut kale
It's one of the easiest vegetables to grow, you can enjoy it for a long time, and it tastes fantastic.
Plus, with our materials and app, it's almost impossible to fail 😉
Good luck!
Plus, with our materials and app, it's almost impossible to fail 😉
Good luck!