Planting and growing early potatoes
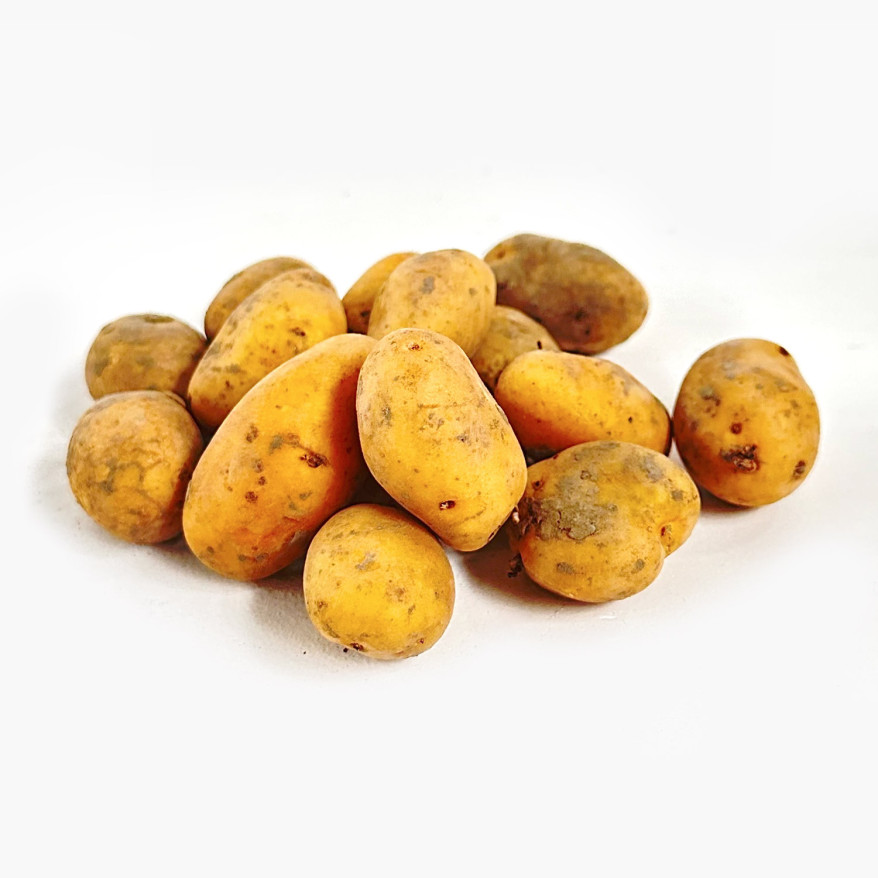
Our potatoes are planted early in the year and can therefore be harvested earlier than most other varieties. They are super tasty, waxy, and have a yellow colour and oval shape.
What are (early) potatoes?
Potatoes come in all kinds: different colours, floury, waxy, round, oval, and also early, mid-early, and late varieties. Late potatoes are mainly grown for winter storage.
The plant originally comes from South America, but since the 16th century it has become a staple of the European diet. That makes sense: the plant forms underground tubers where it stores large amounts of starch. Alongside rice, wheat, and maize, potatoes are one of the most important food sources for people.
Most potatoes are planted in April and May and harvested from late July. Early varieties, like ours, go into the mix from mid-March and can be harvested as early as June.
Potatoes contain a lot of carbohydrates, mainly as starch.
Because low-carb diets have become popular, potatoes sometimes get a bad reputation. And yes: buttery mash, crisps, chips, and potatoes with lots of gravy are not ideal if you eat them every day.
But potatoes also contain vitamin C and vitamin B6, plus smaller amounts of other B vitamins. They contain potassium, calcium, manganese, and phosphorus, as well as a good amount of antioxidants. The starch in potatoes is also resistant starch, which is digested in the large intestine. Various studies suggest this can help with blood sugar levels, digestion, nutrient absorption, and feeling full.
In short: potatoes are a fine addition to your diet, as long as you eat them in moderation. Preferably not every day, as fresh as possible, and prepared by you without all those fatty additions.
And one more thing: most of the fibre and vitamins are in the skin. So use varieties with a thin skin that you can simply cook or bake with the skin on, like ours.
More about the potatoes from the Makkelijke Moestuin
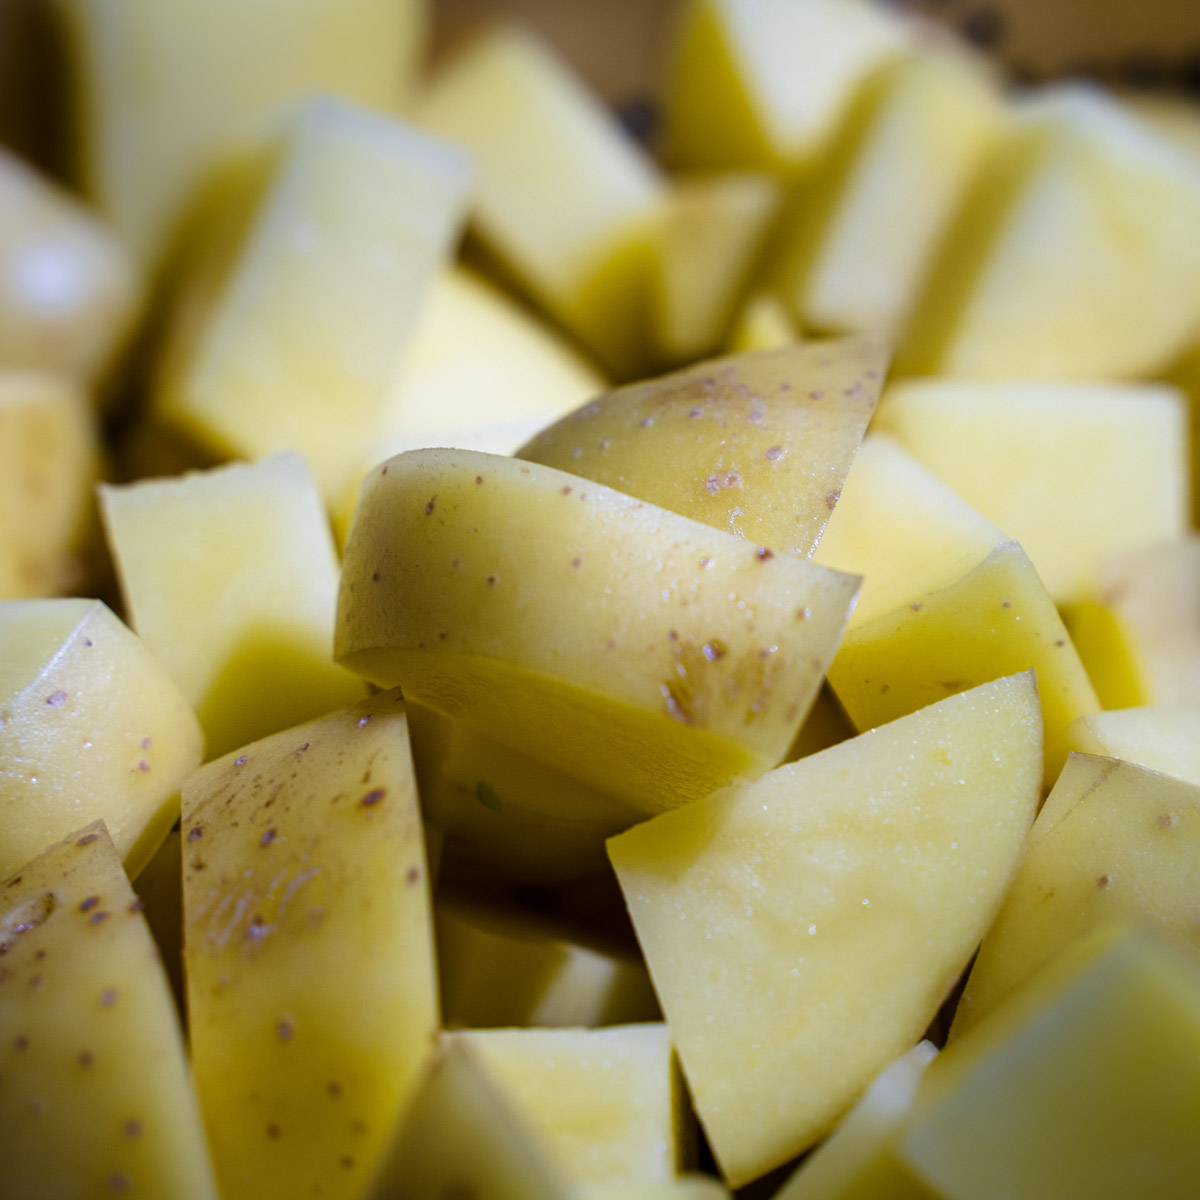
Our seed potatoes are very early potatoes that stay firm when cooked. They have a smooth, elongated shape, a yellow colour, and a great flavour. Ideal for salads, frying, or the air fryer. Of course, you can also boil them.
- Variety: Annabel
- Family: nightshade
- Plants per square: 2
- Height: 40 to 60 cm
- Pre-sprouting: mid-February to mid-March
- Planting time: mid-March to mid-May
- Planting depth: about 20 cm, on the bottom of your garden box
- Harvest time: from the end of June, after 90 to 110 days
- Germination: 21 to 35 days at 7 to 21°C
- Sunlight: full sun or partial shade
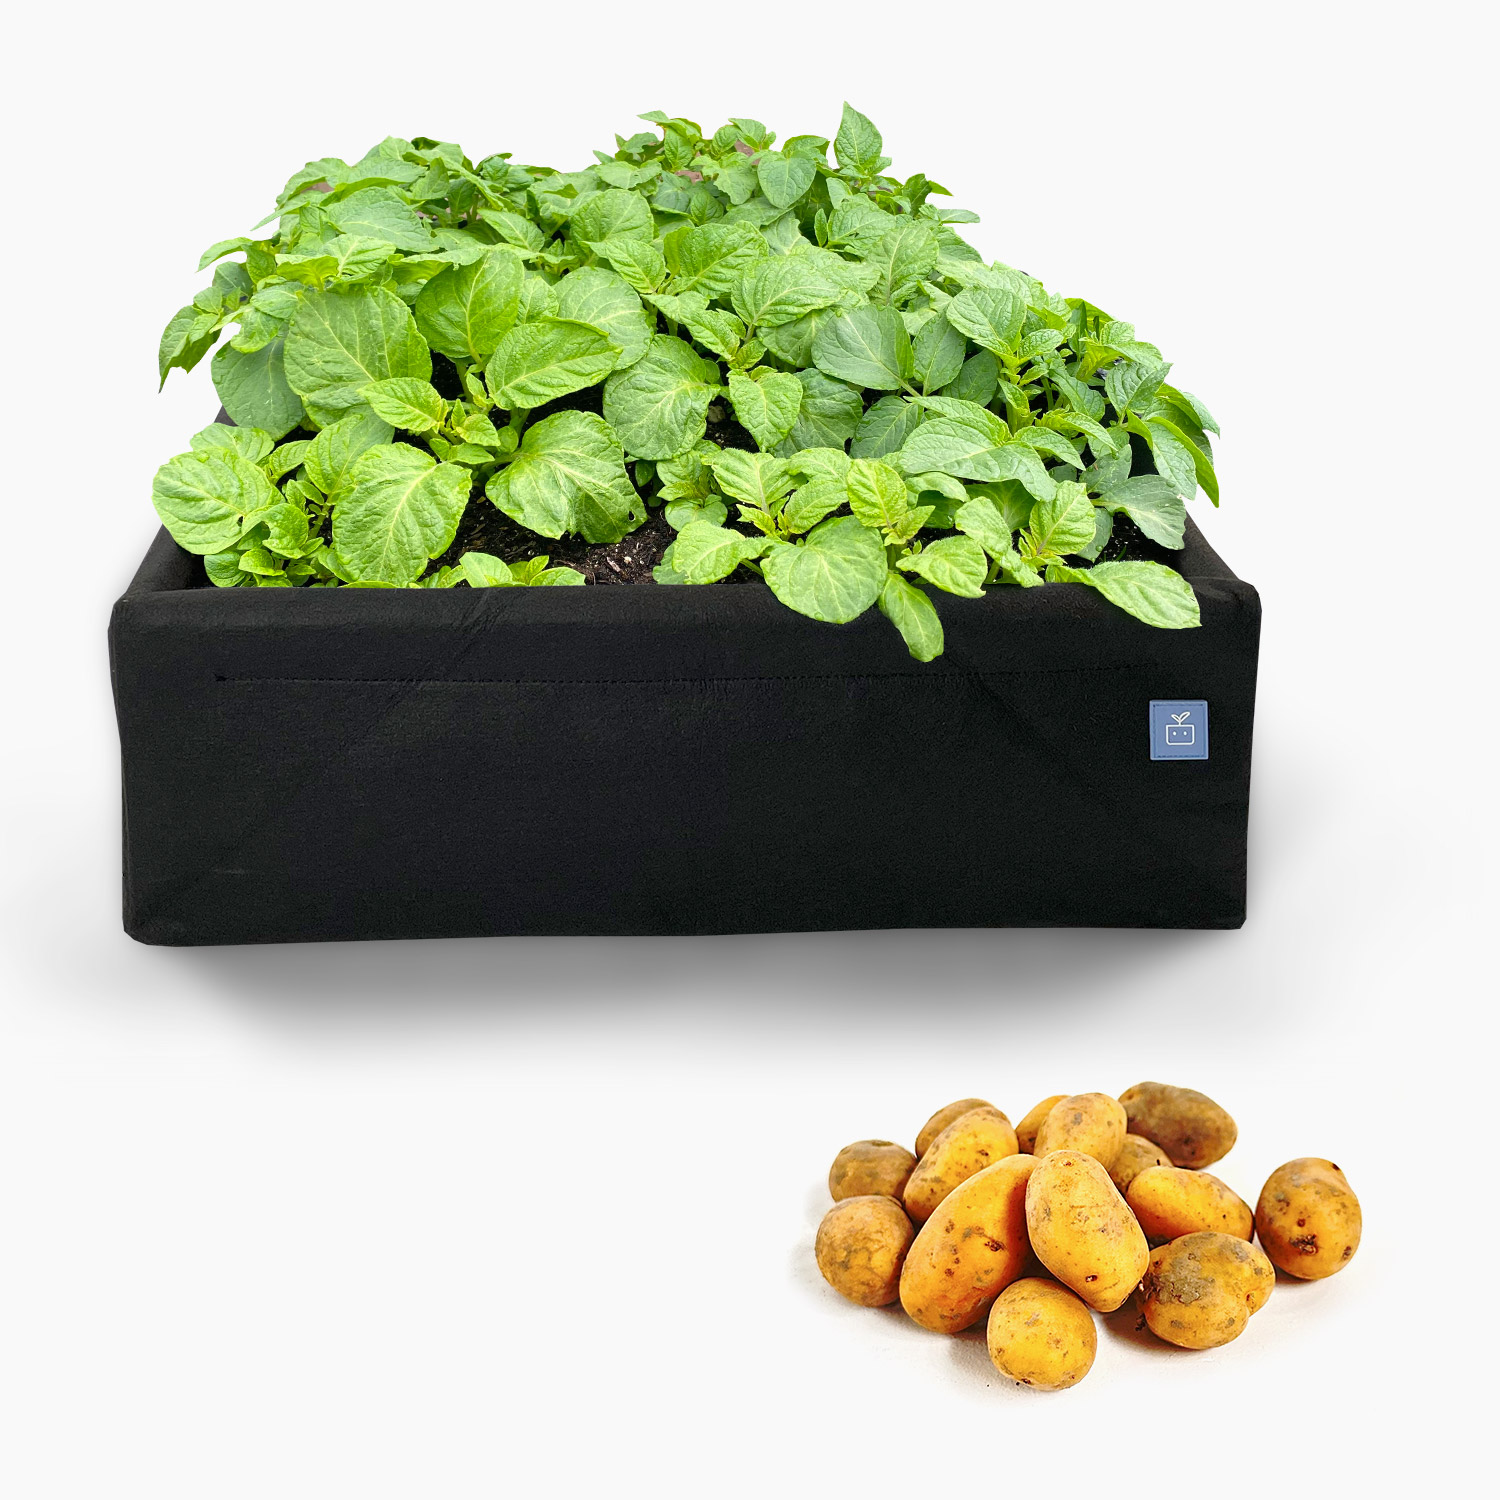
On average, one square yields 1.25 kg of potatoes. That is four times as much as a potato farmer gets per square metre.
We sell these potatoes in 250 g nets, and only in spring. Stock is limited and when it is gone, it is gone. Each net contains 8 to 10 small potatoes: enough for 4 to 5 squares.
What do you need to grow potatoes yourself?
All you need is this:
- a container for pre-sprouting, or an empty egg box
- a 30 x 30 cm square with a light, nutritious soil mix
- early seed potatoes
- a spot with at least 6 to 8 hours of sunlight per day
In other words: an MM-Mini, or a square in one of our garden boxes, filled with MM-Mix.
In this perfect soil mix, growing potatoes is really easy. If you grow them in poor-quality potting soil, it becomes much harder and the results will disappoint. So do not skimp on the basics: go for the best.
In this perfect soil mix, growing potatoes is really easy. If you grow them in poor-quality potting soil, it becomes much harder and the results will disappoint. So do not skimp on the basics: go for the best.
All potatoes are susceptible to the dreaded phytophthora, a plant disease that can also affect tomatoes. So never plant potatoes in the same mix two years in a row. Leave two or three years in between.
That is why I like using an MM-Mini or MM-Airbak for potatoes. You can also grow them in your garden boxes, but then you need to remember to skip those squares in the coming years.
The good news: early potatoes are much less likely to get this disease than later varieties.
That is why I like using an MM-Mini or MM-Airbak for potatoes. You can also grow them in your garden boxes, but then you need to remember to skip those squares in the coming years.
The good news: early potatoes are much less likely to get this disease than later varieties.
How to plant and grow early potatoes?
These potatoes are available in the free Makkelijke Moestuin app. If you use it, it will guide you from planting to harvesting.
Each vegetable goes through several stages - we call them levels. The app tells you exactly what to do in each level and regularly prompts you to check if your plants are ready to move on to the next level.
You don't need to know how to successfully grow potatoes in advance. But if you're interested in reading more, I'll now explain what the whole process will look like.

We deliver these potatoes early: from mid-February. During this time, it is often still cold and wet outside, so it doesn't make much sense to plant them outside yet.
That's why we sprout them indoors until mid-March. This way, they already have sprouts, the plants emerge earlier, and you can harvest earlier as well. If you receive the potatoes after March 15th, you can skip the sprouting process and start directly with level 2.
That's why we sprout them indoors until mid-March. This way, they already have sprouts, the plants emerge earlier, and you can harvest earlier as well. If you receive the potatoes after March 15th, you can skip the sprouting process and start directly with level 2.
Level 1: Pre-sprouting early potatoes
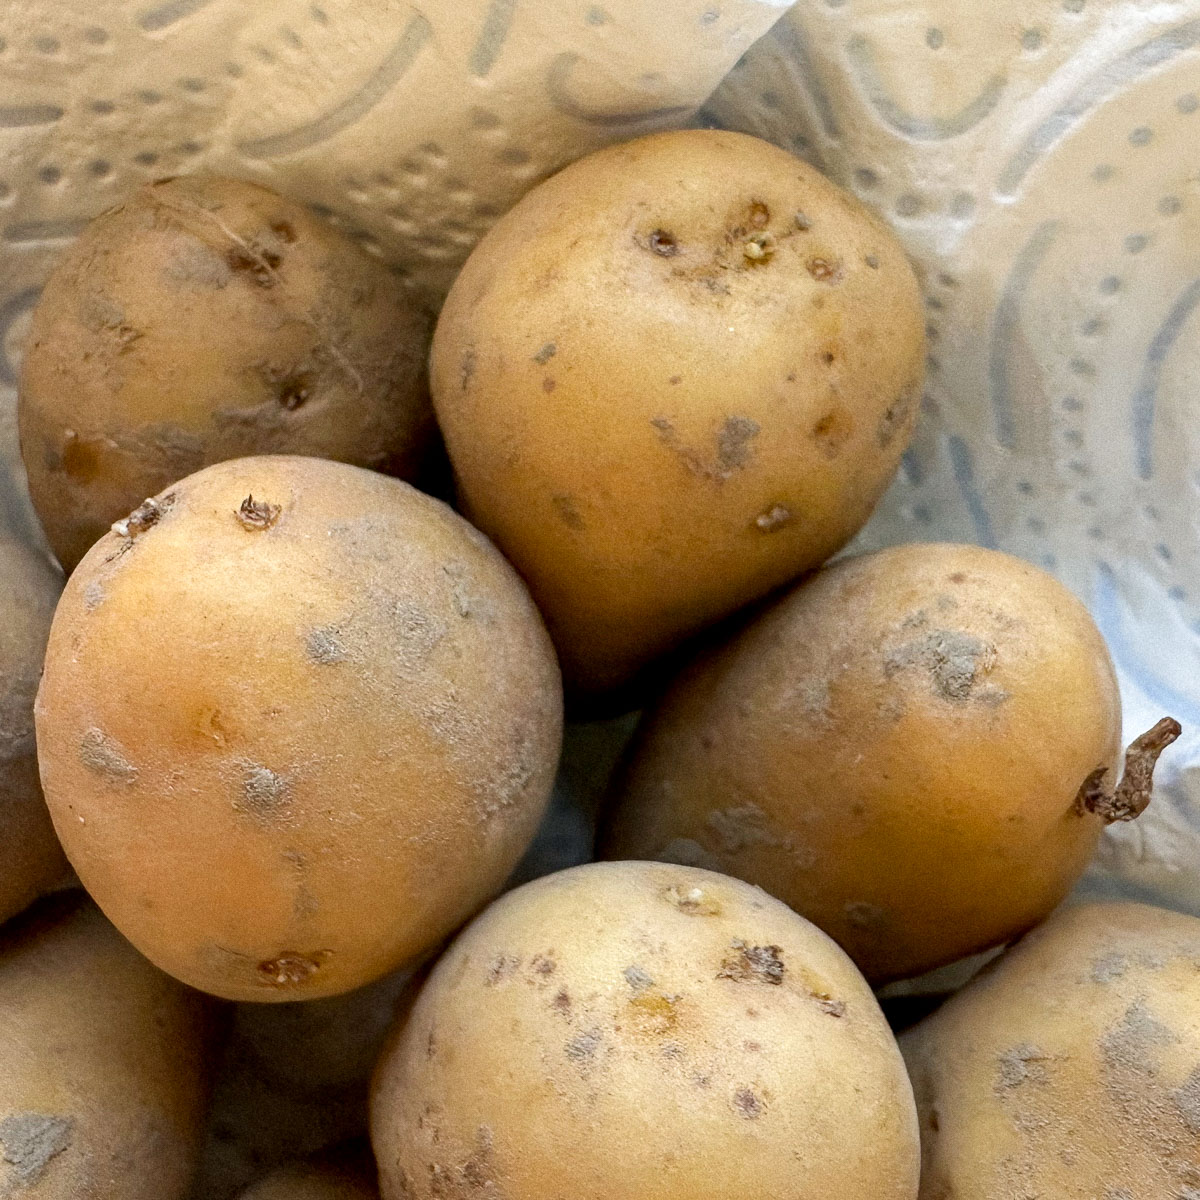
For pre-sprouting, you need a shallow tray, with some kitchen paper if you want to keep the potatoes nice and dry. An empty egg box works too.
You can already see several eyes on the potatoes: some tiny, some a bit larger. Shoots will grow from these points. Place the potatoes upright in the tray or egg box, with the eyes facing up.
You can already see several eyes on the potatoes: some tiny, some a bit larger. Shoots will grow from these points. Place the potatoes upright in the tray or egg box, with the eyes facing up.
Place the potatoes upright in the container - with the eyes facing upwards. The sprouts grow strongest at a temperature between 10°C and 15°C.
Therefore, place the container in a bright but cool place. Such as on a windowsill in the pantry or in an unheated bedroom.
Therefore, place the container in a bright but cool place. Such as on a windowsill in the pantry or in an unheated bedroom.
You don't need to do anything else now, not even water them.

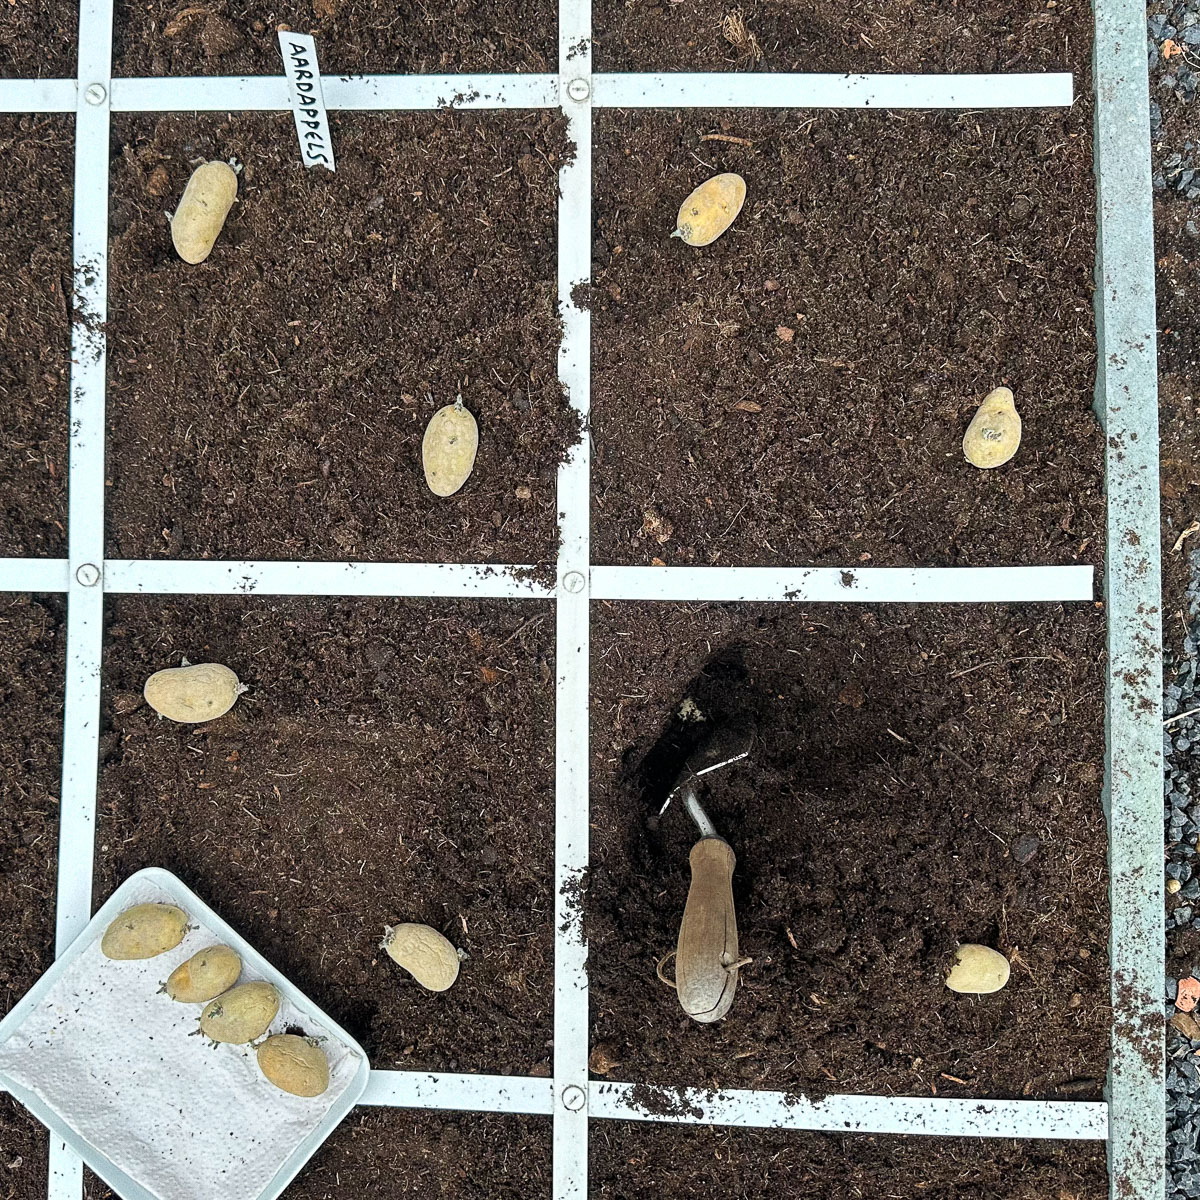
Level 2: Planting early potatoes
After March 15th, plant the potatoes in your bed, provided the temperature is above 8°C.
Loosen the mix in a compartment in the bed and plant as follows:
Loosen the mix in a compartment in the bed and plant as follows:
- Make 2 deep holes in the compartment - preferably to the bottom
- Place 1 seed potato in each hole (carefully so as not to break any sprouts)
- Then close the holes again and give some water
Depending on the weather, you will see something green sprouting after about 4 weeks.
Note: potatoes do not like wet feet. If you use our water reservoirs, they get enough moisture and you do not need to water from above as well. If you do not use them, keep the mix moist, but never soaking wet.
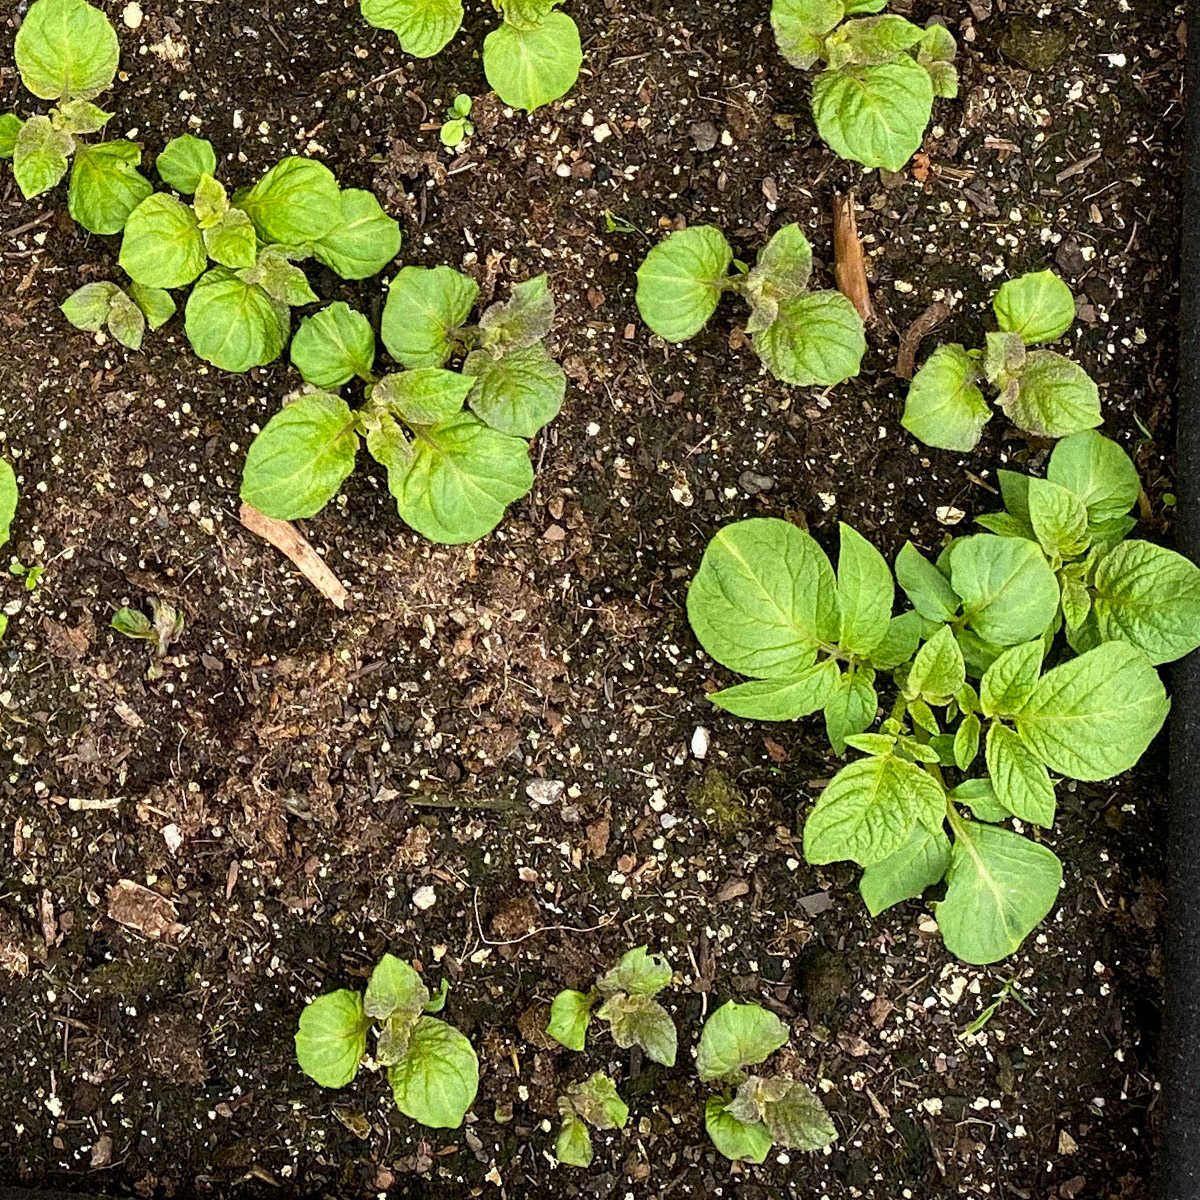
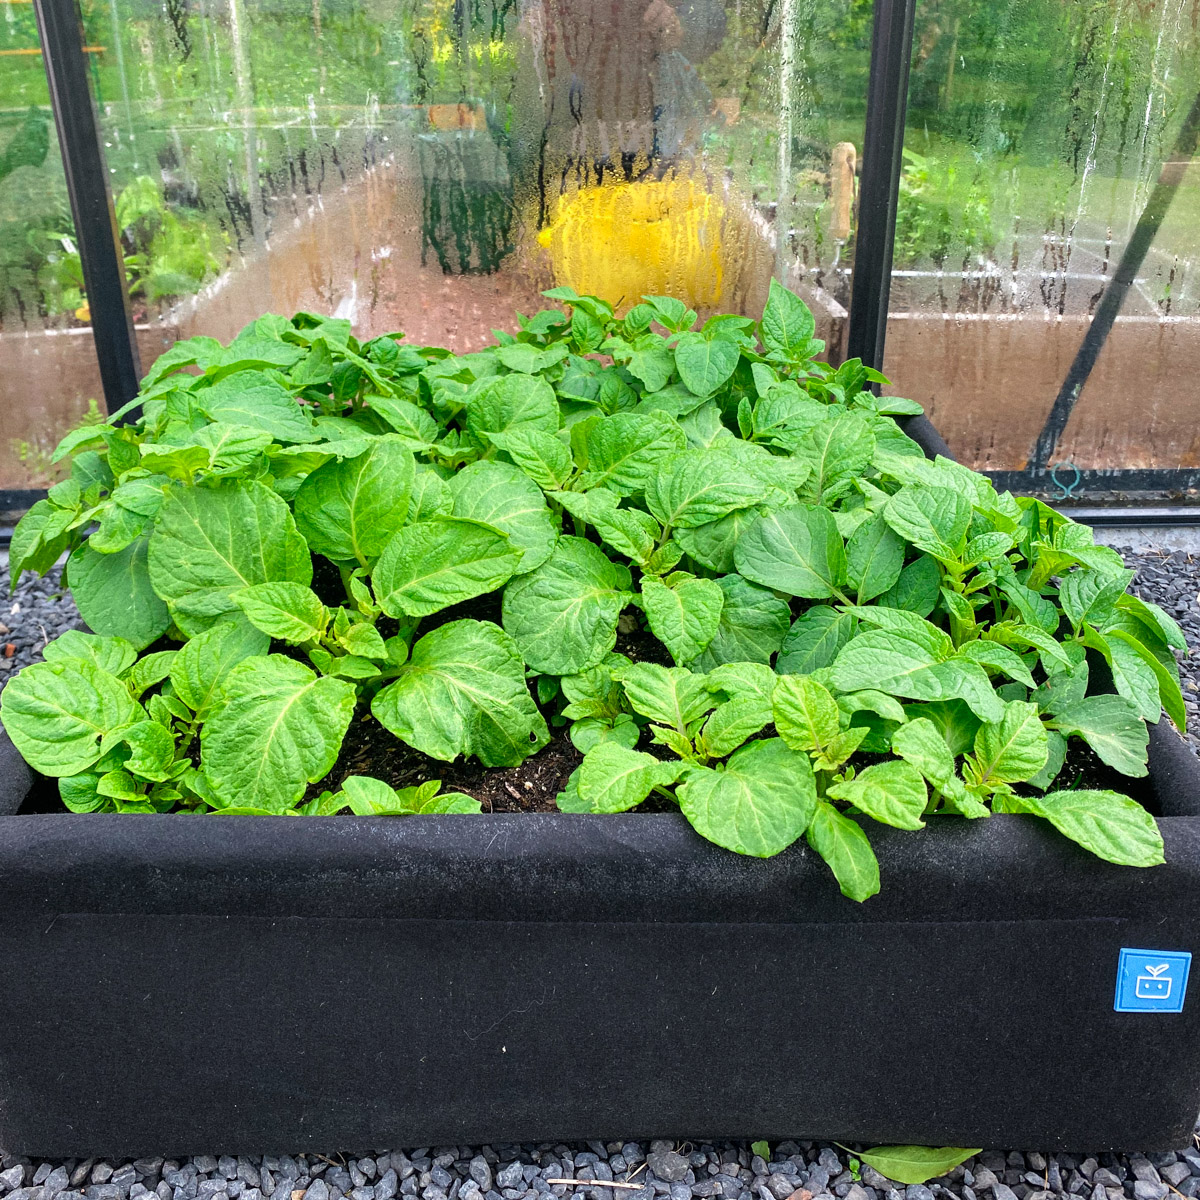
Level 3: The first plants
Once you see the first plants coming up, you know things are going well. Then it's time for the next level.
A potato often produces multiple sprouts. They won't all come up at once, but more will appear in the coming weeks.
A potato often produces multiple sprouts. They won't all come up at once, but more will appear in the coming weeks.
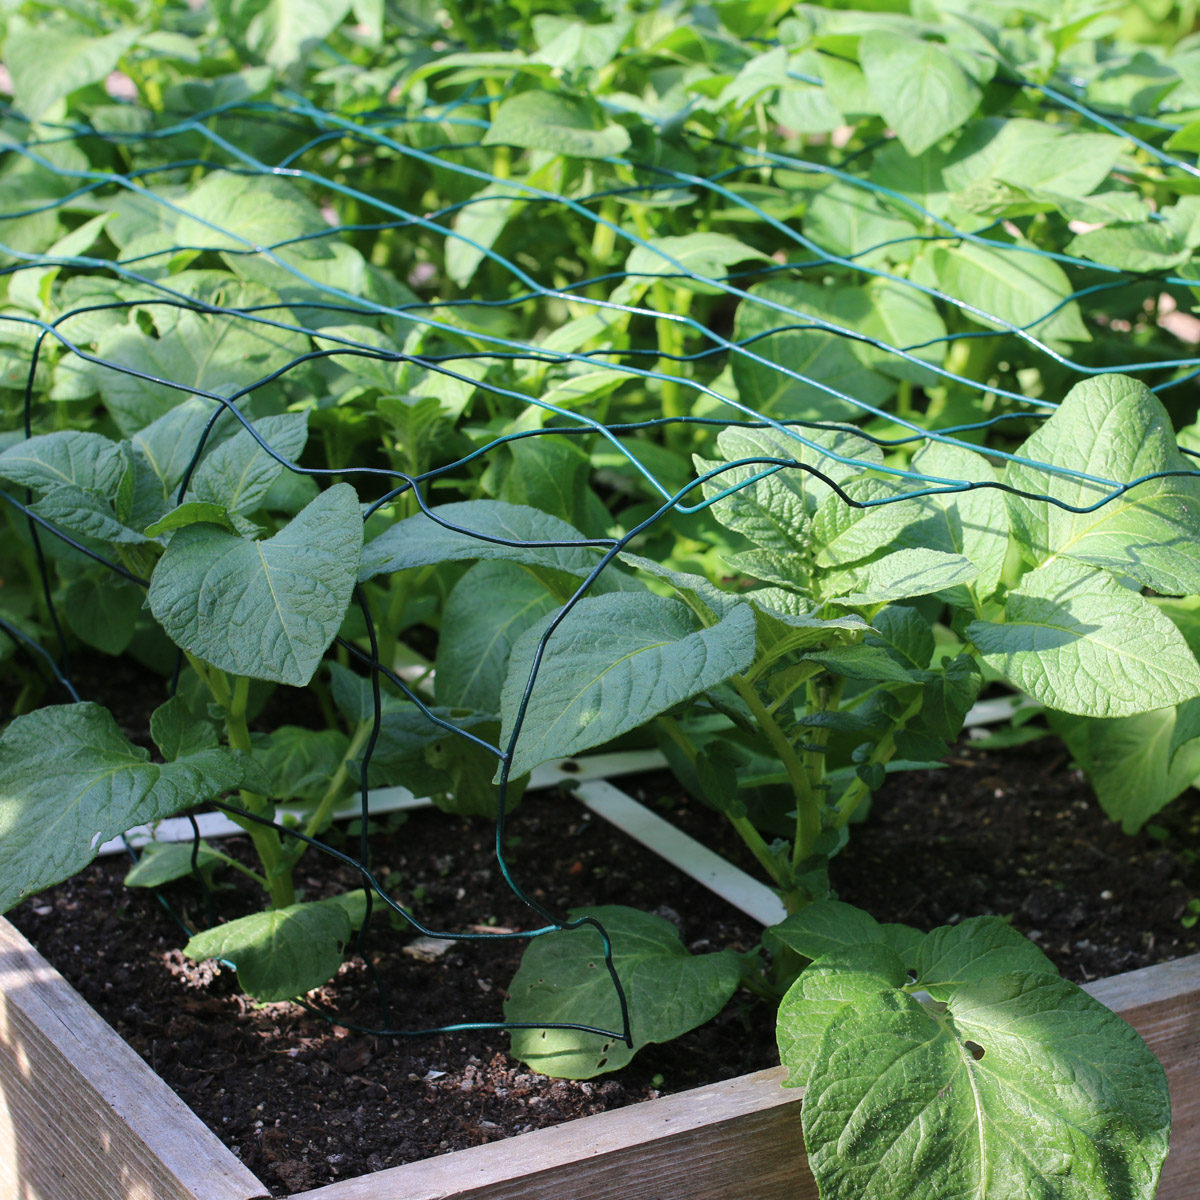
Level 4 and 5: Take care of your plants
In the 2 months of these levels, you hardly have to do anything. Just give water occasionally and some extra MM-plantfood.
If the plants get bigger, you can support them by placing a small rack over them. That keeps the plants neatly inside their square.
To make beautiful, large potatoes, the plants need a lot of nutrients.
At this stage, sprinkle 2 tablespoons of MM plant food around the base of the plants. Rake it lightly into the top of the mix and water afterwards.
At this stage, sprinkle 2 tablespoons of MM plant food around the base of the plants. Rake it lightly into the top of the mix and water afterwards.
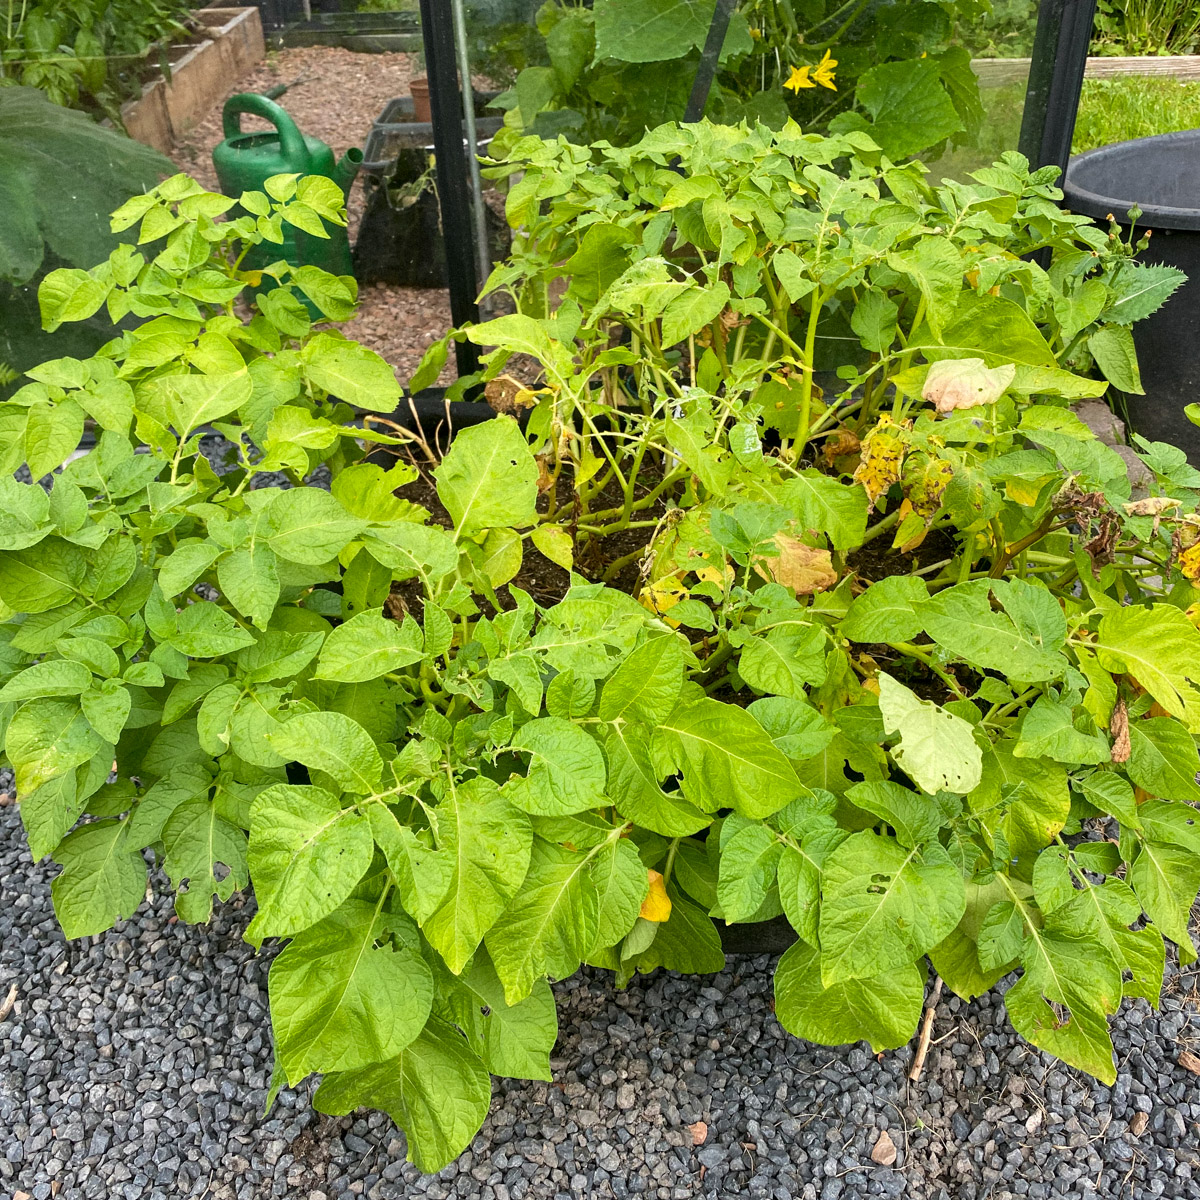
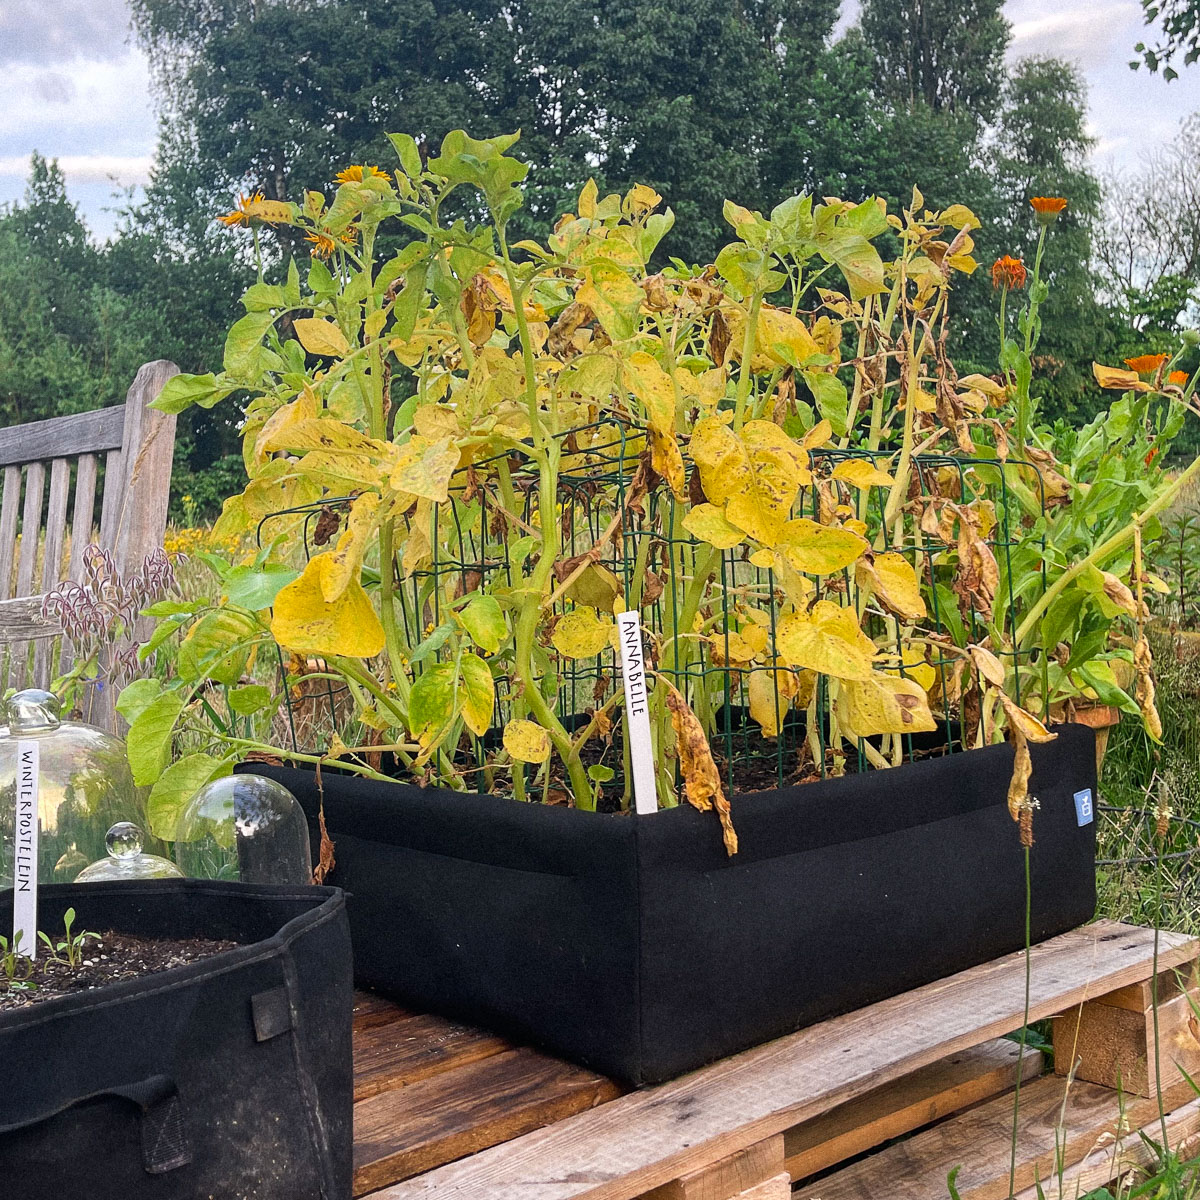
Level 6: The plants are getting yellow leaves.
The potato plants are already quite big, between 25 and 50 cm tall.
Because all the energy is now going to the potatoes in the mix, the leaves of the plants are becoming uglier: they turn yellow and eventually die off.
For potatoes, this is a good sign, because it means that the harvest is approaching.
Because all the energy is now going to the potatoes in the mix, the leaves of the plants are becoming uglier: they turn yellow and eventually die off.
For potatoes, this is a good sign, because it means that the harvest is approaching.
This could mean that your plants have been affected by potato blight.
This disease - or phytophthora infestans - is a harmful fungal disease that can spread quickly in humid weather. The disease mainly affects potatoes, but tomatoes are also susceptible to it.
This disease - or phytophthora infestans - is a harmful fungal disease that can spread quickly in humid weather. The disease mainly affects potatoes, but tomatoes are also susceptible to it.
You can recognize the disease by the brown and black spots on the leaves and stems. Once a potato plant is affected, the fungus can multiply rapidly and the plants will die. The potatoes themselves will also be affected and develop brown spots.
Therefore, remove the affected plants from your bed as soon as you see the first signs. Dispose of the foliage immediately, far away from your vegetable garden and especially not in the compost heap.
Then, immediately dig up all the potatoes in your bed and check if you see any brown spots on them. If you catch it early enough, they are usually not affected and can be eaten without any problems. However, discard the potatoes with spots on them. They won't make you sick, but they won't taste good anymore.
Afterwards, carefully clean the mix. Remove all plant debris and also check if any small potatoes have been left behind.
Level 7: Harvesting the potatoes
In this stage, reached at the earliest about 12 weeks after planting, the leaves are yellow and unattractive or the plants may already be partly dead.
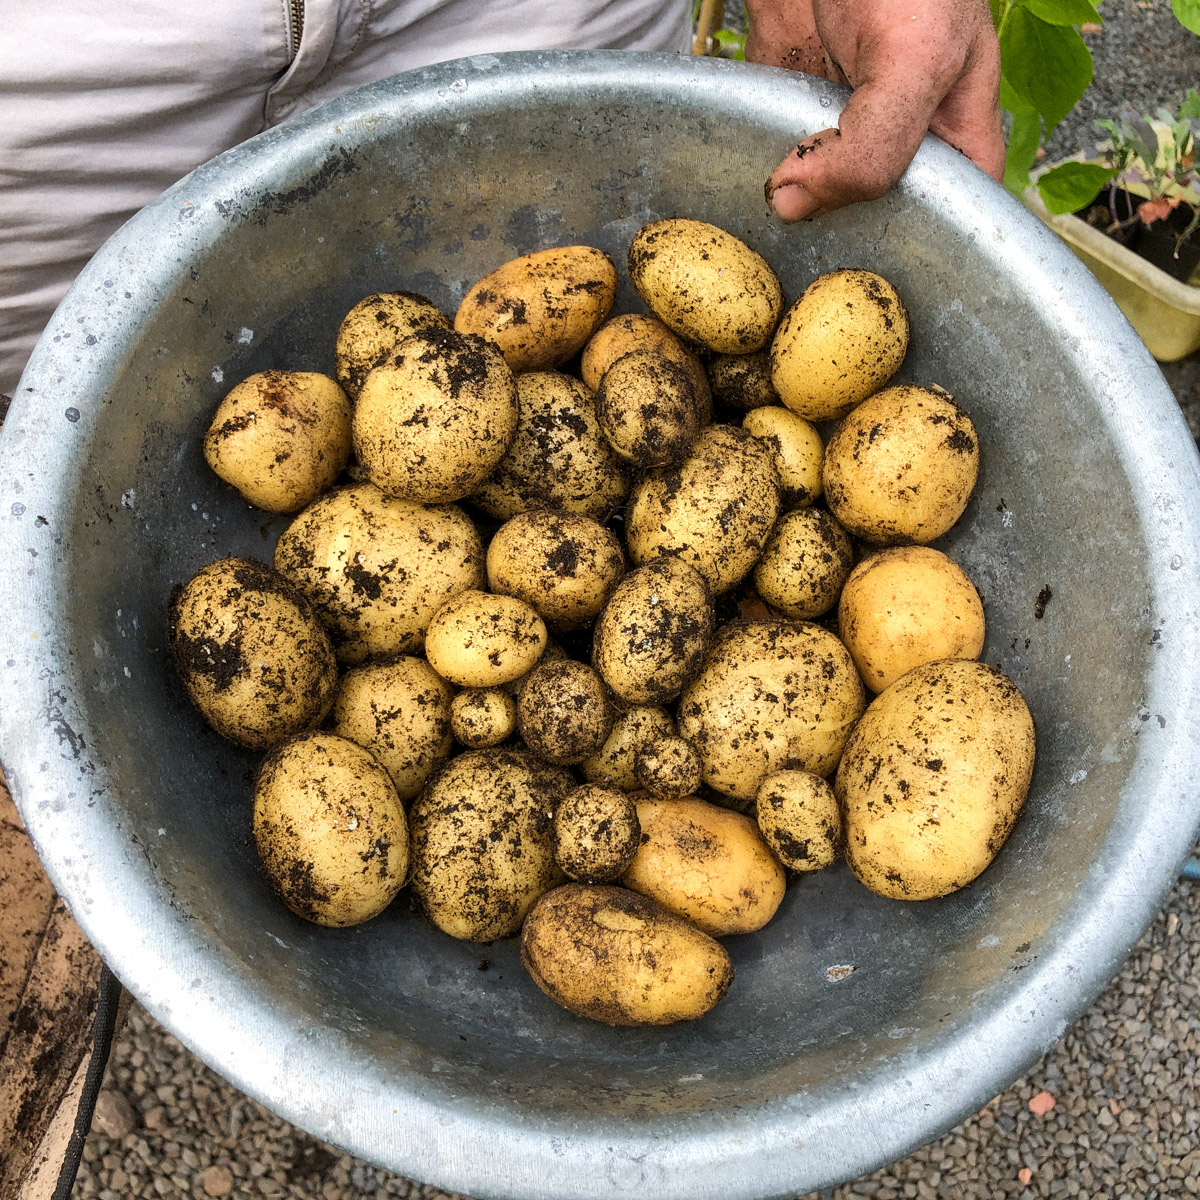
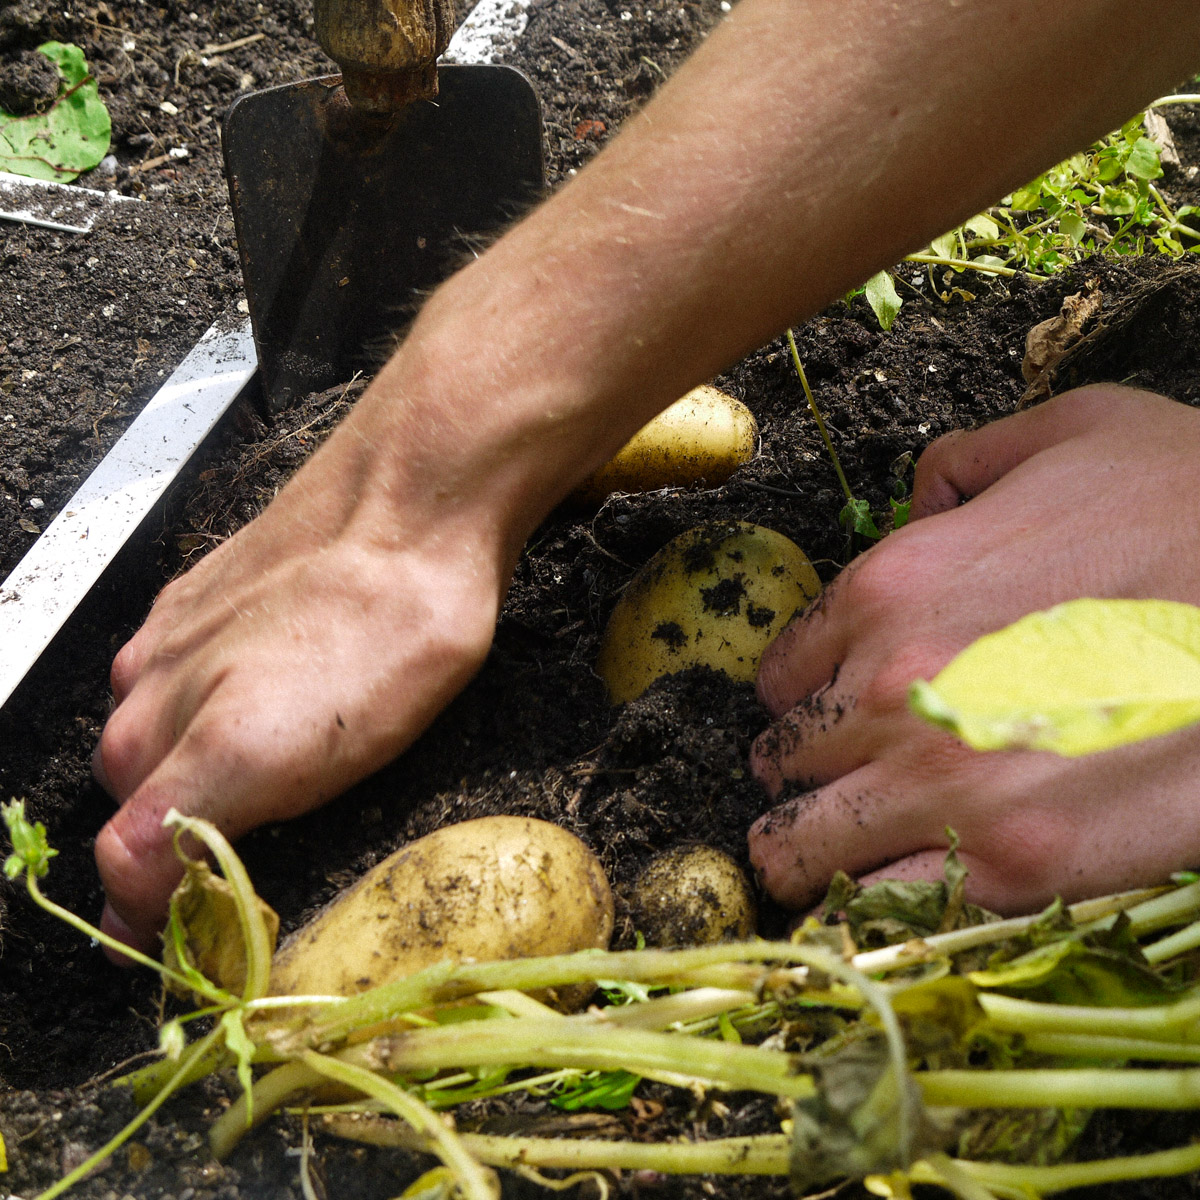
Harvesting potatoes is always a surprise. You do not know how many potatoes have grown, how big they are, or where they are. It is like rummaging in a lucky dip: great fun.
To find them, search through the whole square of mix. It is easiest when the mix is a little dry and loose.
Be careful not to damage the potatoes while harvesting, because damaged potatoes cannot be stored. That is why I simply harvest them with my hands.
If you do use a trowel, choose one with a rounded blade, like our MM trowel, and work carefully from the outside in.
Harvesting from an MM-Mini is even easier: lay down a cloth or bin bag, tip the contents of the Mini onto it, and pick out the potatoes.
After harvesting, remove all plant remains, roots, and even the last tiny potatoes from the mix. Once you have done that, the square is ready for another crop.
Note: because of potato blight, you should never grow potatoes in the same mix two years in a row. To play it safe, skip three years.
What do you use early potatoes for?
These potatoes have a smooth, elongated shape, a yellow colour, and a great flavour.
Because they stay firm when cooked, they are ideal for salads, frying, or the air fryer.
They are at their best when freshly harvested. If you want to store them, let them dry well first and keep them somewhere cool and dark.
Because they stay firm when cooked, they are ideal for salads, frying, or the air fryer.
They are at their best when freshly harvested. If you want to store them, let them dry well first and keep them somewhere cool and dark.
Note: Never eat potatoes raw, as they contain a substance called solanine that can cause headaches or stomach problems. The same applies to potatoes with green spots, when they have been exposed to the sunlight for a while. Always cut those pieces away.
So: what's stopping you from planting early potatoes yourself?
They are easy to grow and harvesting them is great fun.
With our app and materials, it is very hard to go wrong.
We only sell early potatoes in early spring. Then you can buy the seed potatoes separately, or in an affordable potato kit.
While they are available, you can find them in the shop under Promotions.
With our app and materials, it is very hard to go wrong.
We only sell early potatoes in early spring. Then you can buy the seed potatoes separately, or in an affordable potato kit.
While they are available, you can find them in the shop under Promotions.
Good luck!

PS: there is one downside to potatoes
The plants stay in your garden box for quite a long time. And you can only harvest once the plants themselves are almost finished.
So in the final weeks, you are looking at a bit of a mess: the plants turn yellow, fall over, and then die back. Not exactly pretty.
The plants stay in your garden box for quite a long time. And you can only harvest once the plants themselves are almost finished.
So in the final weeks, you are looking at a bit of a mess: the plants turn yellow, fall over, and then die back. Not exactly pretty.
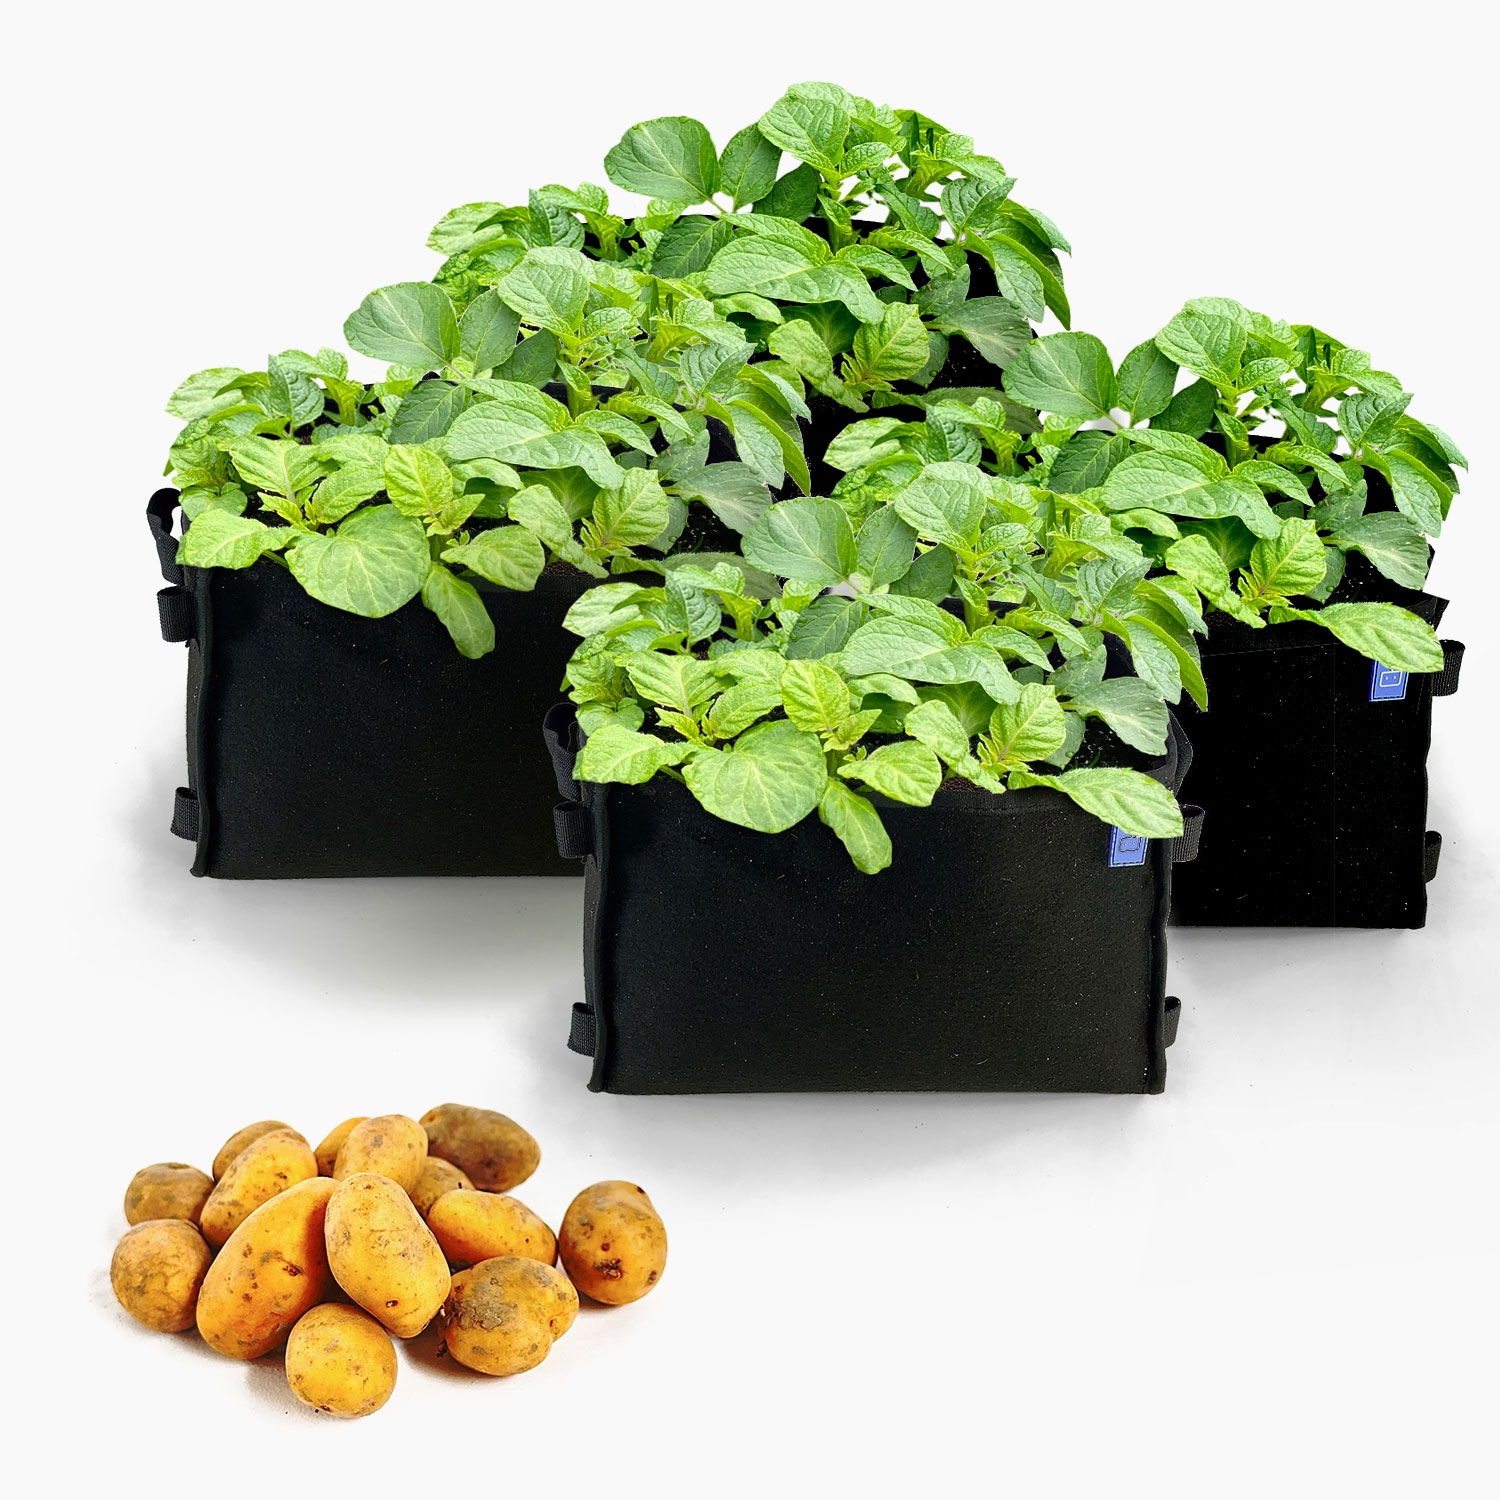
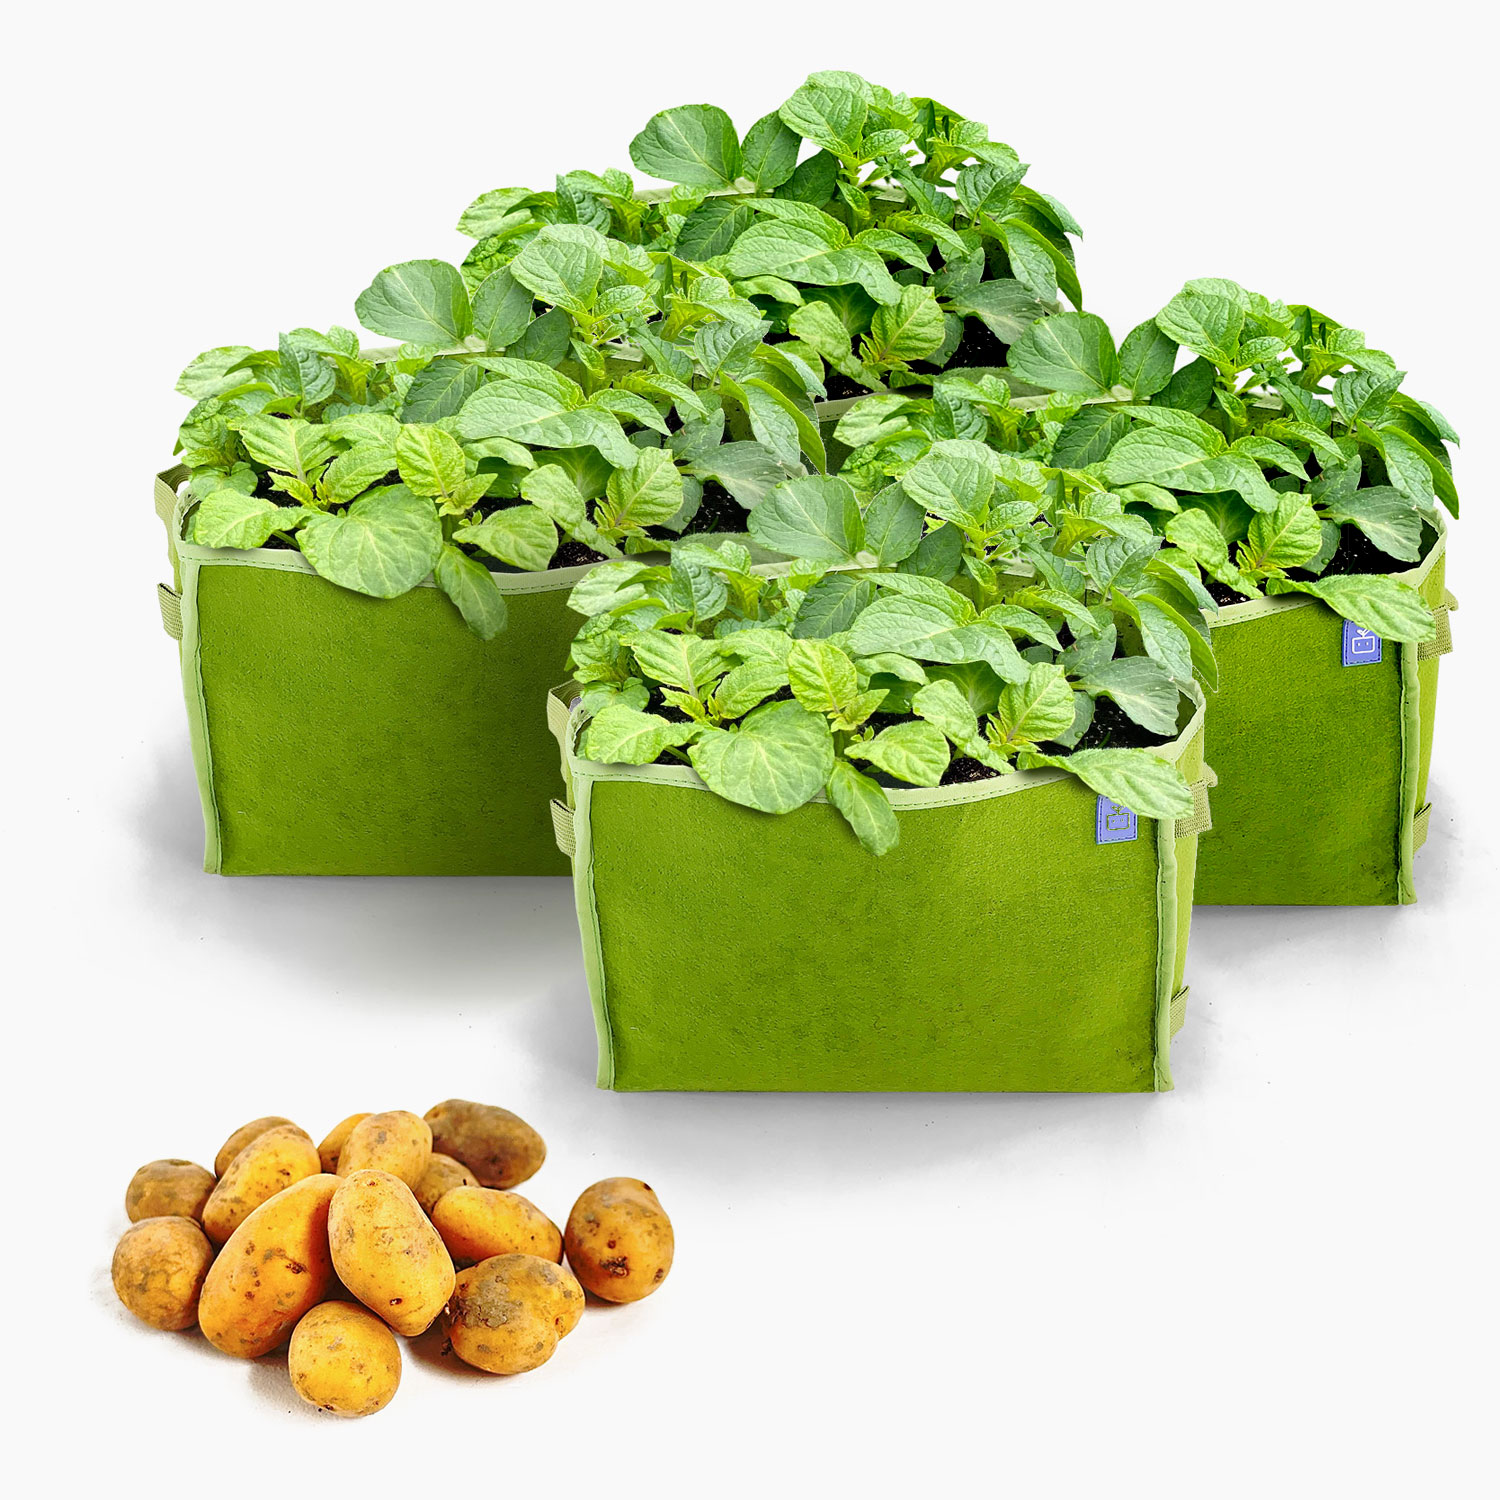
That is why we created a few complete potato kits: some with MM-Minis and one with an MM-Airbak. They are easy to put out of sight. Once you have harvested the potatoes, you can sow something else in them.