
How do you start tomatoes indoors?
What does starting seeds indoors mean?
When you start seeds indoors, the seedlings grow in a greenhouse or on a windowsill. You give them just the right amount of light, nutrients and warmth until they are large and strong enough to plant outside in your raised bed.
This page explains how to start them in small MM-Airpots with MM coconut seed-starting mix.
This works much better than ordinary pots filled with MM-Mix or potting compost, and it does not take long to set up.
Here in the Netherlands, it is too cold until mid-May. If you only sow then, you are too late: four months later the days are shorter and temperatures fall quickly, leaving little chance of ripe tomatoes.
Start tomatoes indoors between late March and mid-April. Move the plants into your raised bed in late May and you can harvest the first tomatoes in late July, continuing until mid-October.
Courgettes, pumpkins and cucumbers grow faster, but they also need plenty of warmth at first. Start them indoors later, from late April to late May.
If this is your first time, begin as late as possible: tomatoes around mid-April and the others during the first half of May. This shortens the time you have to care for the plants indoors, which is not always easy for beginners.
Wanneer zaai je tomaten voor?
Tussen half maart en eind april. Zo staat het ook op onze zakjes en in de app.
Zaai je voor de eerste keer voor, dan raad ik je aan om zo laat mogelijk te beginnen: dus pas rond eind april.
Op die manier verkort je de tijd dat je de plantjes binnenshuis moet verzorgen.
Want dat is zeker voor beginners lang niet altijd makkelijk.
What do you need to start tomatoes indoors?
Besides the seeds, you will need:
- small MM-Airpots
- MM coconut seed-starting mix
- cling film and elastic bands if you use traditional seed-starting mix; these are not needed for coconut mix
- one label for each pot
How to do it
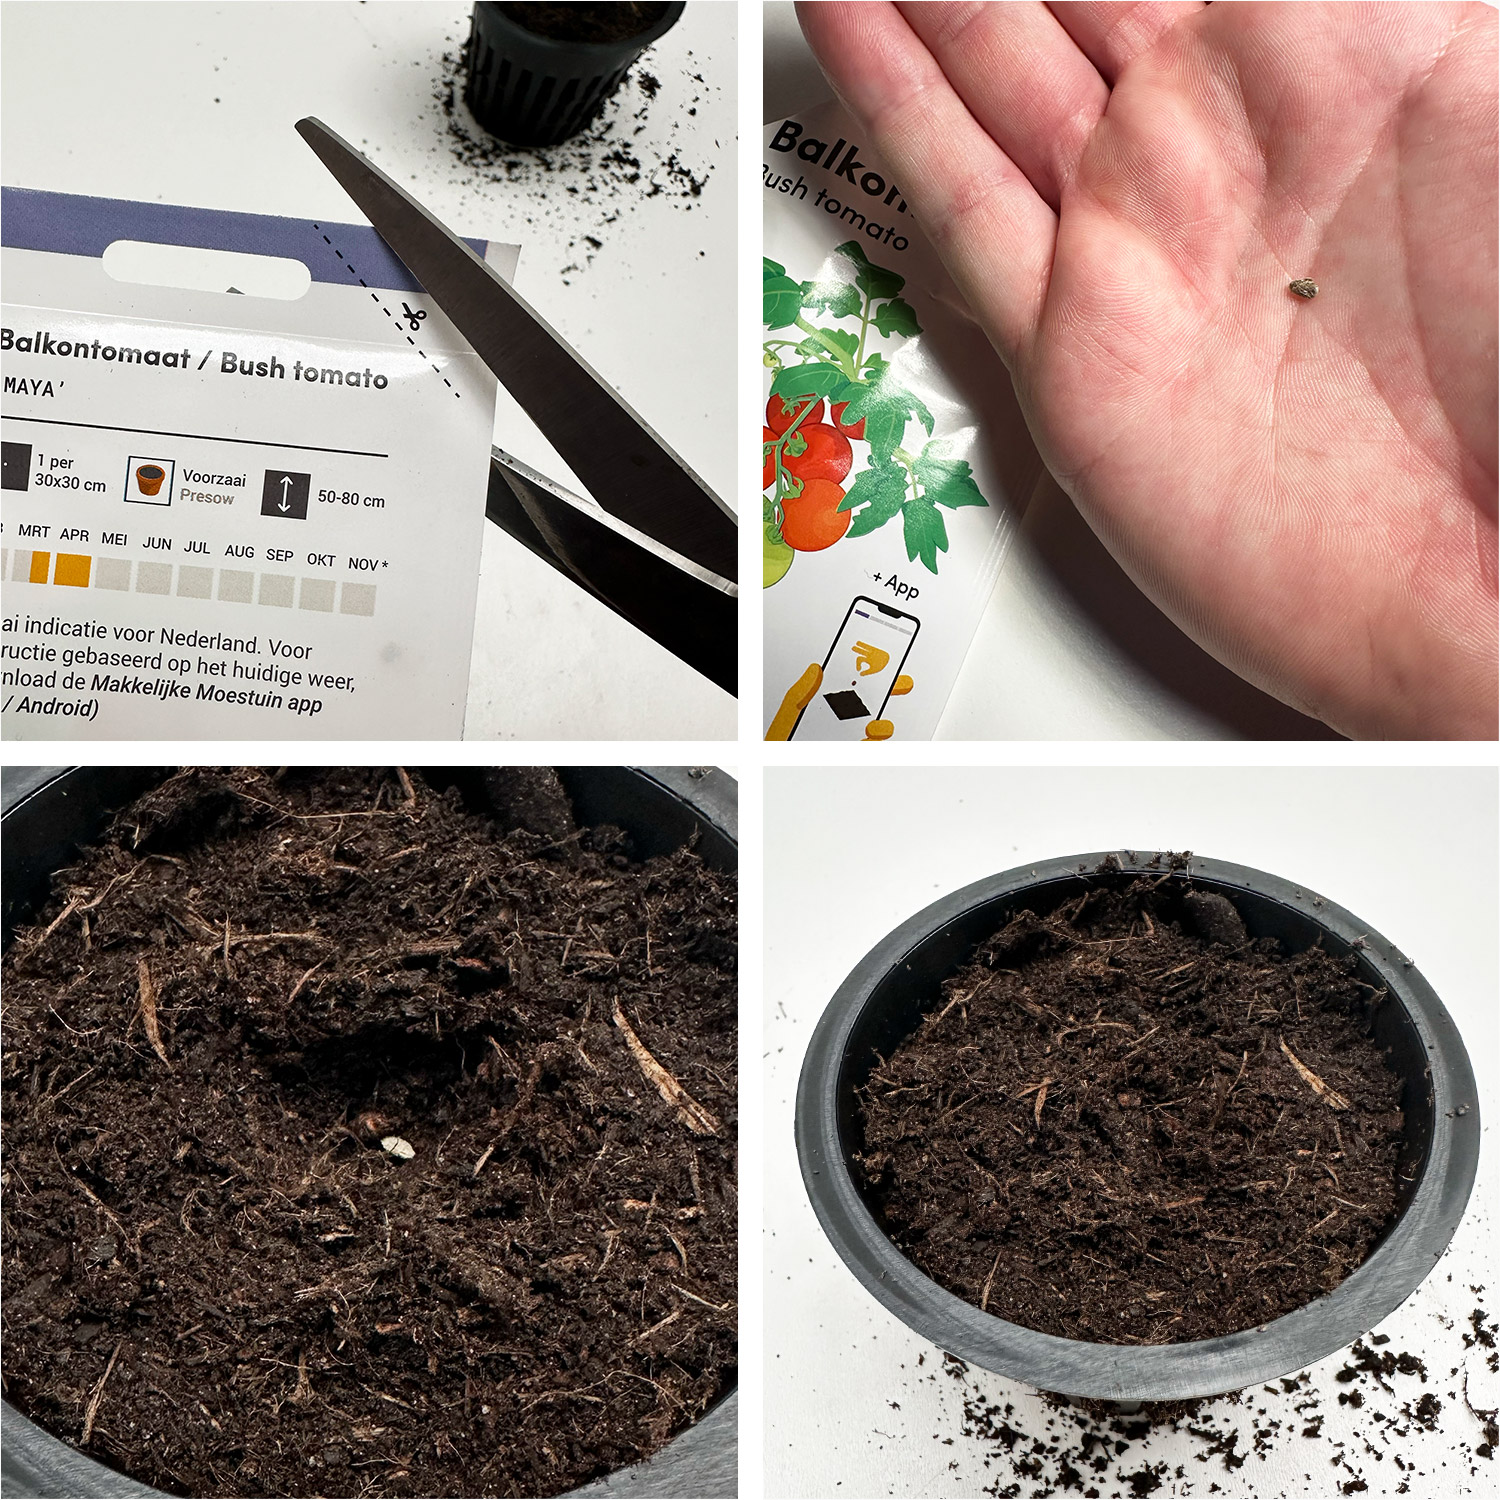
Stap 2: Vul de Airpotjes met de voorzaaigrond.
Druk het met de bolle kant van een lepel een beetje aan. Maak het meteen ook goed vochtig - maar niet te nat.
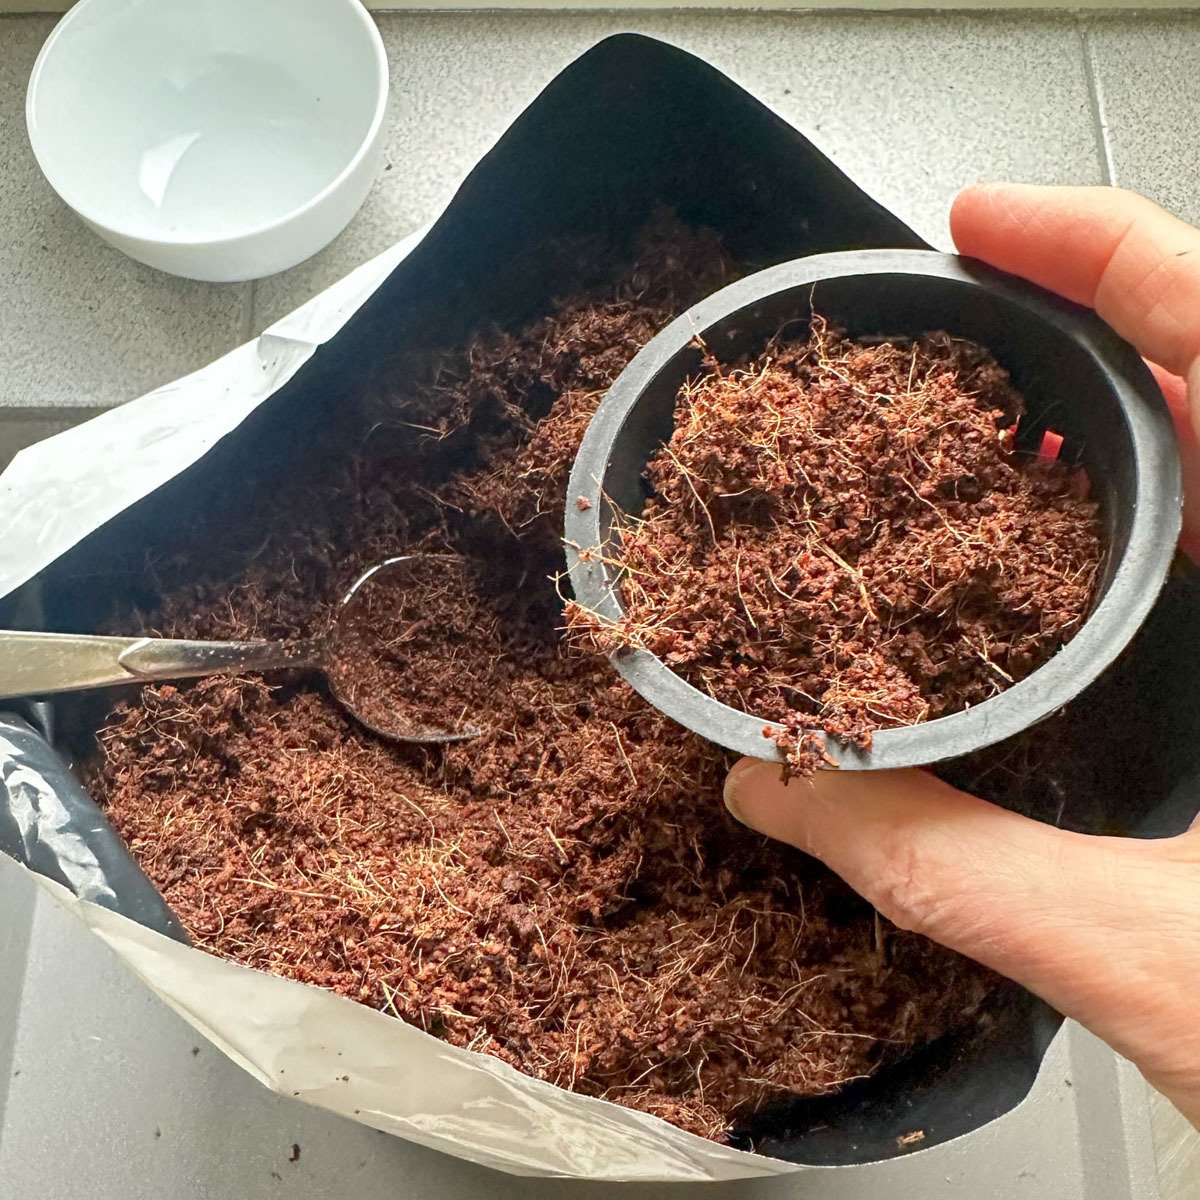
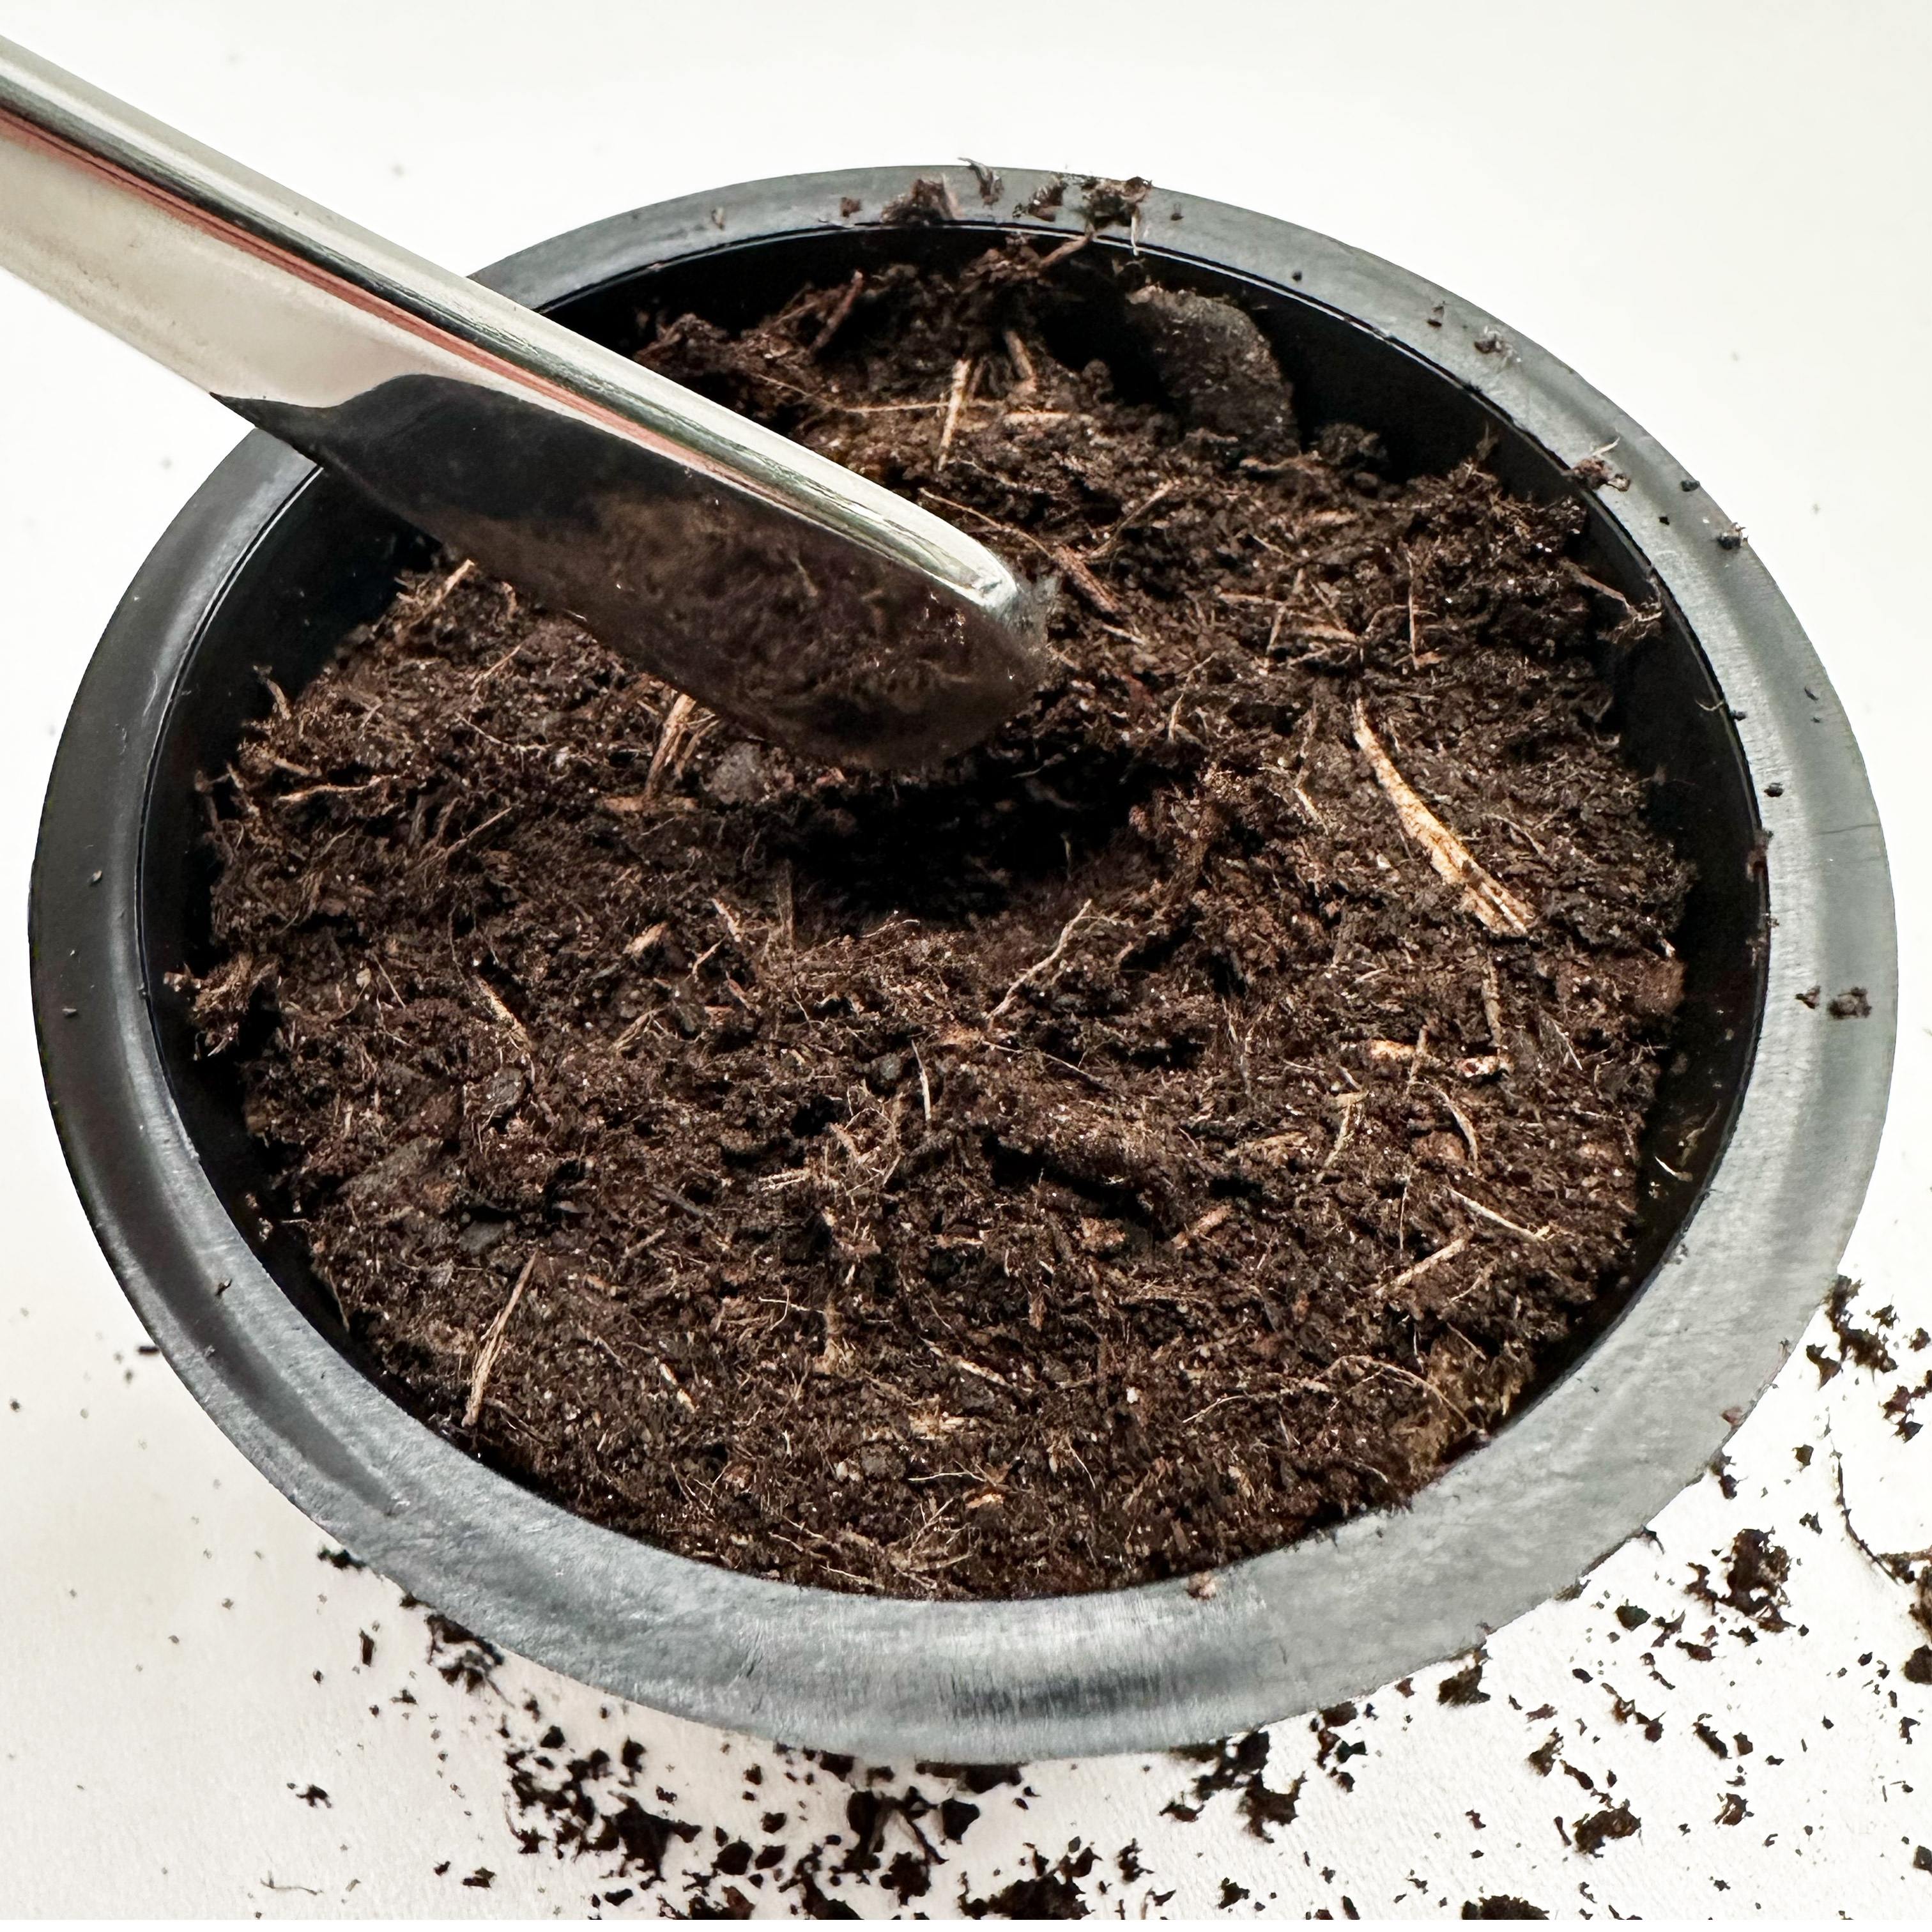
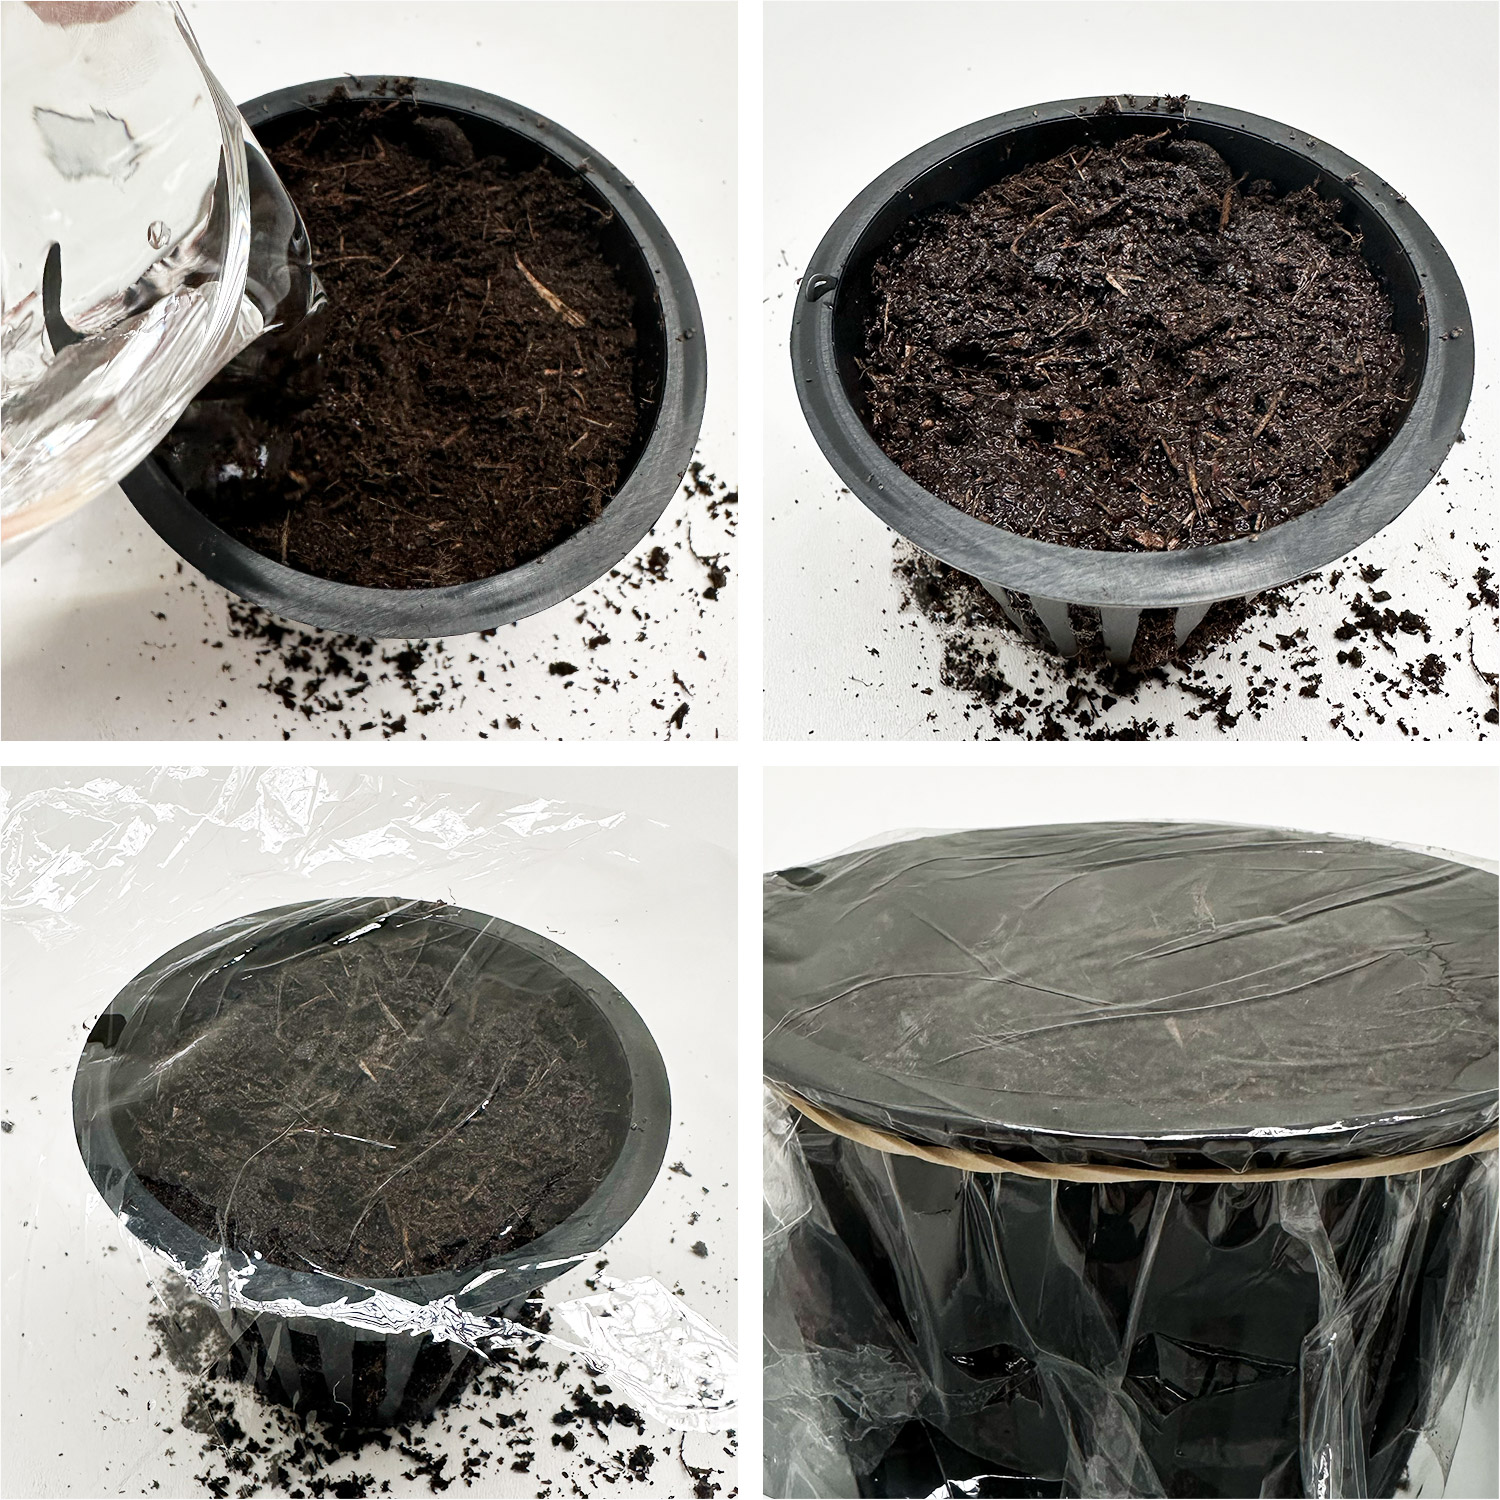
If you use the older seed-starting mix, carefully add a little water, cover the pot with clear cling film and secure it with an elastic band. This prevents the mix drying out too quickly.
If you use coconut seed-starting mix, skip the watering and covering in this step.
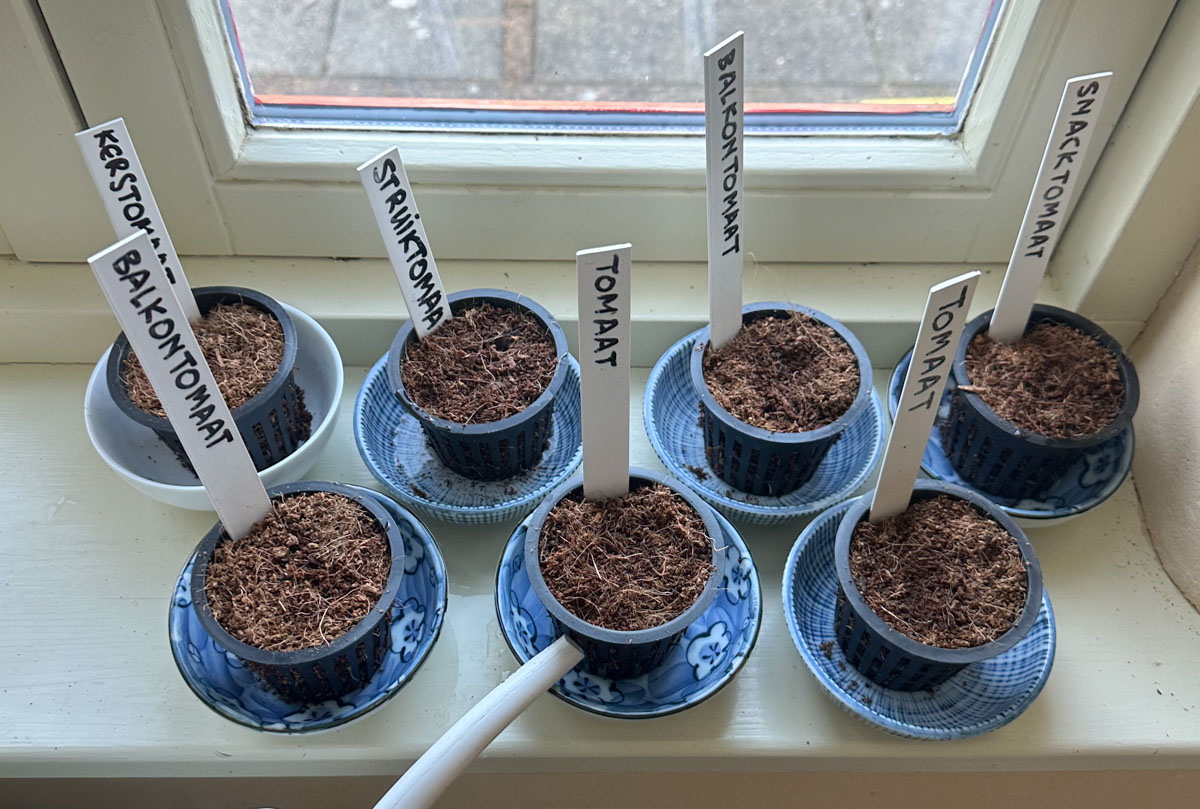
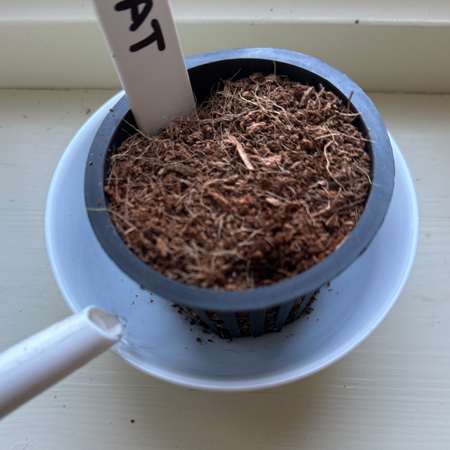
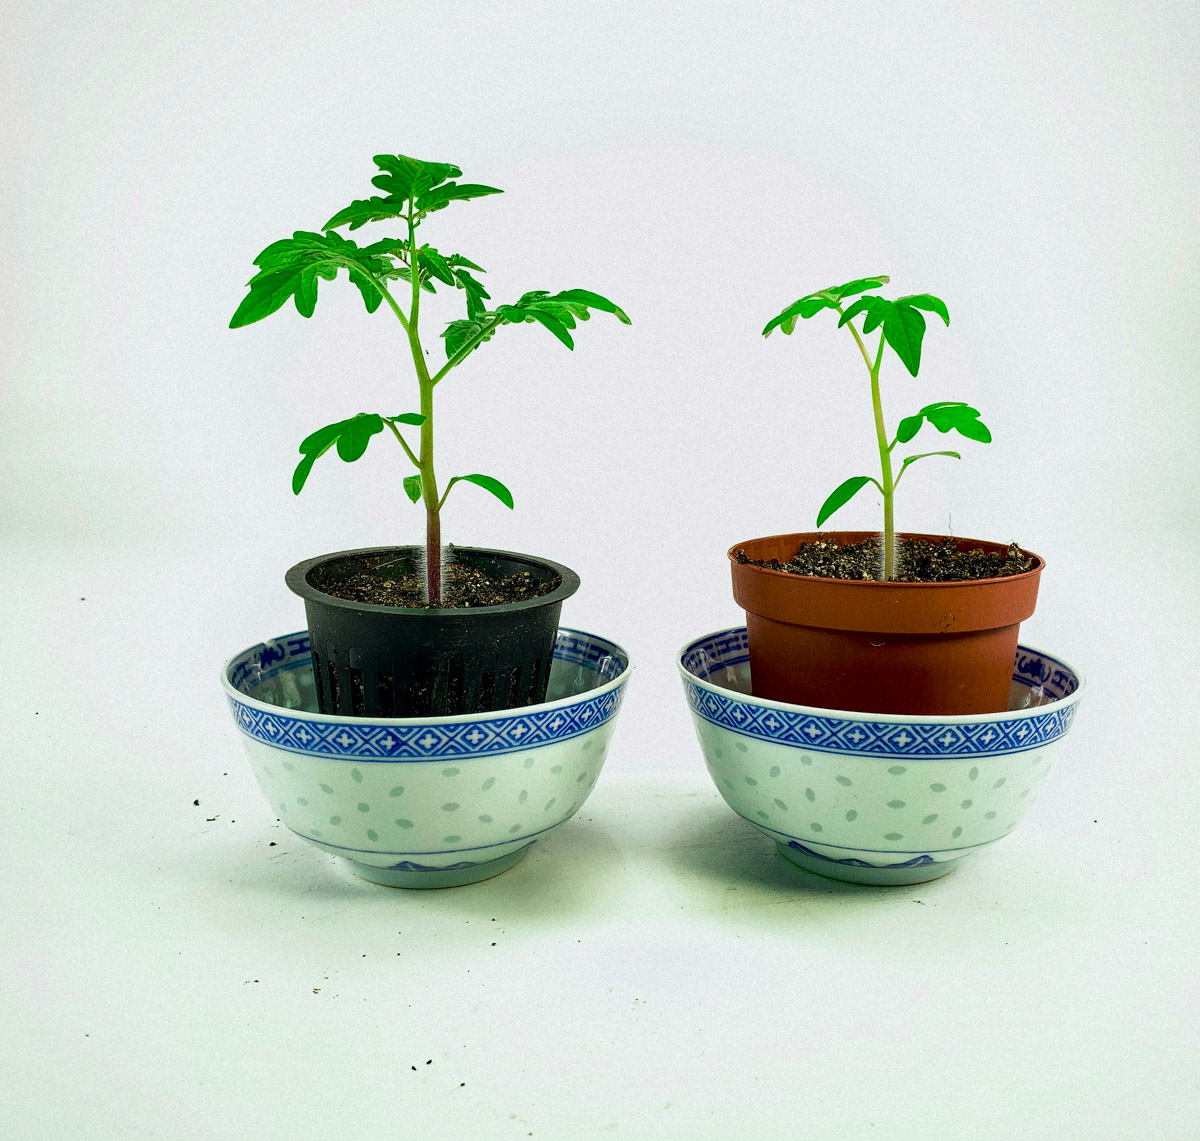
The pot below contains coconut seed-starting mix. If the mix becomes a little dry, add some water to the saucer and the coconut fibres will absorb it from below.
If one seed fails to germinate or something goes wrong while the plants are growing, I still have a spare.
Many Makkelijke Moestuin gardeners start a huge number at once, but I am not a fan. You have to keep every plant healthy until it can go outside, which is a lot of work, and every pot needs room on the windowsill. I do not know what your home is like, but my windowsills are not very large.
You also end up with far too many plants and have to give them away or throw them out. Almost nobody can bring themselves to do the latter.
Hoe gaat het verder?
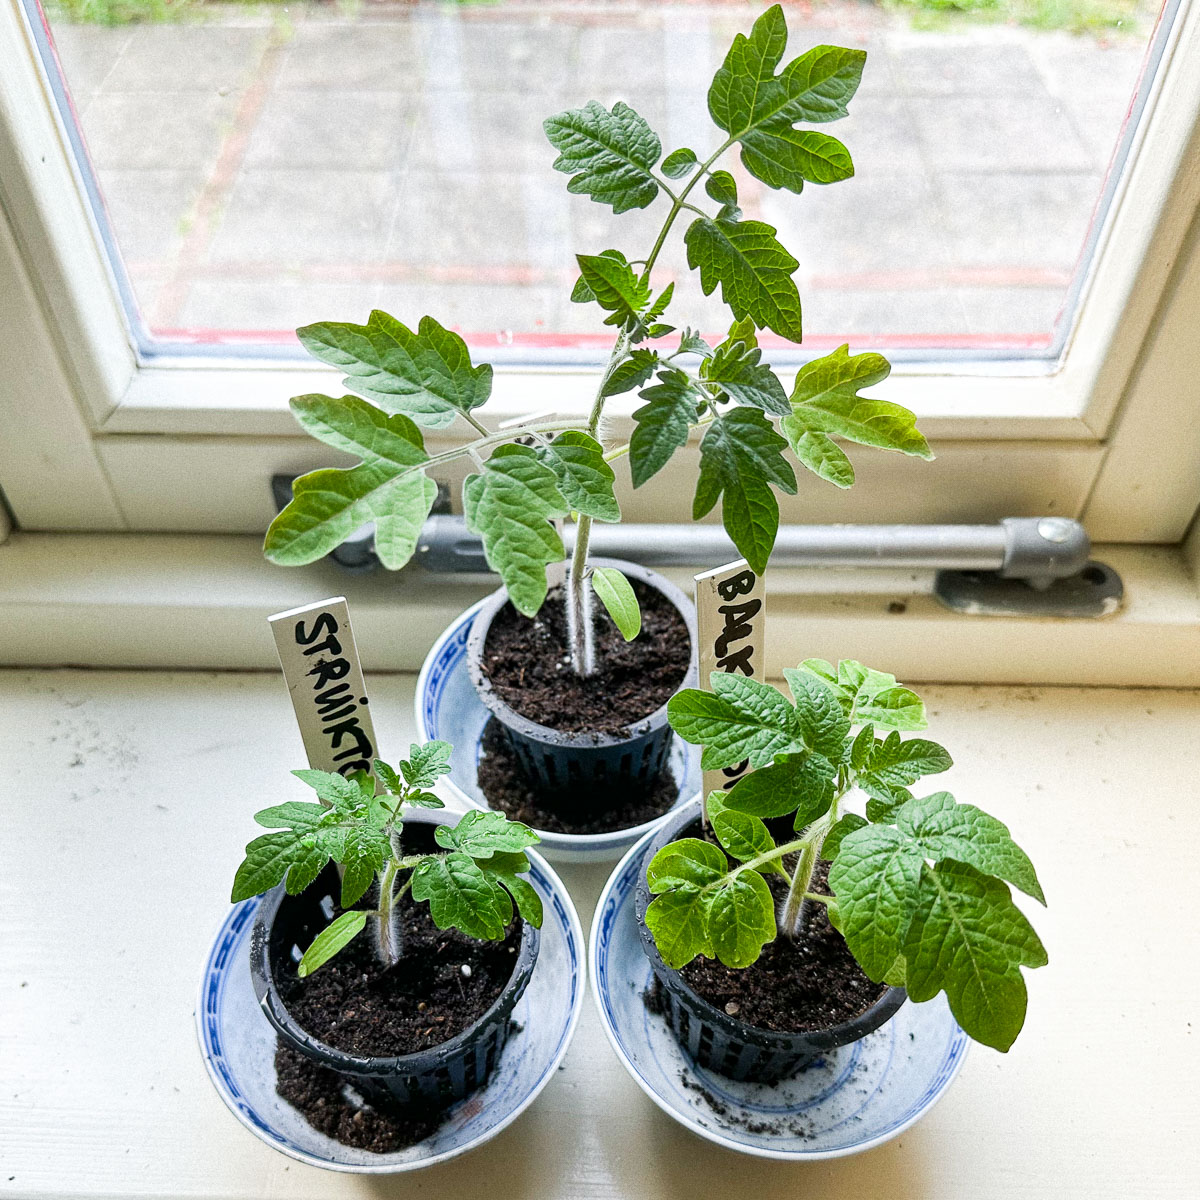
Keep the mix moist and turn each pot a quarter turn every day. This stops the seedlings leaning towards the light.
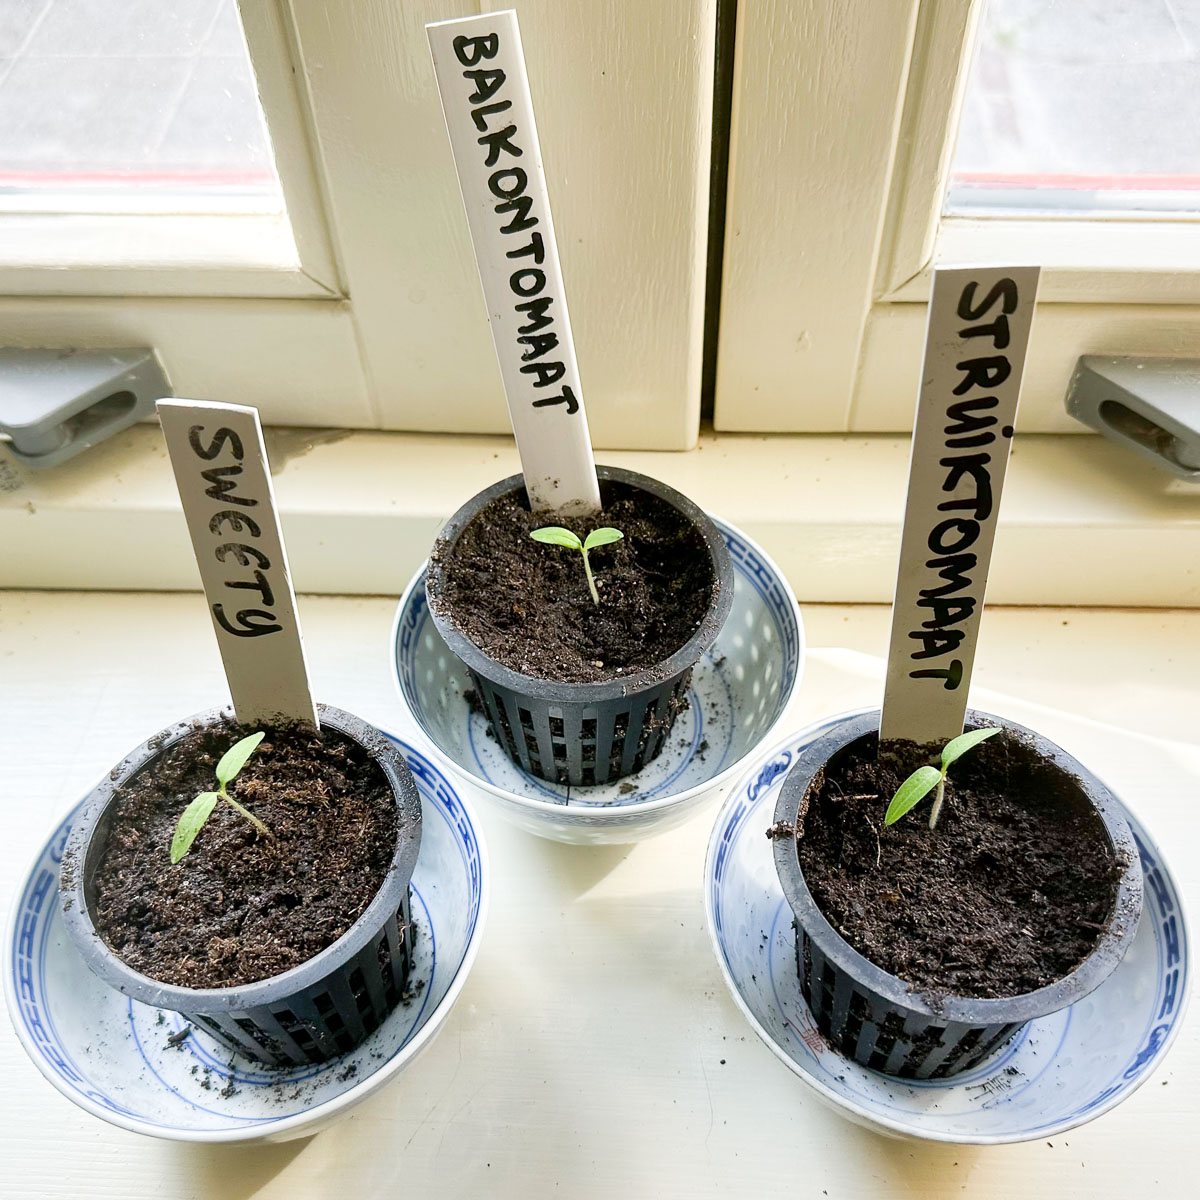
Caring for plants on the windowsill
Continue turning the pots a quarter turn each day and keep the mix moist.
With the older MM seed-starting mix, water at the base of the plant. With MM coconut seed-starting mix, add water to the saucer so the fibres can absorb it from below.
Repotting, hardening off and planting outside
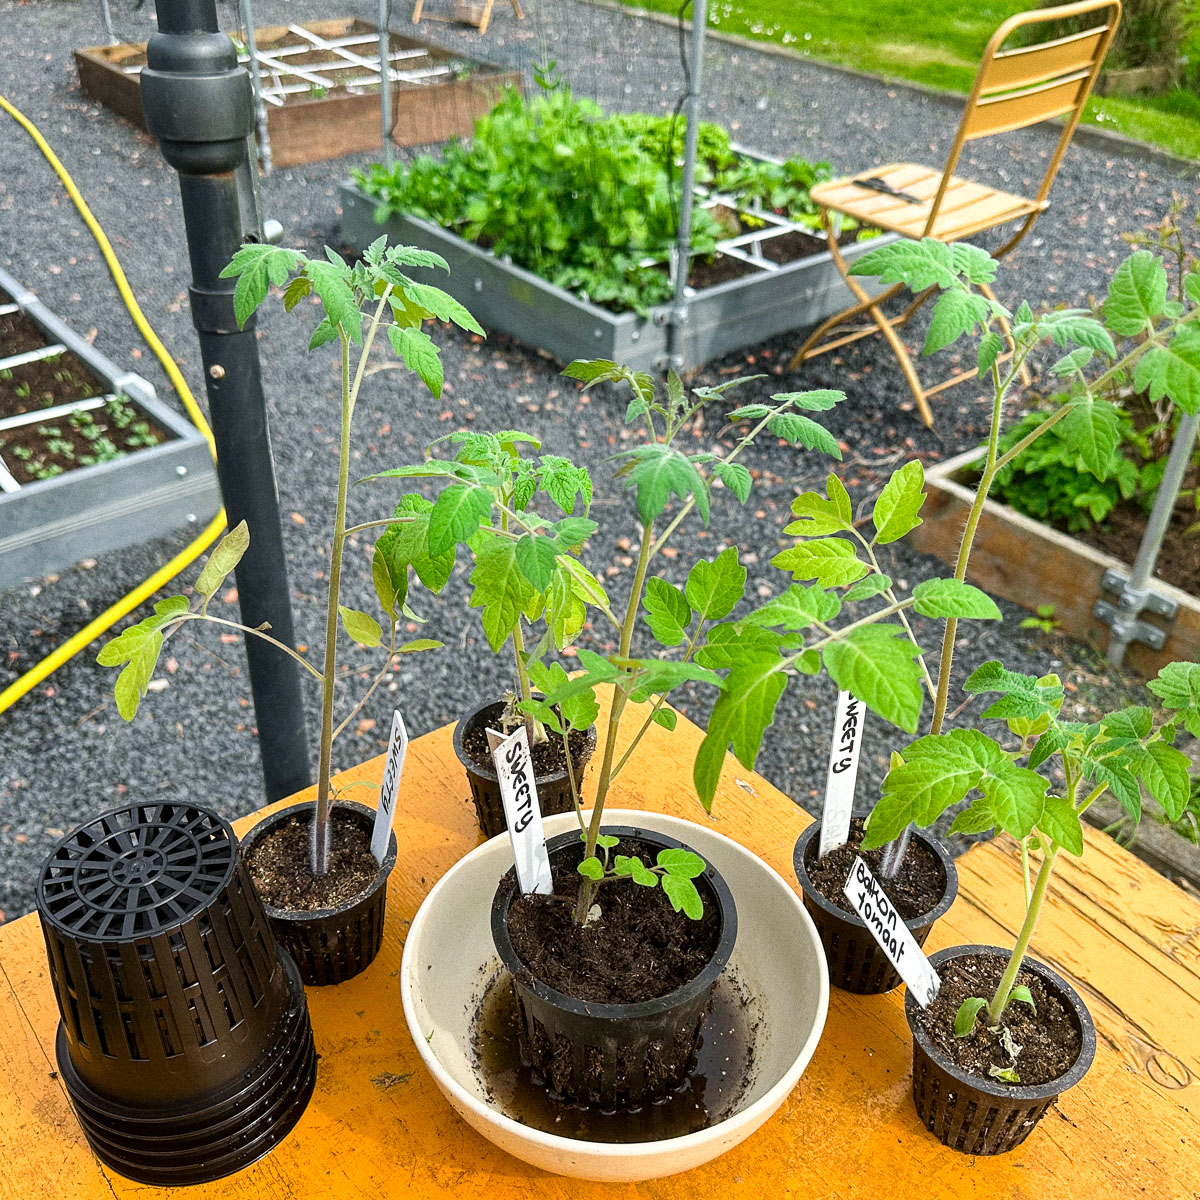
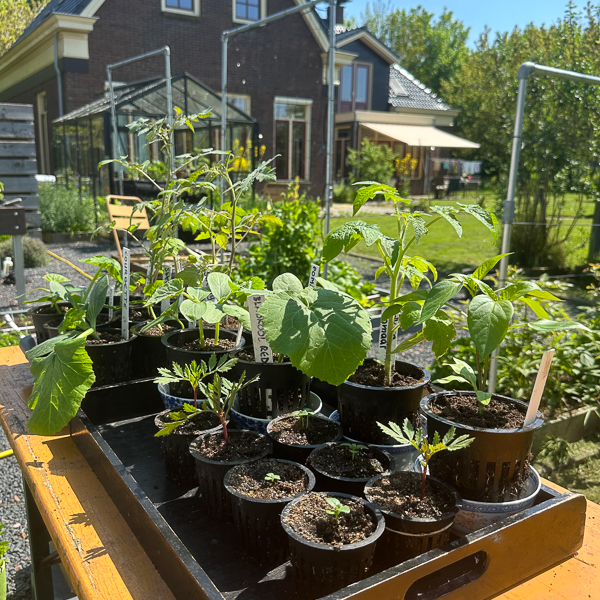
Repotting encourages the plants to form extra roots and helps them grow faster and stronger.
Step-by-step help from the app
That was a lot of information, but you do not need to remember it all.
Every step is explained in the app, which gives you the right instructions at the right time.
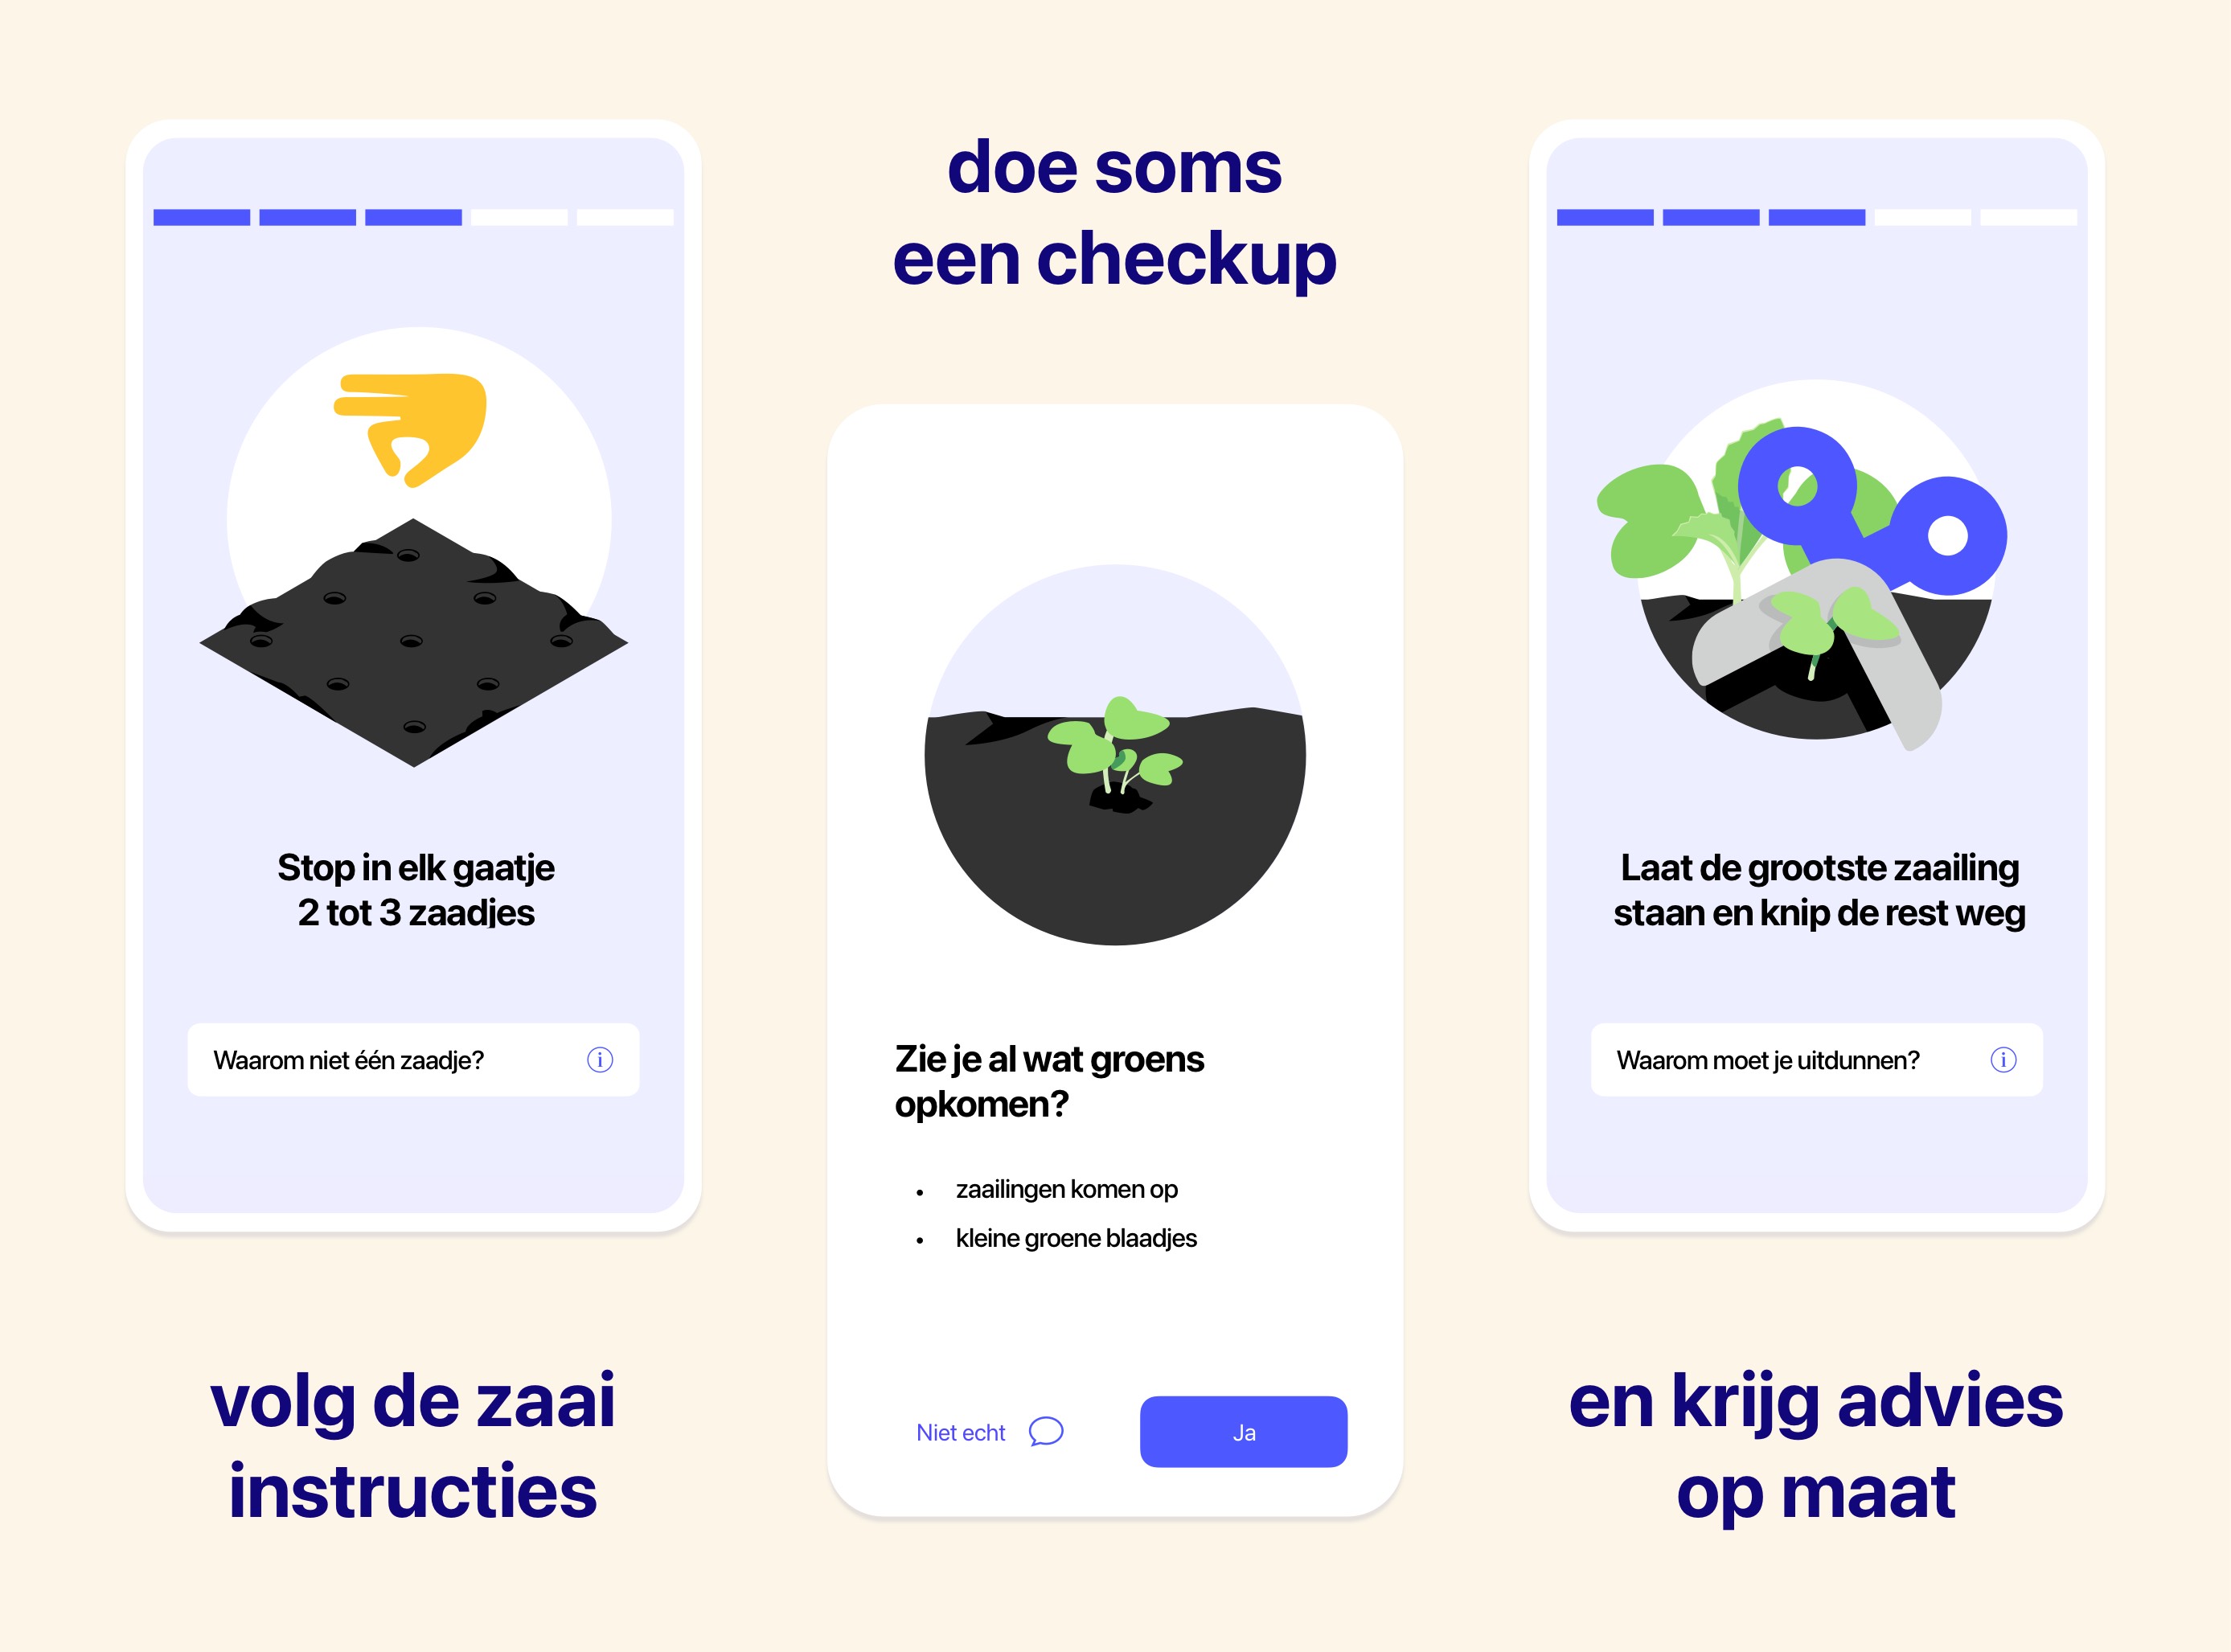
The app guides you from the very beginning, when you start the seeds, to removing the plant at the end of the season, and through everything in between.
That makes it difficult to go wrong.
It is almost unbelievable, isn't it, that one tiny seed will eventually give you masses of tomatoes?
Want to start seeds our way?
Good luck!

PS: Why do seedlings grow better in Airpots than ordinary pots?
MM-Airpots are different because they also have openings in their sides:
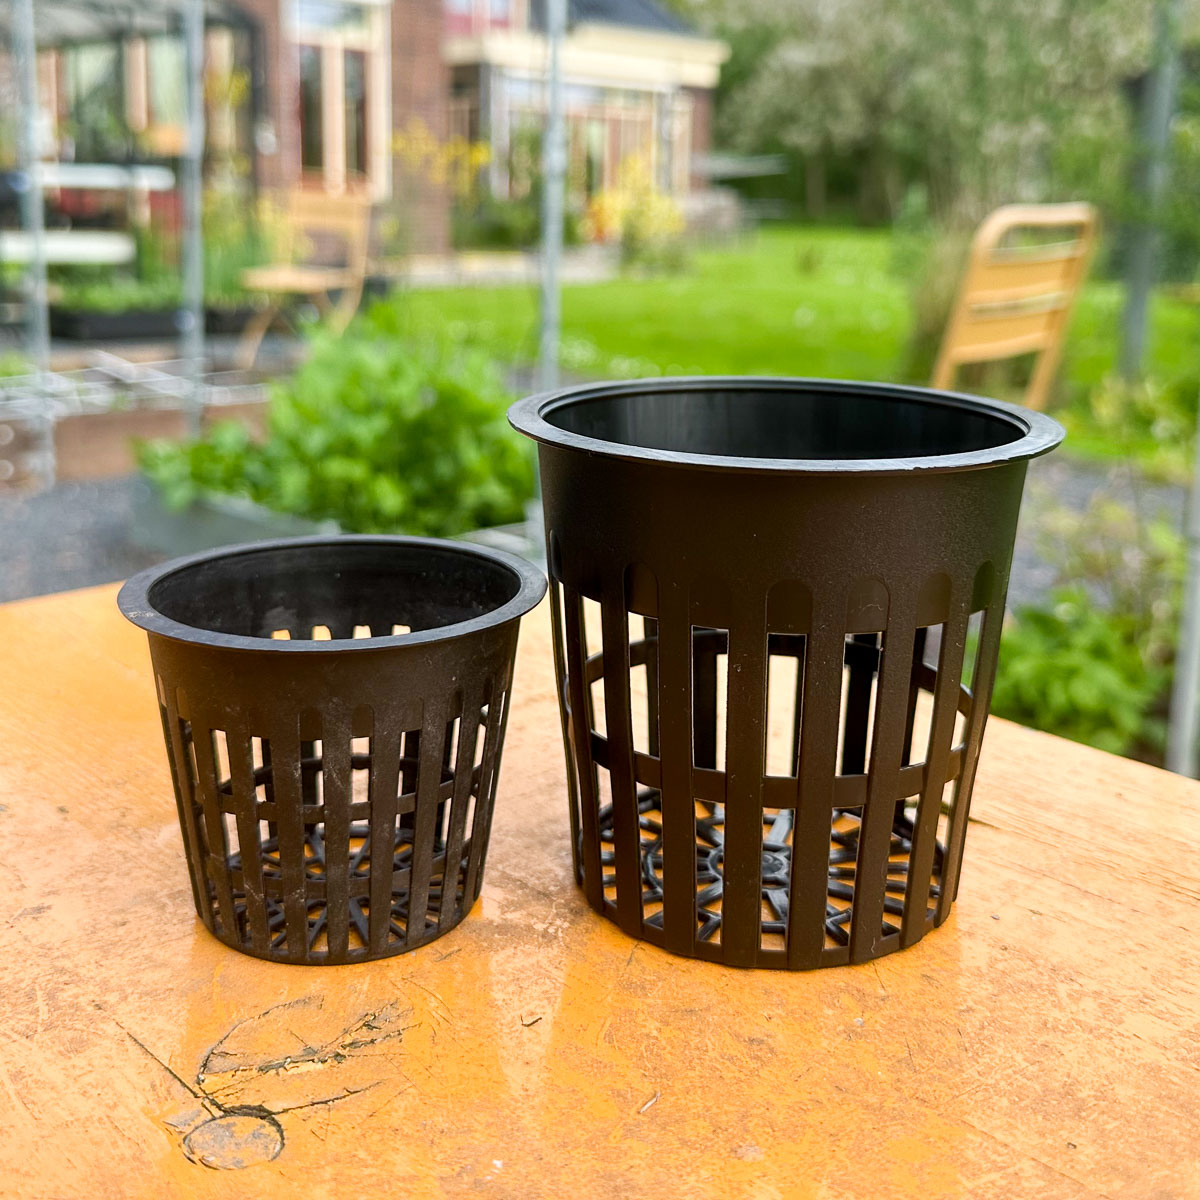
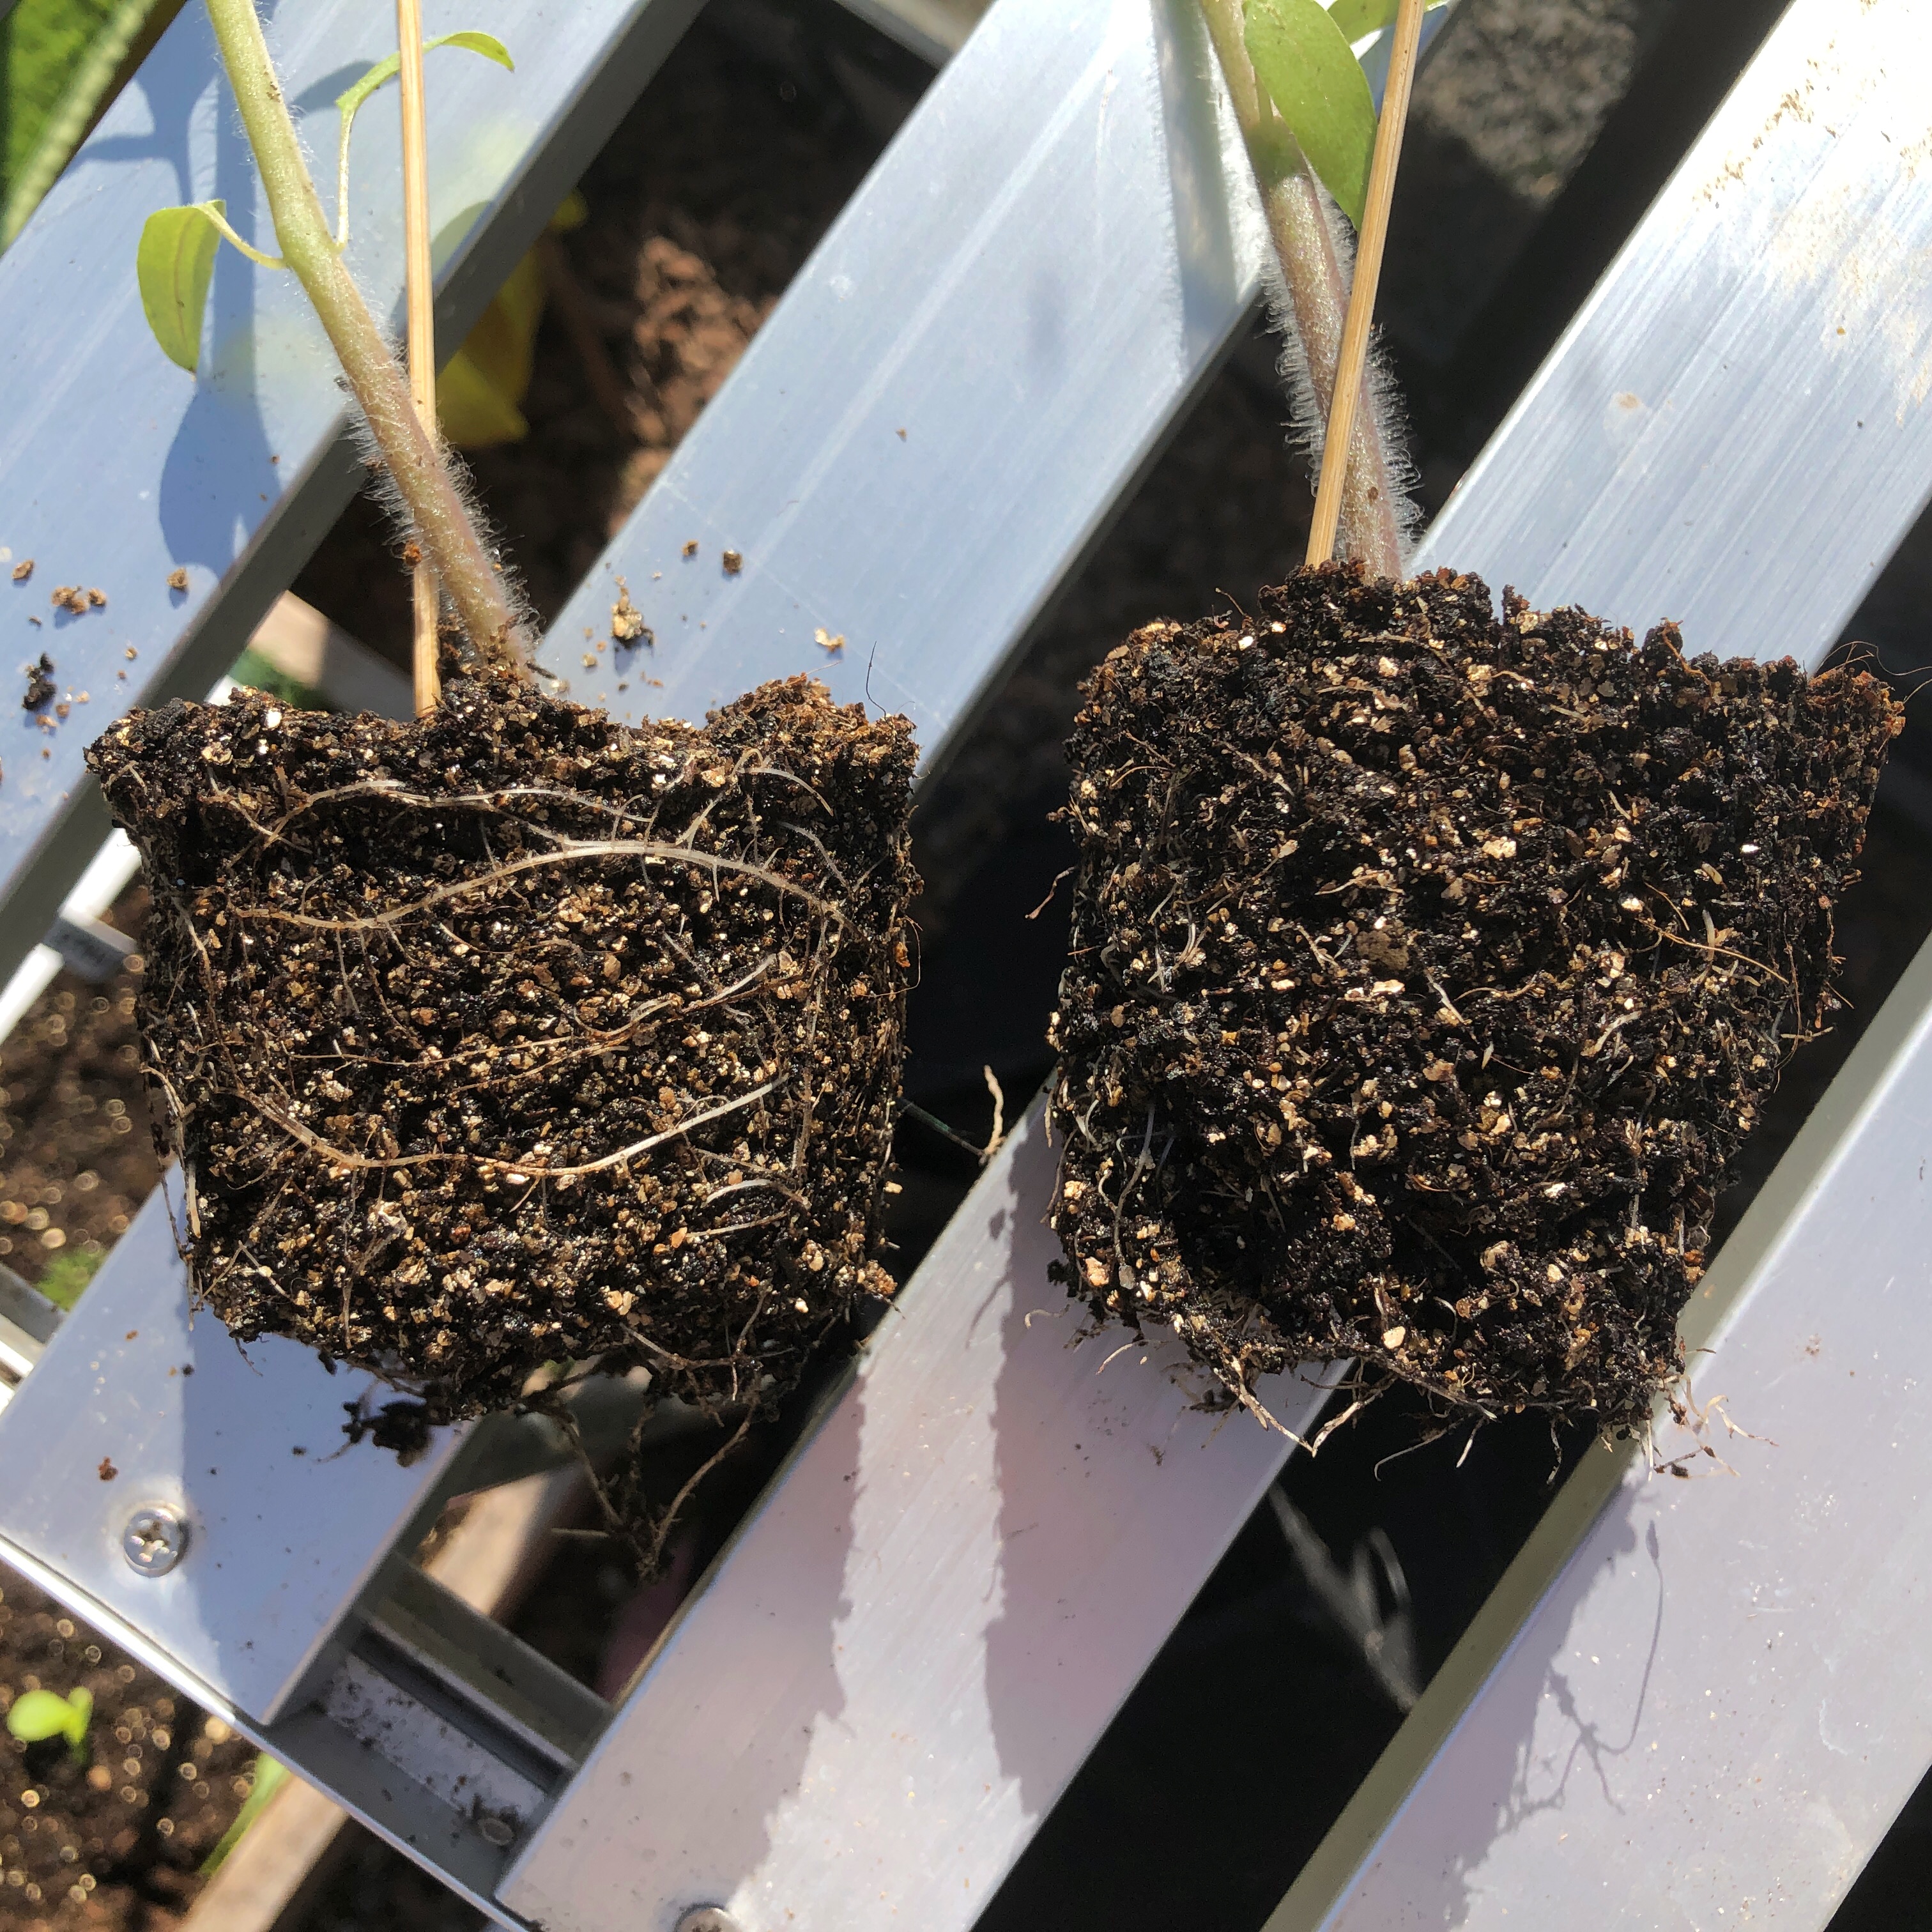
They also need repotting less quickly and suffer less disturbance when moved to their final place in a raised bed or MM-mini.
Moisten this mix thoroughly before sowing. Cover the pot with cling film secured by an elastic band to stop it drying out too quickly, then remove the film as soon as the seedling emerges.
Keep checking that the mix remains moist and add water from above. Once it dries out, it can be slow to absorb water again. Do not make it too wet either, as this drives the air out of the mix.
The newer seed-starting mix is made from pure coconut coir and comes as a compressed block. Add water to let it expand. Coconut coir contains no nutrients, so add one tablespoon of MM plant food as well. This makes 6 litres of seed-starting mix.
This mix does not need to be nearly as wet because its fibres hold moisture very well. There is no need to cover the pot with film after sowing. If it later becomes a little dry, add some water to the saucer; the fibres absorb it easily from below.
Another advantage is that the mix does not attract fungus gnats because it contains none of the organic material their larvae feed on, so they do not lay eggs in it.
Finally, coconut mix does not make your hands dirty. A small detail, but a pleasant one.