
Sowing and growing yellow snack tomatoes
Yellow snack tomatoes grow quickly and produce large trusses full of firm, sweet tomatoes.
This strong variety also performs well outdoors, even in a cool summer.
This strong variety also performs well outdoors, even in a cool summer.
- Start indoors
- from late March to late April. Plant outside in late May.
- Time to harvest
- from 16 weeks
- Plants per square
- 1 by the trellis
- Sunlight
- needs a sunny, sheltered spot by the trellis
Step by step
What is a yellow snack tomato?
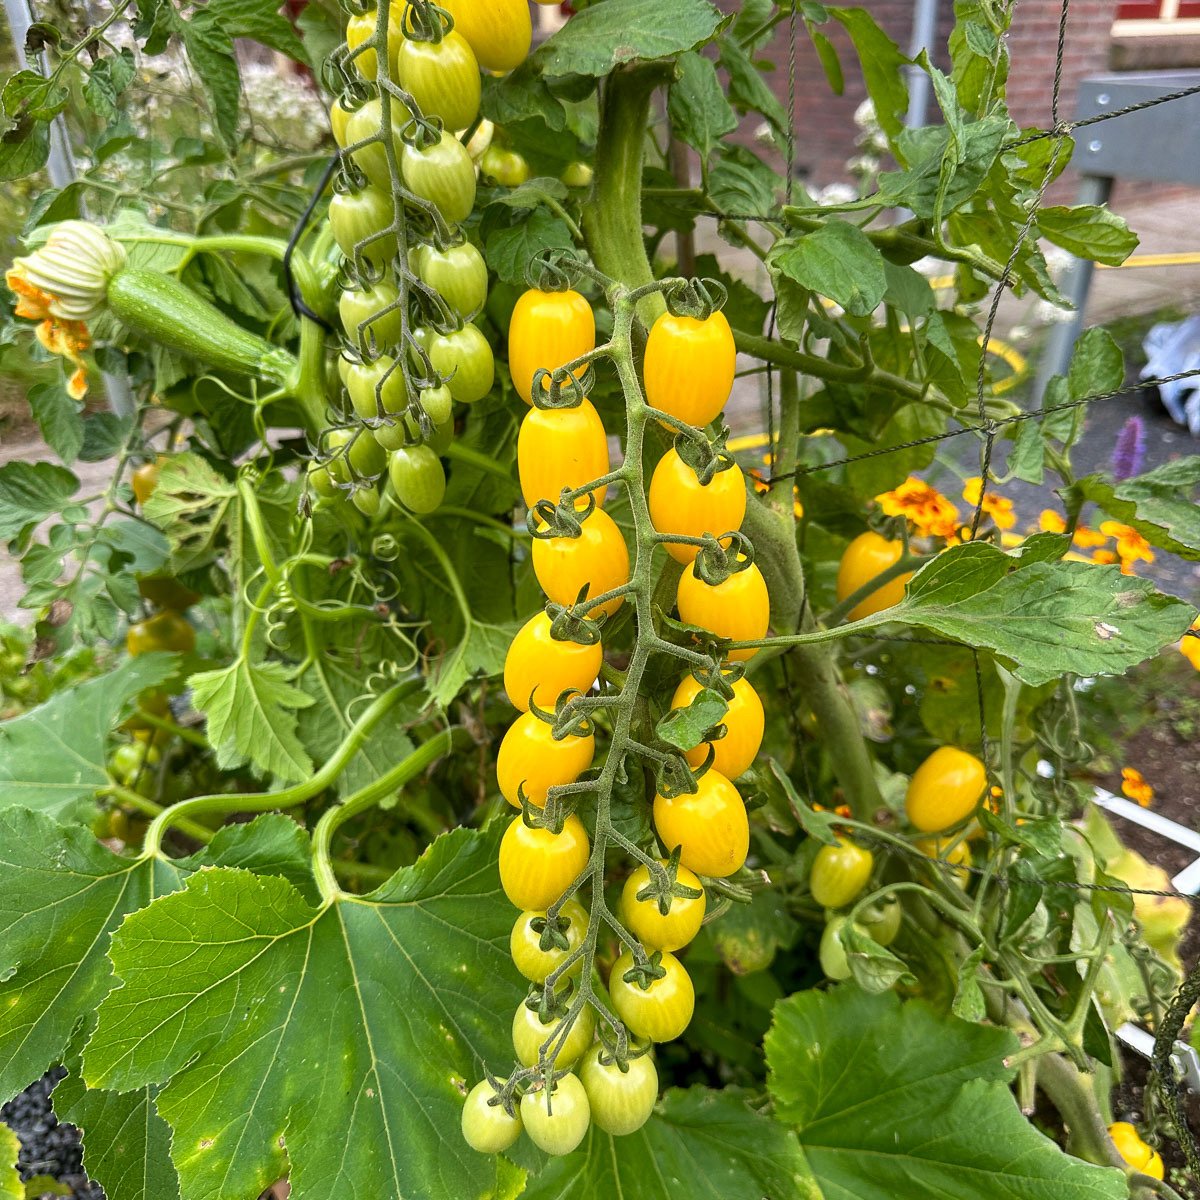
A snack tomato is much like a larger tomato, but it produces big trusses of small tomatoes. They are ideal for snacking, hence the name.
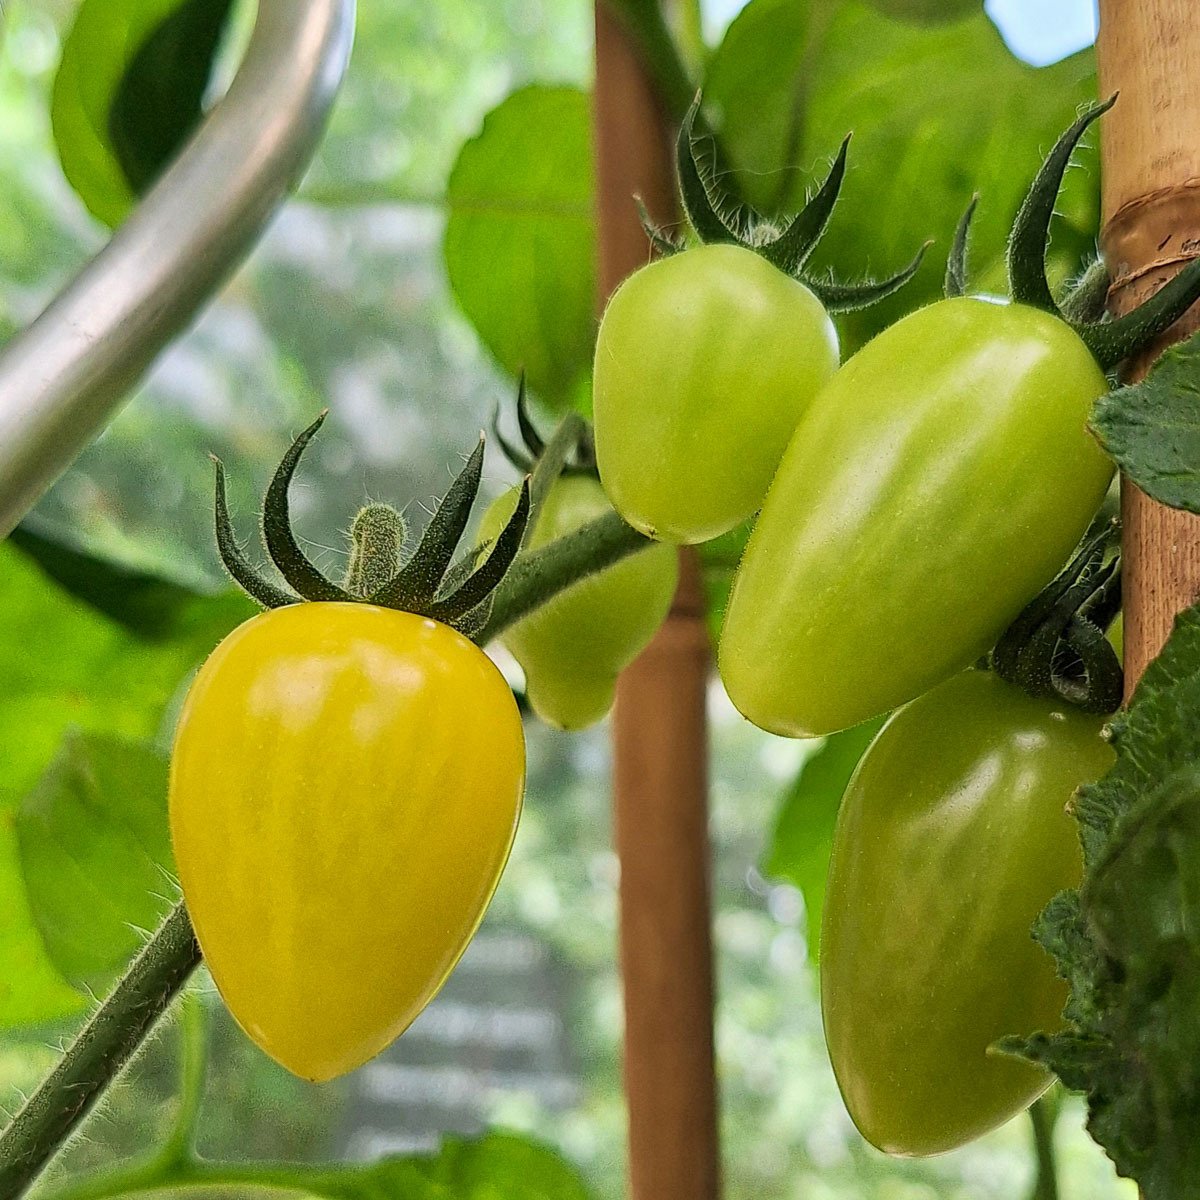
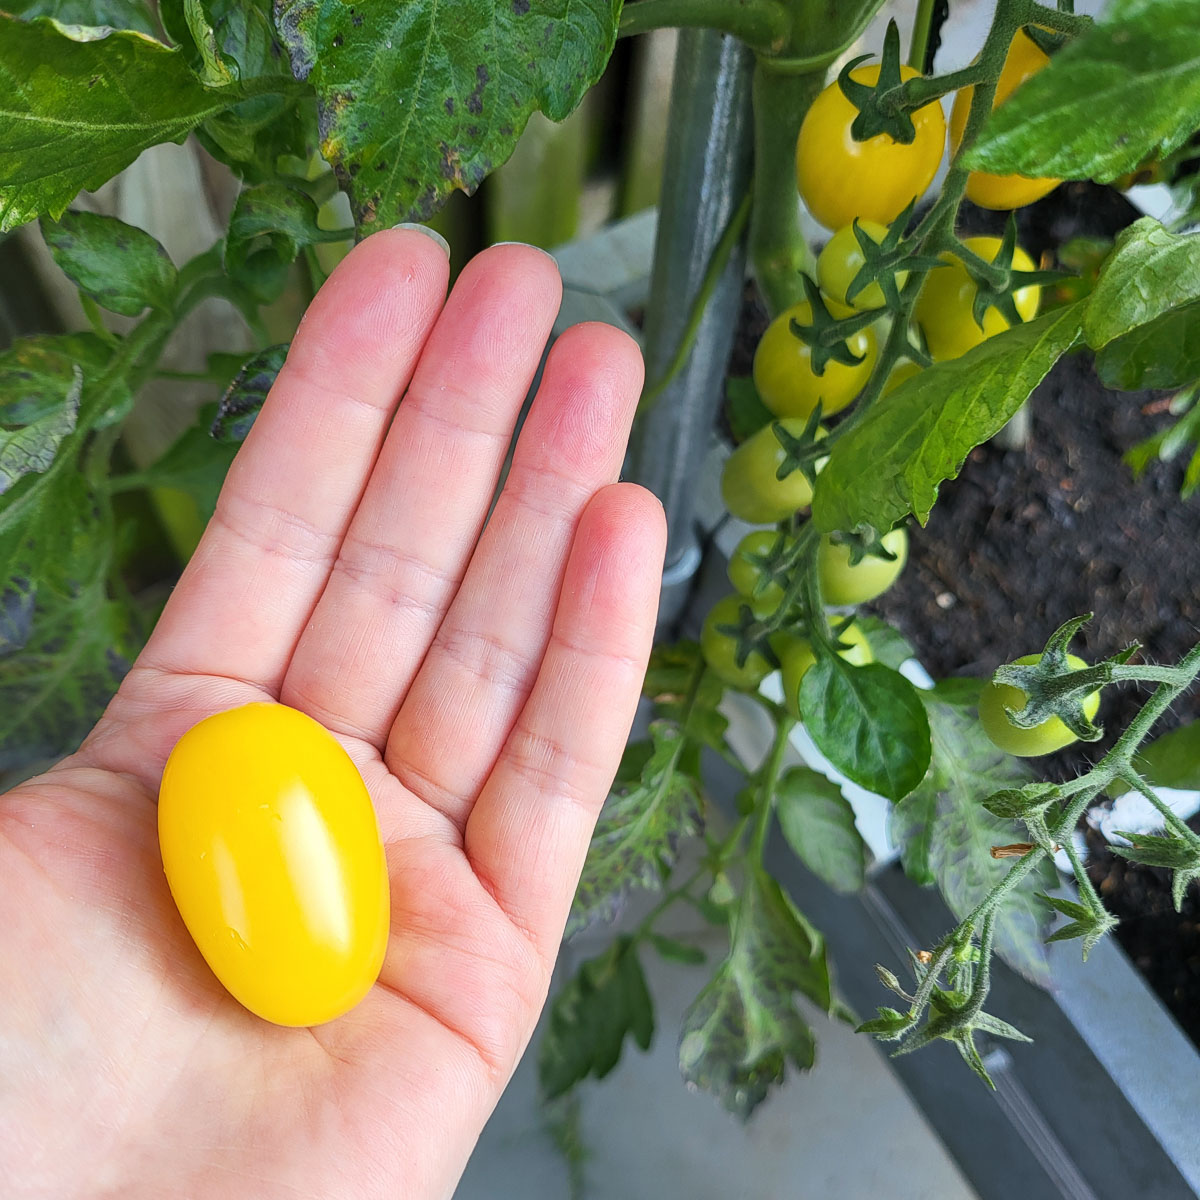
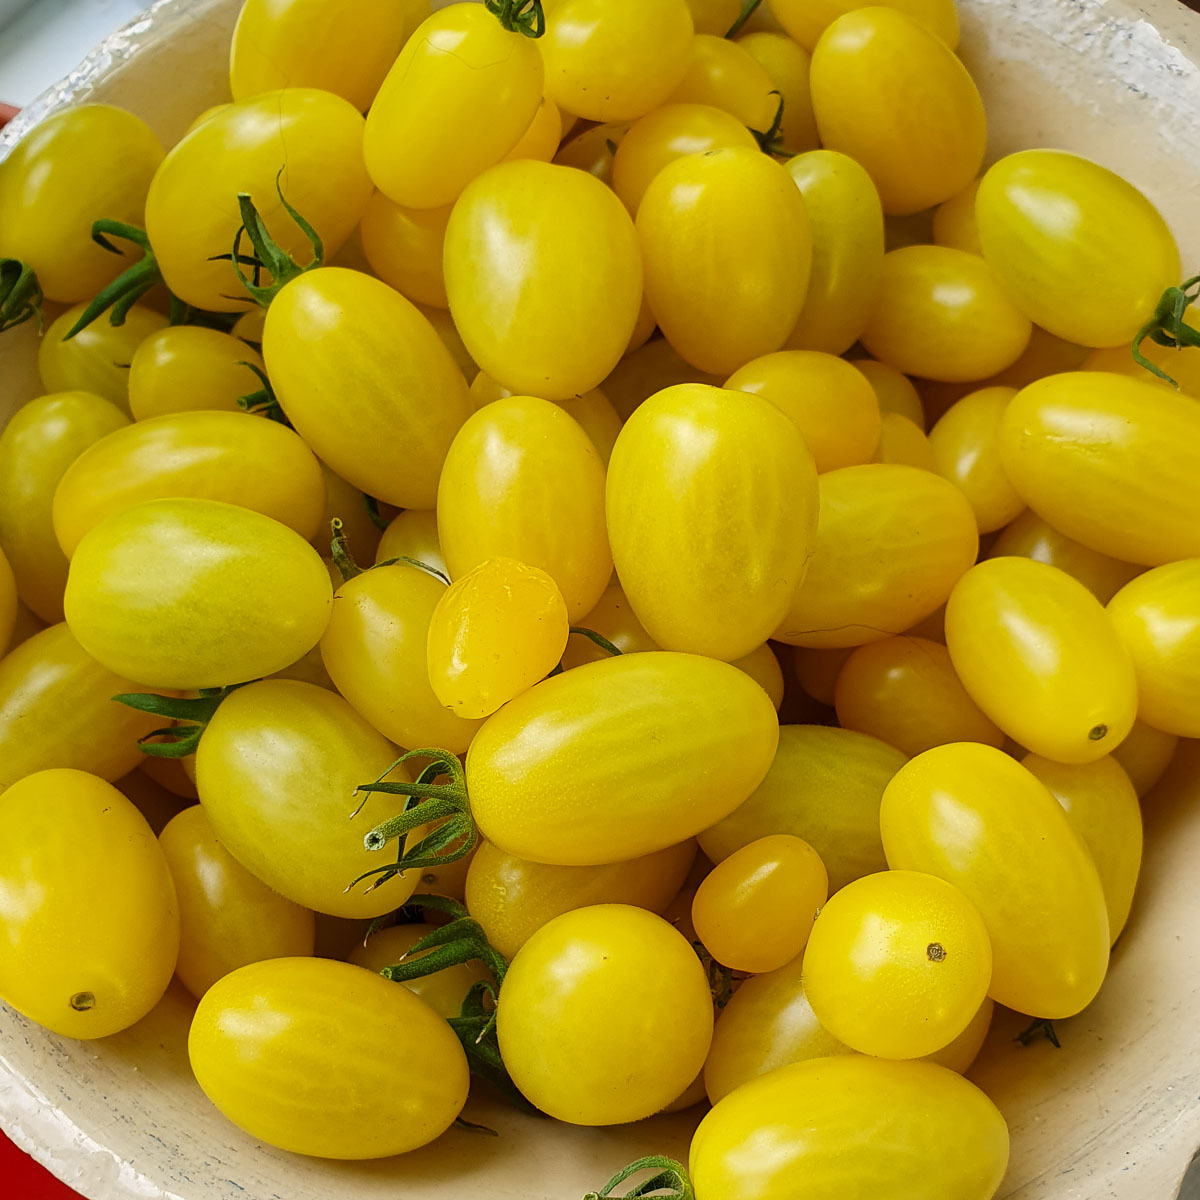
This variety produces small, oval tomatoes with a sweet, aromatic flavour and a firm bite.
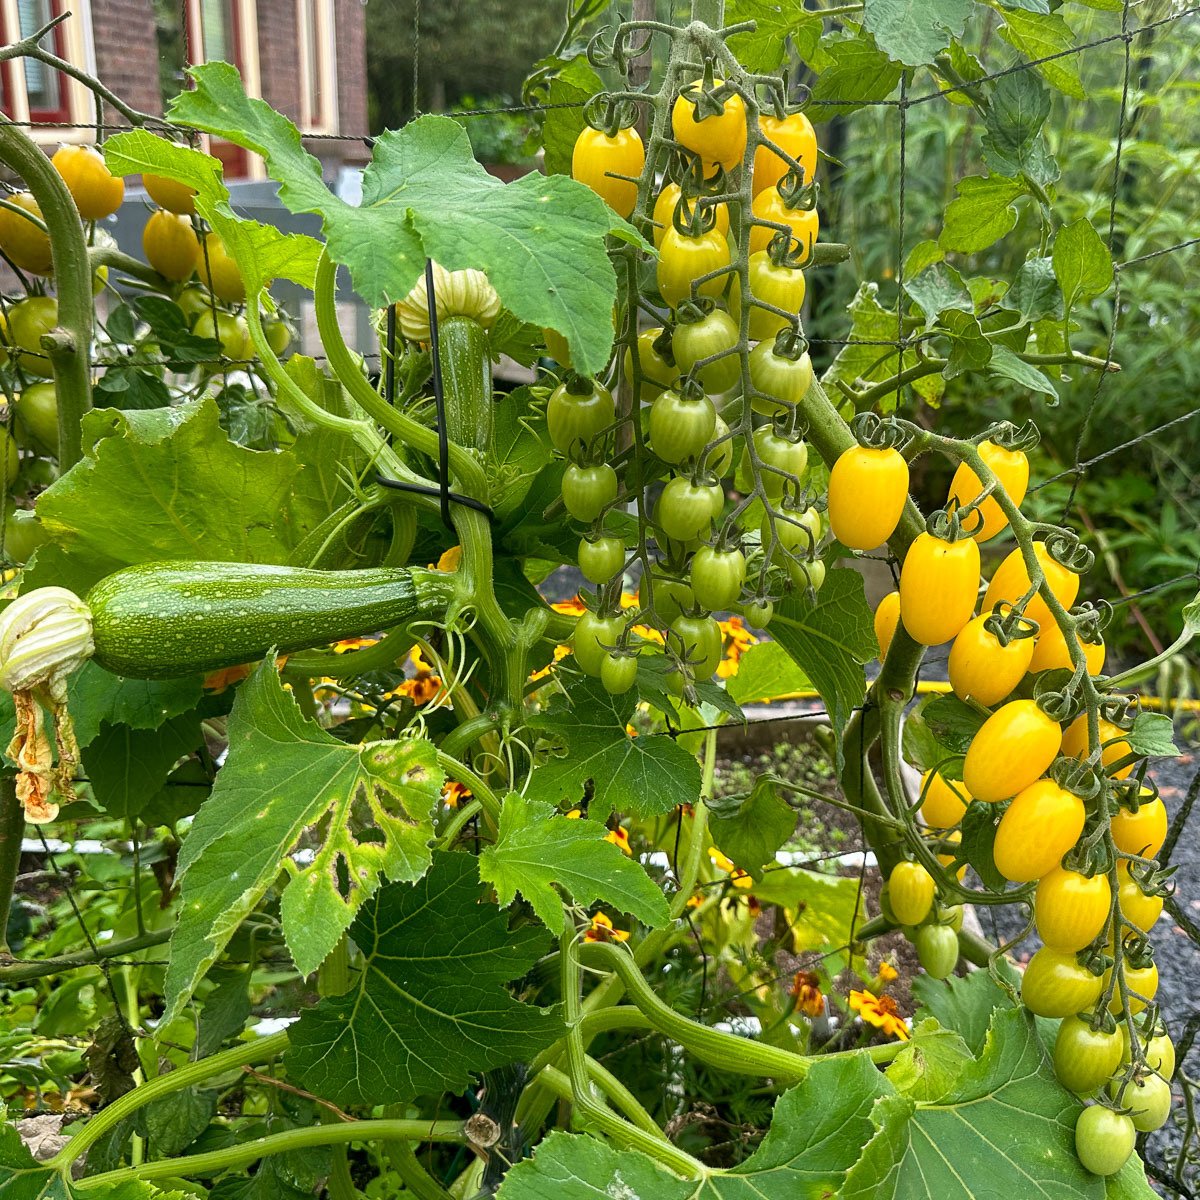
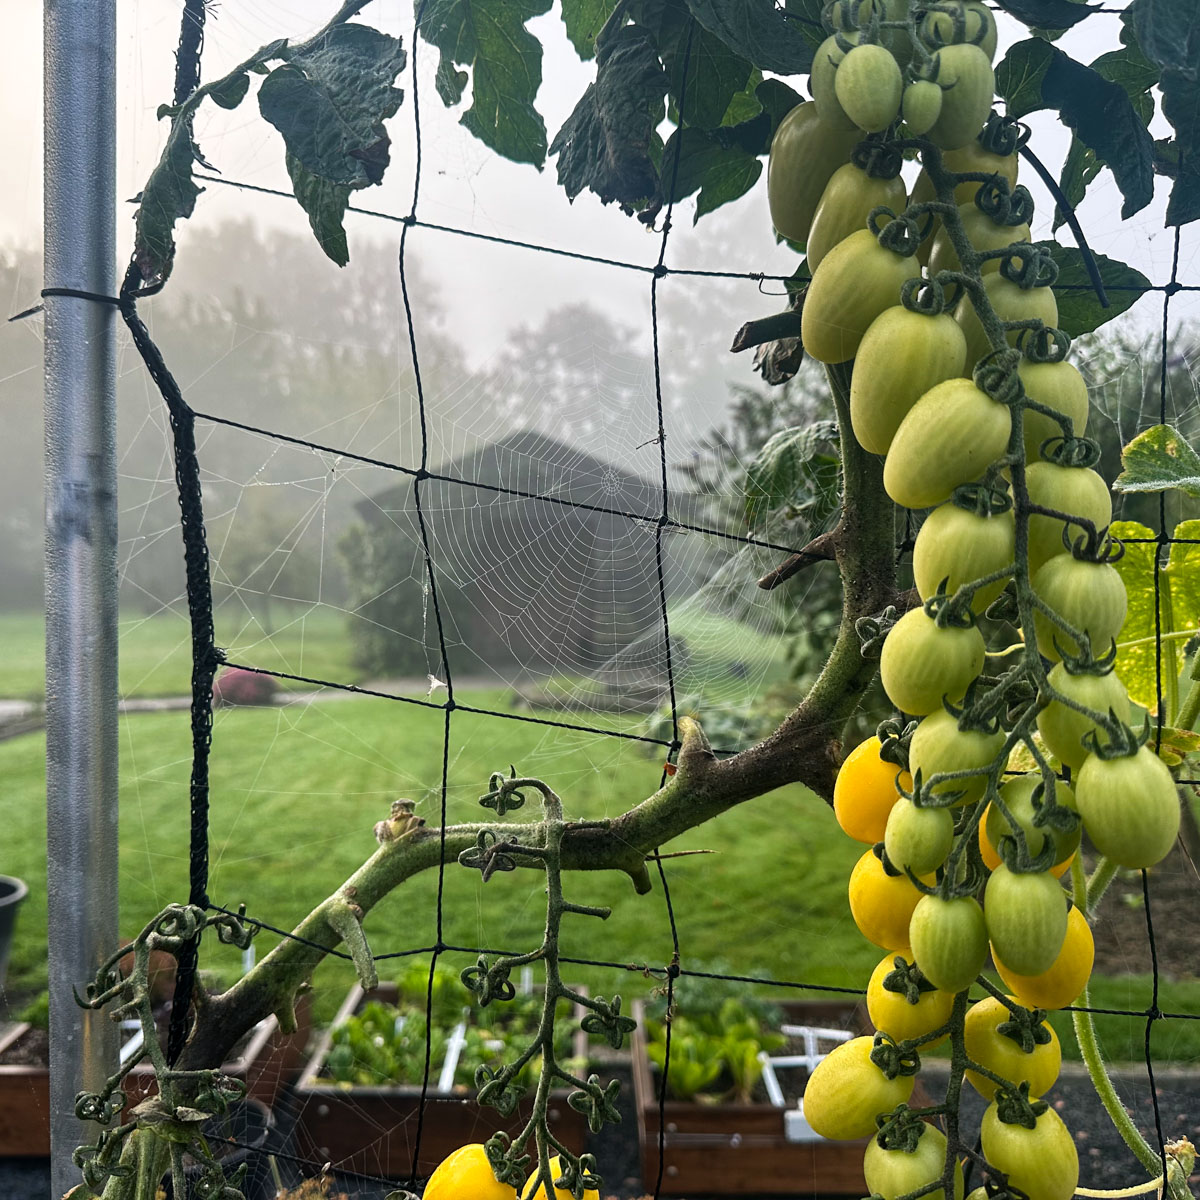
The plant grows tall and does best beside a trellis. It produces many large trusses and can give you a generous harvest from summer onwards.
This variety produces small, oval tomatoes with a sweet, aromatic flavour and a firm bite.
The plant grows tall and does best beside a trellis. It produces many large trusses and can give you a generous harvest from summer onwards.
Are yellow snack tomatoes nutritious?
Yellow tomatoes provide vitamins C and A, several B vitamins, potassium, phosphorus, magnesium and fibre. They also contain beta-carotene and flavonoids.
Cooking tomatoes changes how readily some compounds are absorbed, while reducing some vitamin C. Enjoy them both raw and cooked as part of a varied diet.
Cooking tomatoes changes how readily some compounds are absorbed, while reducing some vitamin C. Enjoy them both raw and cooked as part of a varied diet.
More about our yellow snack tomato
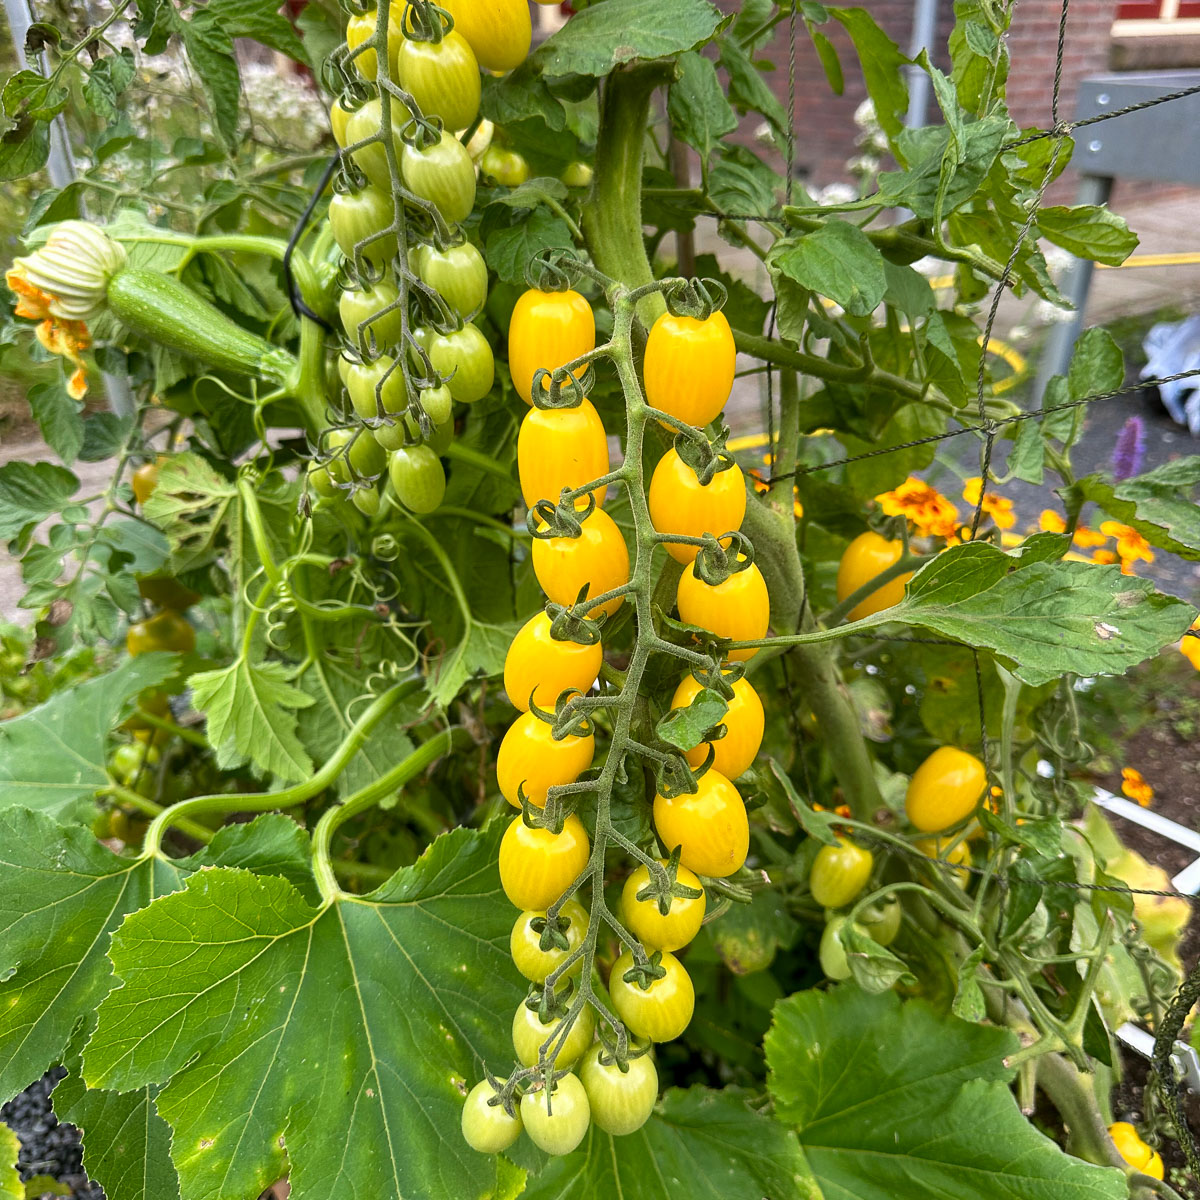
This strong tomato variety performs reliably outdoors, even in cool summers, and is resistant to a range of diseases.
- Variety: Dattolime F1
- Family: nightshade
- Plants per square: 1 by the trellis
- Height: up to 180 cm
- Start indoors: from late March to late April. Plant outside in late May.
- Time to harvest: from 16 weeks
- Germination: 7 to 10 days at 21°C
- Sunlight: needs a sunny, sheltered spot by the trellis
- Packet contents: 6 seeds, enough for 3-6 squares
What do you need to grow yellow snack tomatoes?
Besides the seeds, you need the following to start them indoors:
- MM seed-starting mix or MM coconut seed-starting mix
- MM Airpots in both the small and large sizes
- clear kitchen film, unless you use coconut mix
Note: MM coconut seed-starting mix does not contain plant food. Add one heaped tablespoon of MM plant food when you first prepare it.
Once the plant can go outside, you need:
Once the plant can go outside, you need:
- one 30 × 30 cm square
- Makkelijke Moestuinmix or MM coconut mix
- a spot with at least 8 hours of sunlight a day
- an MM trellis, or similar support
- MM plant food
Some variety names include F1. This means the seeds are hybrids, created by crossing carefully selected parent lines.
Breeders use this process to strengthen useful traits, such as reliable growth in different weather, a consistent appearance, a larger harvest or better flavour. Repeated crossing and selection can also improve resistance to certain diseases.
F1 varieties are not genetically modified. Hybrid breeding is also used in organic horticulture.
Read more: What does F1 mean on seed packets?
Breeders use this process to strengthen useful traits, such as reliable growth in different weather, a consistent appearance, a larger harvest or better flavour. Repeated crossing and selection can also improve resistance to certain diseases.
F1 varieties are not genetically modified. Hybrid breeding is also used in organic horticulture.
Read more: What does F1 mean on seed packets?
How do you sow and grow yellow snack tomatoes?
This yellow snack tomato is included in the free Makkelijke Moestuin app. The app guides you from seed to harvest through a series of stages that we call levels.
At each level, it tells you exactly what to do and asks you to check when your plants are ready to move on.
You do not need any experience before you begin. The guide below lets you read through the whole process in advance.
At each level, it tells you exactly what to do and asks you to check when your plants are ready to move on.
You do not need any experience before you begin. The guide below lets you read through the whole process in advance.
Level 1: Start yellow snack tomatoes indoors
Tomatoes are true summer vegetables and take a long time to grow from seed into plants with ripe fruit. That is too long for our climate. The seeds also need around 21°C to germinate, and the young plants cannot tolerate frost.
Start them indoors around late March and move the young plant to your raised bed around late May. To be safe, raise two plants even if you will only need one.
Here is how to start them indoors:
Start them indoors around late March and move the young plant to your raised bed around late May. To be safe, raise two plants even if you will only need one.
Here is how to start them indoors:
- Fill two small MM Airpots with MM seed-starting mix or MM coconut seed-starting mix.
- Sow one seed in each pot, 1 cm deep.
- Cover the pots with clear kitchen film to keep the mix moist. You do not need film with coconut mix.
- Put the pots in a warm place indoors.
Note: MM coconut seed-starting mix does not contain plant food. Add one heaped tablespoon of MM plant food when you first prepare it.
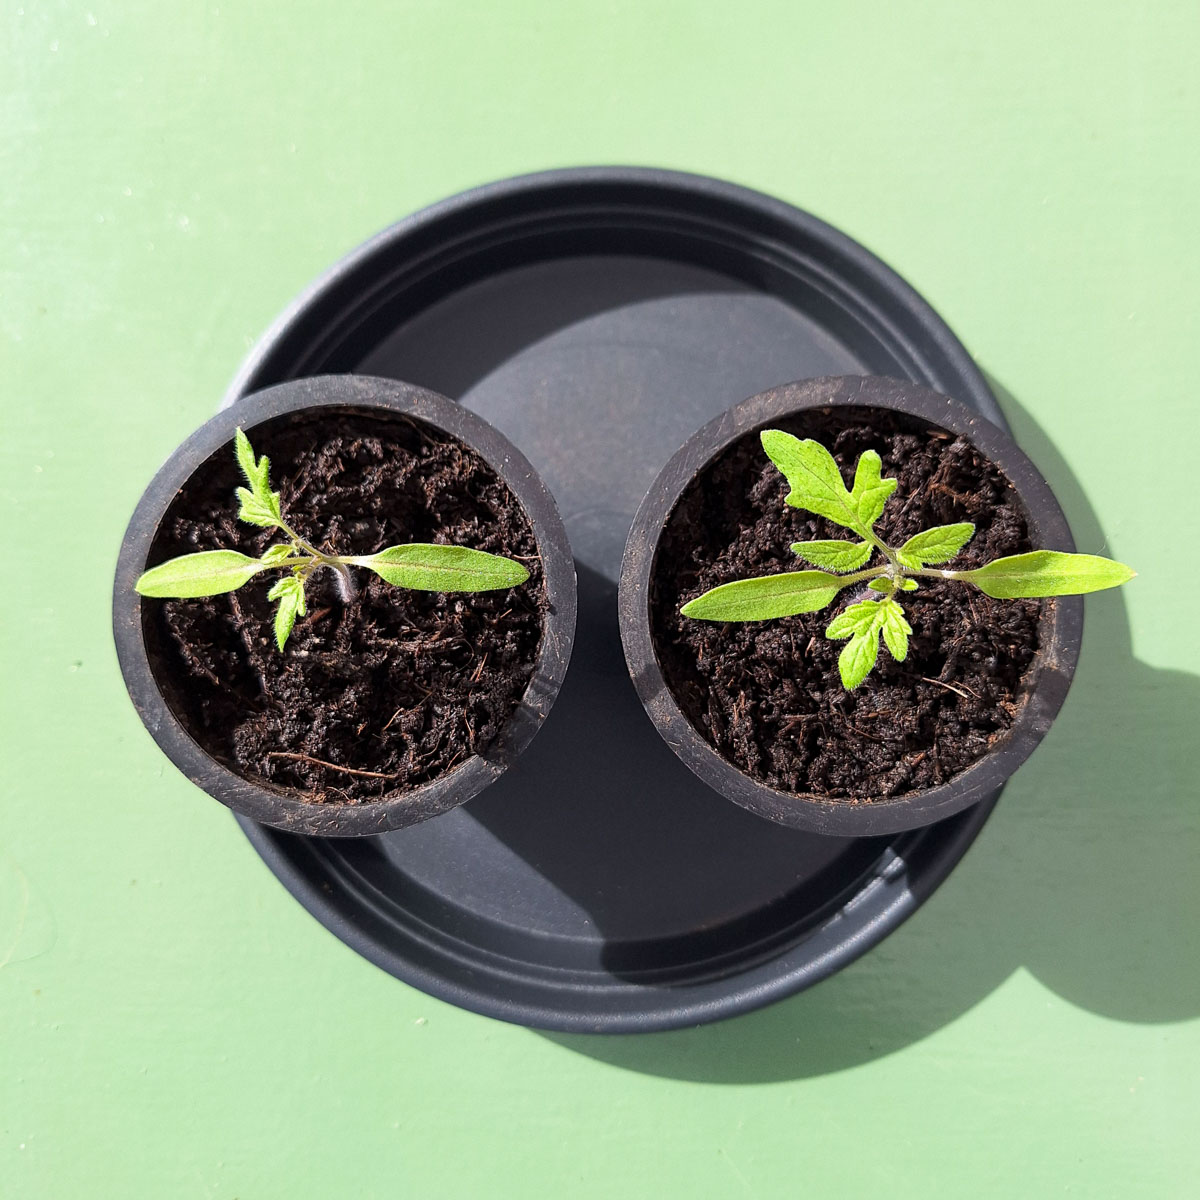
Levels 2 and 3: Yellow snack tomato seedlings
Remove the film as soon as the seedlings appear. You do not need film with coconut mix.
They may not both emerge at the same time, but both should be visible after about a week. From then on, put the pots in your brightest spot, but keep them away from too much heat.
Keep the mix moist. Water traditional MM seed-starting mix from above; with coconut mix, add water to the saucer beneath the pot.
Turn the pots a quarter turn each day so the seedlings grow straight.
After another 10 days or so, they will be ready for the next level.
They may not both emerge at the same time, but both should be visible after about a week. From then on, put the pots in your brightest spot, but keep them away from too much heat.
Keep the mix moist. Water traditional MM seed-starting mix from above; with coconut mix, add water to the saucer beneath the pot.
Turn the pots a quarter turn each day so the seedlings grow straight.
After another 10 days or so, they will be ready for the next level.
Taking care of them on the windowsill
Levels 4 and 5: Care on the windowsill
Give the plants as much light as possible, but keep them below 20°C. Turn the pots a quarter turn each day so the plants grow straight, and keep the mix moist.
One month after sowing, move the plants into larger Airpots filled with MM-Mix. This gives them room to form more roots and provides fresh nutrients.
Read our detailed guide to repotting tomato seedlings.
One month after sowing, move the plants into larger Airpots filled with MM-Mix. This gives them room to form more roots and provides fresh nutrients.
Read our detailed guide to repotting tomato seedlings.
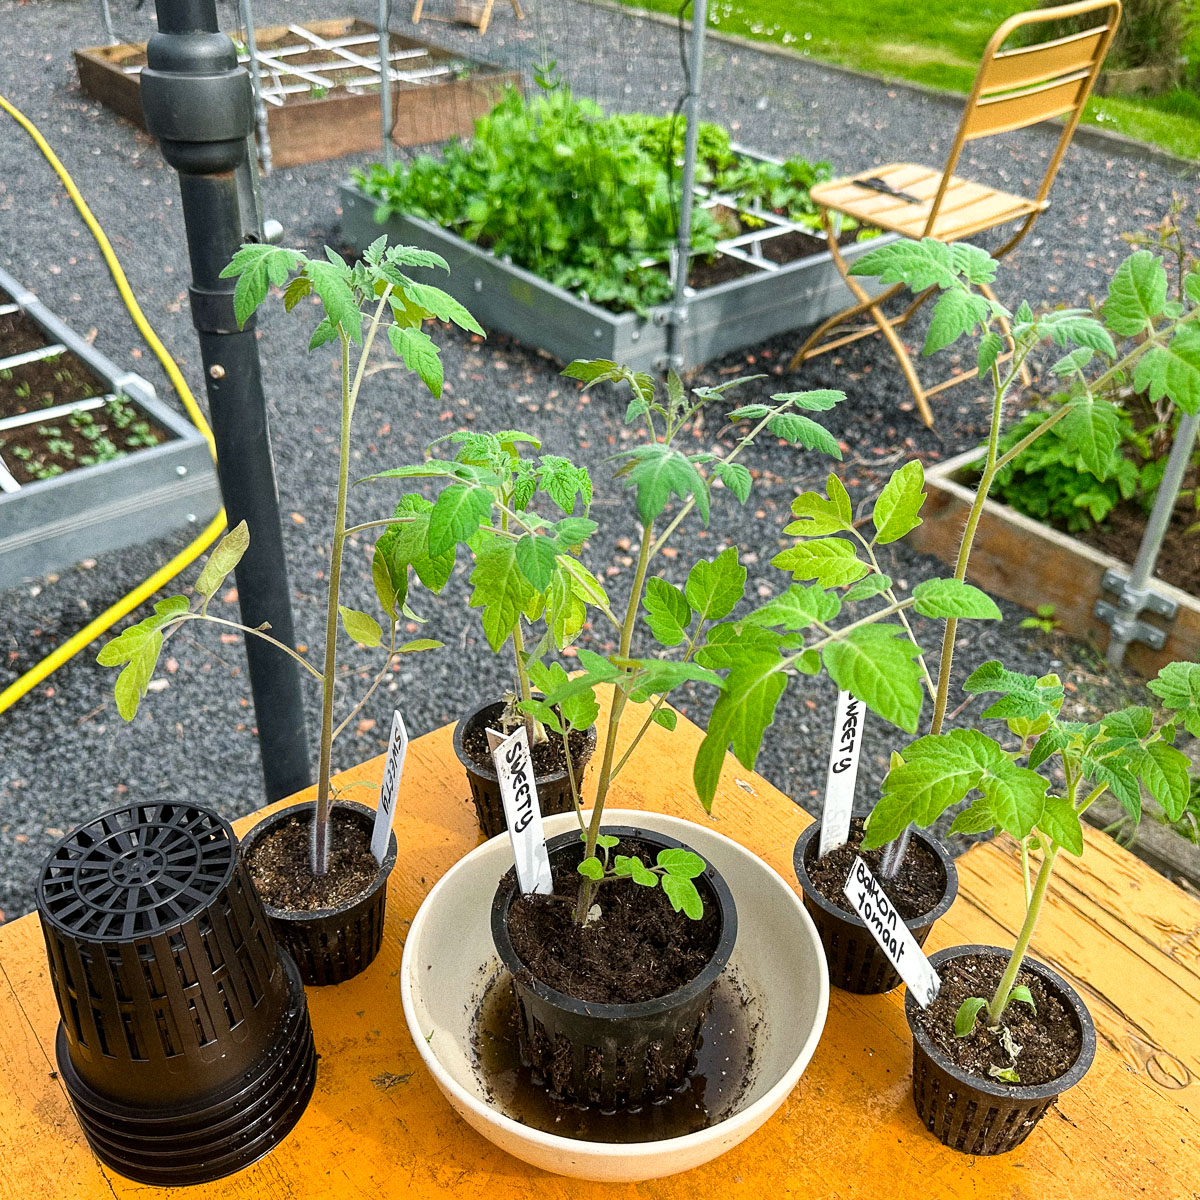
Levels 6–10: Harden the plants off
In the second half of May, help the plants get used to outdoor conditions by leaving them outside a little longer each day. In the final level, they stay outside all day and only come back indoors at night.
Level 11: Plant the strongest tomato in your raised bed
Once the plants are used to outdoor conditions, choose the strongest one and transplant it into your raised bed. Put it in the back row by the trellis.
Add 30 ml, or 2 tablespoons, of MM plant food to the planting hole and plant the tomato as deeply as possible.
Always water tomatoes at the base, never over the leaves.
Add 30 ml, or 2 tablespoons, of MM plant food to the planting hole and plant the tomato as deeply as possible.
Always water tomatoes at the base, never over the leaves.
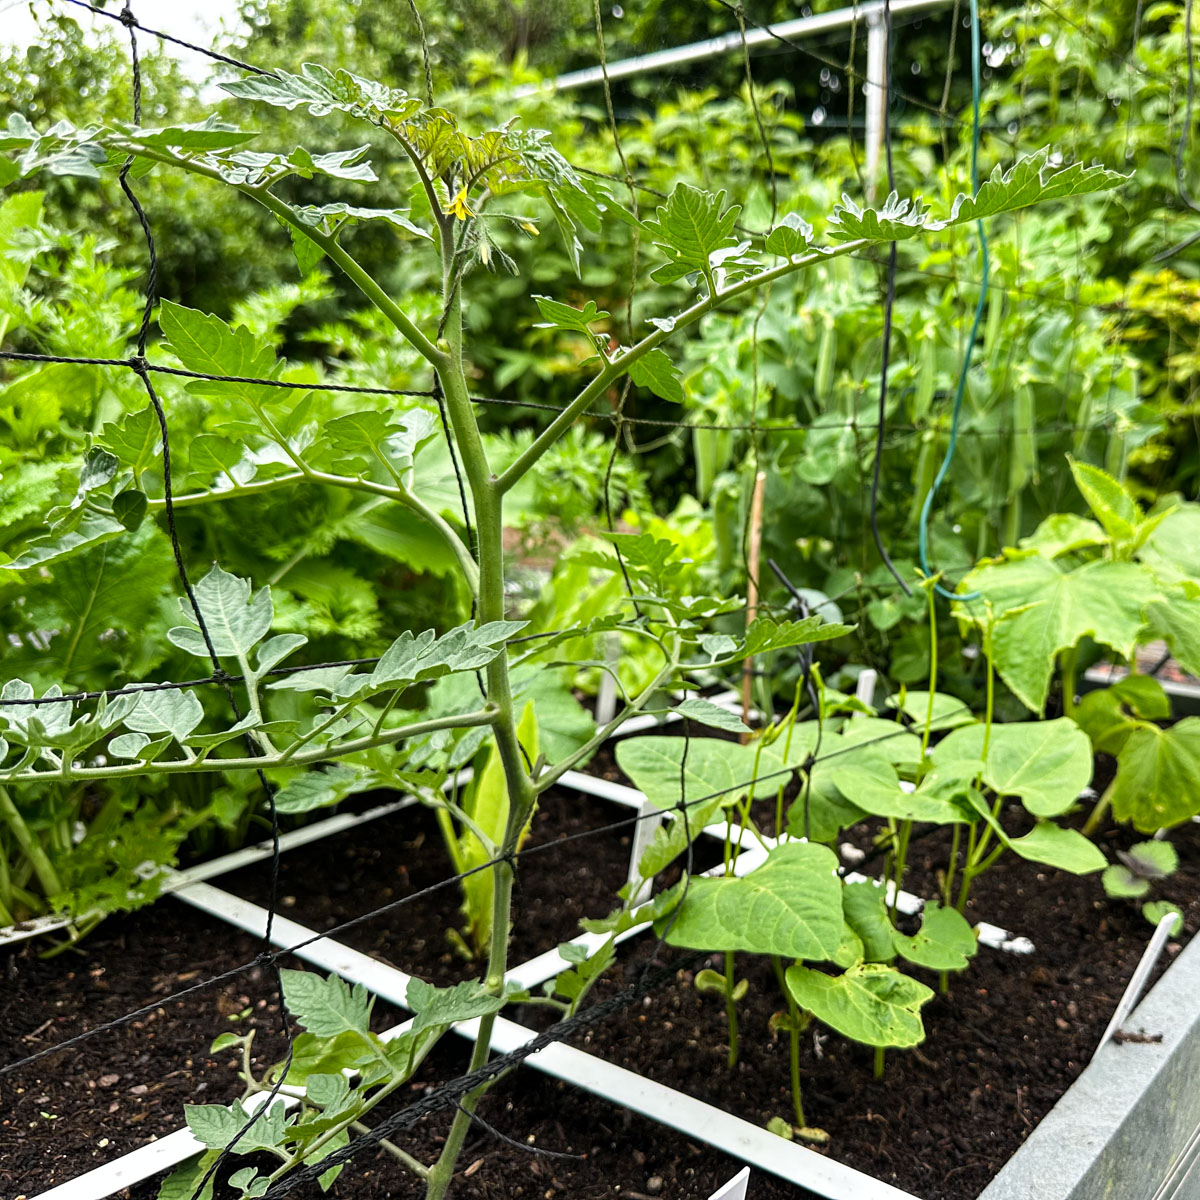
Care in the garden
Levels 12–14: Care for your tomato plant
A tomato plant does not cling to the trellis by itself, so secure the stem with clips or soft ties.
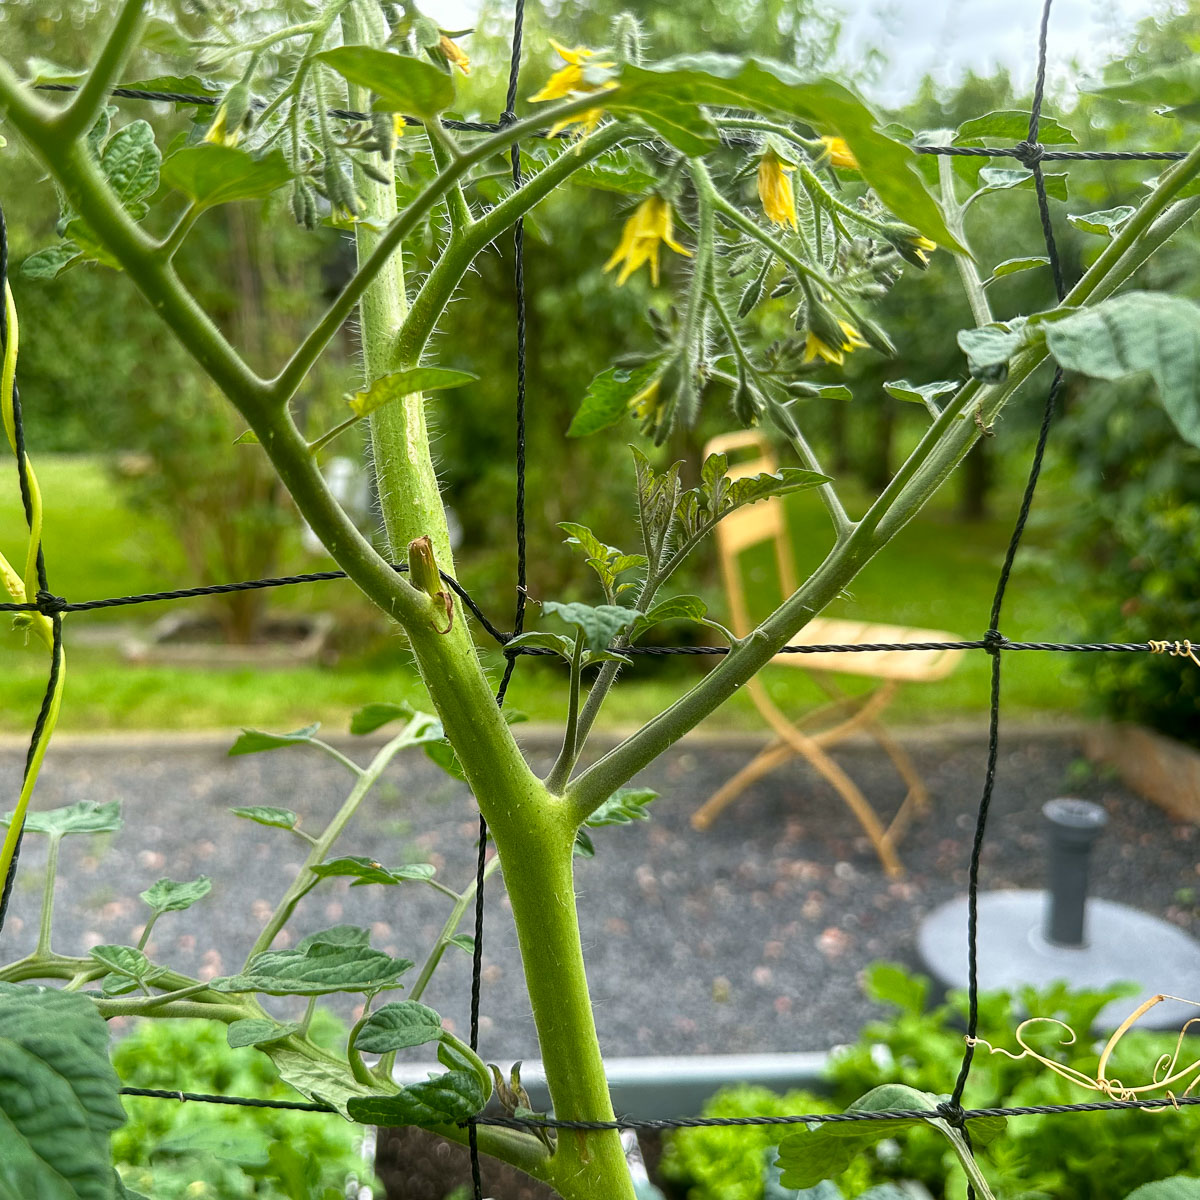
Remove side shoots, also called suckers, from the leaf axils as soon as you see them. They take energy away from the main plant.
The first flower trusses will appear quite soon. To support a generous harvest, scatter 30 ml, or 2 tablespoons, of MM plant food around the base every four to five weeks. The app will remind you.
Water regularly and remove weeds and tatty leaves. That is all.
Remove side shoots, also called suckers, from the leaf axils as soon as you see them. They take energy away from the main plant.
The first flower trusses will appear quite soon. To support a generous harvest, scatter 30 ml, or 2 tablespoons, of MM plant food around the base every four to five weeks. The app will remind you.
Water regularly and remove weeds and tatty leaves. That is all.
Harvesting
Level 15: Harvest the first tomatoes
The first tomatoes ripen around July. They ripen faster in warm, sunny weather and more slowly when it is cool.
They taste best when fully ripe but still firm. Leave them too long and they become soft and floury, so learn what works by tasting a few.
Pick the deep-yellow ripe tomatoes from the plant; the stalk breaks easily. You can also snip them off with scissors.
They taste best when fully ripe but still firm. Leave them too long and they become soft and floury, so learn what works by tasting a few.
Pick the deep-yellow ripe tomatoes from the plant; the stalk breaks easily. You can also snip them off with scissors.
How can you use yellow snack tomatoes?
They are perfect as a healthy, tasty snack straight from the plant.
Beezy describes them as: "Better than I expected: sweet, aromatic and slightly spicy, with a true tomato flavour and just enough acidity to keep them fresh. Very special."
They are also delicious in salads or as a fresh addition to other dishes.
Heating makes them softer, more intense and even sweeter, so they are ideal for soups, sauces and stews.
Beezy describes them as: "Better than I expected: sweet, aromatic and slightly spicy, with a true tomato flavour and just enough acidity to keep them fresh. Very special."
They are also delicious in salads or as a fresh addition to other dishes.
Heating makes them softer, more intense and even sweeter, so they are ideal for soups, sauces and stews.
The final levels
From late August, the days get shorter and the tomatoes ripen more slowly.
Remove leaves that shade the fruit so sunlight can reach it. Also remove new flower trusses, as those tomatoes will no longer have time to ripen. This lets the plant direct its energy to the fruit already growing.
You can keep harvesting until it turns colder, usually in October. The plant then declines quickly and is best removed from your raised bed.
Remove leaves that shade the fruit so sunlight can reach it. Also remove new flower trusses, as those tomatoes will no longer have time to ripen. This lets the plant direct its energy to the fruit already growing.
You can keep harvesting until it turns colder, usually in October. The plant then declines quickly and is best removed from your raised bed.
So why not grow yellow snack tomatoes yourself?
These firm, tasty tomatoes are much better than supermarket ones, and tomatoes are great fun to grow yourself.
With our app and materials to guide you, getting started is easy.
Good luck!
With our app and materials to guide you, getting started is easy.
Good luck!