Swipe

MM trellis
Product information
€99
In Stock
Free delivery 🇳🇱
Choose your own delivery date
Description
A very sturdy trellis with a flexible net, made for climbing vegetables.
Specifications
| Suitable for | MM-hero en MM-bamboo, 8 vakken en 16 vakken. |
| Width | 130,5 cm |
| Height | 200 cm |
| Weight | 5,5 kg |
| Material | Steigerbuis, gegalvaniseerd staal |
| Included | Net 120 × 180 cm |
- Currently only shipping to the Netherlands and Belgium
- Choose your preferred delivery date
- Sent by PostNL or Transmission
- Track & Trace in your inbox
- The app helps you with almost everything you do in your vegetable garden: sowing, tending, and harvesting.
- If something goes wrong, the app tells you what steps to take.
- If that doesn’t work, you can ask us for advice.
- If that still doesn’t help, we’ll look for other solutions together. Until we get it right.
Our trellis: the MM-Klimrek
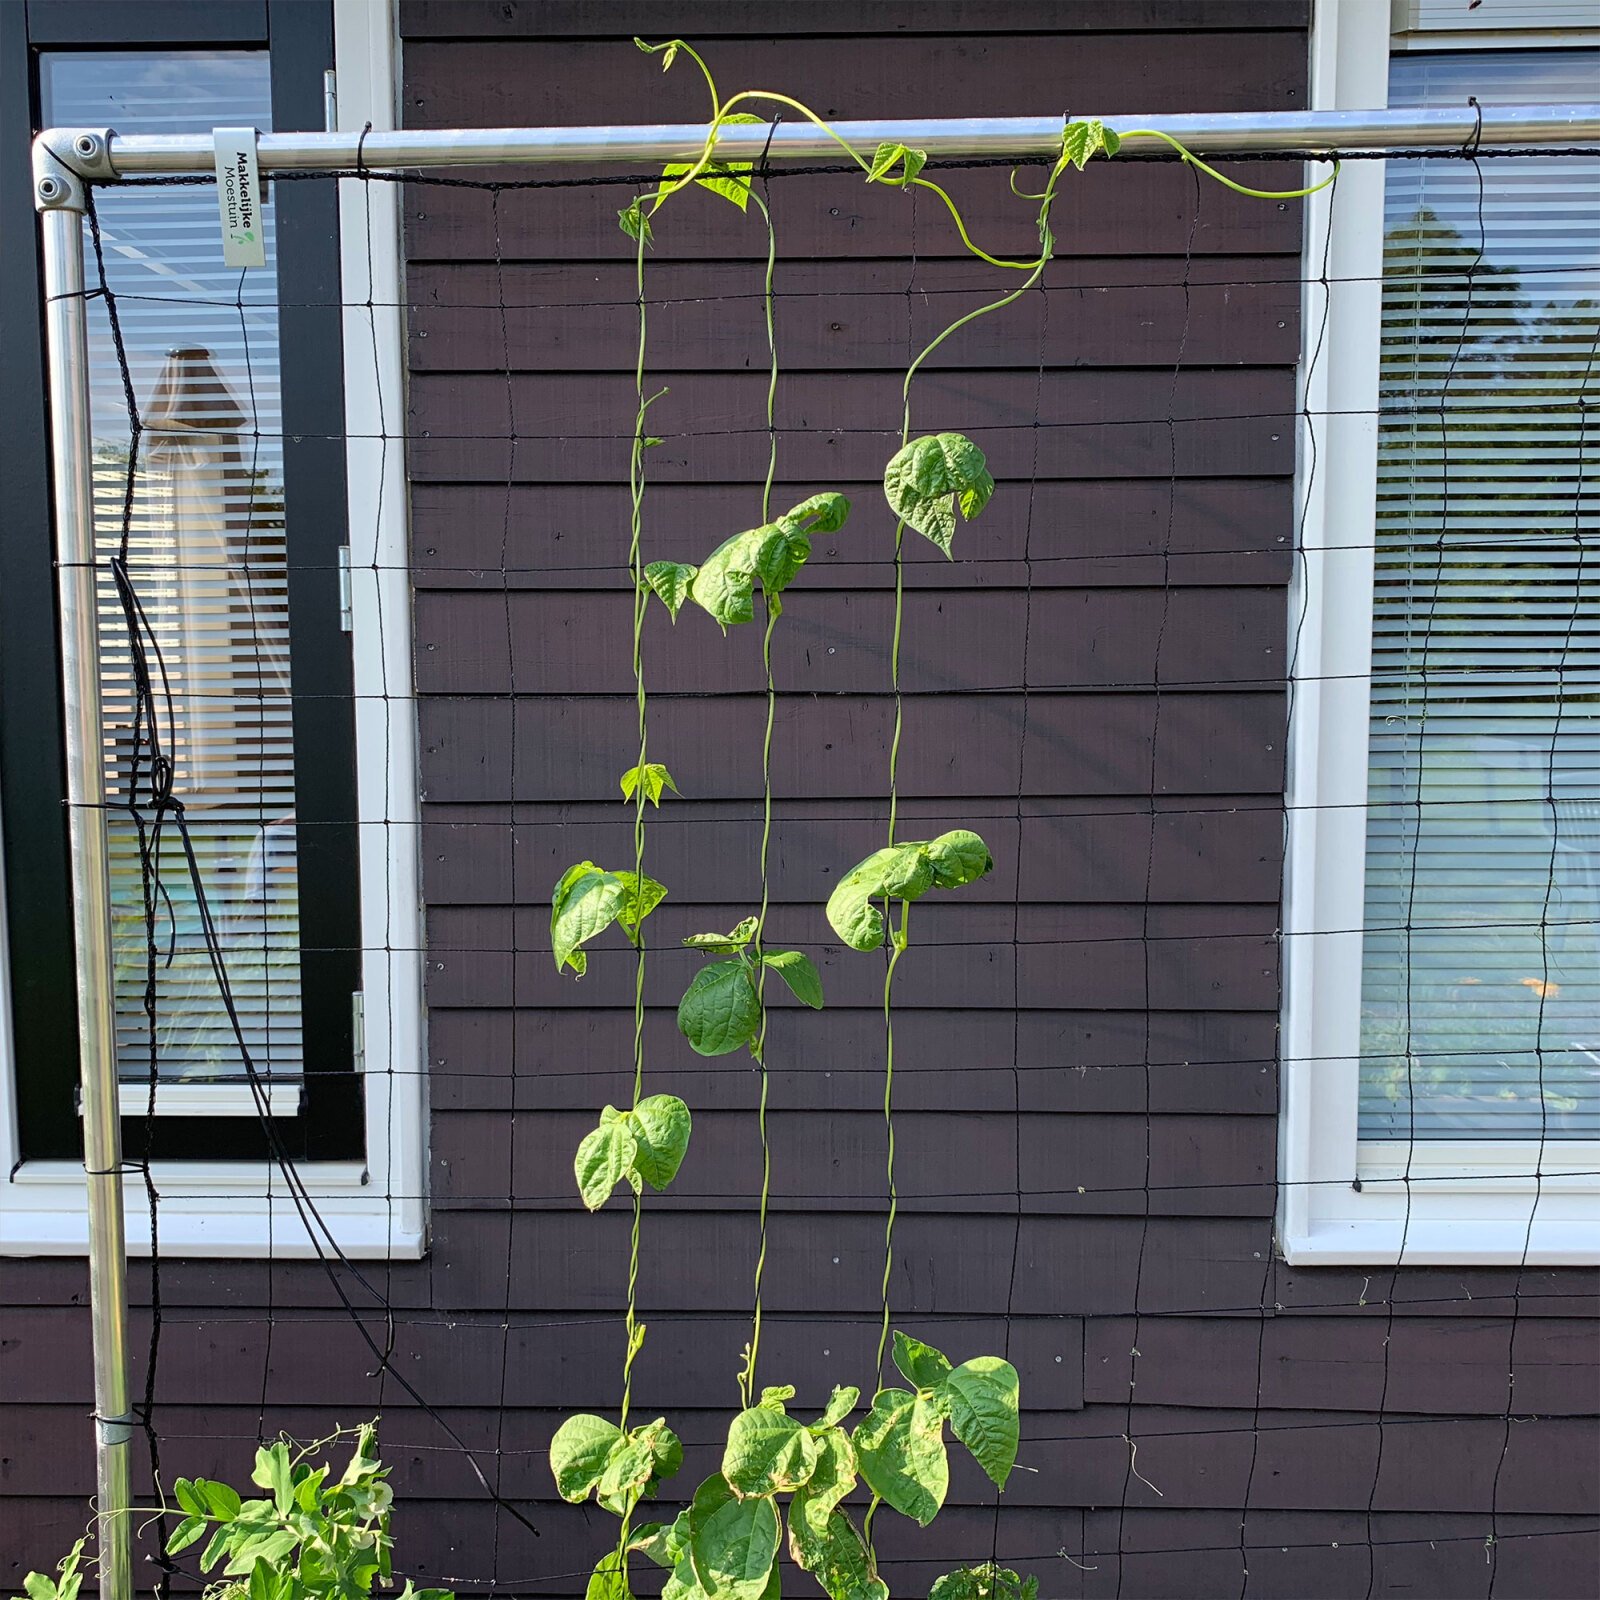
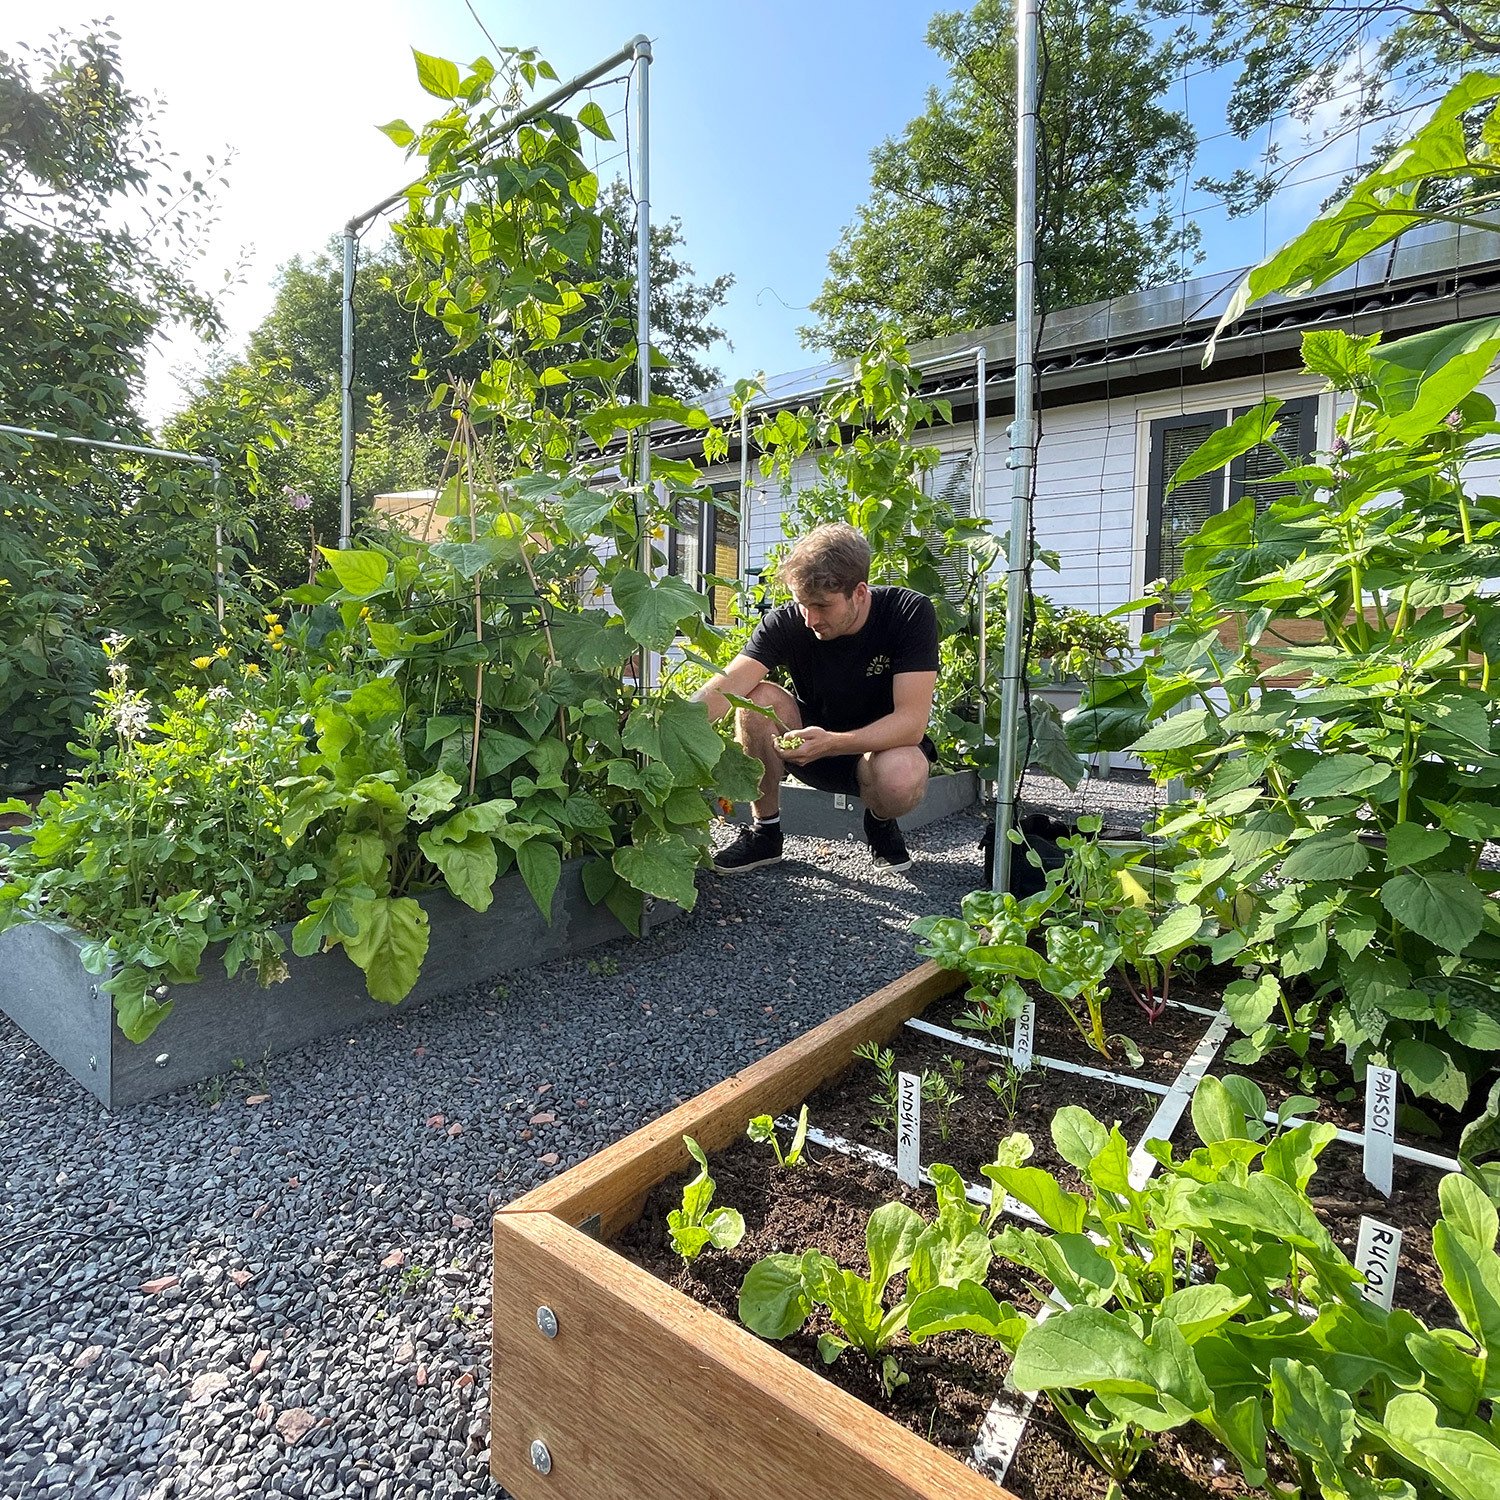
Vertical trellises are an important part of your Planty Garden. You can attach your climbing vegetables to them for extra support. And your beans and peas will climb right up on their own.
Our tomato and climbing zucchini varieties take up way less trellis space than others.
BTW: Are you getting a raised bed? Then get the trellis at the same time. It's easiest to do assembly at the same time.
Our tomato and climbing zucchini varieties take up way less trellis space than others.
BTW: Are you getting a raised bed? Then get the trellis at the same time. It's easiest to do assembly at the same time.
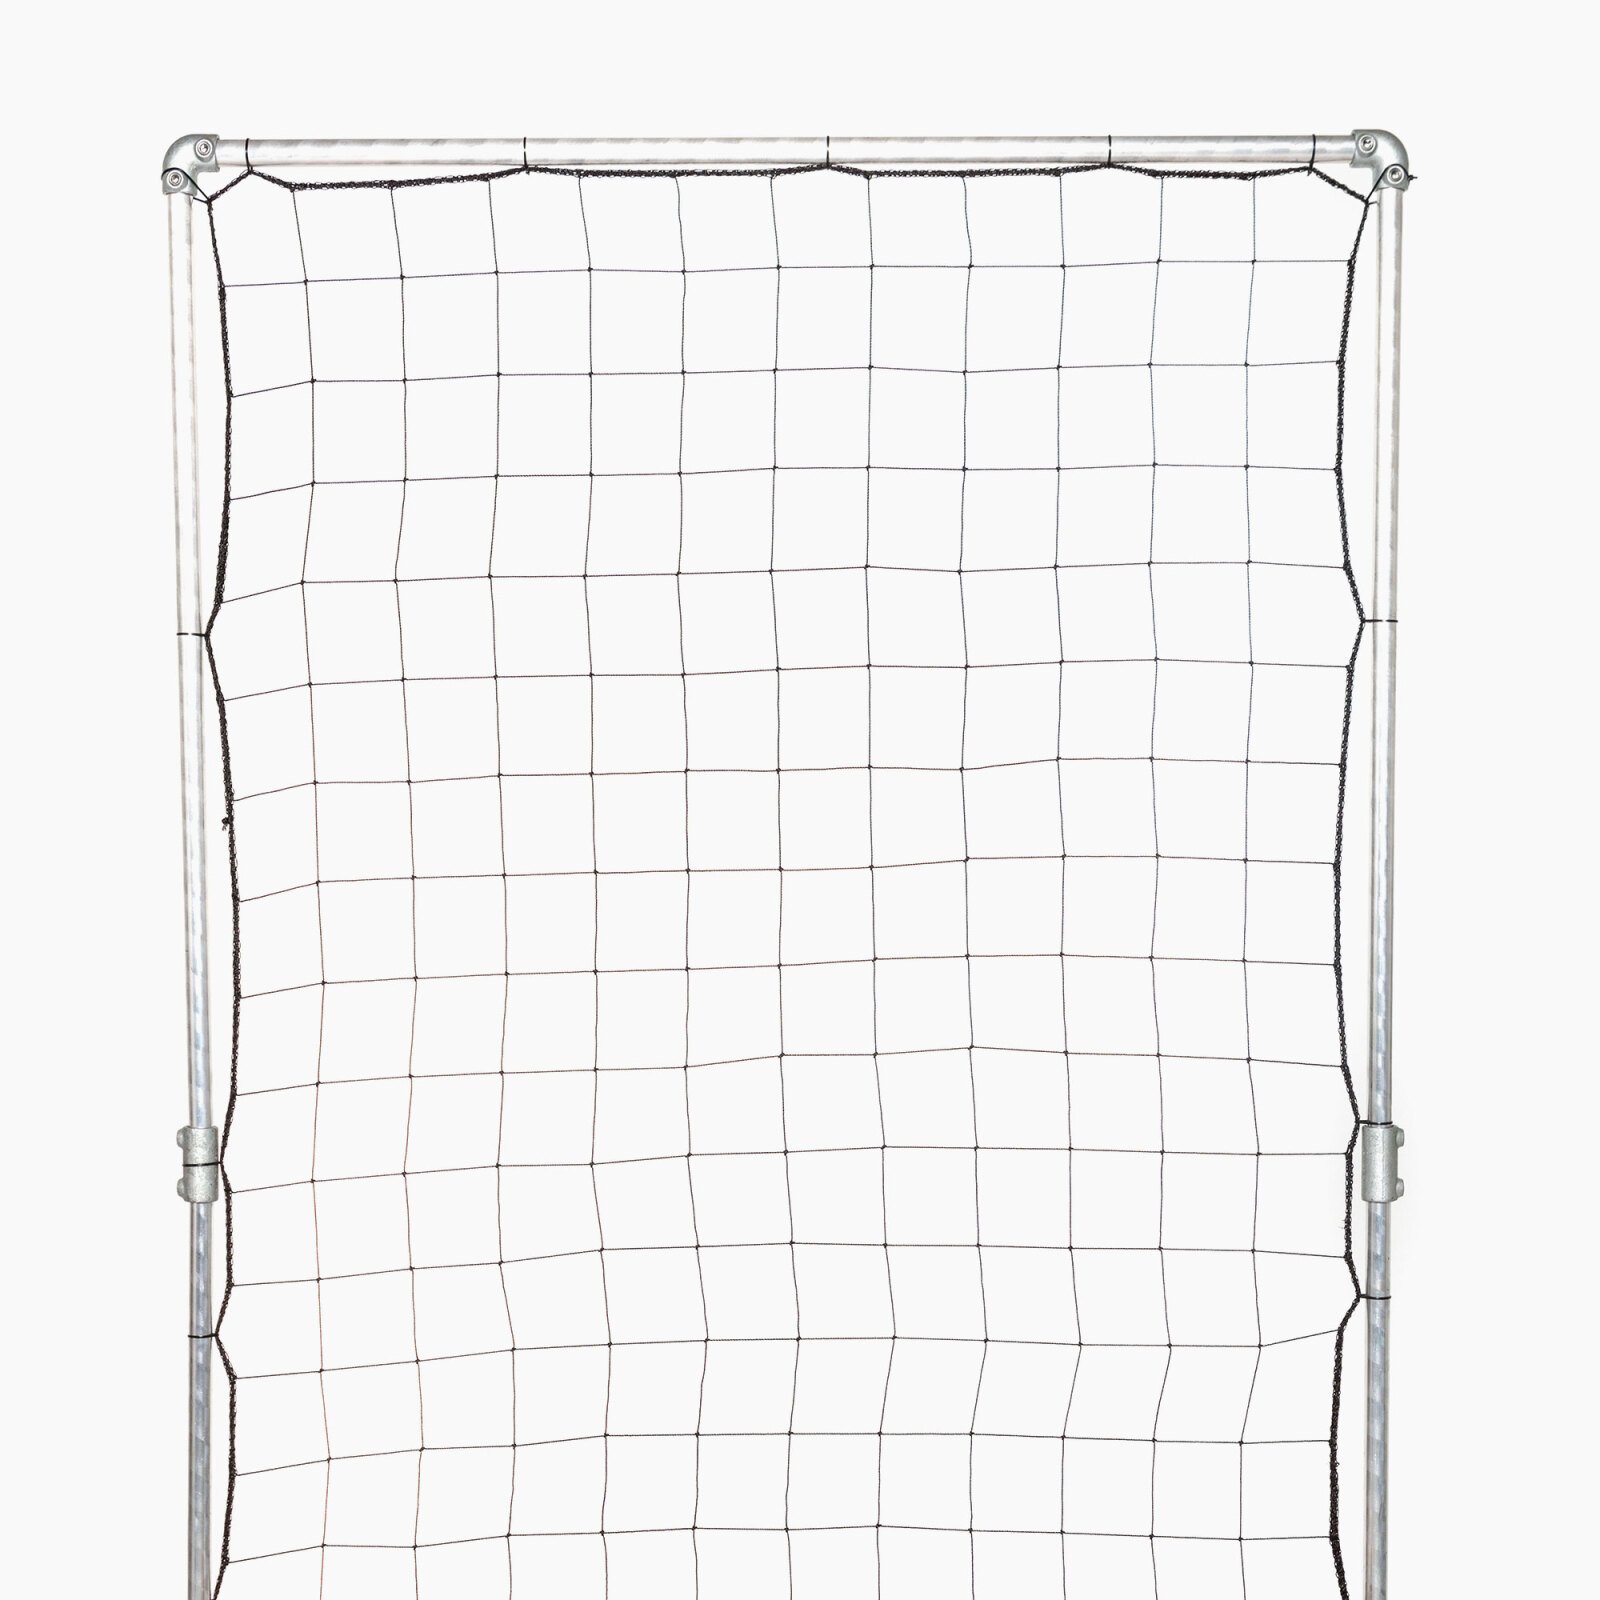
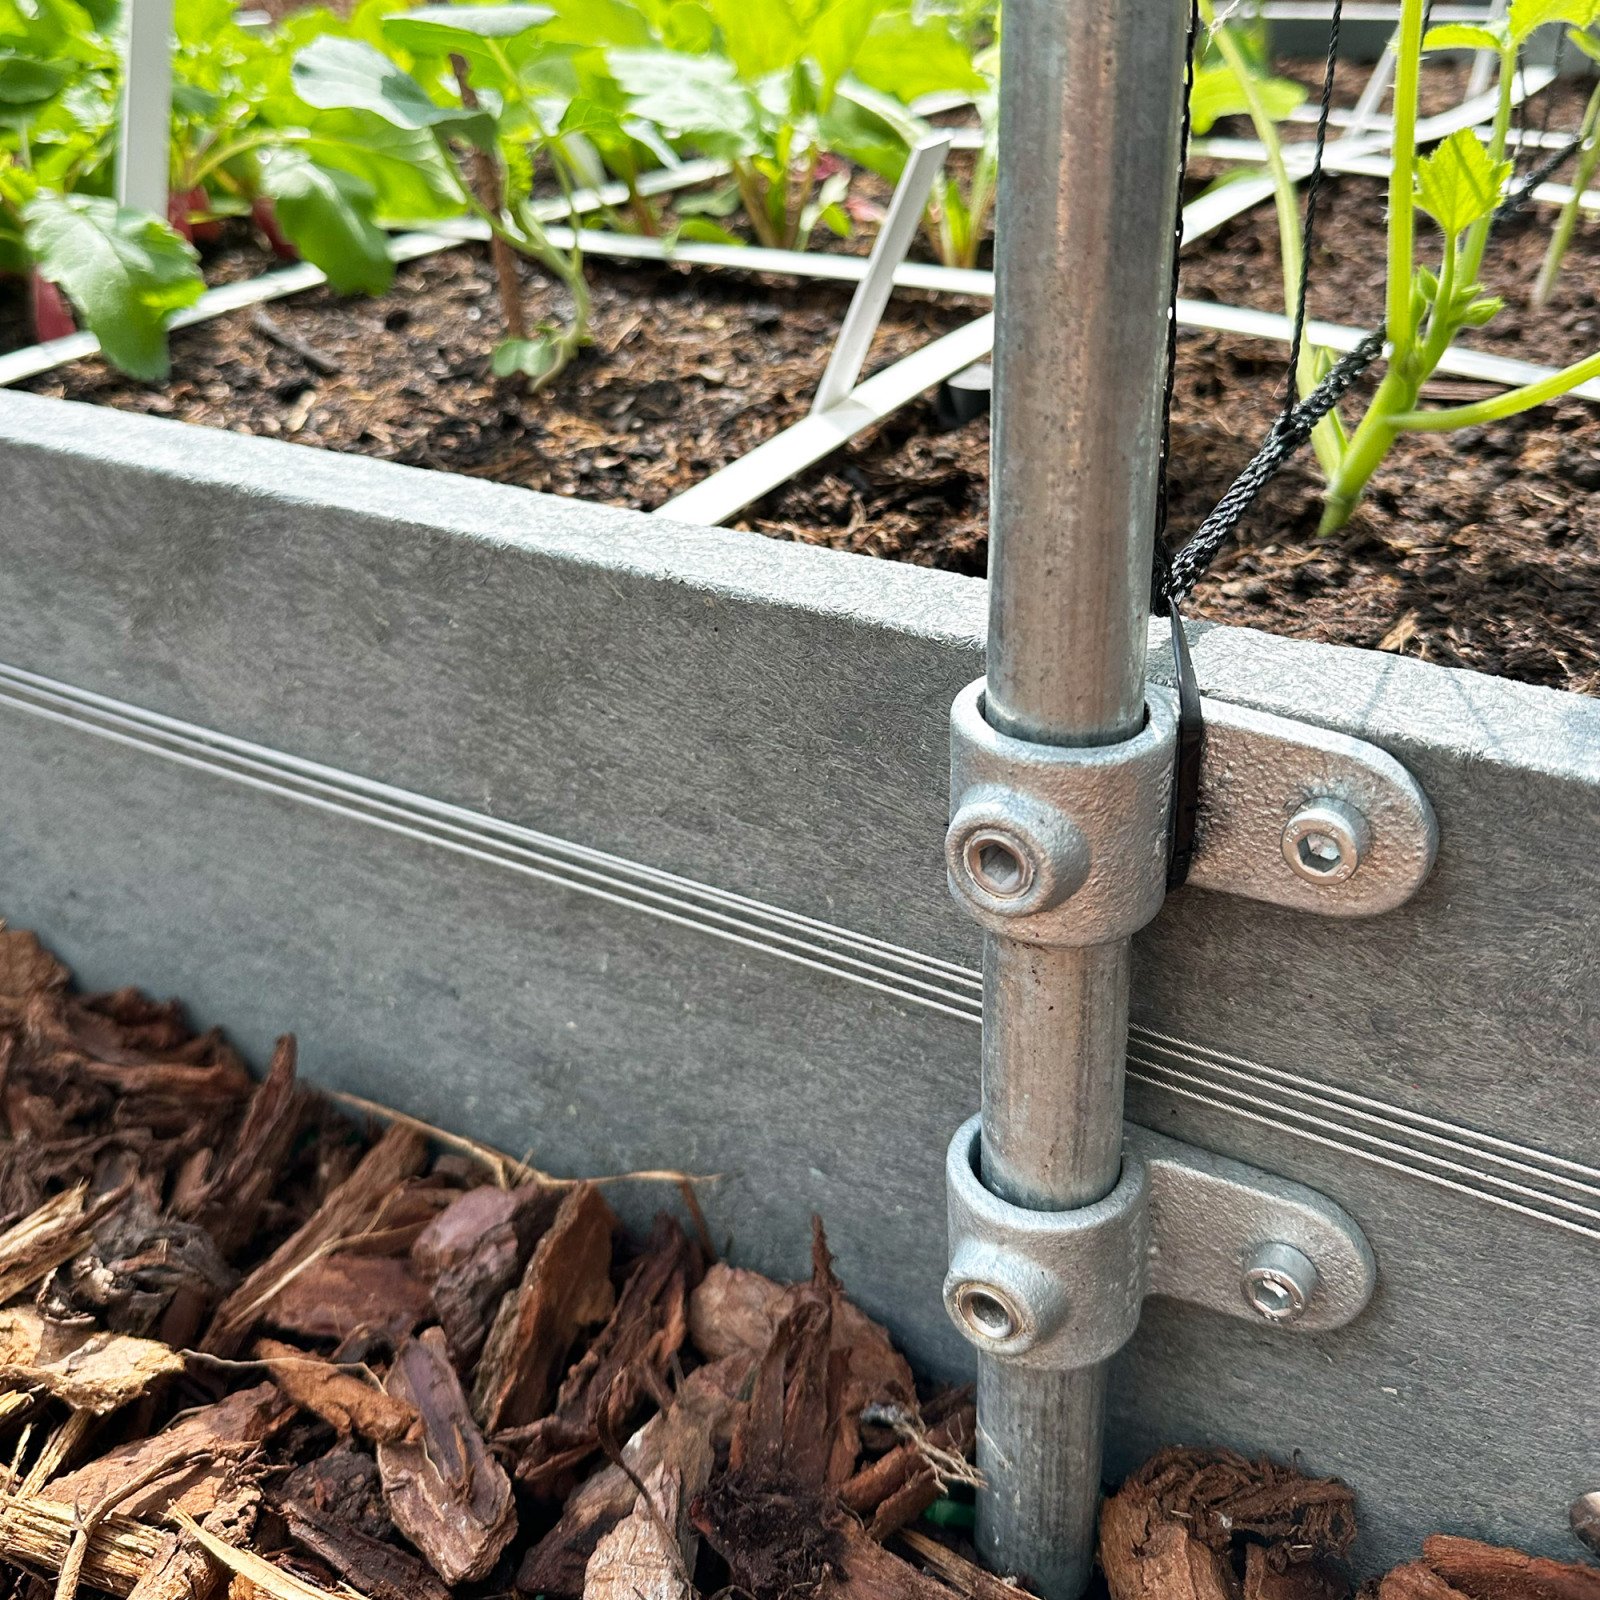
Our trellis is made of sturdy scaffolding tubes. The connectors and brackets are made of galvanized cast iron. This makes the trellis super sturdy: it can't blow over. And the heat and cold won't have an impact.
The MM-Klimrek is 120 cm wide and 2 meters tall when measured from the bottom of the raised bed.
You mount the frame on the side planks of your bed. It goes in the middle of that the back row of your bed, so your vegetables will grow on the front and the back of the trellis net.
The MM-Klimrek is 120 cm wide and 2 meters tall when measured from the bottom of the raised bed.
You mount the frame on the side planks of your bed. It goes in the middle of that the back row of your bed, so your vegetables will grow on the front and the back of the trellis net.
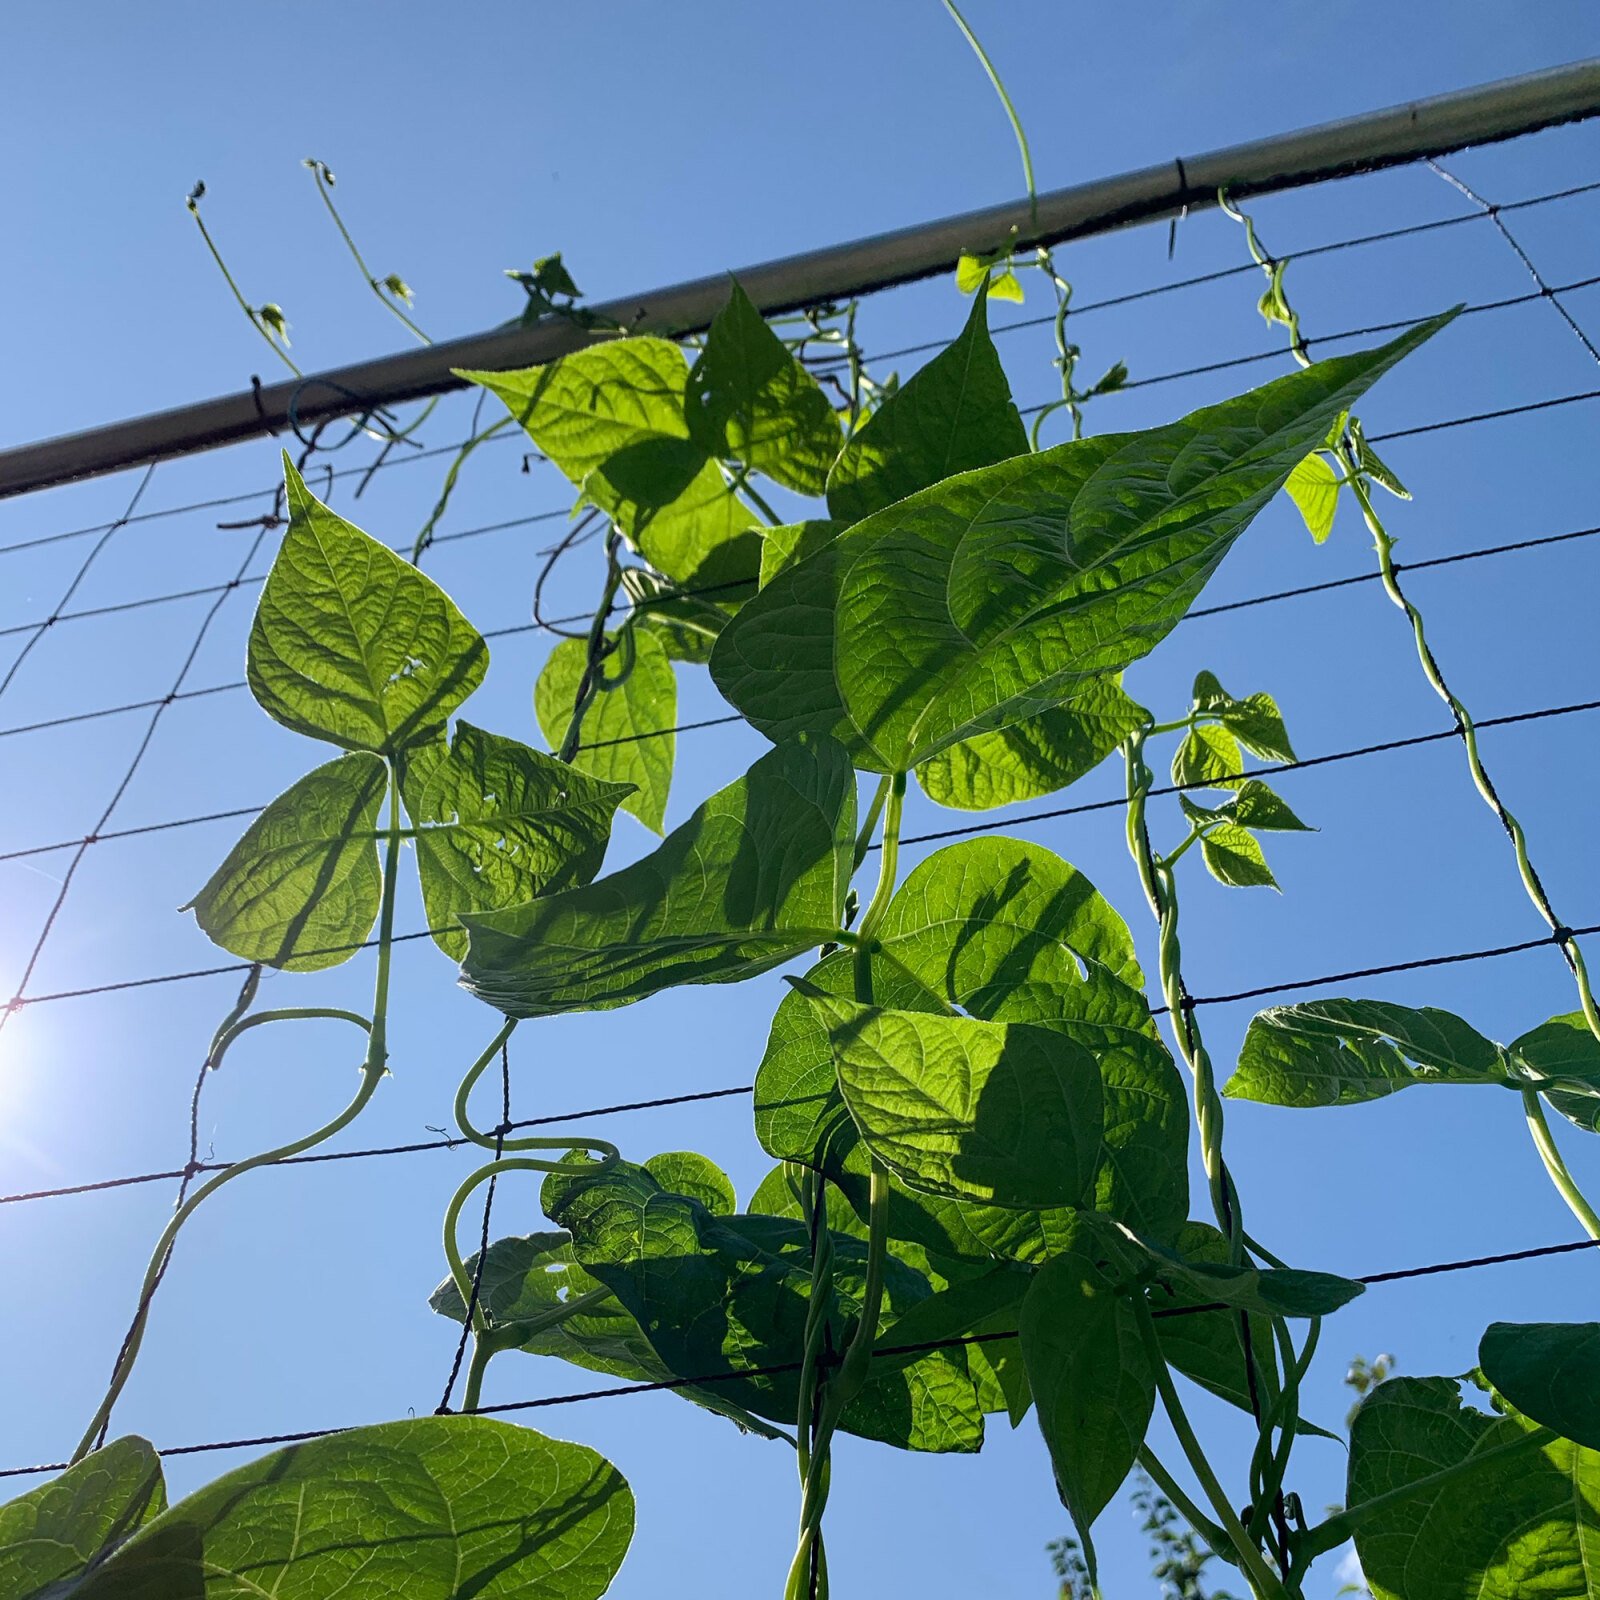
The black trellis nets are made especially for us. The material is UV-resistant, so tit will last a long time.
The net measures 120 x 180 cm and mesh square are 10 cm x 10 cm. This is the perfect size for putting your hand and guiding your plants through it. But there's still enough net for your plants to grab onto.
The net measures 120 x 180 cm and mesh square are 10 cm x 10 cm. This is the perfect size for putting your hand and guiding your plants through it. But there's still enough net for your plants to grab onto.
Het vervoersbedrijf Transmission levert het klimrek als bouwpakket bij je af. Zij sturen je op de ochtend van levering een e-mail met een indicatie van de bezorgtijd.
Je ontvangt:
steigerbuizen
verzinkte, gietijzeren koppelstukken en beugels
een passend en sterk UV-bestendig kunststof net met mazen van 10 x 10 cm
bevestigingsmateriaal
The trellis comes as a kit with tubes, connectors, brackets, and strong plastic netting.
You can find the full assembly instructions here
To attach the brackets to your container, you need to drill some holes in the side boards of the container. You will need a drill with a 9 mm drill bit.
We supply a drilling template, so it can't go wrong.
! - Take a good look at the instructions before you start drilling. After all, it would be a bummer if you drill the holes in the wrong place and your trellis frame is crooked ;-).
It's easiest to first attach the brackets of trellis to the raised bed planks before you assemble the bed. Assembling the trellis is a little trickier if your raised bed is already set up, but it's doable.
Once you've drilled, attaching the brackets and putting it all together is a piece of cake.
View BoormalV2022.pdf
You can find the full assembly instructions here
To attach the brackets to your container, you need to drill some holes in the side boards of the container. You will need a drill with a 9 mm drill bit.
We supply a drilling template, so it can't go wrong.
! - Take a good look at the instructions before you start drilling. After all, it would be a bummer if you drill the holes in the wrong place and your trellis frame is crooked ;-).
It's easiest to first attach the brackets of trellis to the raised bed planks before you assemble the bed. Assembling the trellis is a little trickier if your raised bed is already set up, but it's doable.
Once you've drilled, attaching the brackets and putting it all together is a piece of cake.
You can mount this trellis on almost any garden box with inner measurements of 120 cm wide. But then the side planks must be pretty wide and solid: at least 2 cm thick.