Place and fill your raised bed
Quick check: you now know where you want to place your vegetable garden, you have one or more raised beds with grids, and you have enough bags of Makkelijke Moestuinmix.
Now it's time to put them in place and fill them with the mix.
Now it's time to put them in place and fill them with the mix.
First, prepare the spot you picked.
It makes a difference whether you place your raised bed directly on soil, grass, or gravel, or on a tiled terrace. But all of it can work.
It makes a difference whether you place your raised bed directly on soil, grass, or gravel, or on a tiled terrace. But all of it can work.
Directly on soil, gravel, or grass
If you place your raised bed in the garden on soil, first level the ground a bit so your raised bed stands more or less level. Remove large clumps of grass or nettles.
For gravel, rake it nice and smooth. A tight, level lawn can stay as it is.
Always place a piece of weed barrier fabric in your raised bed before filling it with mix. That prevents weeds from growing up into your bed from below. It saves you a lot of work later.
The weed barrier fabric also keeps the Makkelijke Moestuinmix from mixing with the soil underneath. That would be a shame, right?
Raised beds on tiles or a balcony
If you place your raised bed on tiles, I'd choose a table bed, or a bed without legs but with water reservoirs.
Those reservoirs don't just act as the bottom: they also make sure excess water can drain away properly.
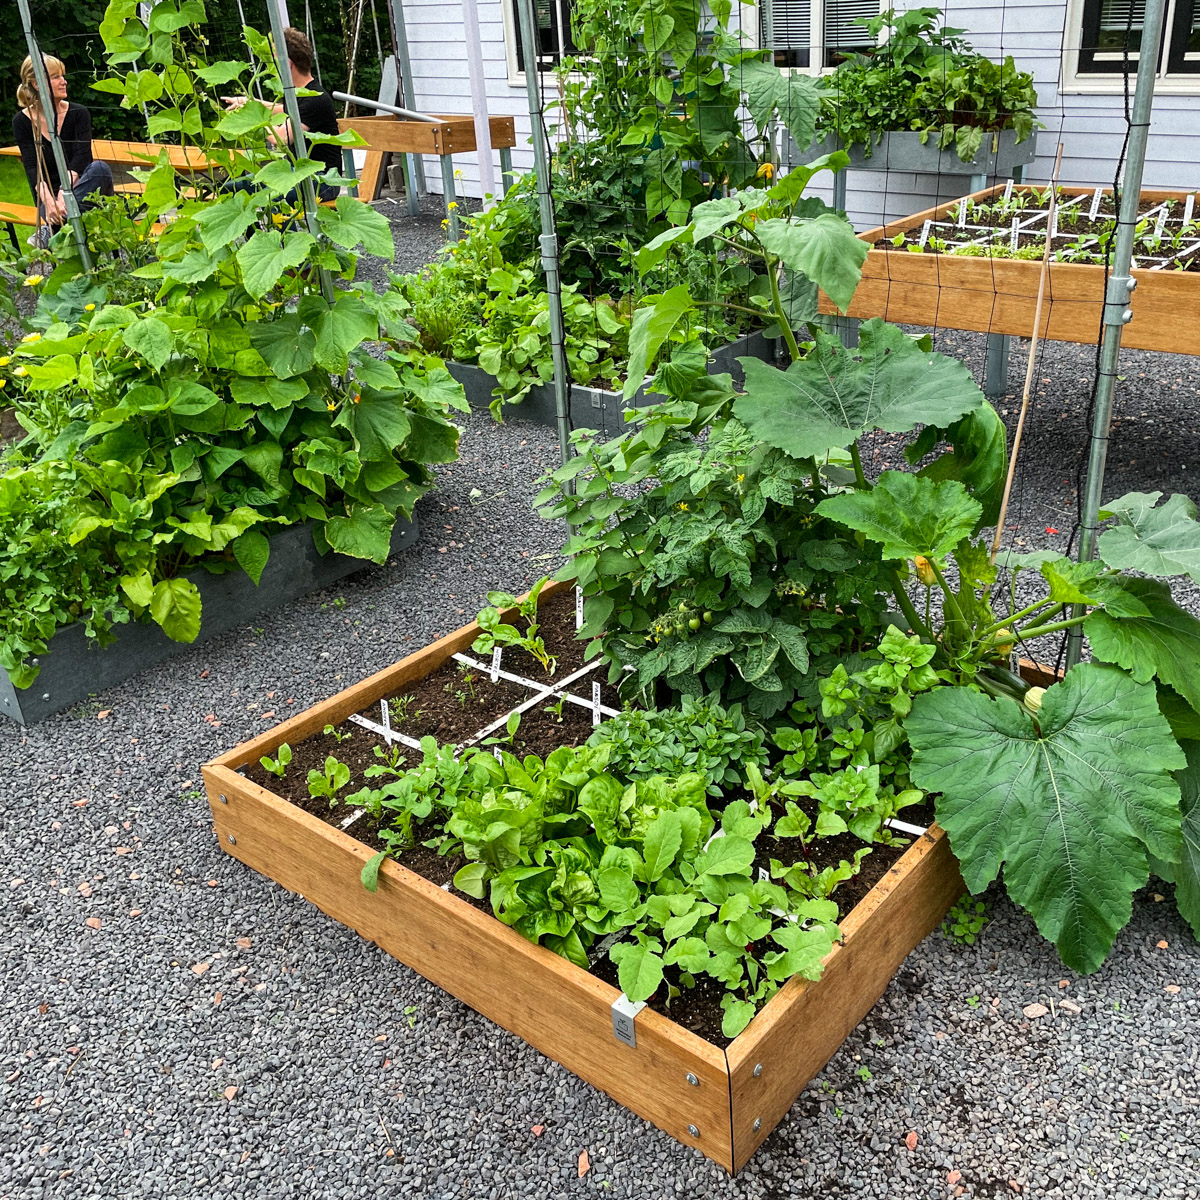
In the picture below, the grey MM-Hero raised beds have a bottom like that, made from water reservoirs:
Those reservoirs don't just act as the bottom: they also make sure excess water can drain away properly.
In the picture below, the grey MM-Hero raised beds have a bottom like that, made from water reservoirs:

Fill your raised bed
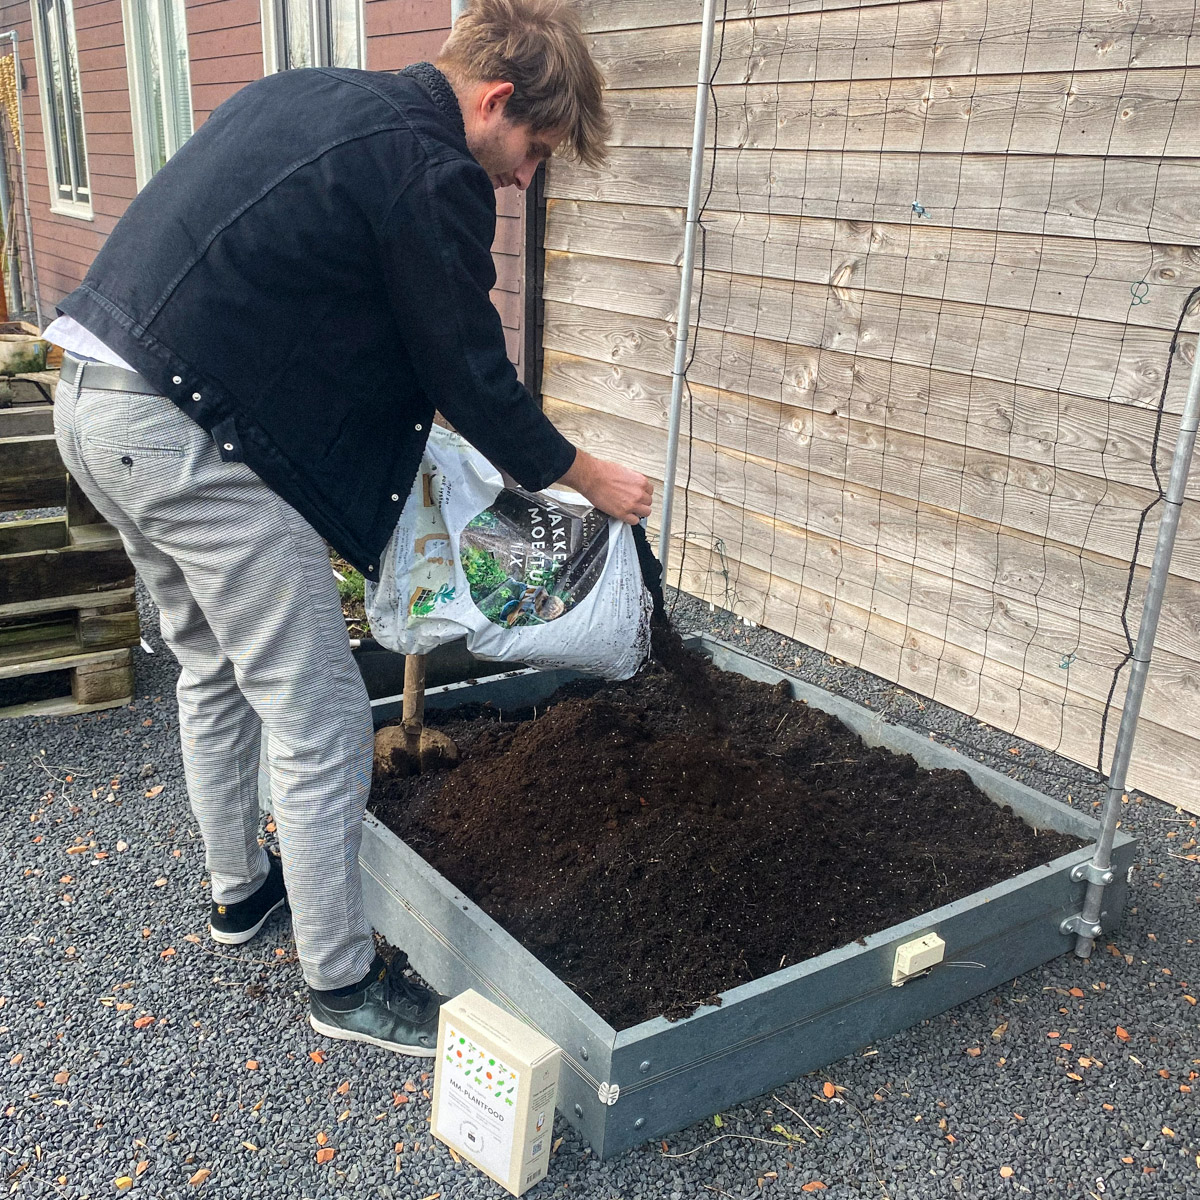
Now fill your raised bed. Easy: cut open the bags of Makkelijke Moestuinmix and pour the contents into the bed.
Then make the mix nice and airy again. In the bags, the mix is pressed together a bit, so break up the clumps and mix it through well. Never stamp it down or press it flat.
Then make the mix nice and airy again. In the bags, the mix is pressed together a bit, so break up the clumps and mix it through well. Never stamp it down or press it flat.
Fill your raised bed with a layer of about 18-20 cm. Don't be too stingy: Makkelijke Moestuinmix always sinks a little during use.
(If you order a raised bed from us including mix, that's exactly enough.)
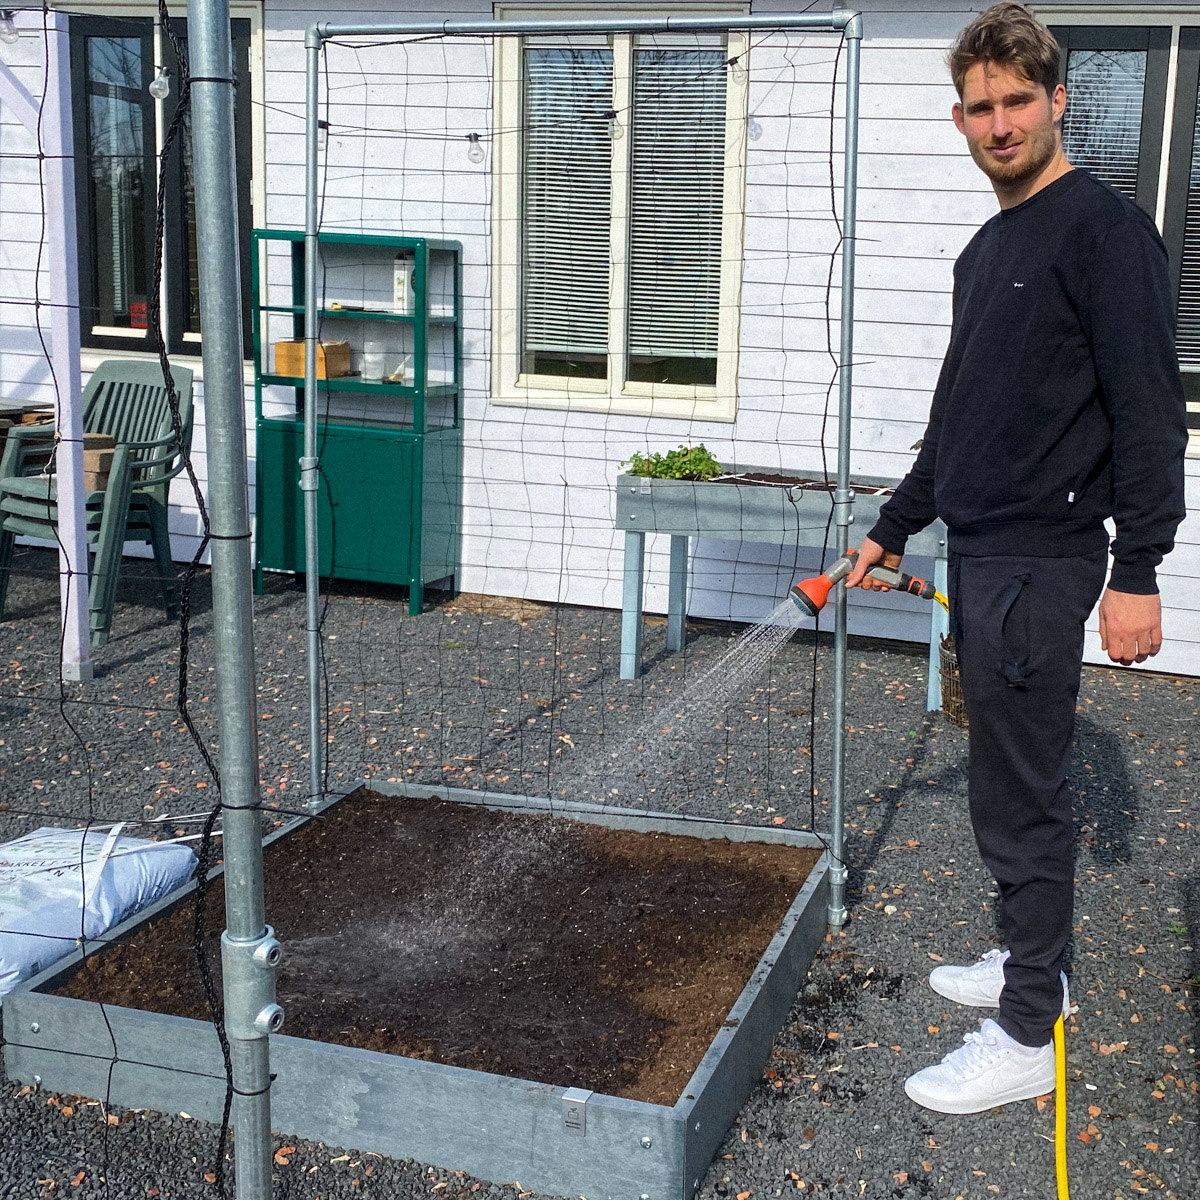
If you want to sow soon afterwards, moisten the mix while filling the bed. This works best in stages: add a few bags of mix, loosen it well, spray with water, add a few more bags of mix, and so on.
Moist is enough. Soaking wet is too much.
(If you order a raised bed from us including mix, that's exactly enough.)
If you want to sow soon afterwards, moisten the mix while filling the bed. This works best in stages: add a few bags of mix, loosen it well, spray with water, add a few more bags of mix, and so on.
Moist is enough. Soaking wet is too much.
Place the grid
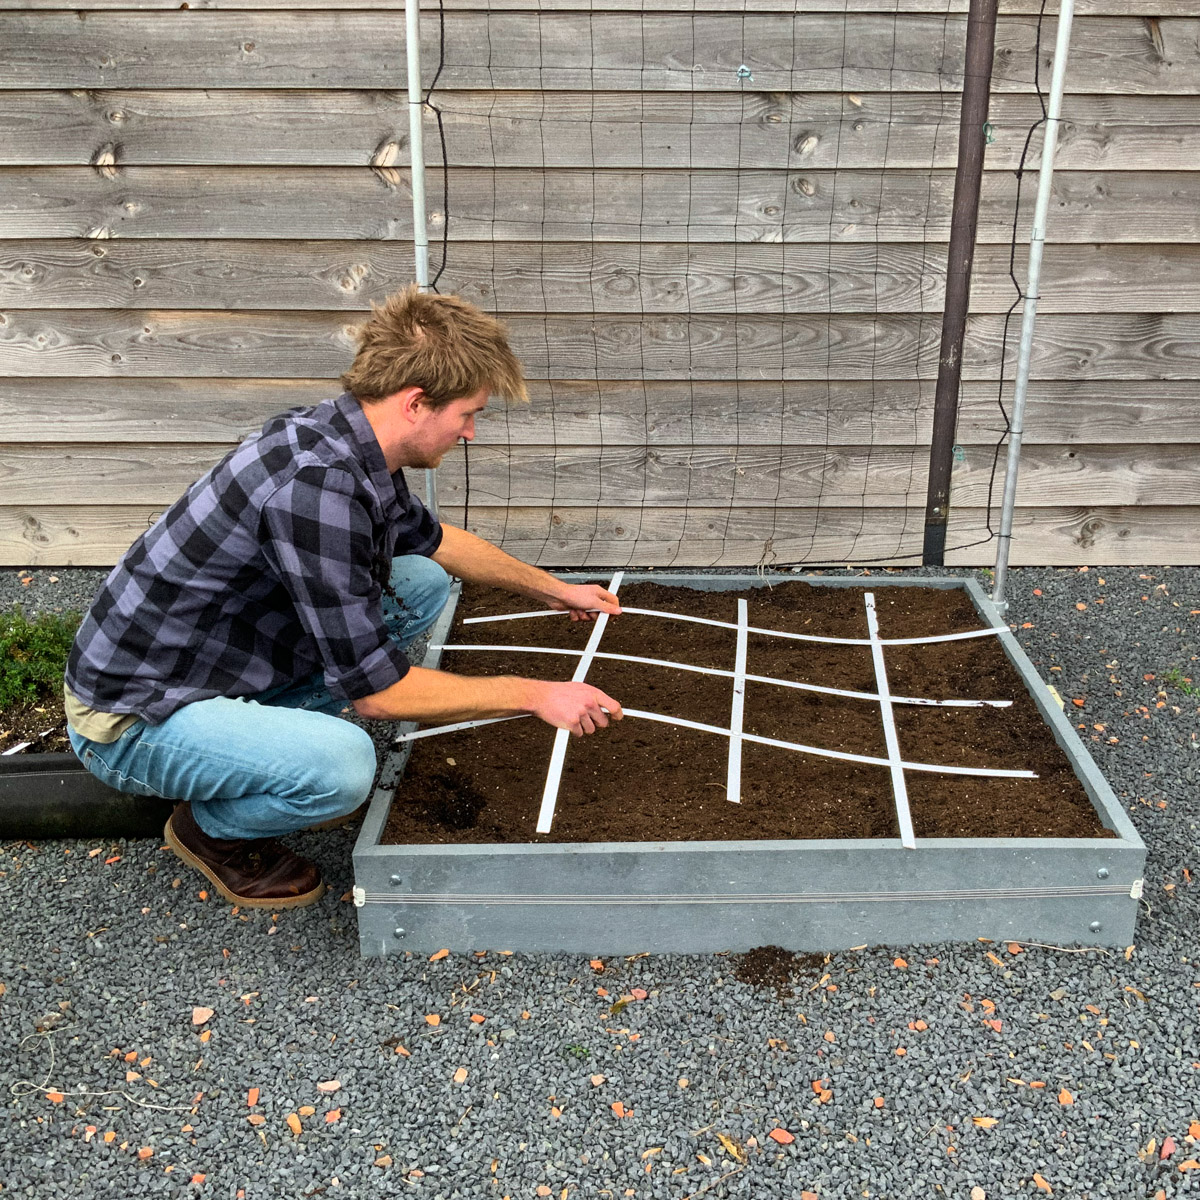
Next, rake the mix nice and flat and lay the grid loosely on top. Because without a clear grid, it's not a Makkelijke Moestuin 😉
If you're wondering why our grid always lies loose on the mix - and why we don't attach it to the raised bed: that's purely practical. During the season, you occasionally need to top up and turn over the mix. That's almost impossible with a fixed grid, but a loose and flexible grid is easy to lift a little.
If you're wondering why our grid always lies loose on the mix - and why we don't attach it to the raised bed: that's purely practical. During the season, you occasionally need to top up and turn over the mix. That's almost impossible with a fixed grid, but a loose and flexible grid is easy to lift a little.
Ready to start
There. The hard work is behind you now, and your raised bed is ready to start.
Well done!
Well done!