
Starting seeds indoors with vermiculite
Using our current MM coconut seed-starting mix? Read the current guide: How do you start tomatoes indoors?
We mainly keep this page for anyone who still has fine seed-starting vermiculite at home. We no longer sell it, but if you have some left, you can use it up perfectly well. Here is how.
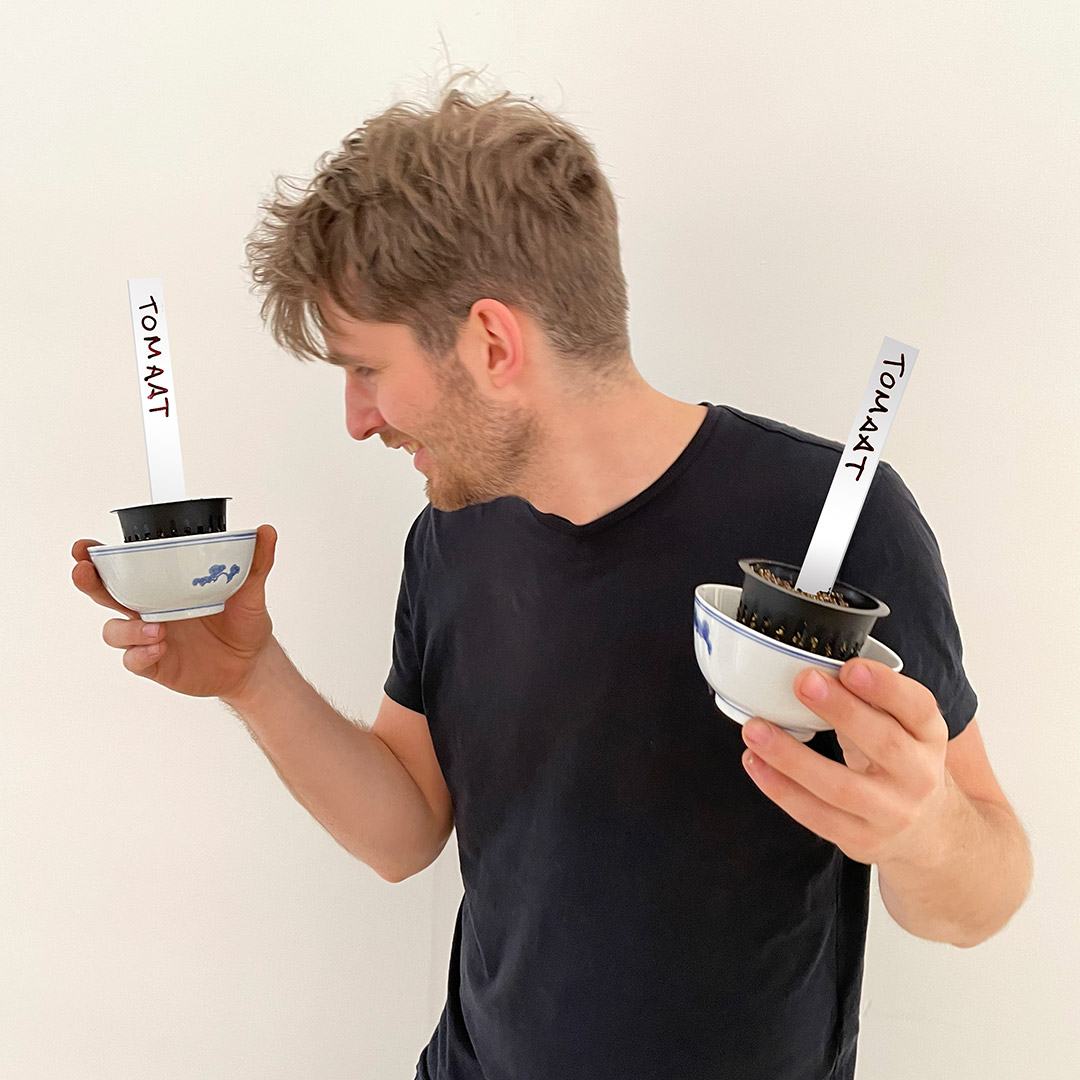
What does starting seeds indoors mean?
When you start seeds indoors, the seedlings grow in a greenhouse or on a windowsill. You give them just the right amount of light, nutrients and warmth until they are large and strong enough to plant outside in your raised bed.
This page explains the old method using small MM-Airpots filled with equal parts fine seed-starting vermiculite and Makkelijke Moestuinmix.
This works much better than ordinary pots filled only with Makkelijke Moestuinmix or potting compost, and it does not take long to set up.
They also need warmth to germinate and grow. Here in the Netherlands, it is too cold until mid-May.
If you only sow afterwards, you are too late: four months later the days are shorter and temperatures fall quickly, leaving little chance of ripe tomatoes.
Start tomatoes indoors between late March and mid-April. Move them into your raised bed in late May and you can harvest the first tomatoes in late July, continuing until mid-October.
Courgettes, pumpkins and cucumbers grow faster, but also need plenty of warmth at first. Start them indoors later, from late April to late May.
Their seeds are much larger, so the method is slightly different. Read that guide here.
Start courgettes, pumpkins and cucumbers later, ideally between late April and mid-May.
If this is your first time, begin as late as possible: tomatoes around mid-April and the others during the first half of May.
This shortens the time you have to care for the plants indoors, which is not always easy for beginners.
What do you need to start tomatoes indoors?
- fine seed-starting vermiculite
- Makkelijke Moestuinmix
- small MM-Airpots (the reason is explained at the bottom of this page)
- seeds, such as Cherry tomato, Yellomato or Bush tomato
- a mixing bowl
- water
- small bowls or saucers
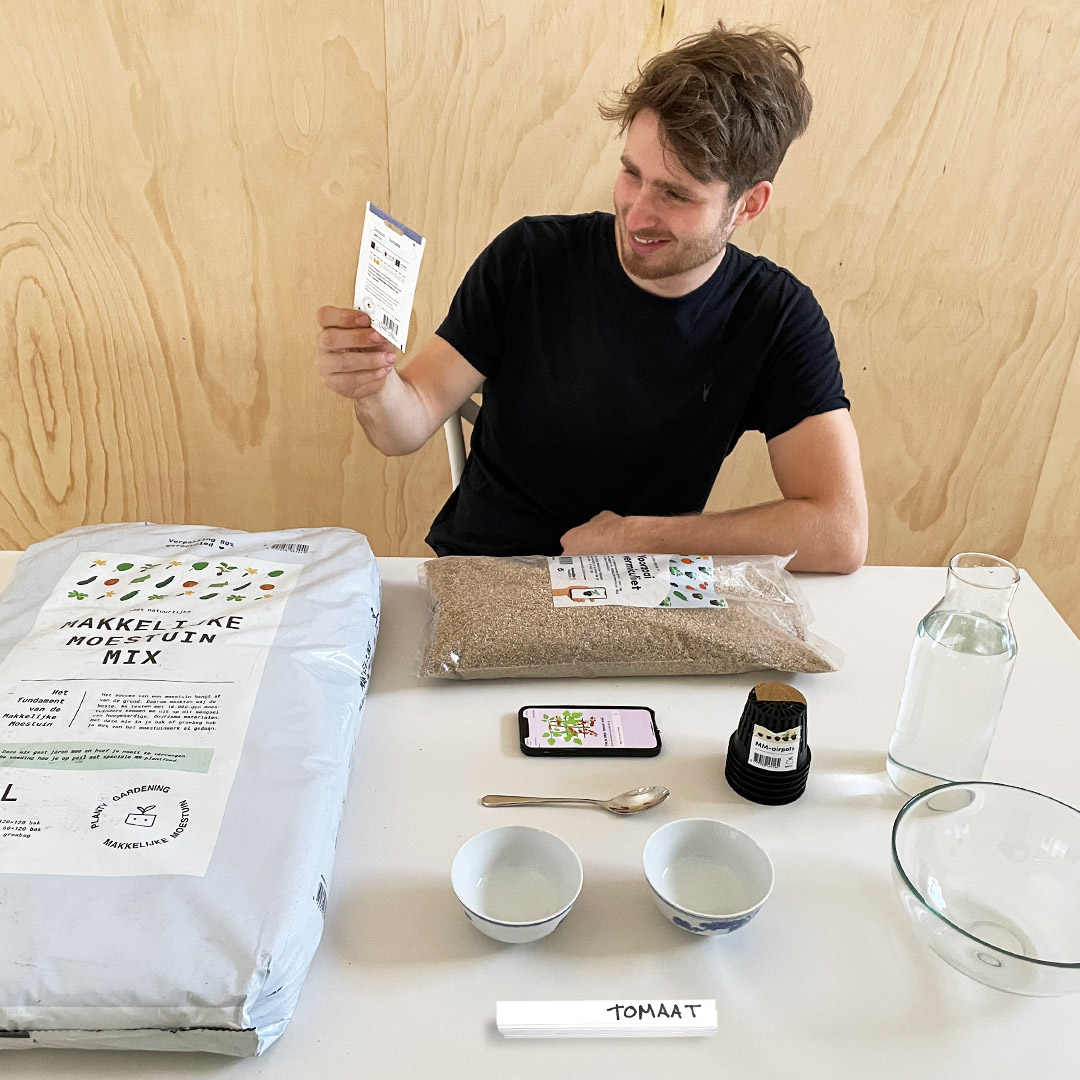
How to do it
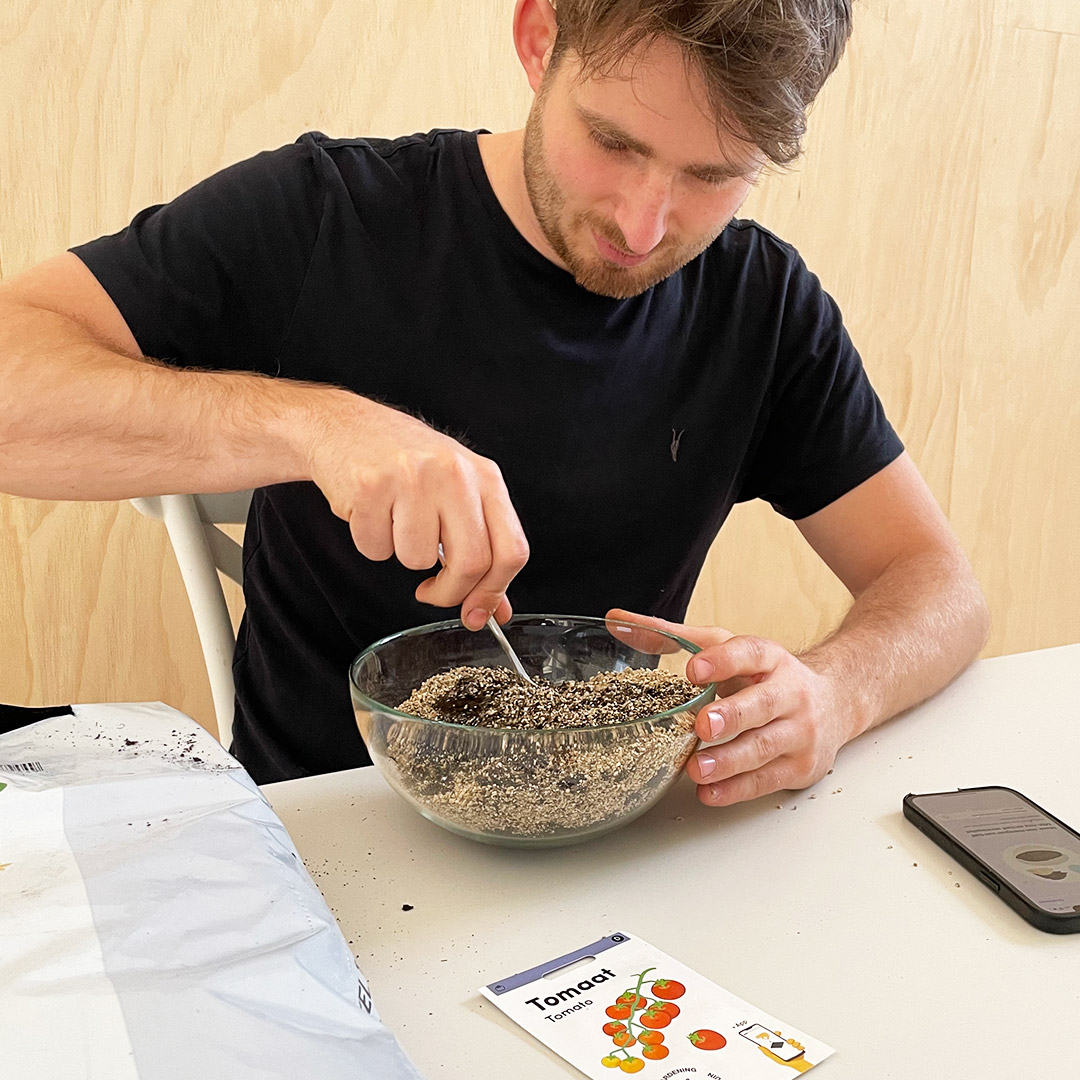
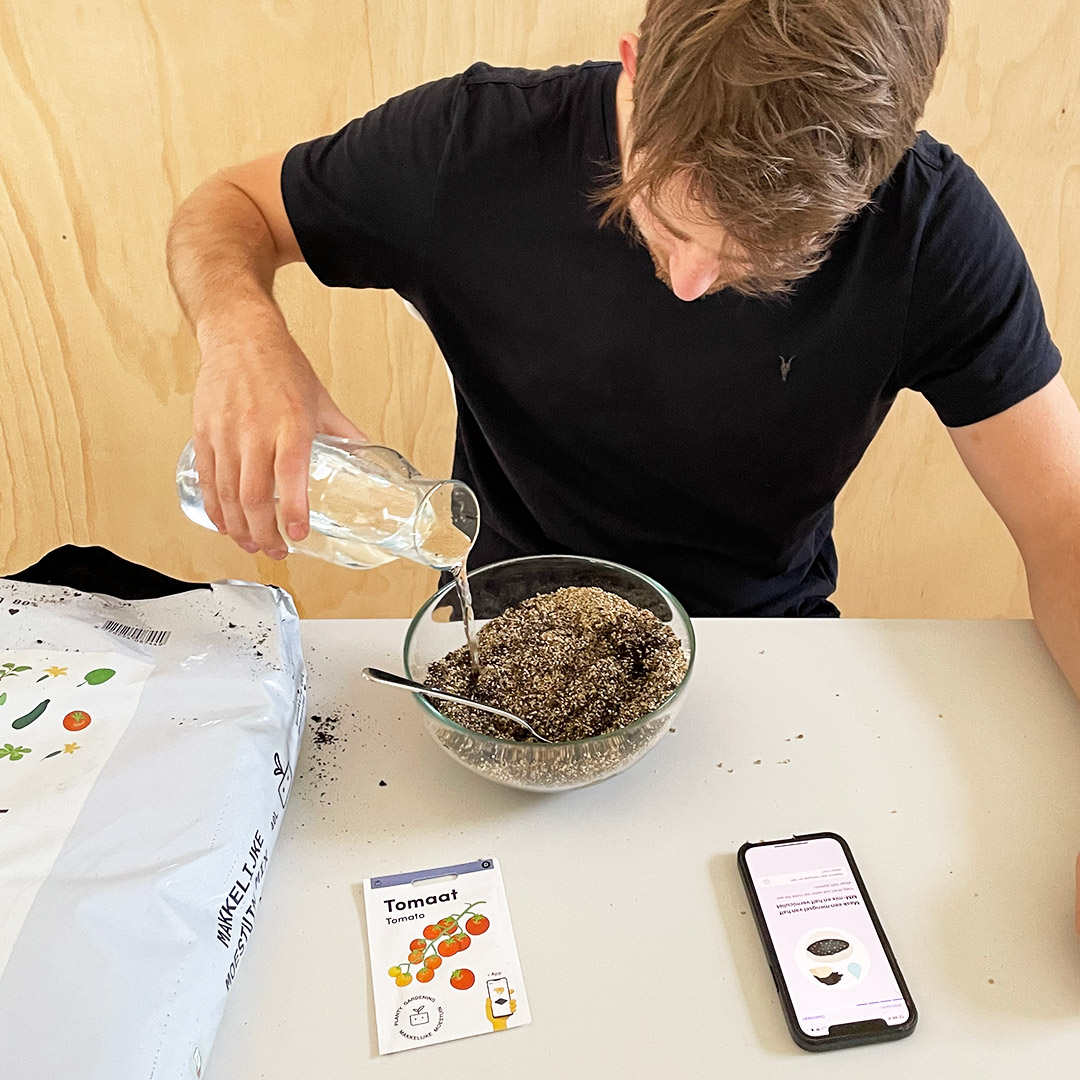
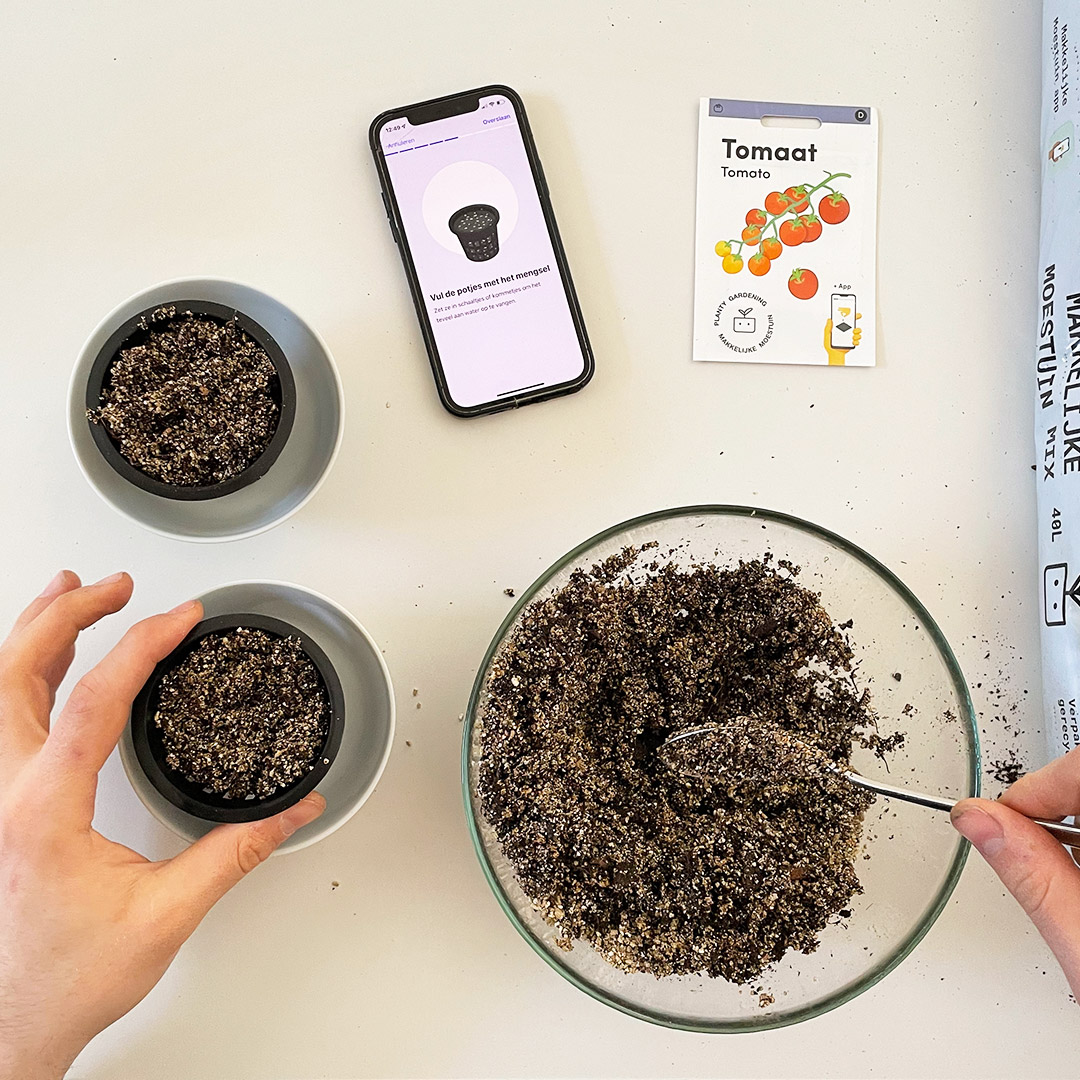
Step 4: Make a hole no more than 1 cm deep in the centre of each pot.
Step 5: Cut open the seed packet, put one seed in the hole and gently close it.
Our tomato seeds are expensive, so sow only one in each pot. For inexpensive seeds, you can use two or three.
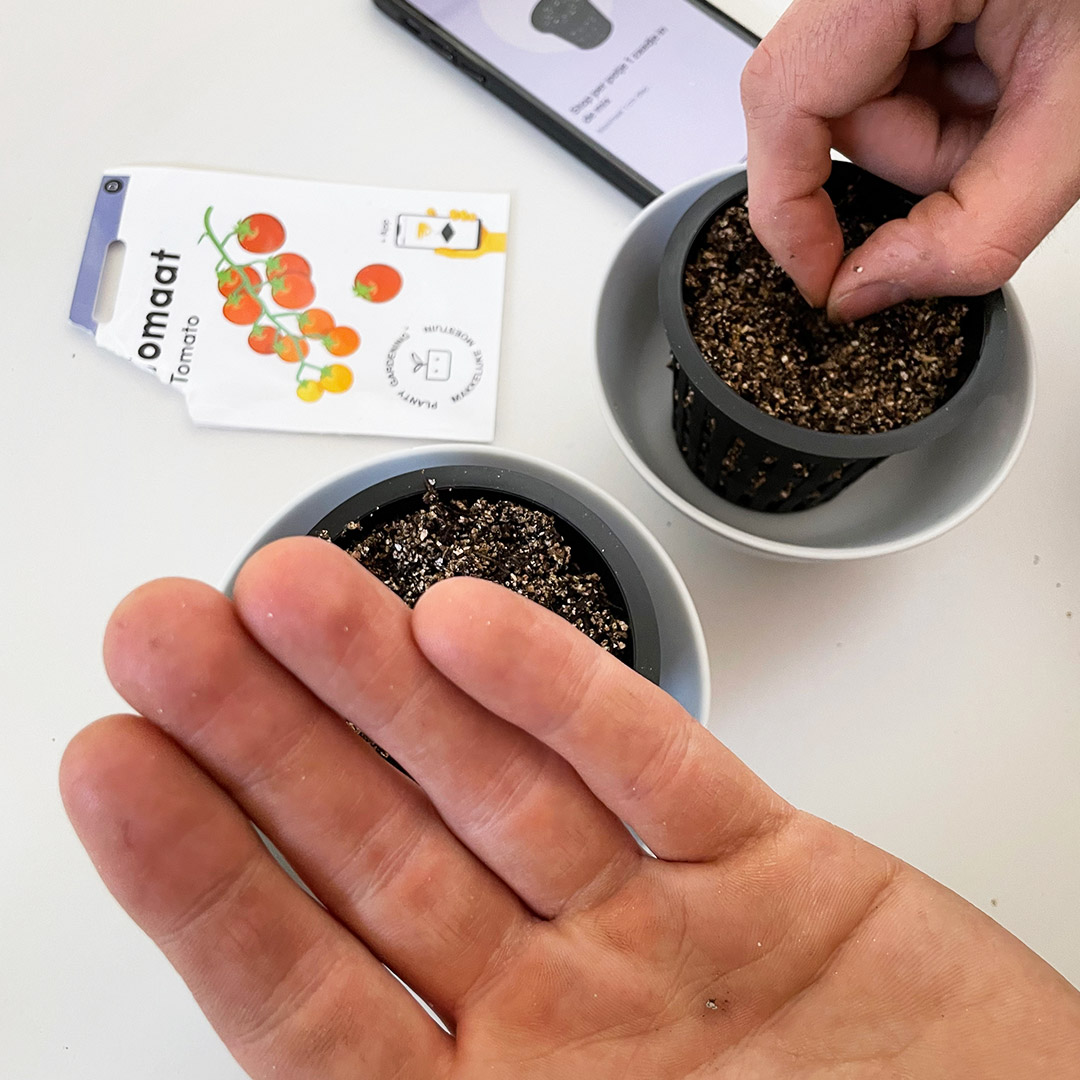
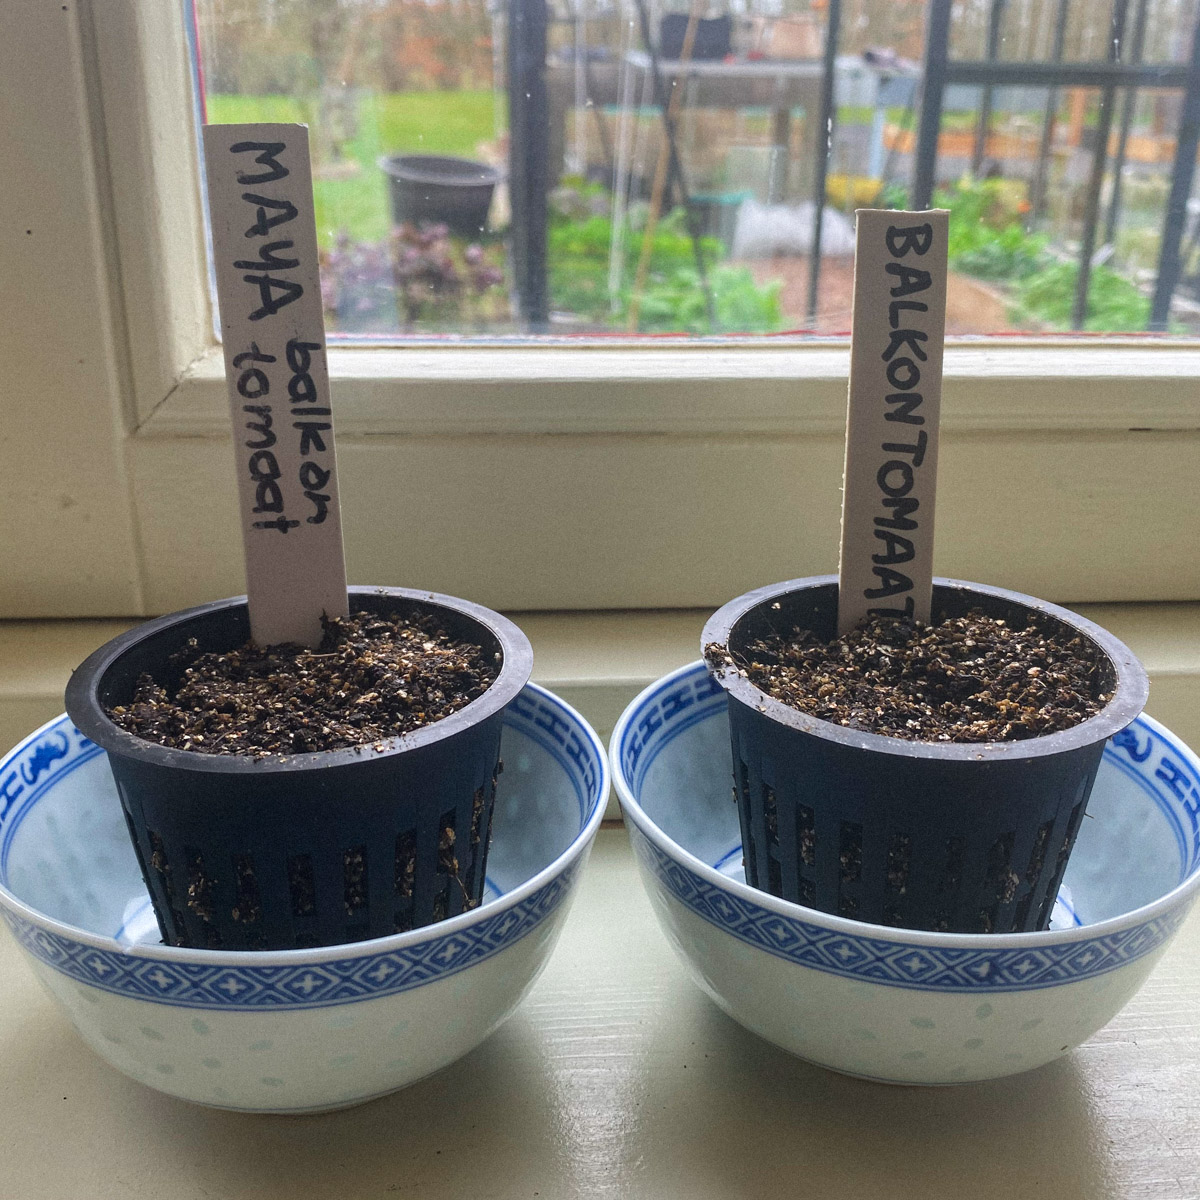
If one seed fails to germinate or something goes wrong while the plants are growing, I still have a spare.
Many Makkelijke Moestuin gardeners start a huge number at once, but I am not a fan. You have to keep every plant healthy until it can go outside, which is a lot of work, and every pot needs room on the windowsill. I do not know what your home is like, but my windowsills are not very large.
You also end up with far too many plants and have to give them away or throw them out. Almost nobody can bring themselves to do the latter.
What happens next?
The first seedlings emerge after about a week. This happens by itself, but check regularly that the mixture remains moist because seeds cannot germinate without moisture.
As soon as the seedlings emerge, move the pots to the brightest place you have, but preferably somewhere that is not too warm.
Keep the mixture moist and turn each pot a quarter turn every day. This stops the seedlings leaning towards the light.
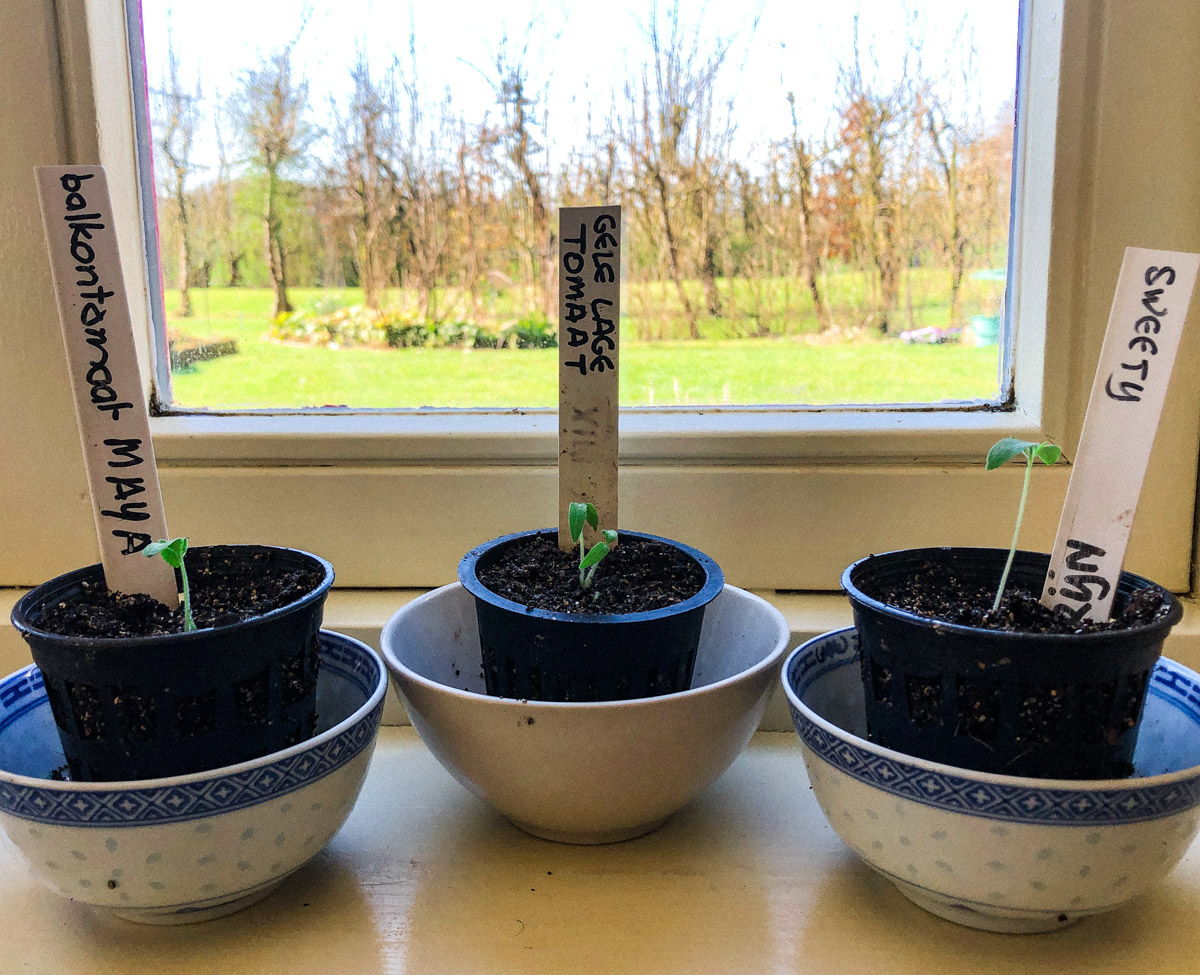
Caring for plants on the windowsill
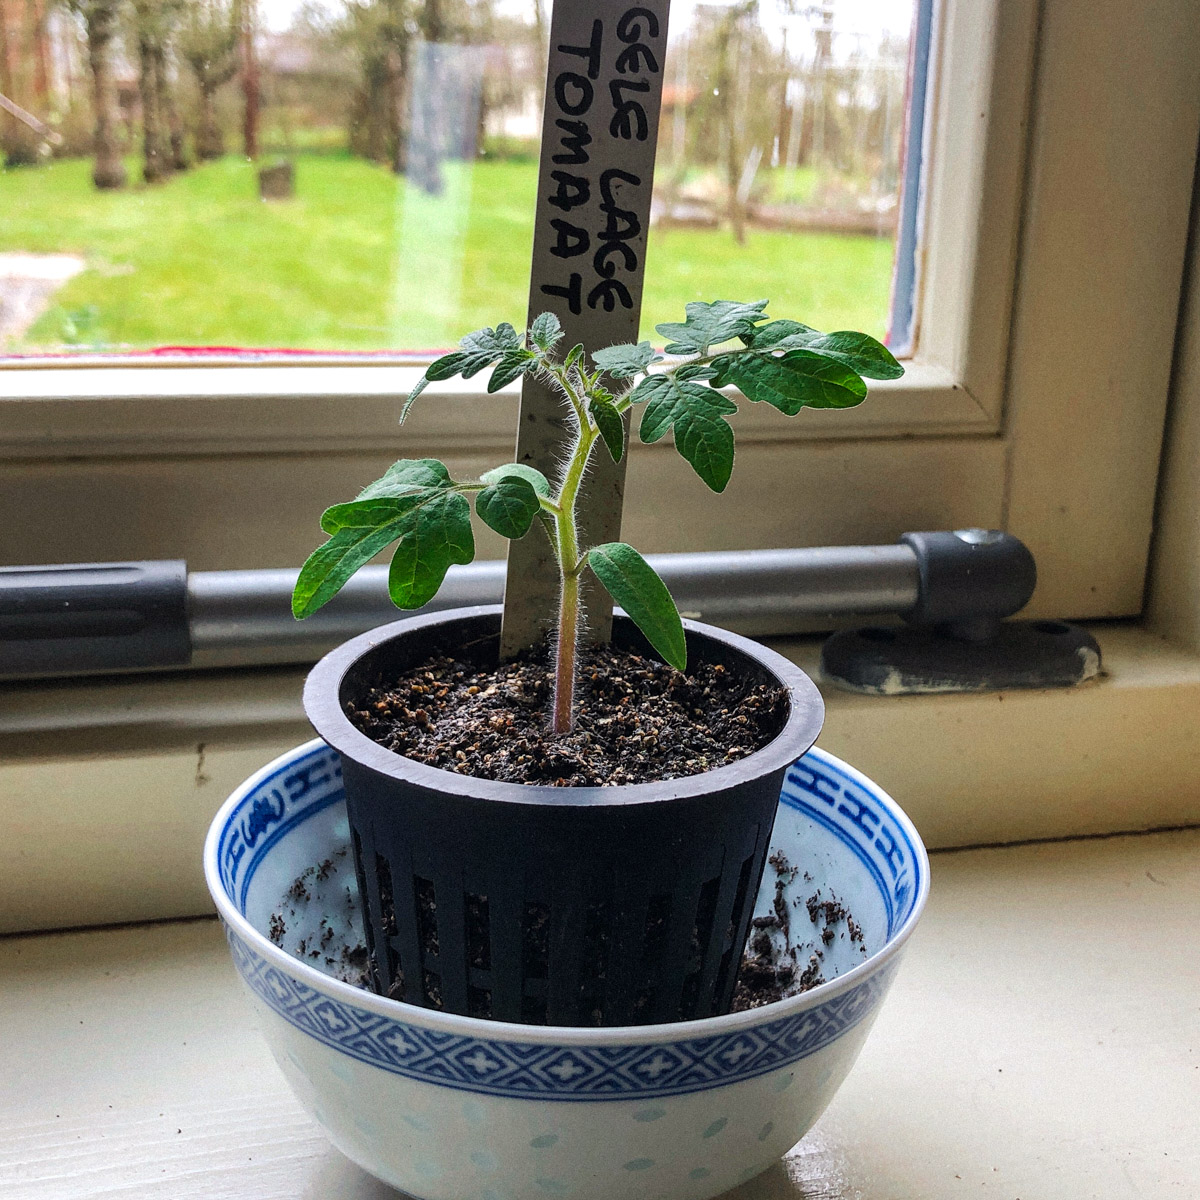
Keeping young plants healthy on a windowsill can be difficult. Plenty of light without too much warmth is important: full sun, but no warmer than 20°C, and preferably a little cooler.
Continue turning the pots a quarter turn each day and keep the mixture moist.
Repotting, hardening off and planting outside
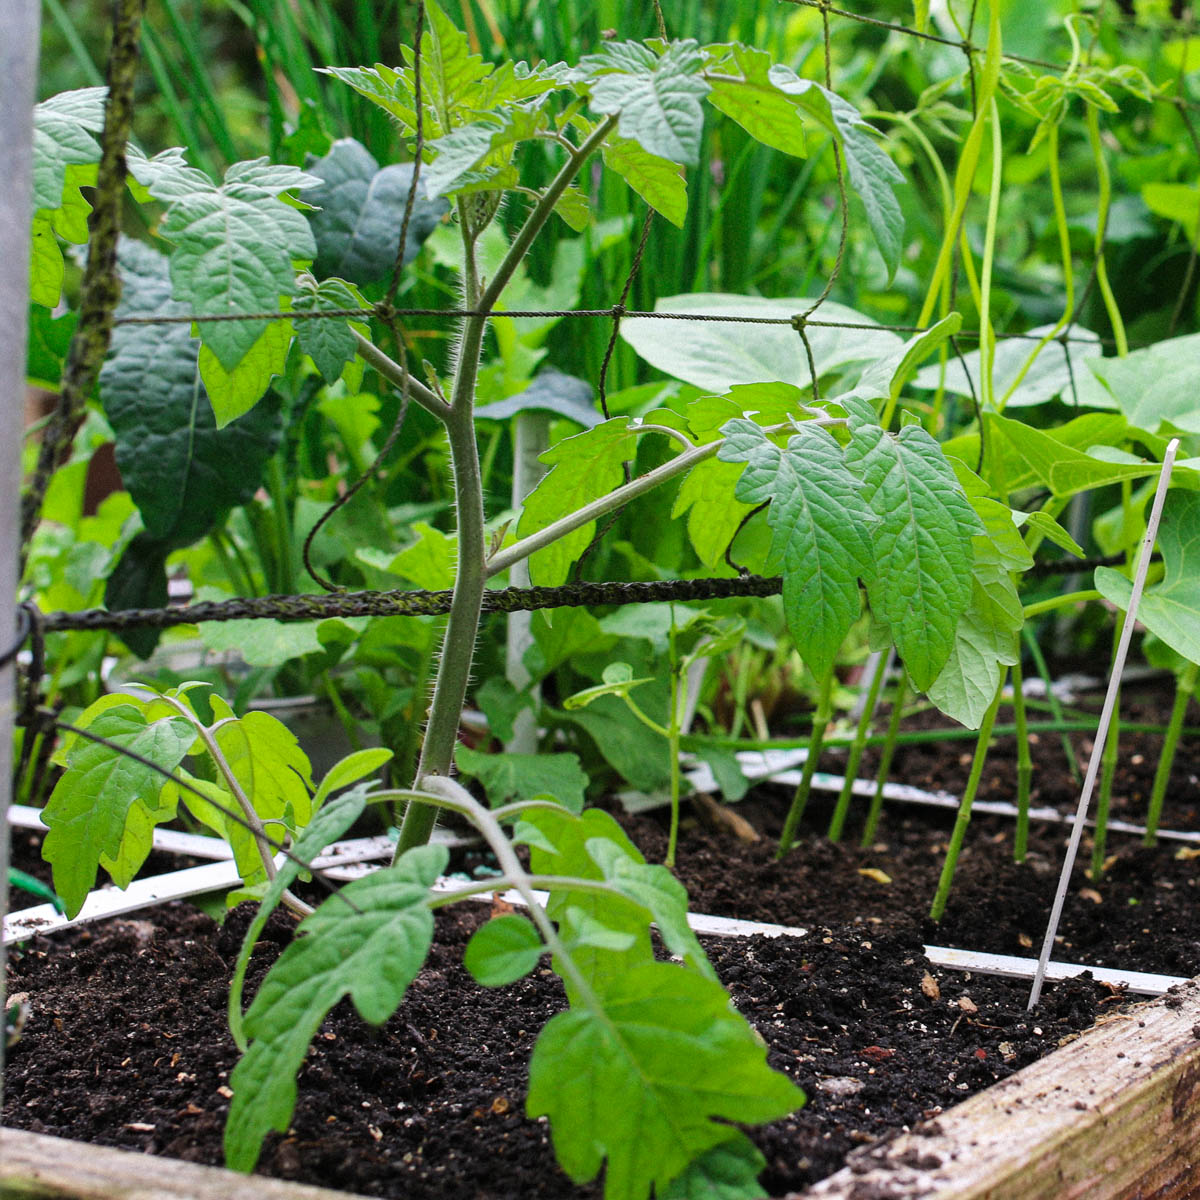
During the second half of May, gradually get the plants used to outdoor conditions by leaving them outside a little longer each day. This is called hardening off.
Once that is done, plant the strongest plant outside in your raised bed.
Step-by-step help from the app
The app guides you from the very beginning, when you start the seeds, to removing the plant at the end of the season, and through everything in between.
That makes it difficult to go wrong.
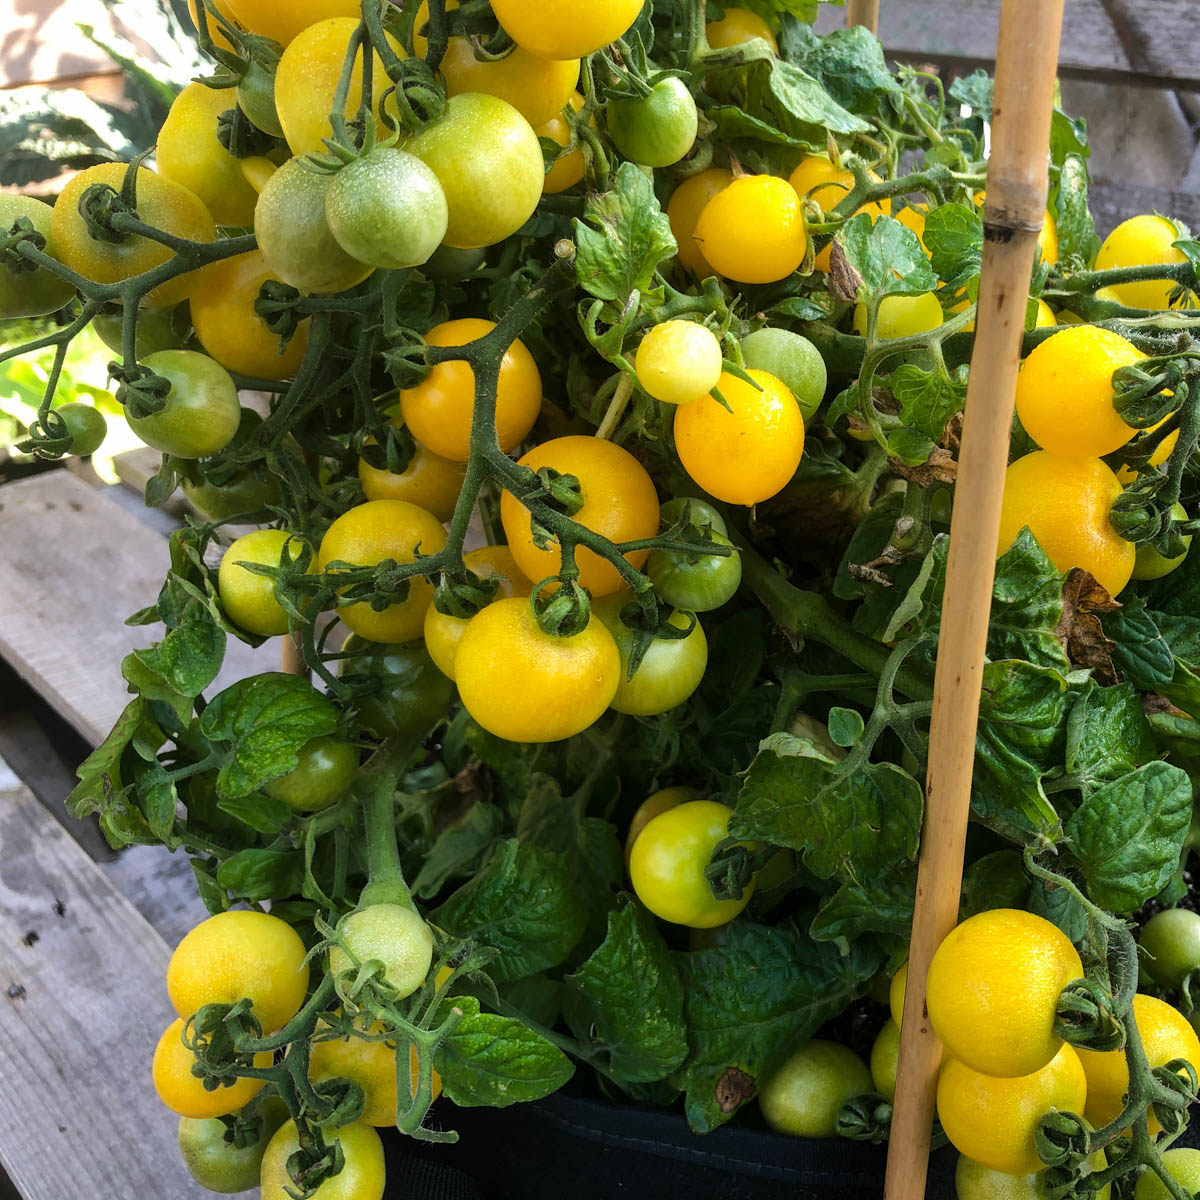
It is almost unbelievable, isn't it, that one tiny seed will eventually give you masses of tomatoes?
No vermiculite?
Good luck!

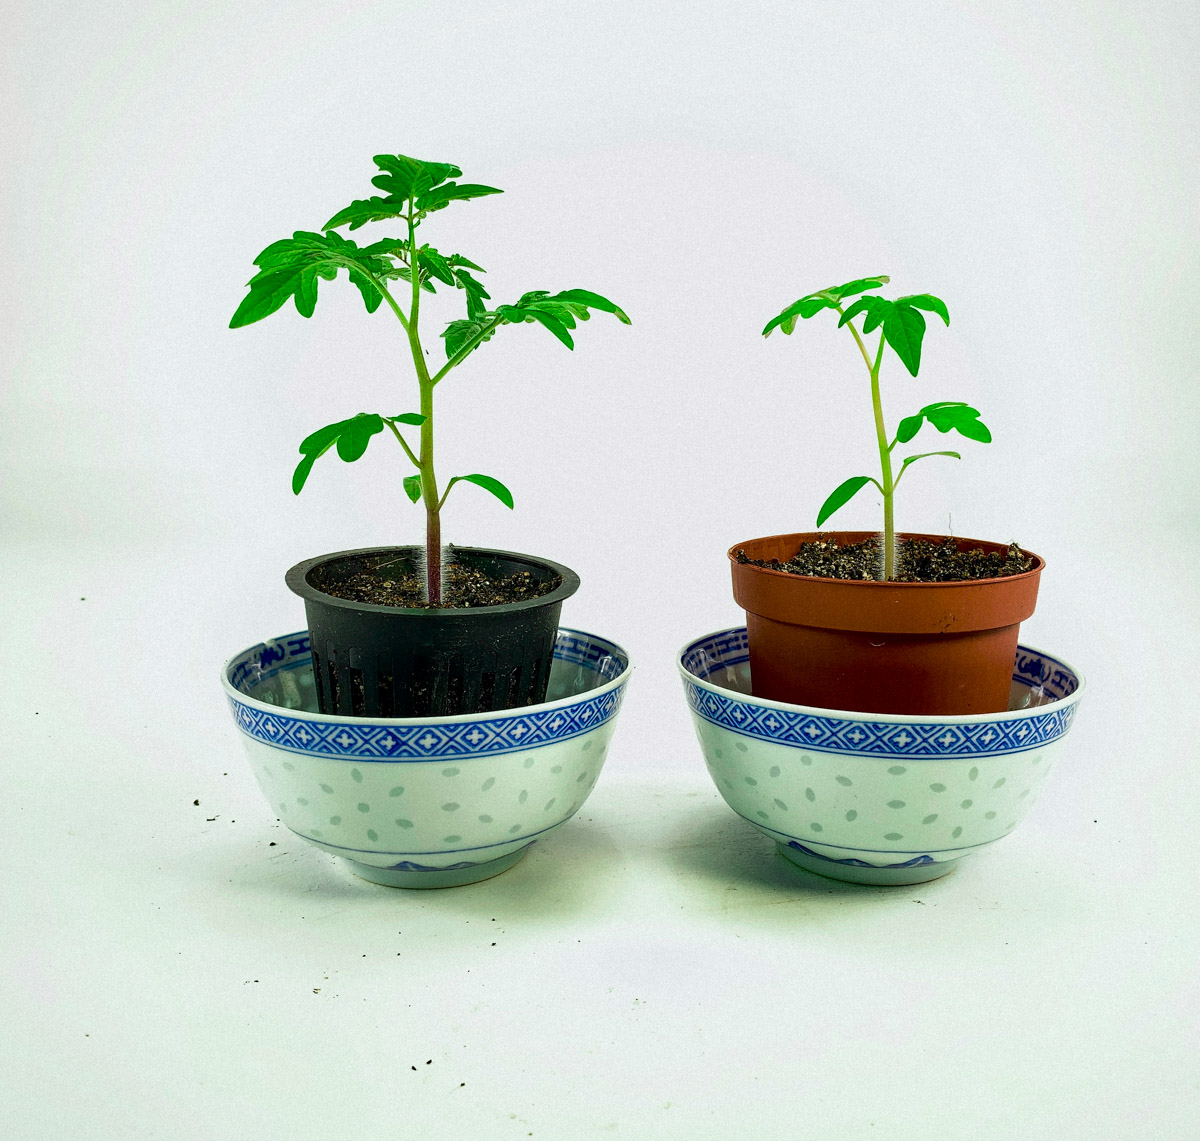
PS: Why do seedlings grow better in Airpots than ordinary pots?
Airpots are different because they also have openings in their sides:
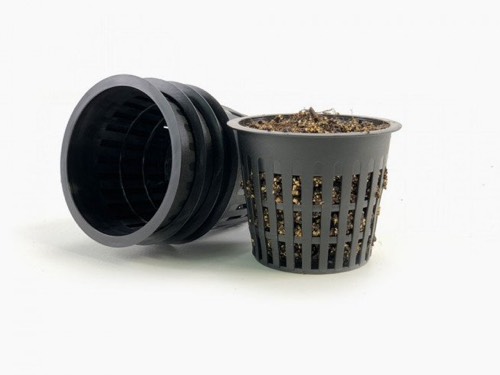
When a root approaches one of these openings, it stops growing. This is called air pruning. The plant responds by producing new roots again and again, creating a strong root system with plenty of young, healthy roots that absorb air, nutrients and moisture.
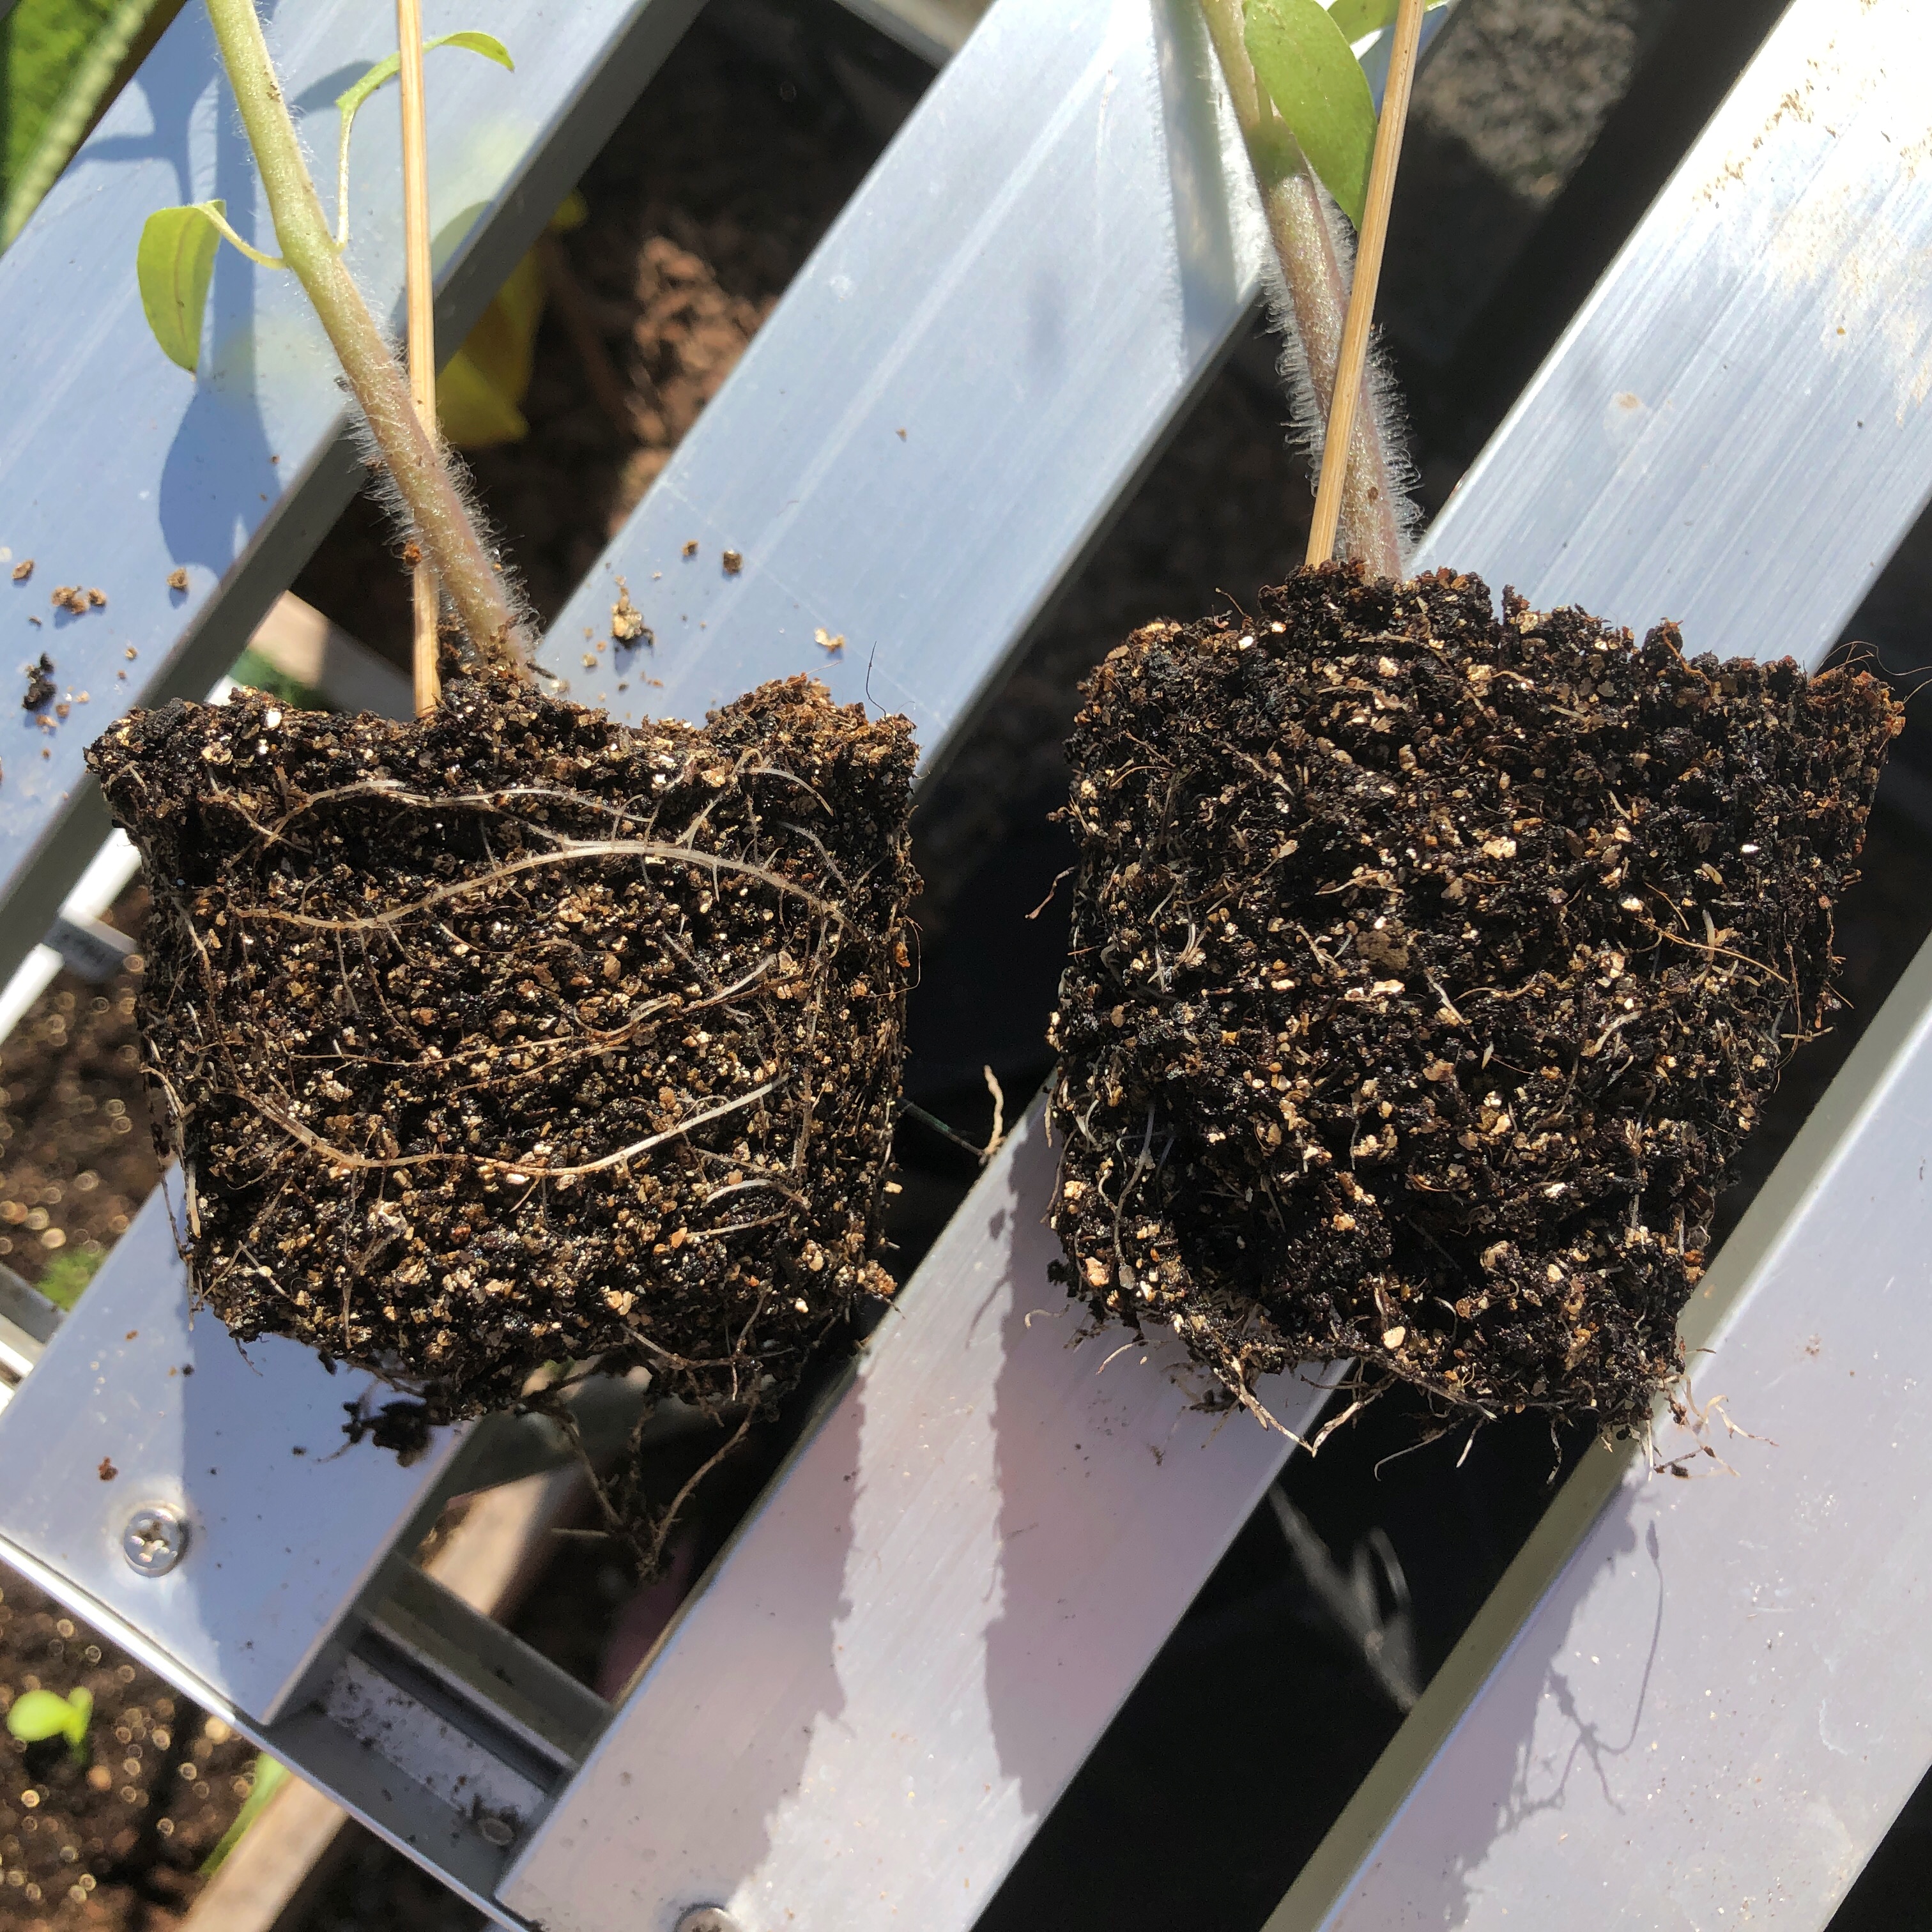
They also need repotting less quickly and suffer less disturbance when moved to their final place in a raised bed or MM-mini.
Archive
- Starting with vermiculite
- Winter lettuce: sowing and growing