Heat Today will be hot in the south of the Netherlands: up to 30 degrees! Check whether your reservoir is still full, whether the mix is still moist, shade vulnerable plants around midday, and wait with sowing until it cools down.
Growing strawberries in your Planty Garden
It's best to grow strawberries in a separate garden box or grow bag. This makes them easier to take care of and protect.
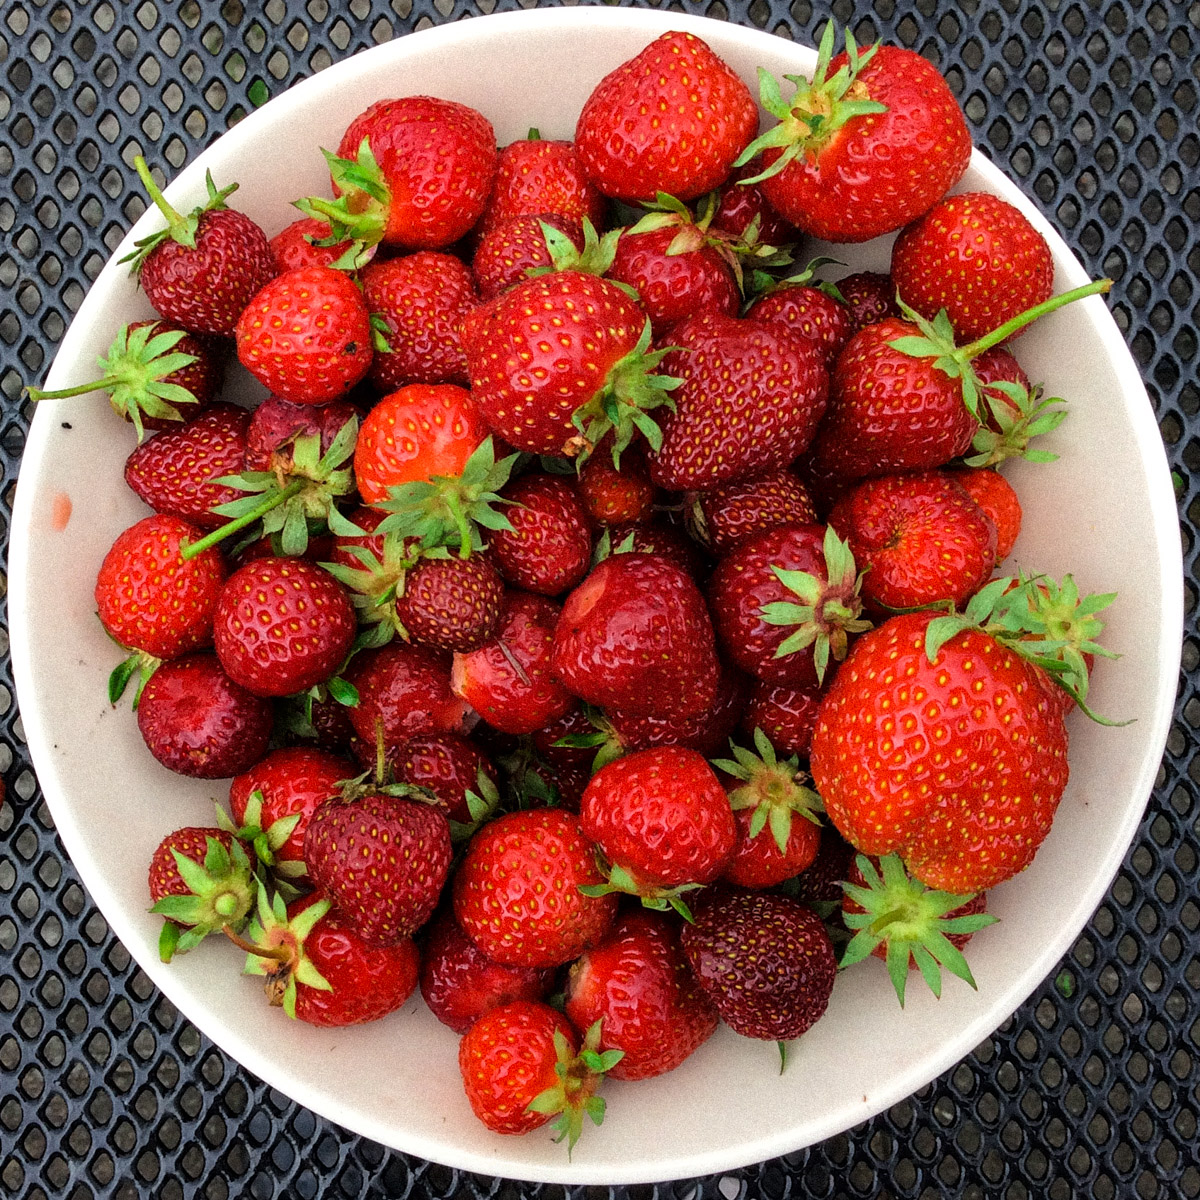
Do you love strawberries?
I do too.
As long as they're sweet, ripened by the sun, and - ideally - freshly picked. I'm not into those watery strawberries from the supermarket.
I do too.
As long as they're sweet, ripened by the sun, and - ideally - freshly picked. I'm not into those watery strawberries from the supermarket.
How do you grow strawberries in a Planty Garden?
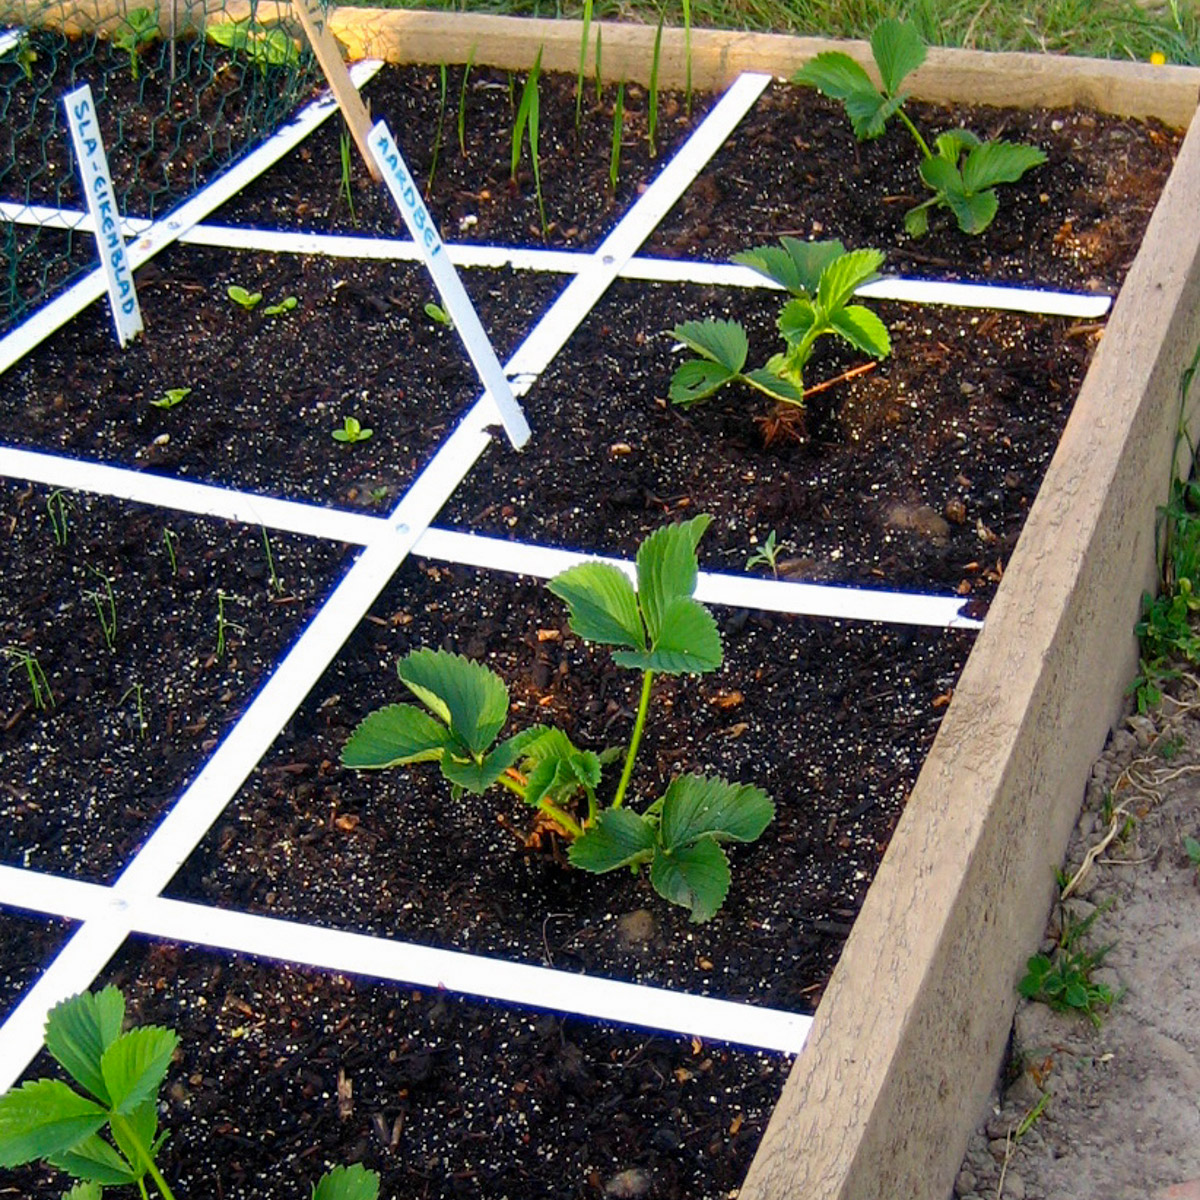
You can grow 1 strawberry plant in a single square patch.
The first few years, I'd put them in square patches next to my other vegetables. Strawberry plants don't grow very tall, so I put them in the first row.
The first few years, I'd put them in square patches next to my other vegetables. Strawberry plants don't grow very tall, so I put them in the first row.
A strawberry plant occupies the same patch all year long, but you only harvest for a short period. If you have only 1 or 2 garden boxes, it's a waste of space: you can put that patch to better use.
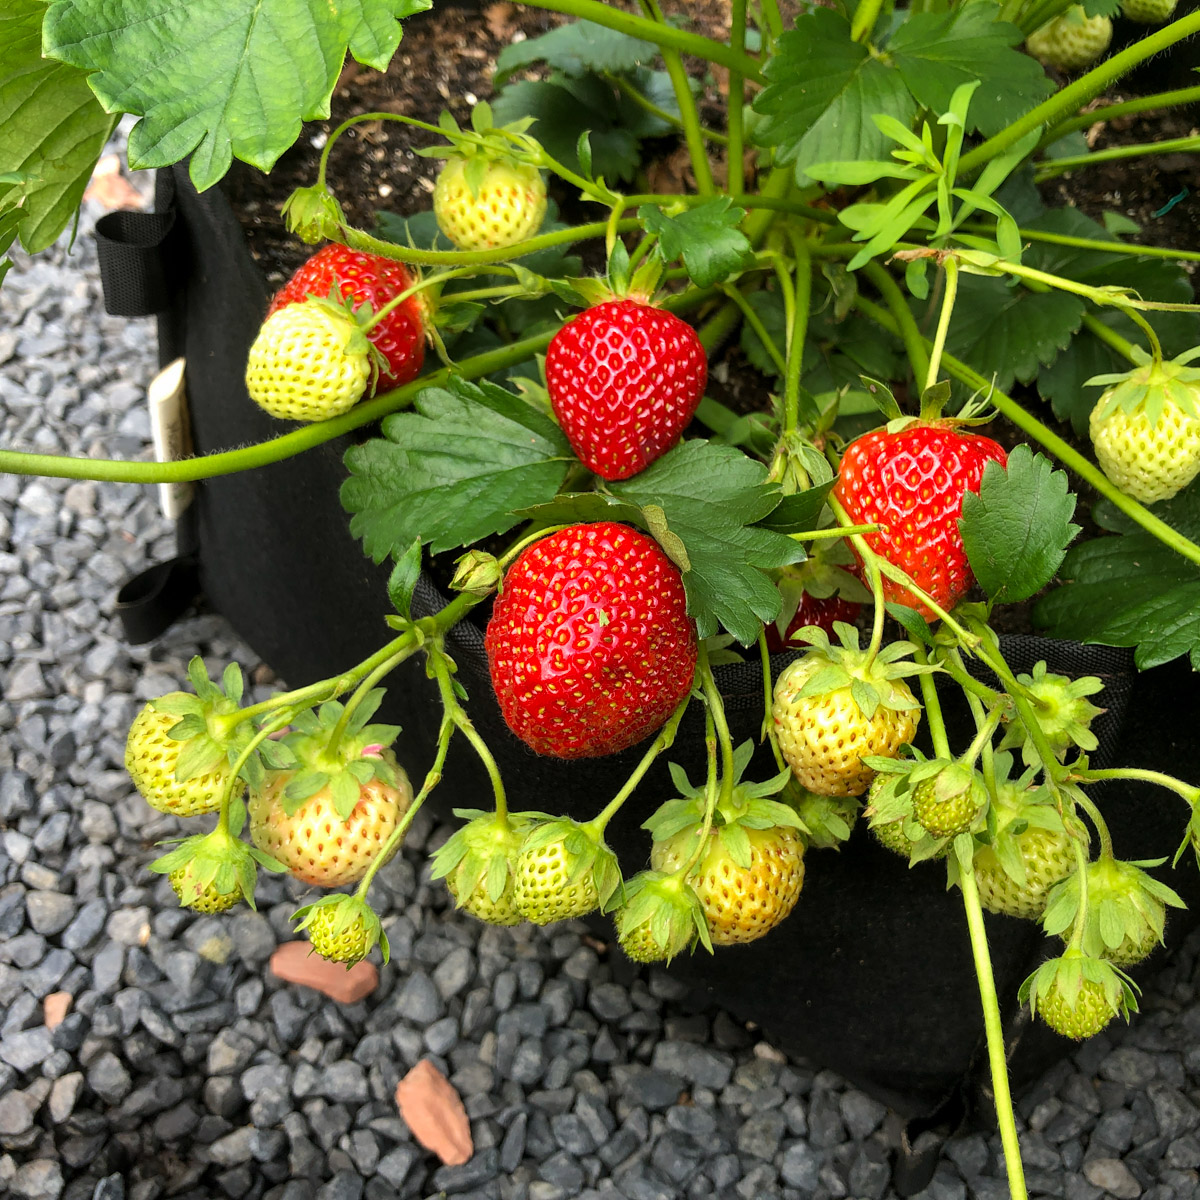
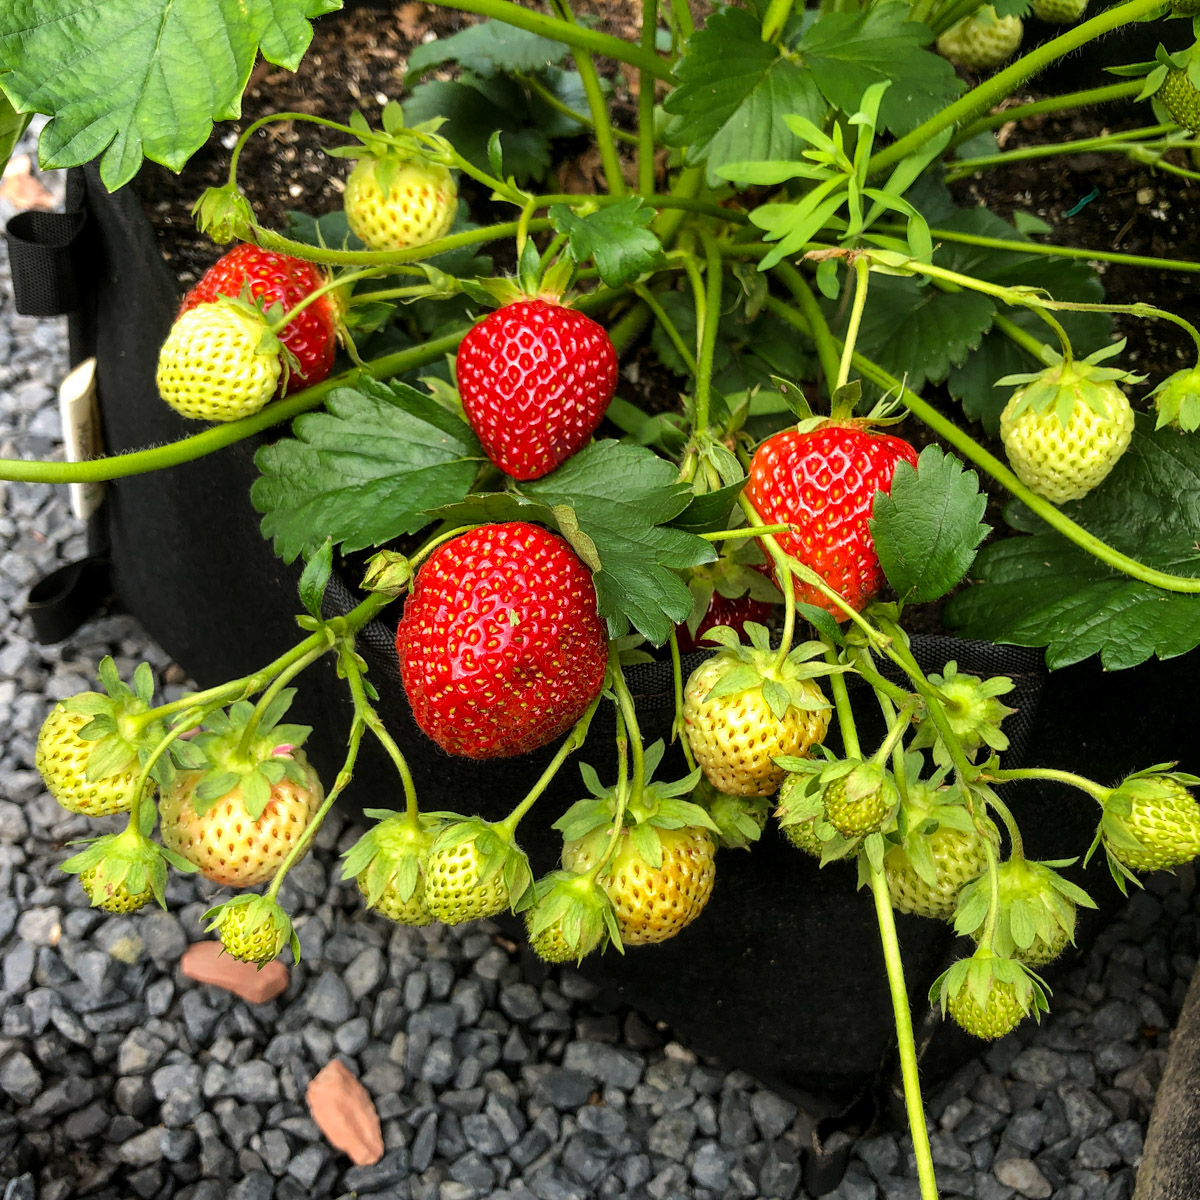
The ideal spot for your strawberry plants is in an MM-Mini. These grow bags don't take up much space and after harvesting the ripe strawberries, you can tuck them away out of sight. The plants tend to hang over the sides, so you can put up to 2 plants in a single MM-Mini.
The ideal spot for your strawberry plants is in an MM-Mini. These grow bags don't take up much space and after harvesting the ripe strawberries, you can tuck them away out of sight. The plants tend to hang over the sides, so you can put up to 2 plants in a single MM-Mini.
Strawberries in an MM-Airbak
If you want to grow even more strawberries, then an MM-Airbak is a handy option.
I just planted these strawberry plants:
I just planted these strawberry plants:
The benefits of a separate garden box
- Strawberries are perennials. You harvest them for a couple of months out of the year. So, you don't need to keep them so close to your kitchen door. It's fine to keep them farther away from your home if you have the space.
- Birds love strawberries. If you prefer to eat your strawberries yourself, you'll need to protect the plants. It's easy: just cover them up with a net.
I used to fill an entire garden box with 16 square patches (120x120 cm) with strawberry plants. I'd use different kinds of strawberries for some variety.

Which kinds of strawberries are good for growing in a container garden?
There are all kinds of old and new varieties, from small to large, from sweet to super juicy. There are even white ones and varieties that taste like pineapple.
All strawberries do well in a garden box, as long as they're not a special hanging or climbing variety.
You can divide strawberries into 3 kinds: early, late, and perennial. If you grow all 3, you can spread your harvest over a few months instead of a few weeks.
You can find strawberry plants from March to May at your local garden center or market.
Choose good, strong plants: you'll enjoy them for years to come. Personally, I like to buy mine directly from the grower to be sure I've got the best I can get.
The best plants come from a real strawberry grower
That's how I discovered Joost and Joep. Those guys aren't that much older than I am, and they've been running their family farm for a few years now.
In the spring, they send strawberry plants around the Netherlands via the postal system: www.aardbeiplantje.nl
In the spring, they send strawberry plants around the Netherlands via the postal system: www.aardbeiplantje.nl

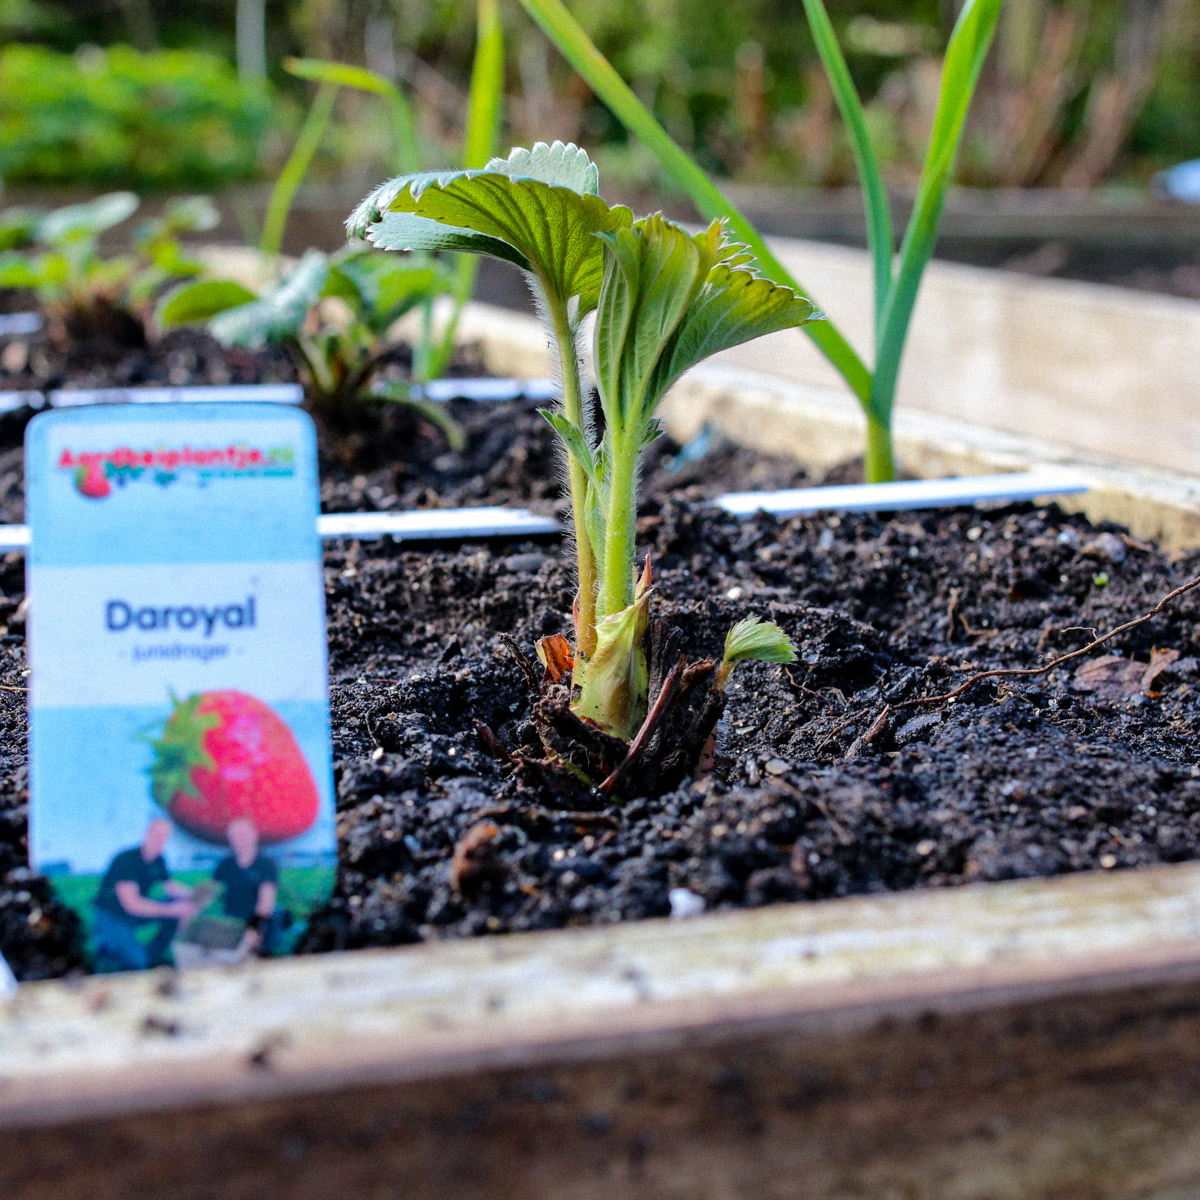
When I asked them for advice, they recommended 4 varieties:
- Daroyal (early June bearing variety)
- Korona (middle of June)
- Ostara (perennial)
- Furore (new carry-over)
With 5 plants of each variety, my garden box was filled. I even had a few left over for my MM-Airbak.
But I'm messing around: their strawberries are delicious. Since I got so excited about the taste, I asked Joep and Joost if they wanted to sell their strawberries to other Planty Gardeners. They did 😉
So, they put together a package just for us. It includes 20 great strawberry plants of 4 different varieties. And since you order them in bulk, it's cheaper. They're delivered within a few days and come with a handy information booklet. This package is available in the Netherlands (and in Dutch) at the moment:
Check out the Planty Garden tasting package at Aardbeiplantje.nl

Perennial plants
A strawberry is a perennial plant. But they grow best in the first 3 years. After that, you replace them with new ones.
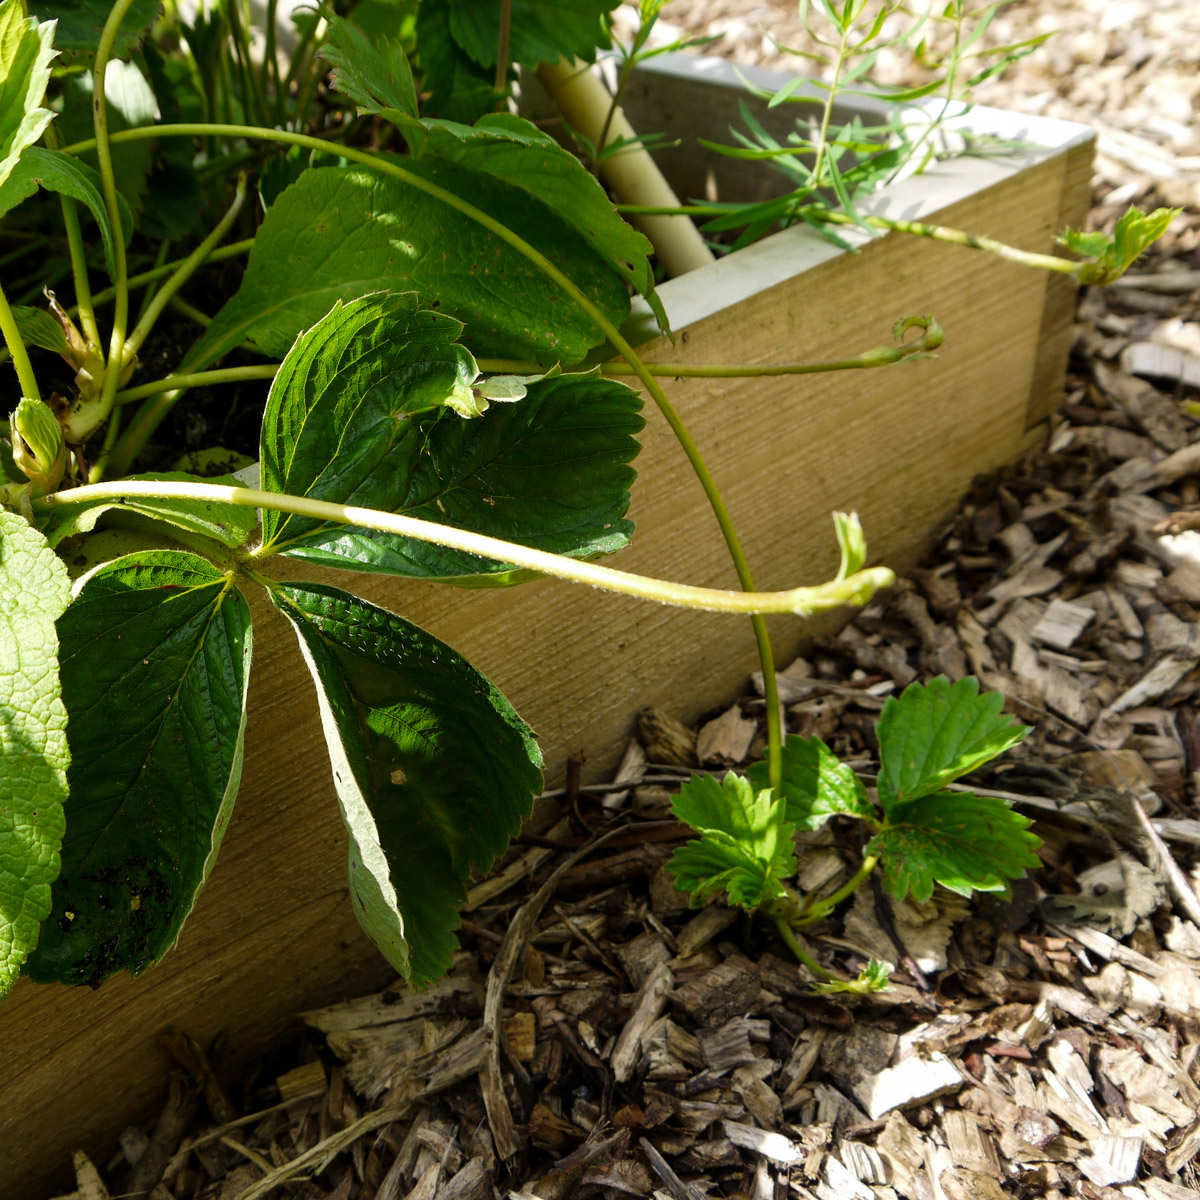
But you don't have to buy new plants: throughout the year, your strawberry plants produce offshoots. You can use those as young starter plants. The offshoots will develop roots all on their own.
As soon as the roots are visible, cut the offshoot loose from the mother plant. Then, put in a pot, grow bag or an empty square patch in your garden box with fresh MM-Mix.
Each plant produces a lot of offspring. If you don't remove the offshoots, your garden box will fill up in no time. You can have too much of a good thing: if you want to harvest beautiful strawberries, each plant needs enough space. So, trim back the offshoots if they get out of control.
The MM-Mix and extra nutrients
Strawberries do really well in our MM-Mix. But because they stay in the same spot for a long time, you need to add a scoop of MM-Plantfood to each square patch every year. If the soil mix looks like it's on the low side, you can also add some fresh MM-Mix to top it off.
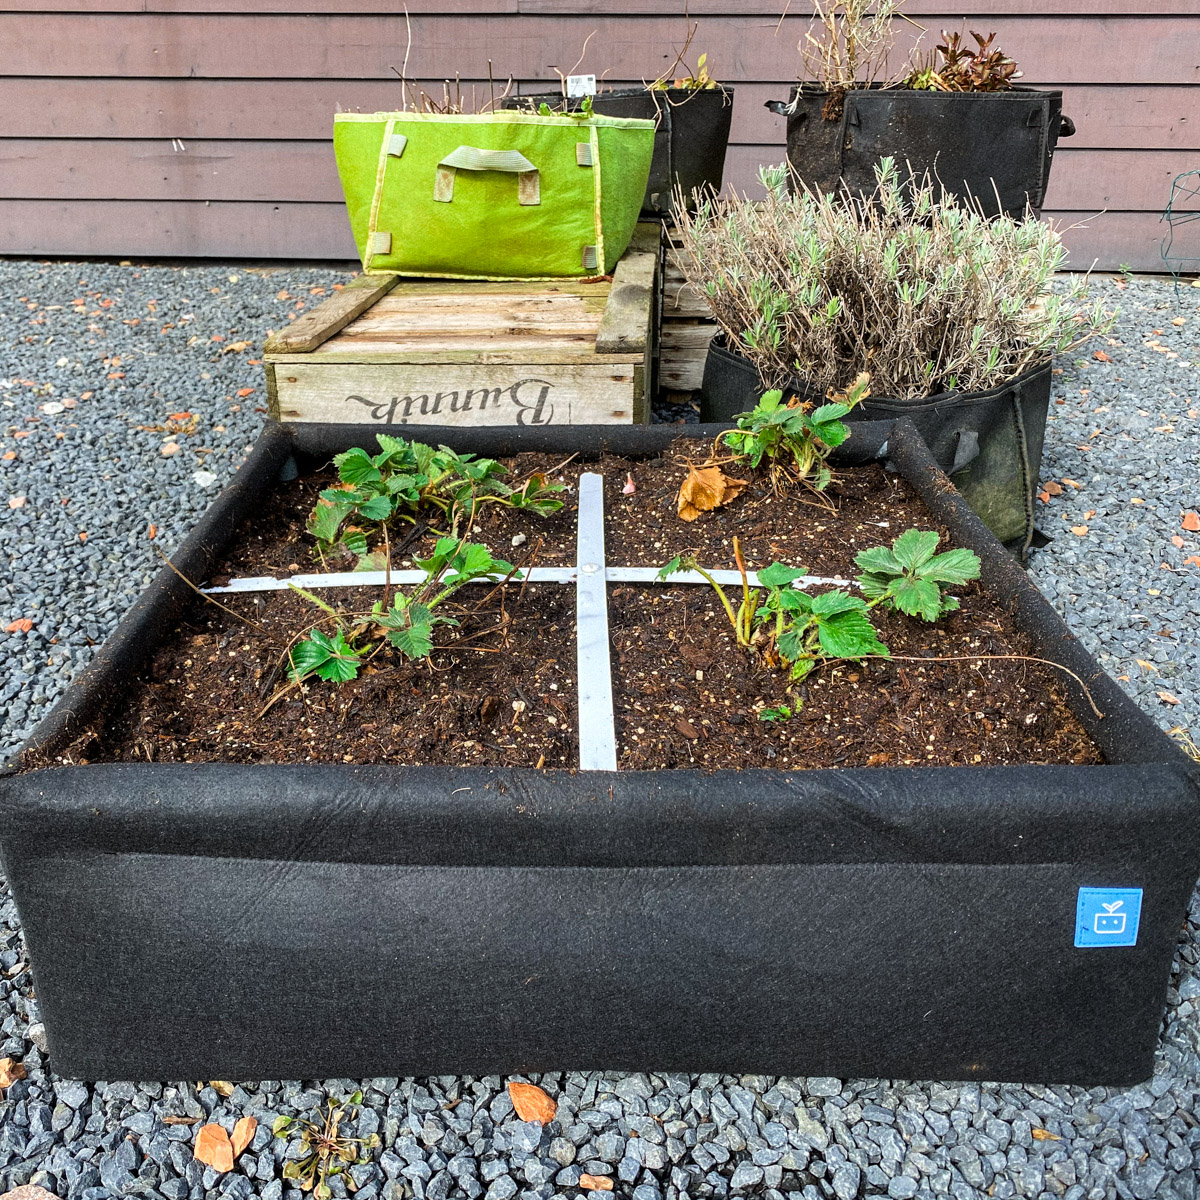
Just remove the grid and remove any windblown weeds and superfluous strawberry plants.
Just remove the grid and remove any windblown weeds and superfluous strawberry plants.
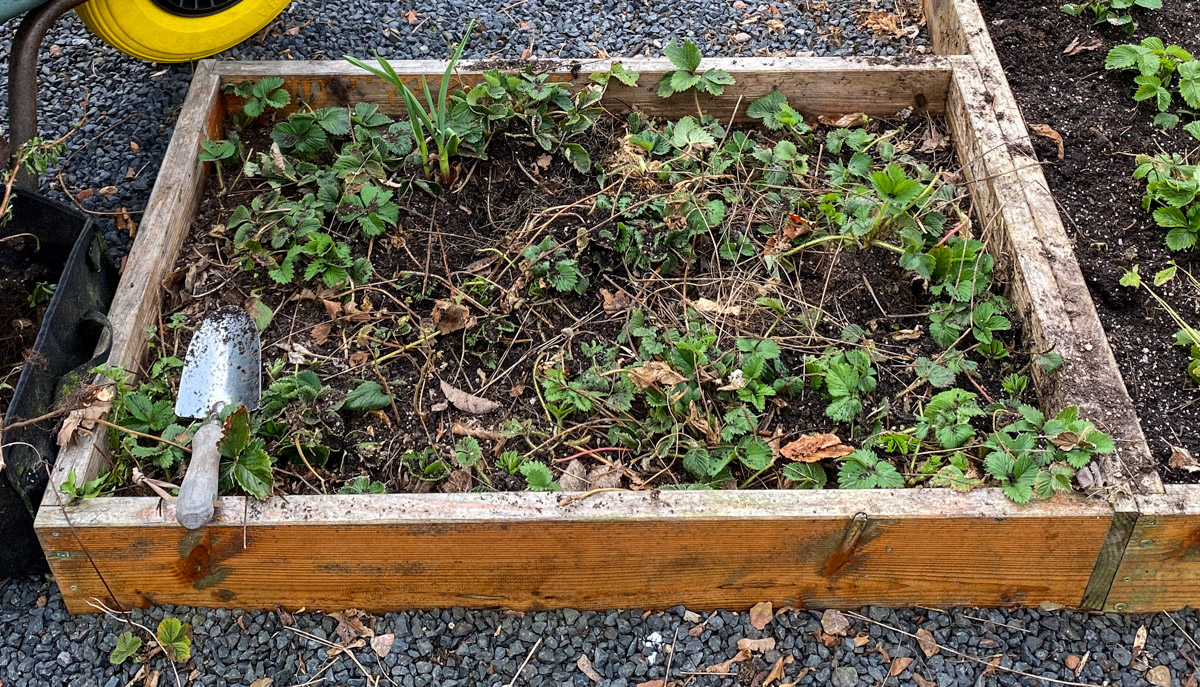
The garden box pictured above was such a mess, I took out all the strawberry plants. I left a big clod of soil mix on each root ball to minimize damage.
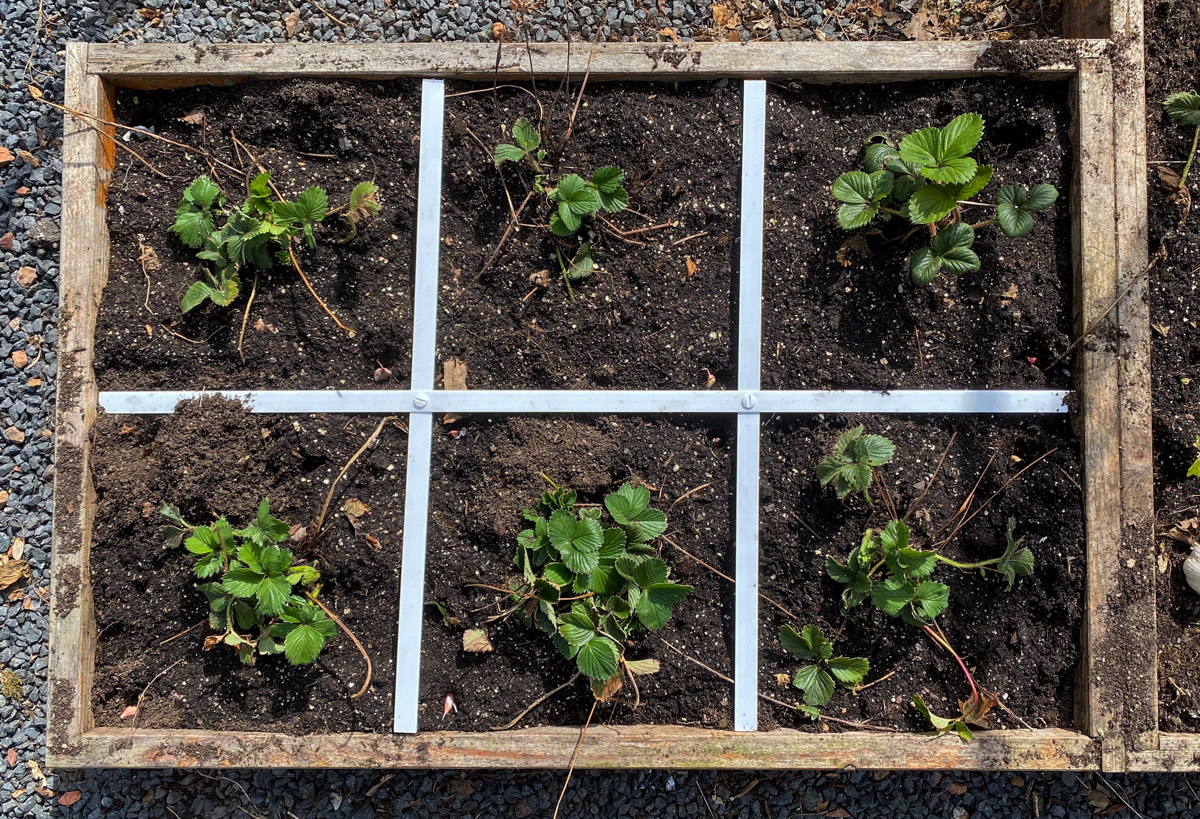
Then I removed all the weeds and puny strawberry plants from the garden box, sprinkled nutrients and added some fresh MM-Mix, then mixed it all together.
I put the best strawberry plants back, giving each their own square patch. And for the finishing touch, placed the grid back on top:
Then I removed all the weeds and puny strawberry plants from the garden box, sprinkled nutrients and added some fresh MM-Mix, then mixed it all together.
I put the best strawberry plants back, giving each their own square patch. And for the finishing touch, placed the grid back on top:
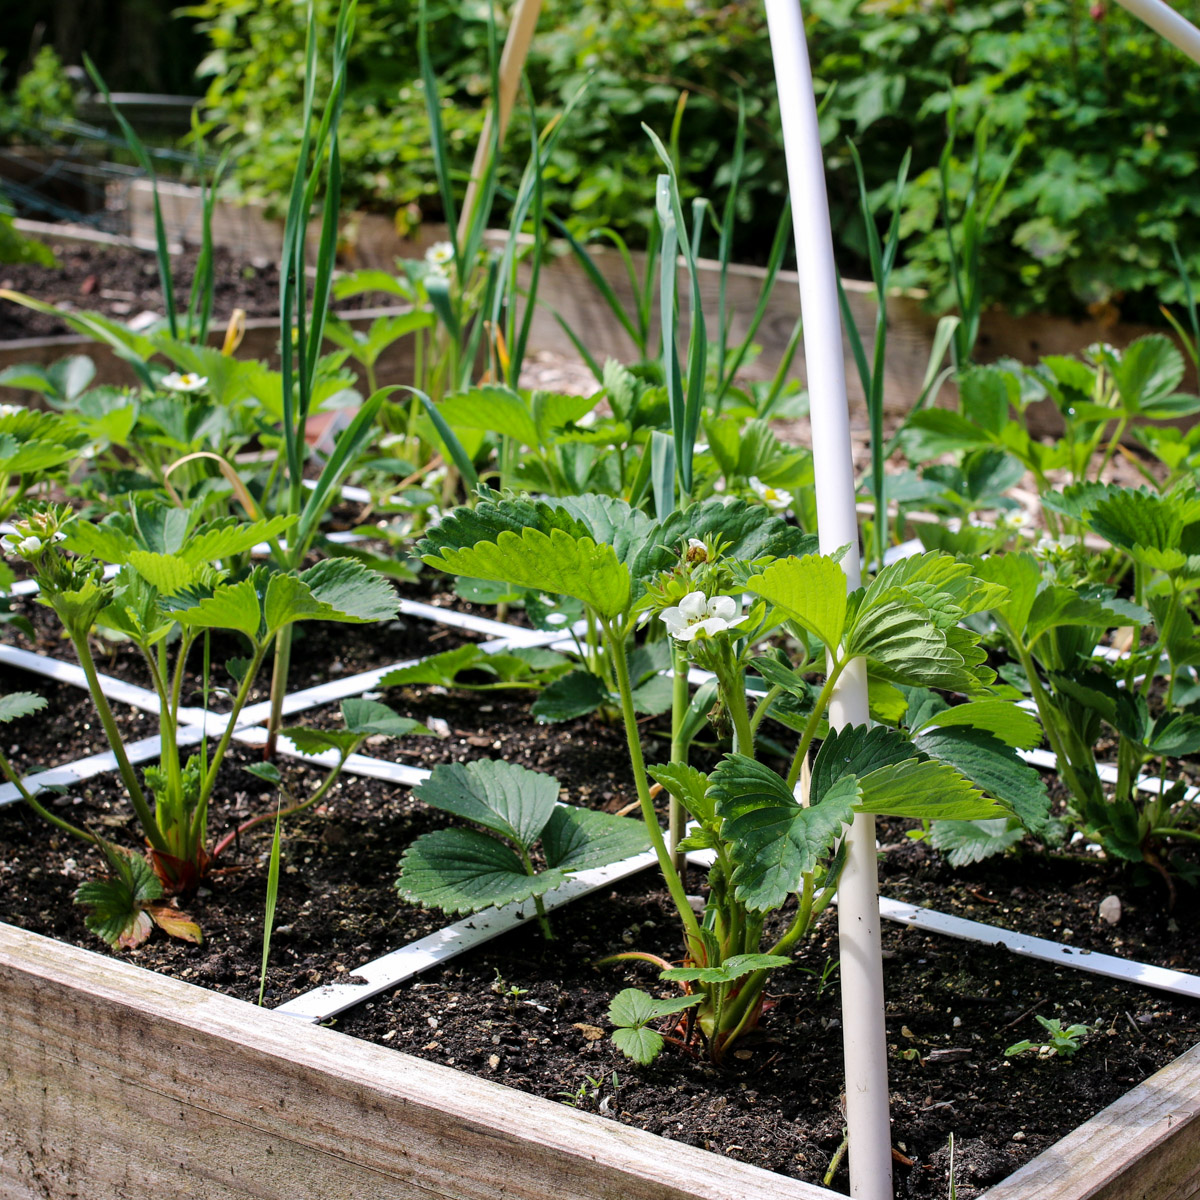
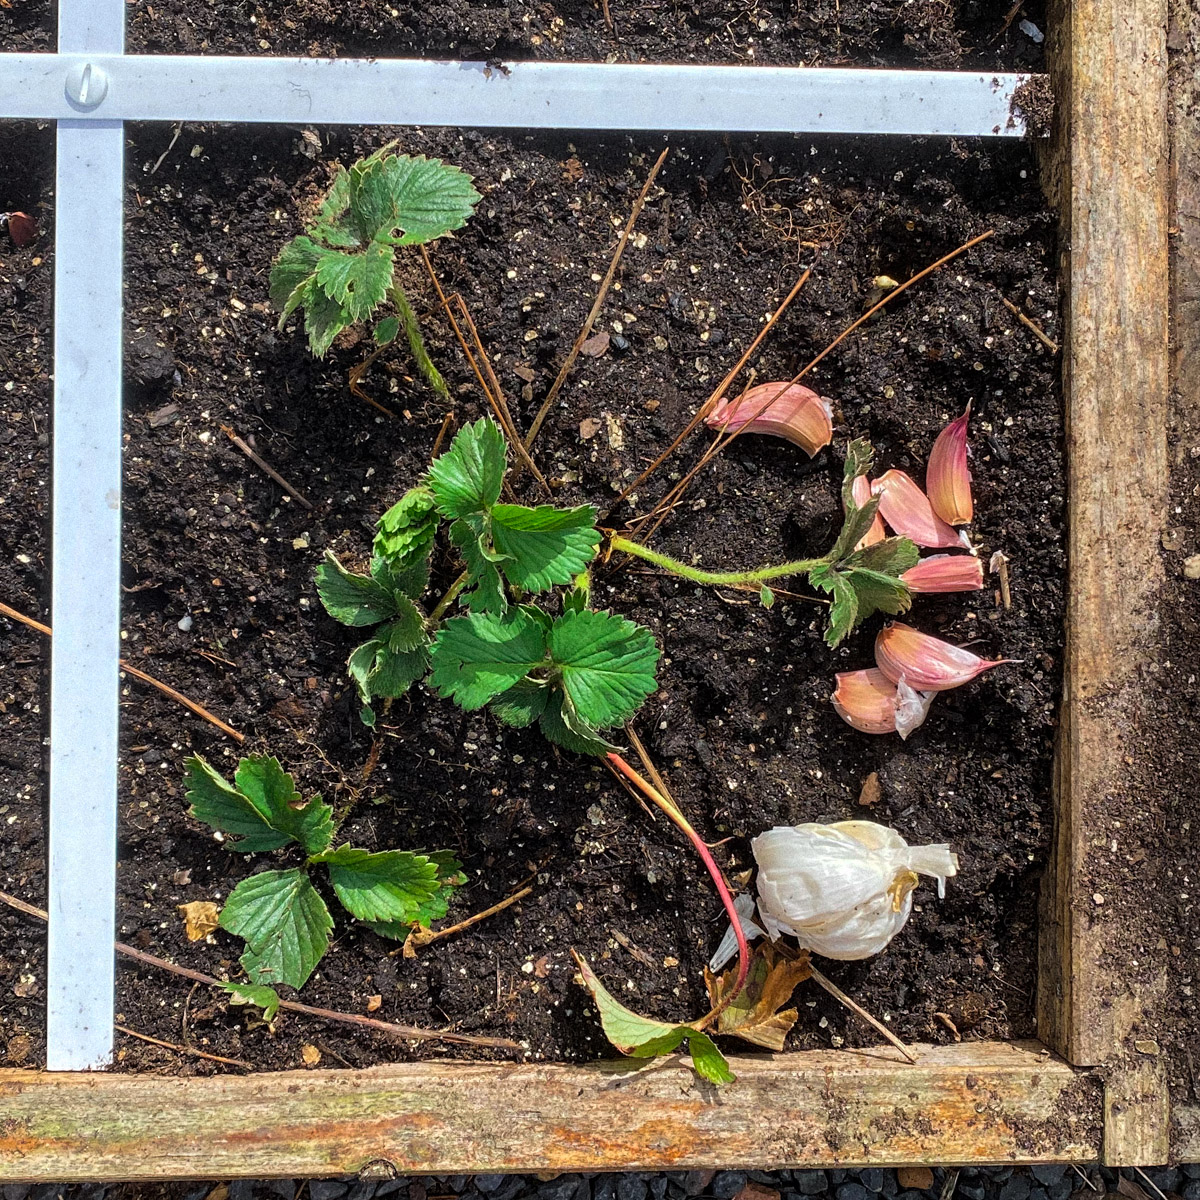
Last but not least, I took a bulb of garlic from the fridge and planted a few cloves between the plants.
You kill 2 birds with 1 stone this way: it keeps pests away and in the fall, and you can harvest the garlic for winter.
You can read more about growing garlic here.
You kill 2 birds with 1 stone this way: it keeps pests away and in the fall, and you can harvest the garlic for winter.
You can read more about growing garlic here.
Protect your strawberries from birds
If you want to harvest tasty strawberries soon, you need to prevent birds from snatching them up first.
Cover your garden box with a net as soon as the first strawberries turn red.
It's easy to do: just put 2 pieces of electrical pipe at the corners of your garden box so they criss-cross. Drape a net over them so it forms a kind of tent. You can place some stones along the edges of the net to prevent it from blowing away:
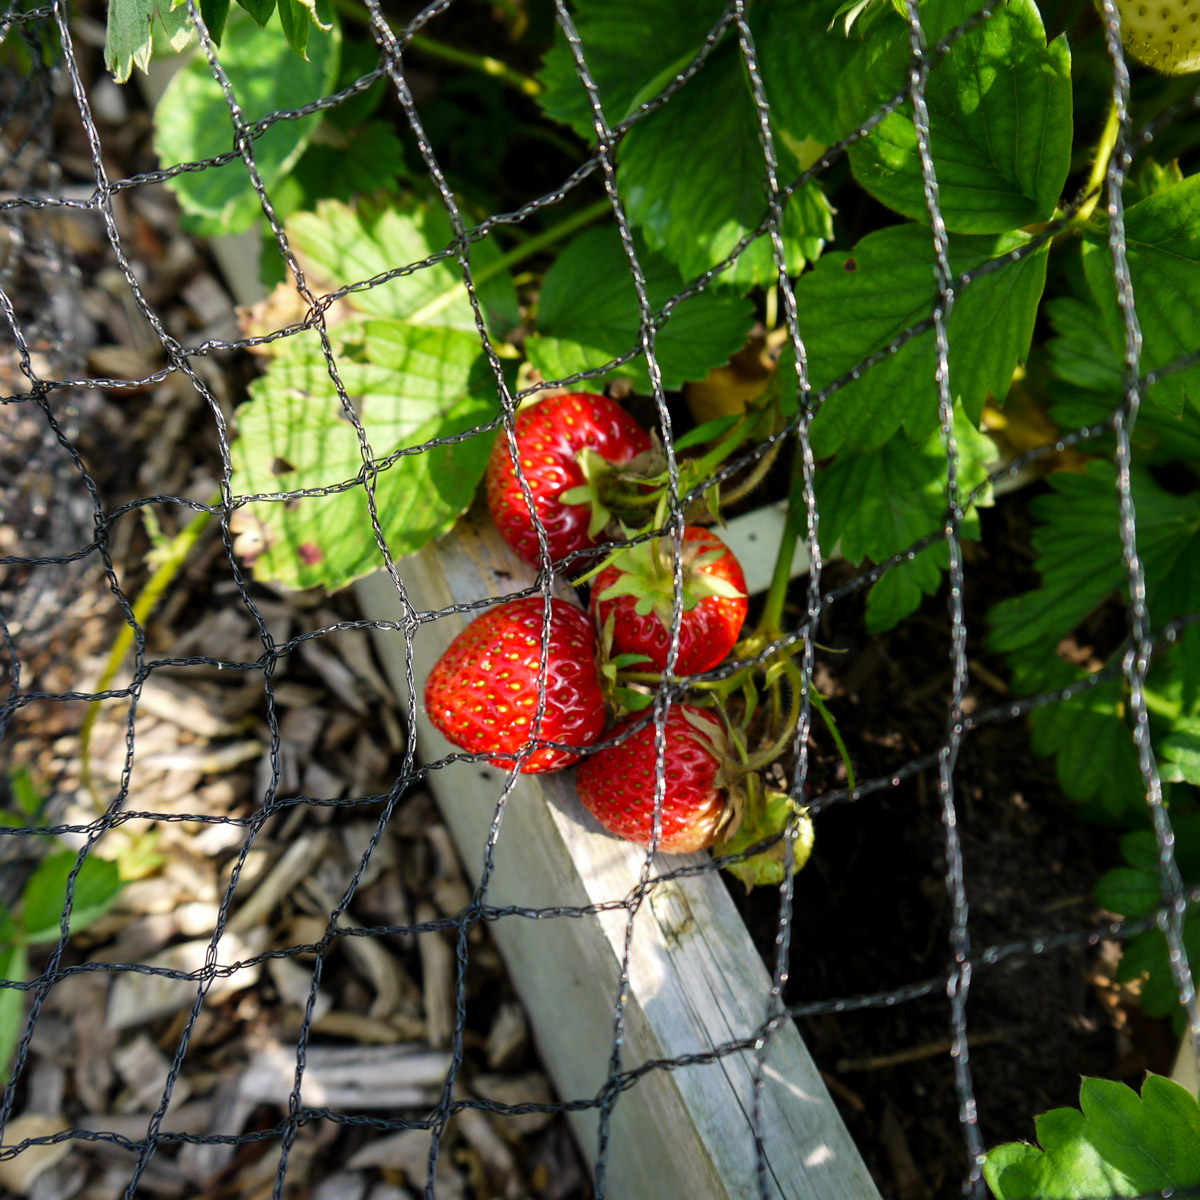
I use an old piece of net that I got from a fruit grower and it's lasted for years. But if you don't have one yet, it's better to buy a blue or green net. Birds see those colors better and are less likely to get caught in them than a black net.
So, to sum it up:
- Strawberries do very well in the Planty Garden.
- A dedicated strawberry garden box is super practical because you can leave the plants in the same spot year after year.
- The MM-Mini is ideal for a single strawberry plant.
- Choose your plants with care: go for strong plants, a big yield, and a delicious taste.
- Plant early, late, and perennial varieties to get the longest possible harvest period.
- Joost and Joep have a special package just for us at aarbeiplantje.nl.
Hoe verder?
Enjoy your strawberry harvest!

P.S: Aardbeiplantje.nl is not an affiliate or anything like that. We don't get paid when you buy something from them. We just think those guys are doing a great job 🙂