MM electric slug fence instructions
This electric fence keeps (almost*) all slugs out - both slugs and snails, big or small. As soon as the slug touches one of the bottom and one of the top wires, it receives a mini electric shock and turns around.
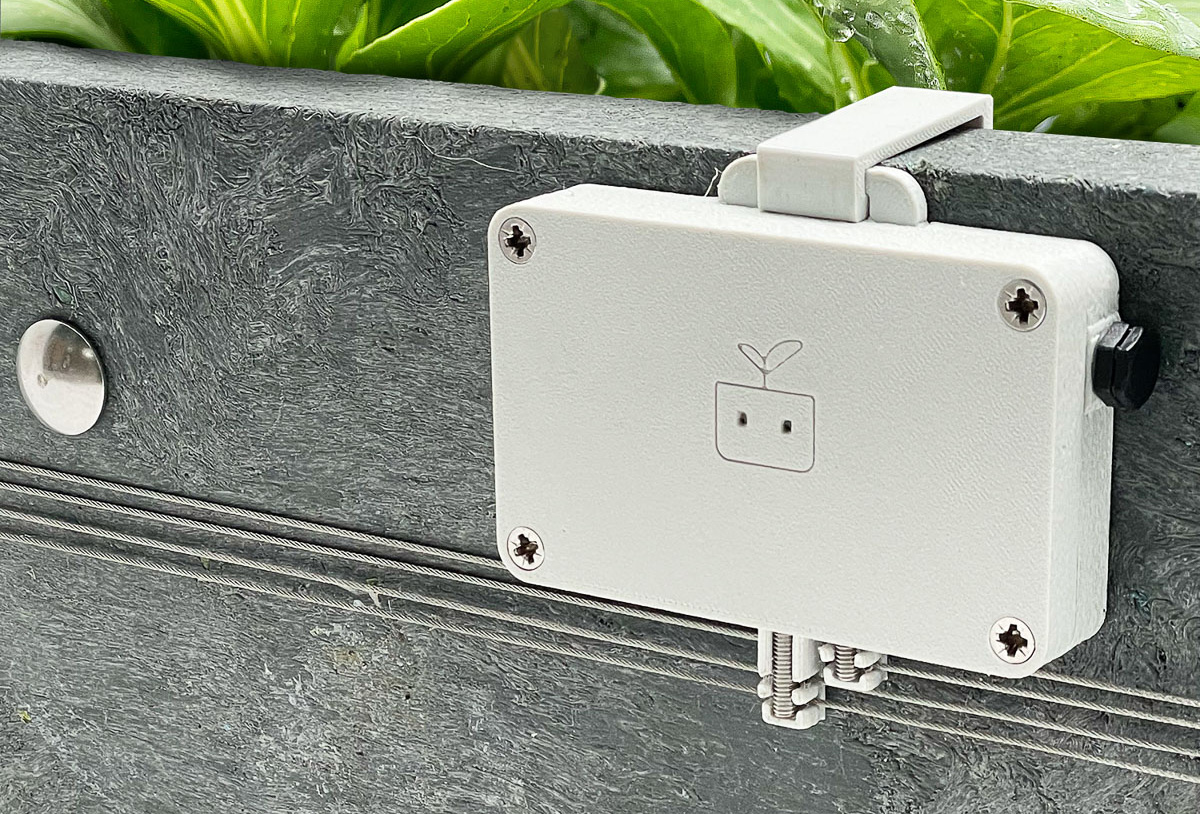
The electric shock is so small that you - or other animals or children - won't feel anything when you touch it. Unless you touch the wires with your tongue, but you probably weren't planning on doing that 🙂
On this page, I will show you how to:
On this page, I will show you how to:
- install the electric fence on your MM-hero or MM-bamboo
- check if it's working properly
- use it over the years
If you don't have the electric fence yet or want to know more about it, you can find it in the shop.
Installing it on your MM-hero or MM-bamboo
The only tool you need is a Phillips screwdriver. Everything else can be found in the box.
- white box with electronics
- hanging clip
- 3x batteries
- 2x springs
- 4x stainless steel wires
- 2x trellis spacer
- 4x spacer
- wire holder

Place the batteries
- Open the box and insert the batteries into the holders. Pay attention not to bend these contact points:
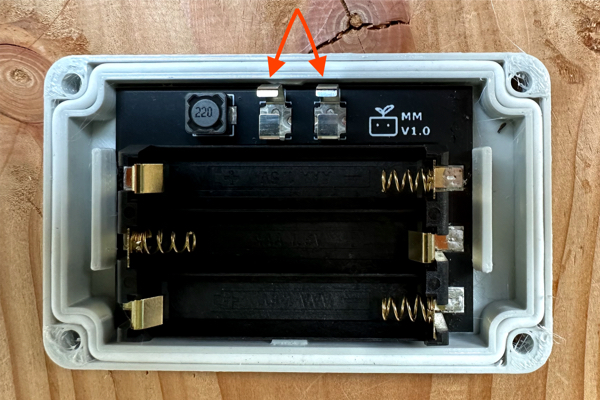
- Check if the right light in the logo is now blinking green.
- Close the box - the logo points upwards and the bars are at the bottom.
- Tighten the screws again so that there are no gaps.
Unwind the wires.
Do this carefully to prevent them from getting tangled. Use gloves if necessary, as there may be sharp points.
The first wire

Lay the wire around the first 3 corners of your raised bed, and over the last corner.
If you have a trellis, thread the wire between the tube and the raised bed, between the two connectors.
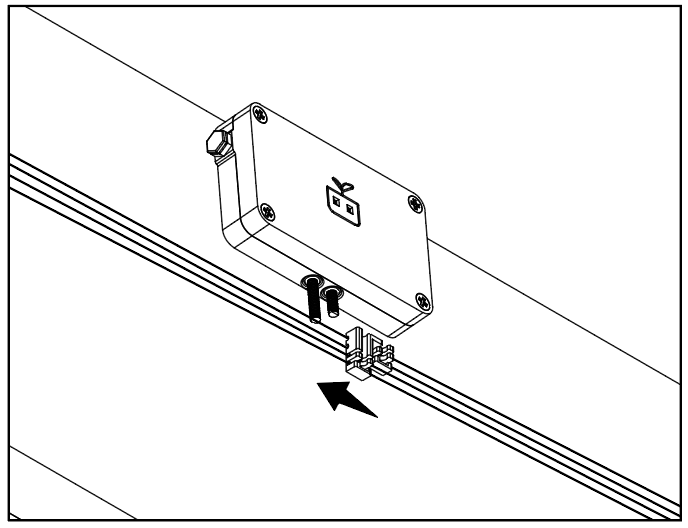
Attach the ends to one of the springs, then pull the wire around the last corner of the raised bed:
Attach the ends to one of the springs, then pull the wire around the last corner of the raised bed:

Hang the box with the hanging clip on the edge of the garden box. Be careful not to bend the clip, as it may break.

Check if the wire is at the same height as the bottom of the longest rod everywhere. If not, pull the wire towards it.
To check this, slide the box straight up - this way you don't bend the hanging clip - and hang it in different places on your container.
To check this, slide the box straight up - this way you don't bend the hanging clip - and hang it in different places on your container.

The second wire
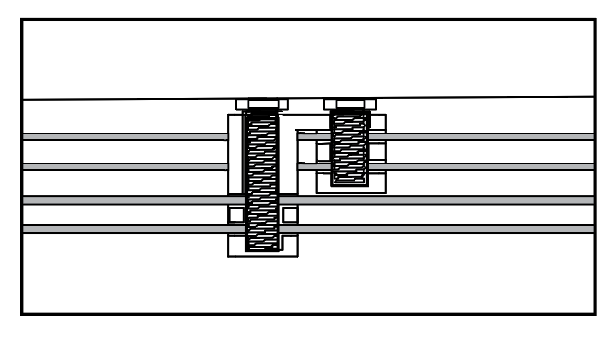
Tension the second wire just above the first wire - in the same way and on the same spring:

Check carefully that the wires run neatly parallel and do not cross anywhere. If they do, loosen the second wire and do it again.
The third and fourth wire
Now do the same with the third and fourth wire. Place them above the first and second wire:

Again, the wires must have the same distance from each other everywhere.
So use the box to check the correct height of the wires: the bottom wire at the bottom of the longest rod, the top wire just below the box itself:

If there is more than a centimetre between the control box and the top wire, move all the wires up a little.
Then check again that the wires run neatly parallel and do not cross anywhere.
Then check again that the wires run neatly parallel and do not cross anywhere.
Place the box
Then hang the box at its final position at the edge of your box. It doesn't matter where, as long as it is at least 50 cm away from the springs.
Attach the wire holder
Now you need to insert the wires into the wire holder:
To do this, hang the wire holder: over the top two wires (1) and then turn it to the left (2). This way, the top wires will fit into the slots of the short right piece.
To do this, hang the wire holder: over the top two wires (1) and then turn it to the left (2). This way, the top wires will fit into the slots of the short right piece.

Place the bottom wires into the slots of the longer right piece:

Slide the wire holder under the rods: the rods are now hanging above the full length of the slots in the holder.
Press the rods firmly into place, so that they are securely attached and make contact with the wires.

The bottom of the rods should be inserted as far as possible into the wire holder:
Check if the wires make good contact with the batteries. You do this by squeezing the four wires together and checking if the red light turns on.
In that case, the wires are not making proper contact with the box and the batteries. Double-check if you have securely clicked the wires into the wire holder.
If the light still does not turn on, the contact pieces in the battery holder are likely slightly bent during the battery installation. To fix this, unscrew the box again and push the pieces back in.
If the light still does not turn on, the contact pieces in the battery holder are likely slightly bent during the battery installation. To fix this, unscrew the box again and push the pieces back in.
Place the spacers

Attach the wires to the four spacers - in the middle of each plank.
The two outer wires (the top and bottom ones) go into the slots on top, the two middle wires go into the slots at the bottom.
Double-check around the box to make sure the wires are running parallel and not touching each other. They should have approximately the same distance between them at the corners as in the wire and spacer holders.
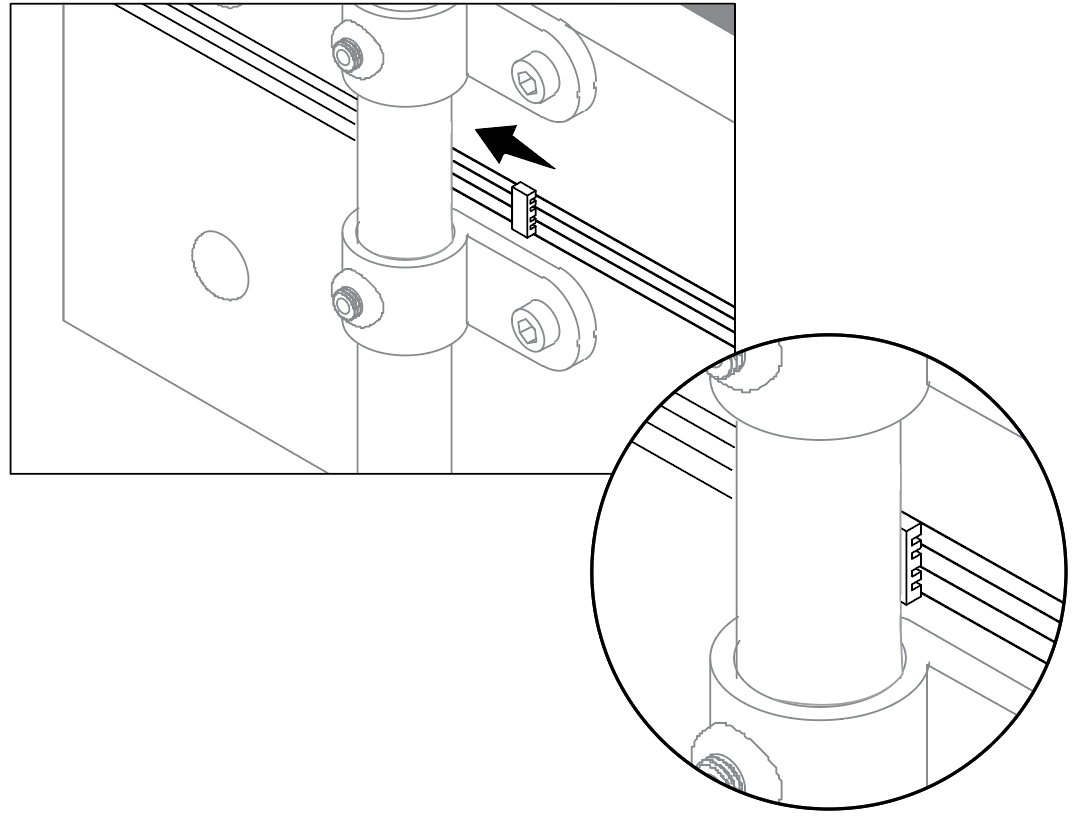
Use the two trellis spacers only if you have our trellis on your garden box. Insert the wires into the holders and push them under the post so that the wires cannot come into contact with it.
Check that the system is working
Check the functioning of the system
Everything is working properly if:
- the green light on the box is blinking
- the red light blinks when you press the top and bottom wires together.

Done!
Good work, from now on no more slugs can crawl into your bed from the outside * 🙂
If so, make sure to check carefully if there are no more slugs in your bed.
Attracting and catching them is easiest with some breadcrumbs or chicken feed. You can read more about it here.
Attracting and catching them is easiest with some breadcrumbs or chicken feed. You can read more about it here.
Very occasionally, slugs manage to bypass this electric fence.
Super smart slugs achieve this by:
Super smart slugs achieve this by:
- using another slug as a bridge
- climbing up the trellis frame
- crawling up a hanging plant, bush, or tree and then dropping into the bed
Very large - and clever - slugs sometimes manage to:
- climb up the box
- limbo over the wires
In use
Check from time to time whether the lights still work. That can be hard to see in full daylight, so cover the lights with your hand or check in the evening.
- If the green light flashes and the red light comes on when you press the wires together, everything is fine.
- If the red light flashes, there is a short circuit: either because the wires are touching each other, or because something is touching the wires - a leaf or branch, for example.
- If nothing flashes, the batteries are empty.
The batteries should last a whole vegetable garden season.
At the beginning of November, remove the control box from the wires. Take it indoors and remove the batteries. If you have used the batteries for a whole season, it is best to replace them in spring.
At the beginning of November, remove the control box from the wires. Take it indoors and remove the batteries. If you have used the batteries for a whole season, it is best to replace them in spring.
Around mid-March, hang the control box back on your raised bed: ready for another season without slugs 🙂
Replacing the batteries
To replace the batteries, leave the control box hanging on the raised bed. You do not have to remove it completely. Make sure no moisture gets inside the control box. So postpone the replacement if it is raining, or do it under an umbrella.
You need 3 regular AAA alkaline batteries. If you have rechargeable batteries of the same size, you can use those.
You need 3 regular AAA alkaline batteries. If you have rechargeable batteries of the same size, you can use those.
- Unscrew the control box and remove the lid.
- Replace the batteries in the holders inside the lid. Pay attention not to bend the metal contact points.
- Then close the control box again, tighten the screws, and check for any gaps.