Heat Today will be hot in the south of the Netherlands: up to 30 degrees! Check whether your reservoir is still full, whether the mix is still moist, shade vulnerable plants around midday, and wait with sowing until it cools down.

Winter pea
Product information
In Stock
Free delivery from € 30 🇳🇱
Choose your own delivery date
Description
Specifications
Height: 40-50 cm
Weight: 15 grams
In the app
Sowing: 16 February - 30 June , 1 October - 31 October

Level 1
pre-sprouting

Level 2
peas sown

Level 3
first seedlings
Level 4
small plants
Level 5
supported

Level 6
flowering

Level 7
pods visible

Level 8
harvesting continues
- Currently only shipping to the Netherlands and Belgium
- Choose your preferred delivery date
- Sent by PostNL or Transmission
- Track & Trace in your inbox
- The app helps you with almost everything you do in your vegetable garden: sowing, tending, and harvesting.
- If something goes wrong, the app tells you what steps to take.
- If that doesn’t work, you can ask us for advice.
- If that still doesn’t help, we’ll look for other solutions together. Until we get it right.
More about our winter peas
- Species name: Garden Pea Feltham First
- Family: legume
- Plants per square patch: 9
- Height: 60 cm
- Sowing time: mid-February till end of June and/or October
- Sowing depth: 2 to 3 cm
- Time to harvest: shoots from 6-8 weeks, peas 8-12 weeks
- Germination: 7 to 23°C in 6 to 24 days
- Sunlight: Early in the year they like to grow in the sun, later they can grow in the sun or shade.
What do you need to grow your own winter peas?
- a 30x30 cm patch with airy, nutritious soil mix
- winter peas
- a place with at least 6 hours of sunlight a day
Growing your own winter peas is super easy with the MM-Mix. If you grow in low-quality (potting) soil, disappointment is pretty much guaranteed. So don't skimp on soil mix: go for the best.

How do you sow and grow winter peas?
Each plant goes through a number of stages - we call them levels. The app tells you exactly what to do at each level and checks in when your plants are ready for the next.
So you don't need to know how to grow winter peas before you start: the app takes you through every step.
But if you'd like to read more about those steps, here's what the process looks like:

Level 1: Pre-sprouting winter peas
Level 1: Pre-sprout Winter peas
The easiest method is to place them on or between damp kitchen paper. The peas germinate after about four days; sow them directly in your raised bed as soon as the roots appear.

Level 2: Sowing peas
Level 2: Sow Winter peas
- make nine holes, 2 to 3 cm deep
- choose the best sprouted peas and put one in each hole, working carefully so the roots remain intact
- gently close the holes
In very cold early-spring weather, it may take longer. Speed things up by covering the square with an MM cover or clear plastic containers. This also stops birds picking out the peas.

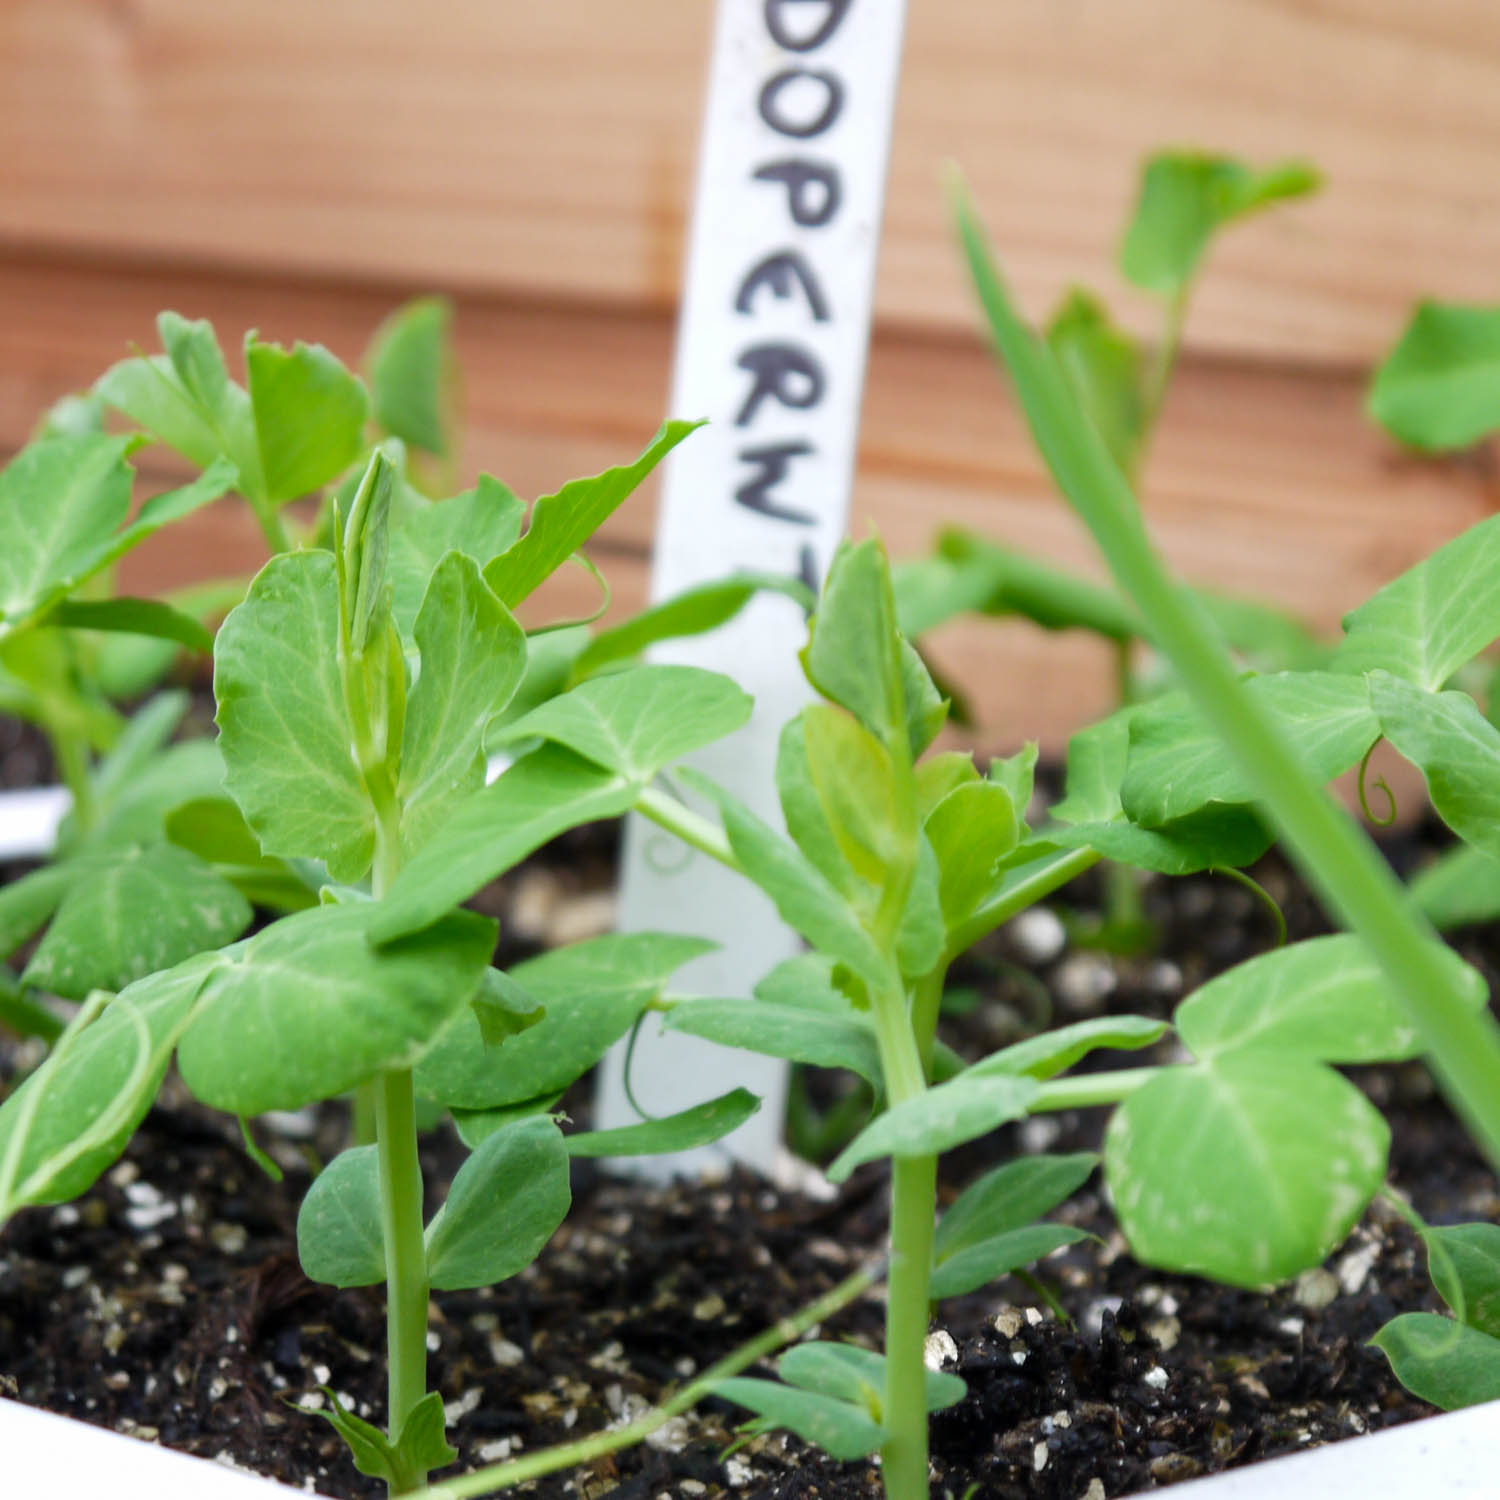
Level 3: Pea seedlings
Level 3: Winter pea seedlings
They will not all appear at once, but most should be up after about two weeks. Then it is time for the next level.

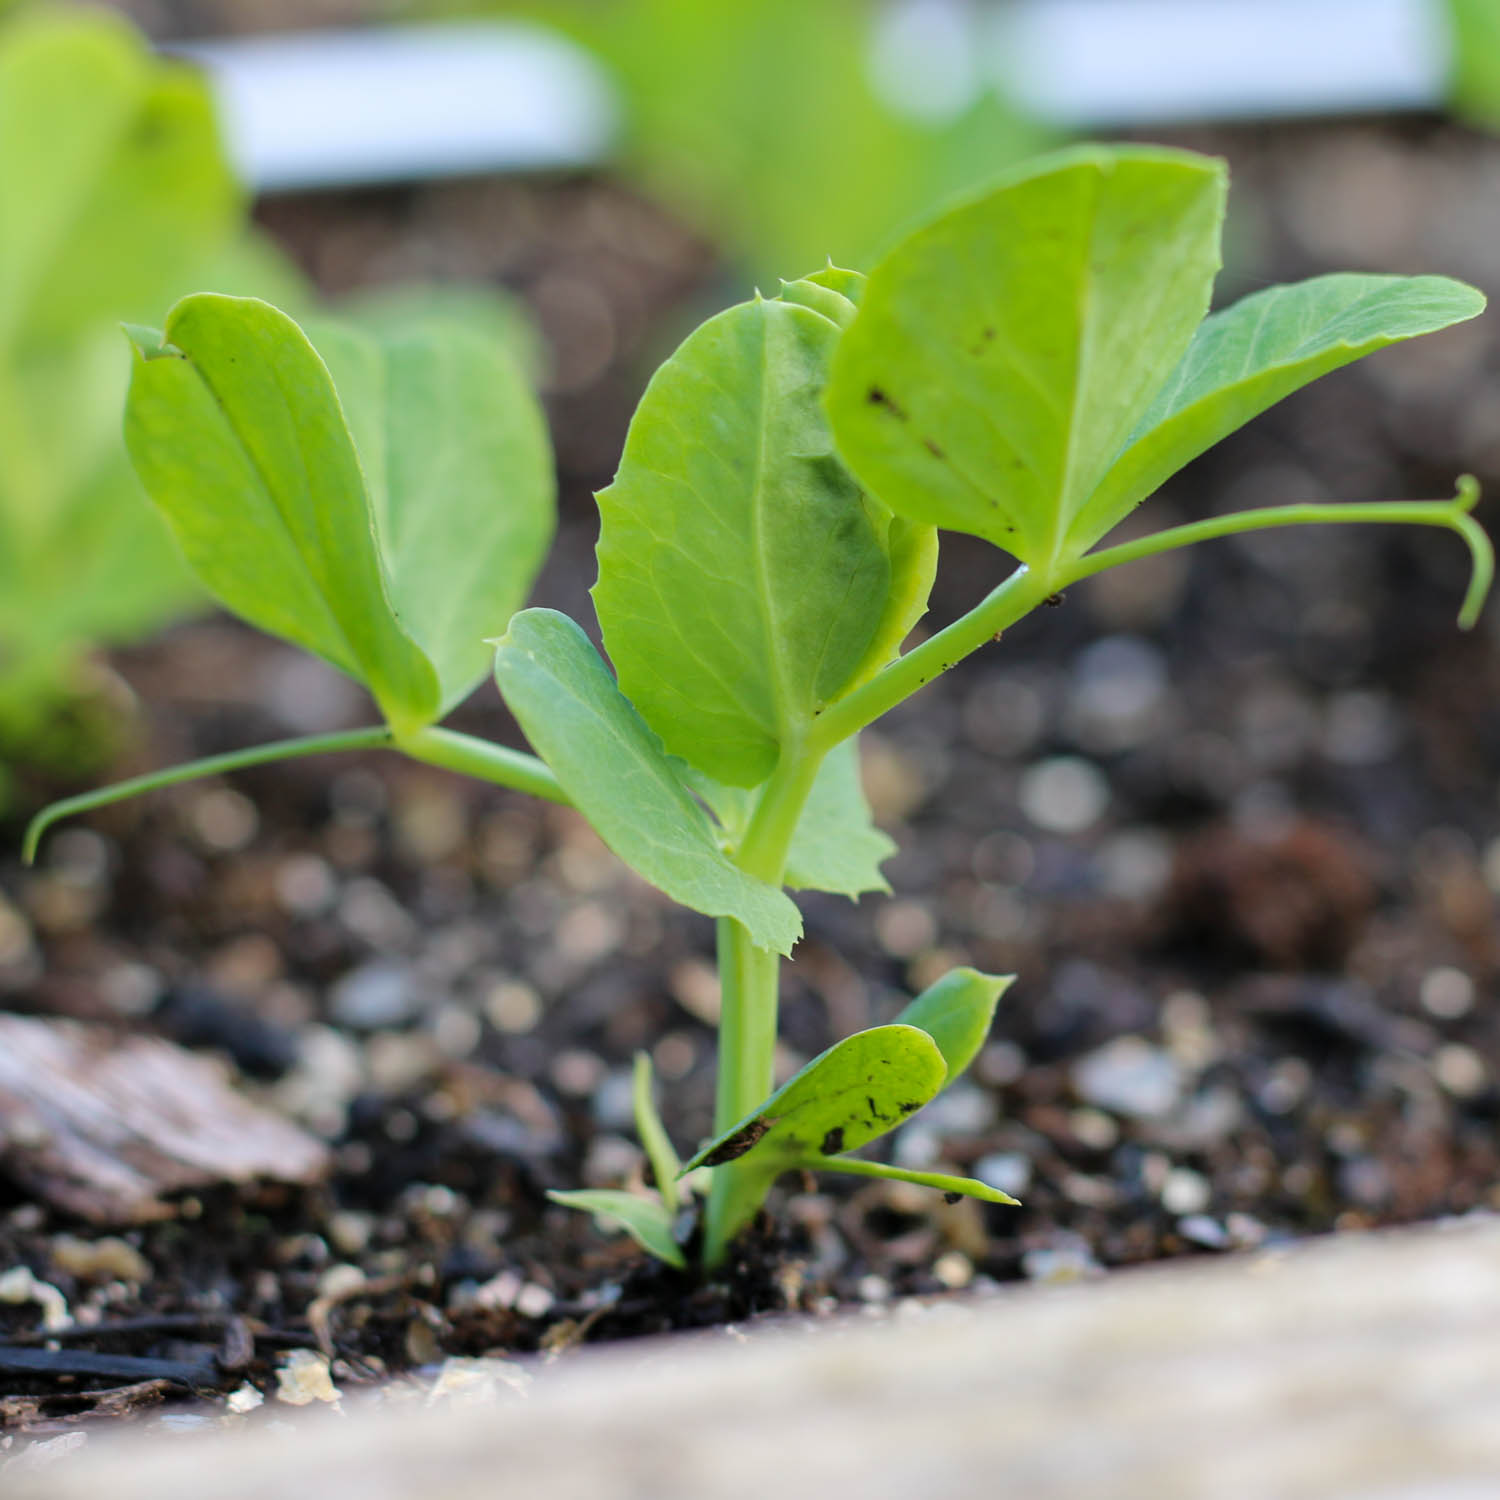
Level 4: Caring for your winter pea plants
Level 4: Caring for Winter pea plants
They will grow quite quickly over the next few weeks, but need very little attention from you. Nice and easy.

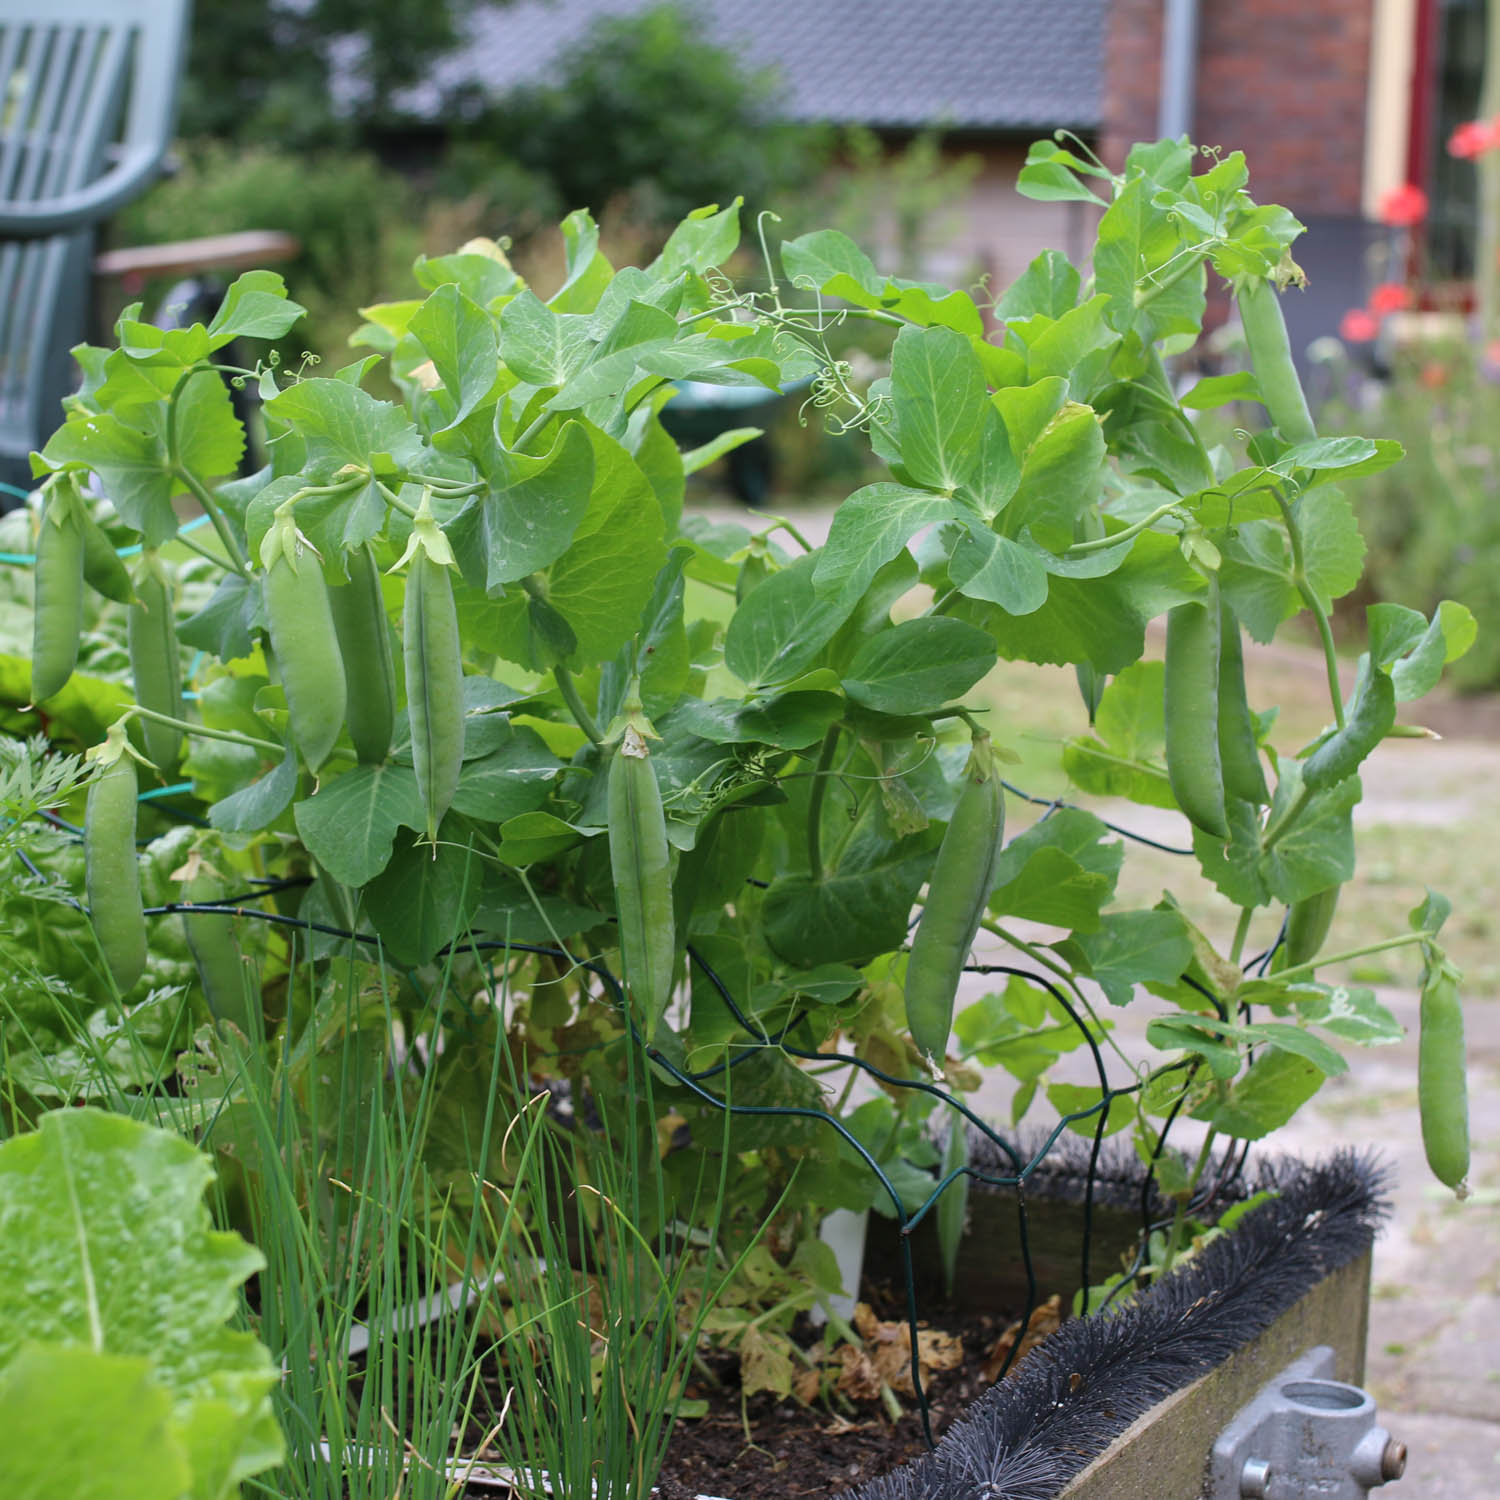
Level 5: Place a rack over your winter pea plants
Level 5: Place a support over the Winter peas
You can easily make one from garden mesh:

Another week or 2 later, the first flowers appear.
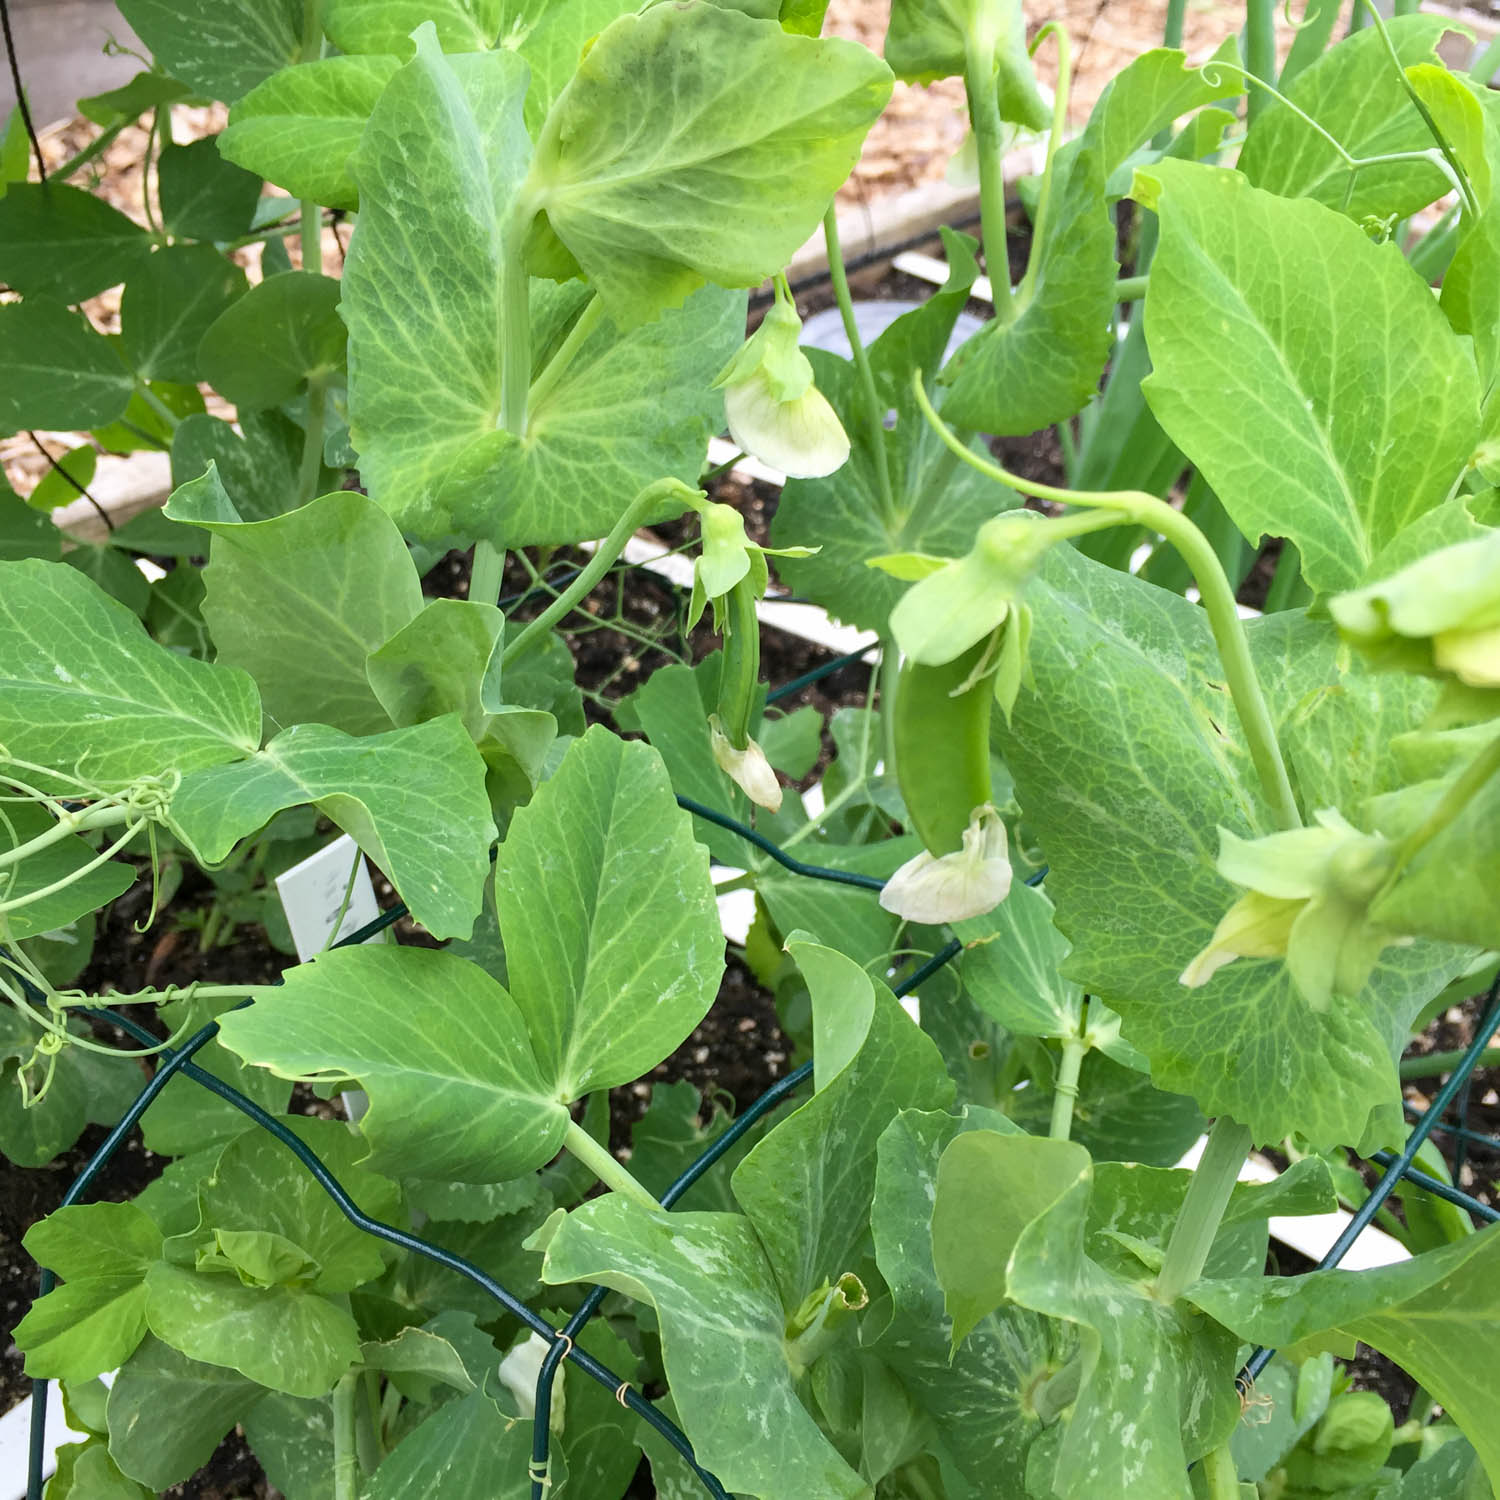
Level 6: Blossoming winter peas
Level 6: Flowering Winter peas

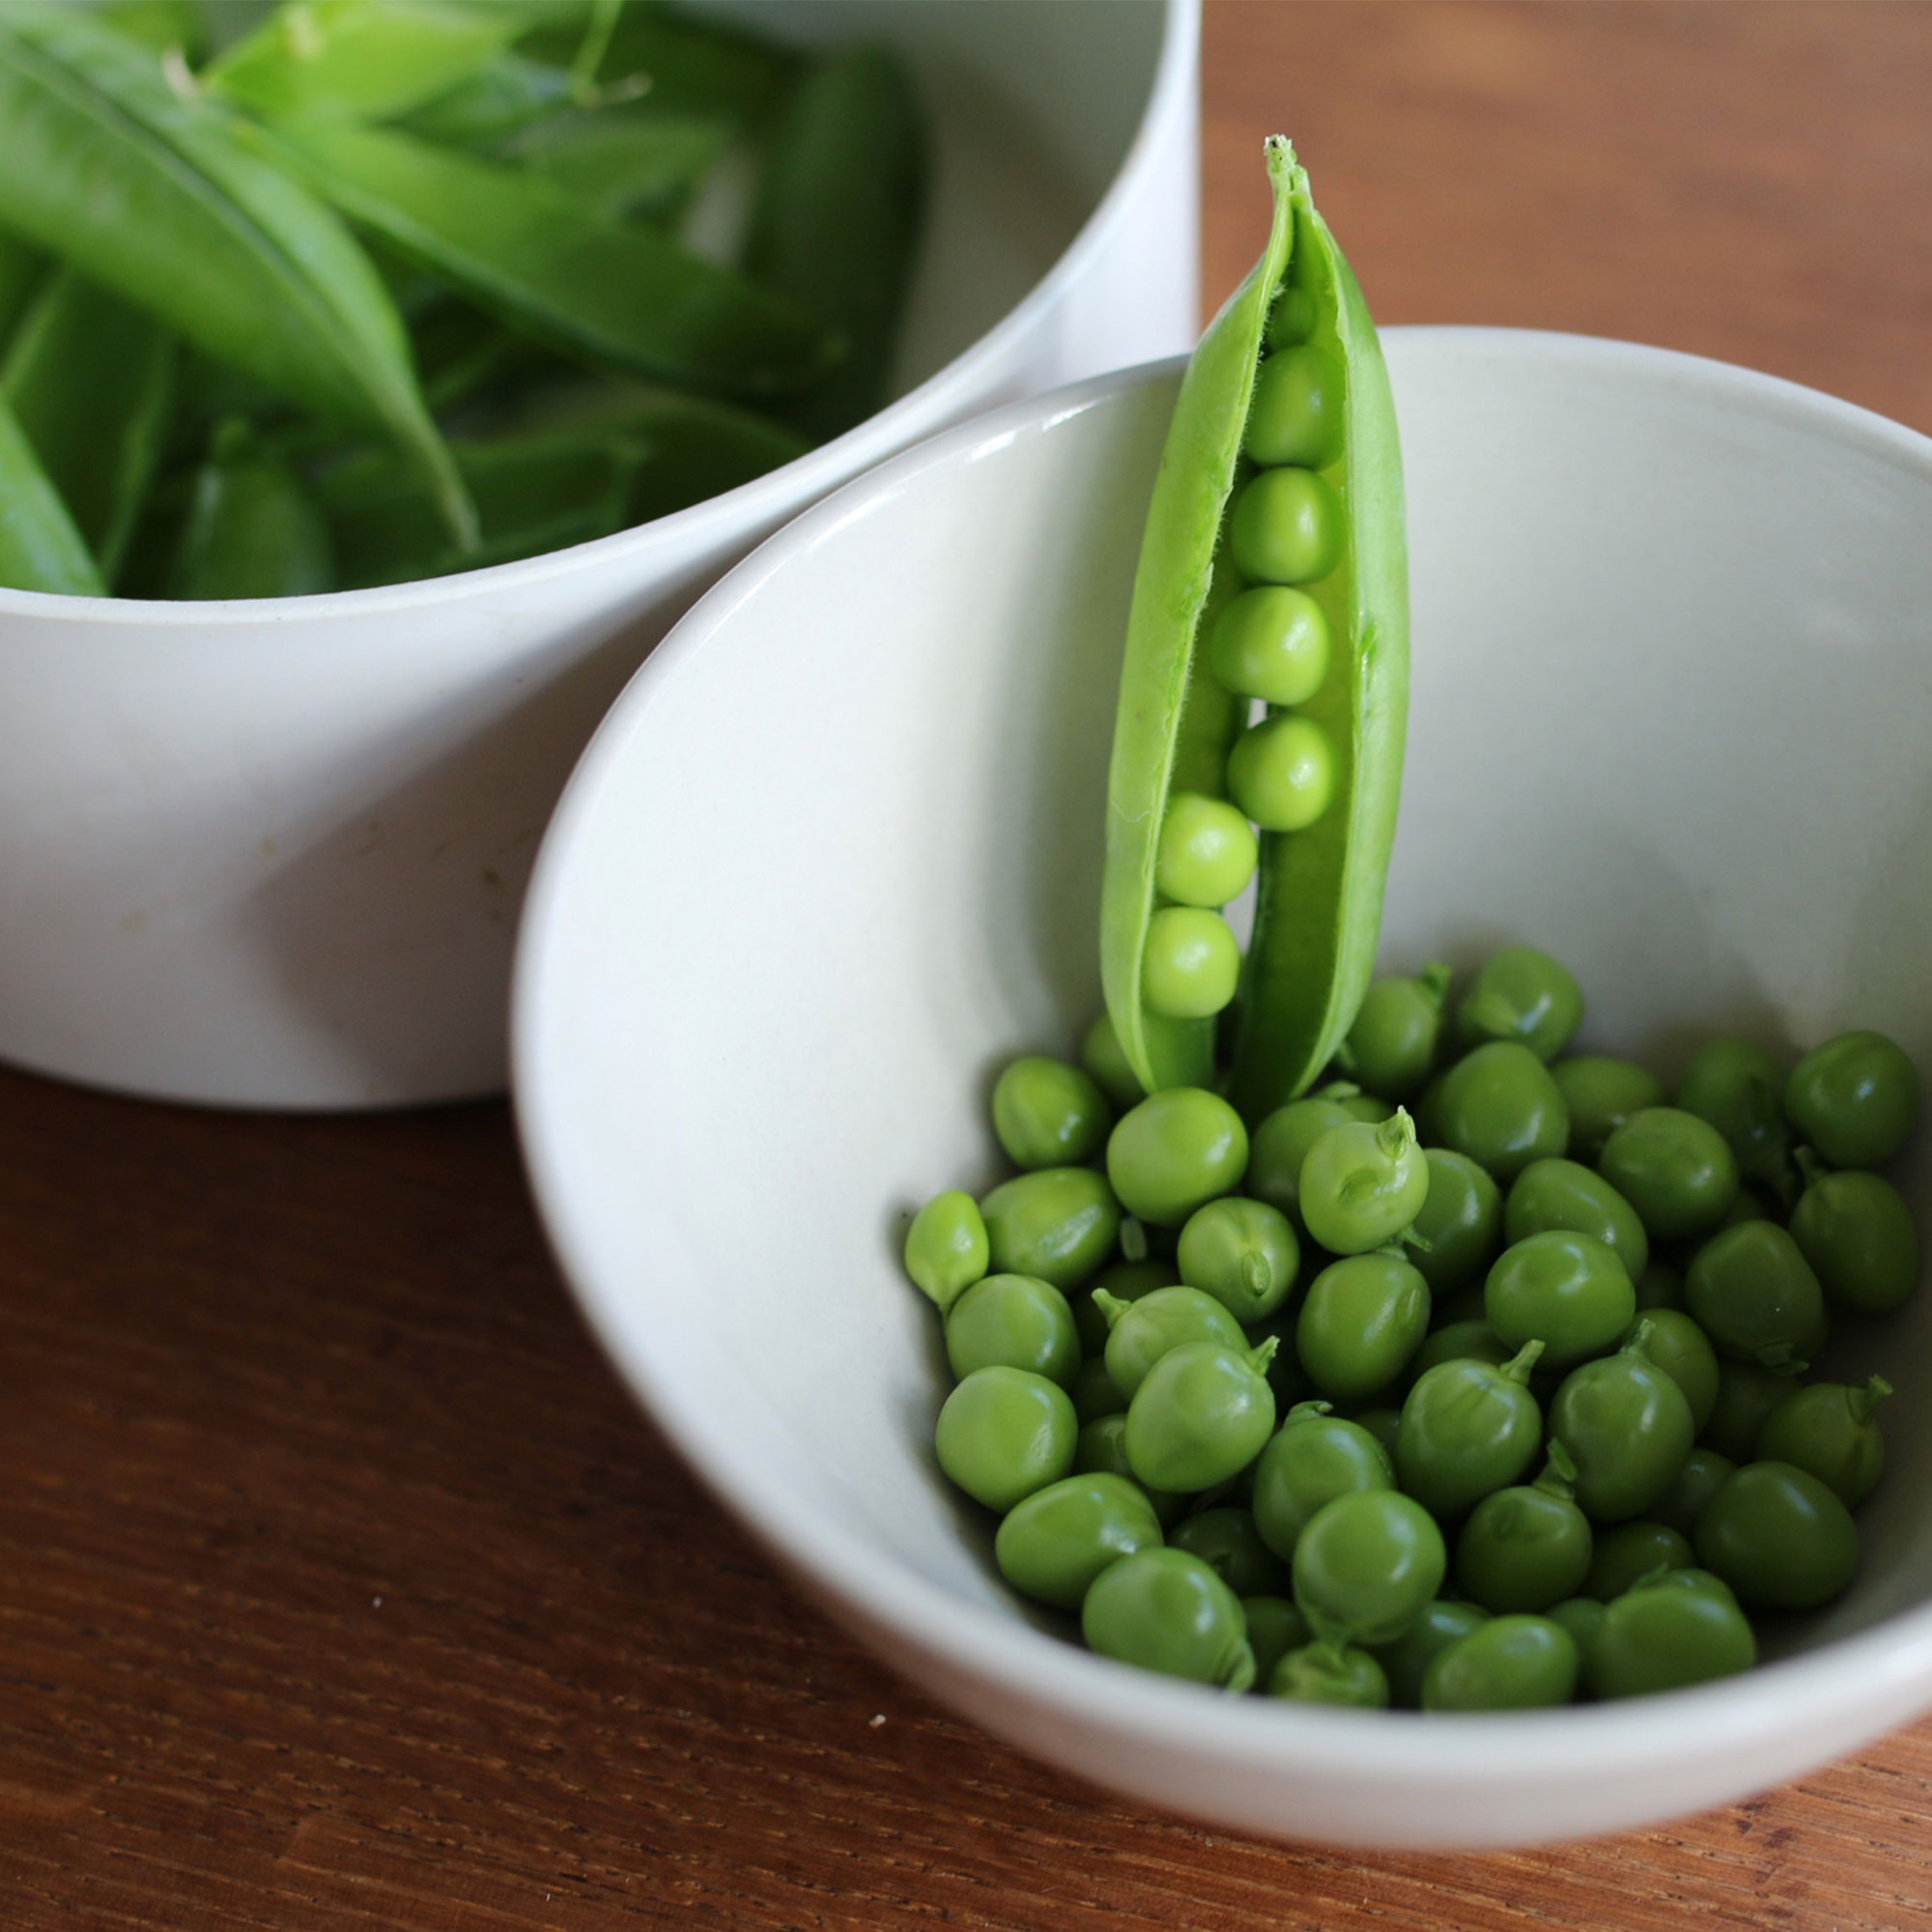
Level 7: Harvest the first winter peas
Level 7: Harvest the first Winter peas
At this stage, the leaves quickly begin to turn yellow and untidy. That is completely normal.

How do you cook winter peas?
How do you harvest and use Winter peas?
Cook or stew the peas briefly, add them to a stir-fry, or mix them into scrambled eggs with salmon. Delicious.
You are sure to find a good recipe in the Knowledge Base.

Compared to other vegetables, peas contain a reasonable amount of calories, but also extremely high levels of dietary fibers. These fibers are good for your digestion and provide a feeling of fullness. Additionally, they also contain a significant amount of protein, which is beneficial for vegans and vegetarians.
You eat them (briefly) cooked, never raw. Like other legumes, they contain some anti-nutrients that can be toxic in large quantities. Heating the peas eliminates this.

The last levels
The final levels
At the final level, clear the square or MM-mini and prepare it for the next vegetable.
Winter peas in autumn: harvest the shoots
If you do this in a cold frame (a vegetable garden box covered with a glass or plastic sheet) or protect them during the coldest weather with a MM-cover, you can continue to harvest fresh shoots throughout the winter.
The young shoots (or twigs, however you want to call them) are very tasty; they taste a bit like peas. Delicious to add raw to salads, include in a green smoothie, or stir-fry with.

So, what's stopping you from growing winter peas yourself?
