
Swipe

Start indoors • Trellis
Romano pole bean
Product information

Sowing in:
J
F
M
A
M
J
J
A
S
O
N
D
€4.69
In Stock
Free delivery from € 30 🇳🇱
Choose your own delivery date
Additional

Seed-starting kit
€19.95
Seed-starting kit is temporarily sold out. Want to know when it is available again? Click here.
Description
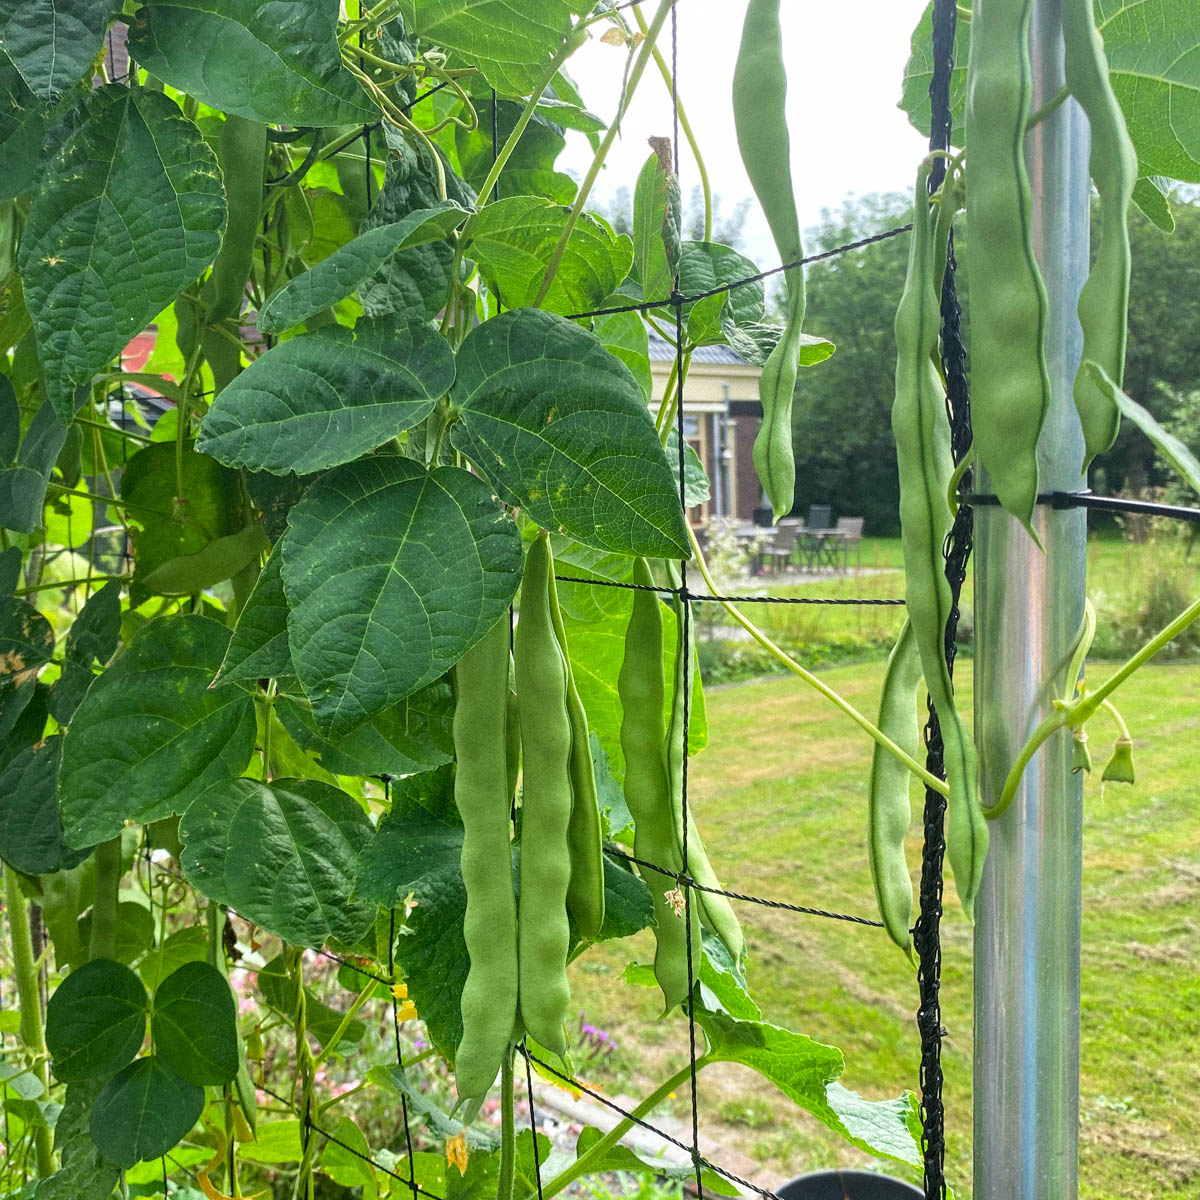
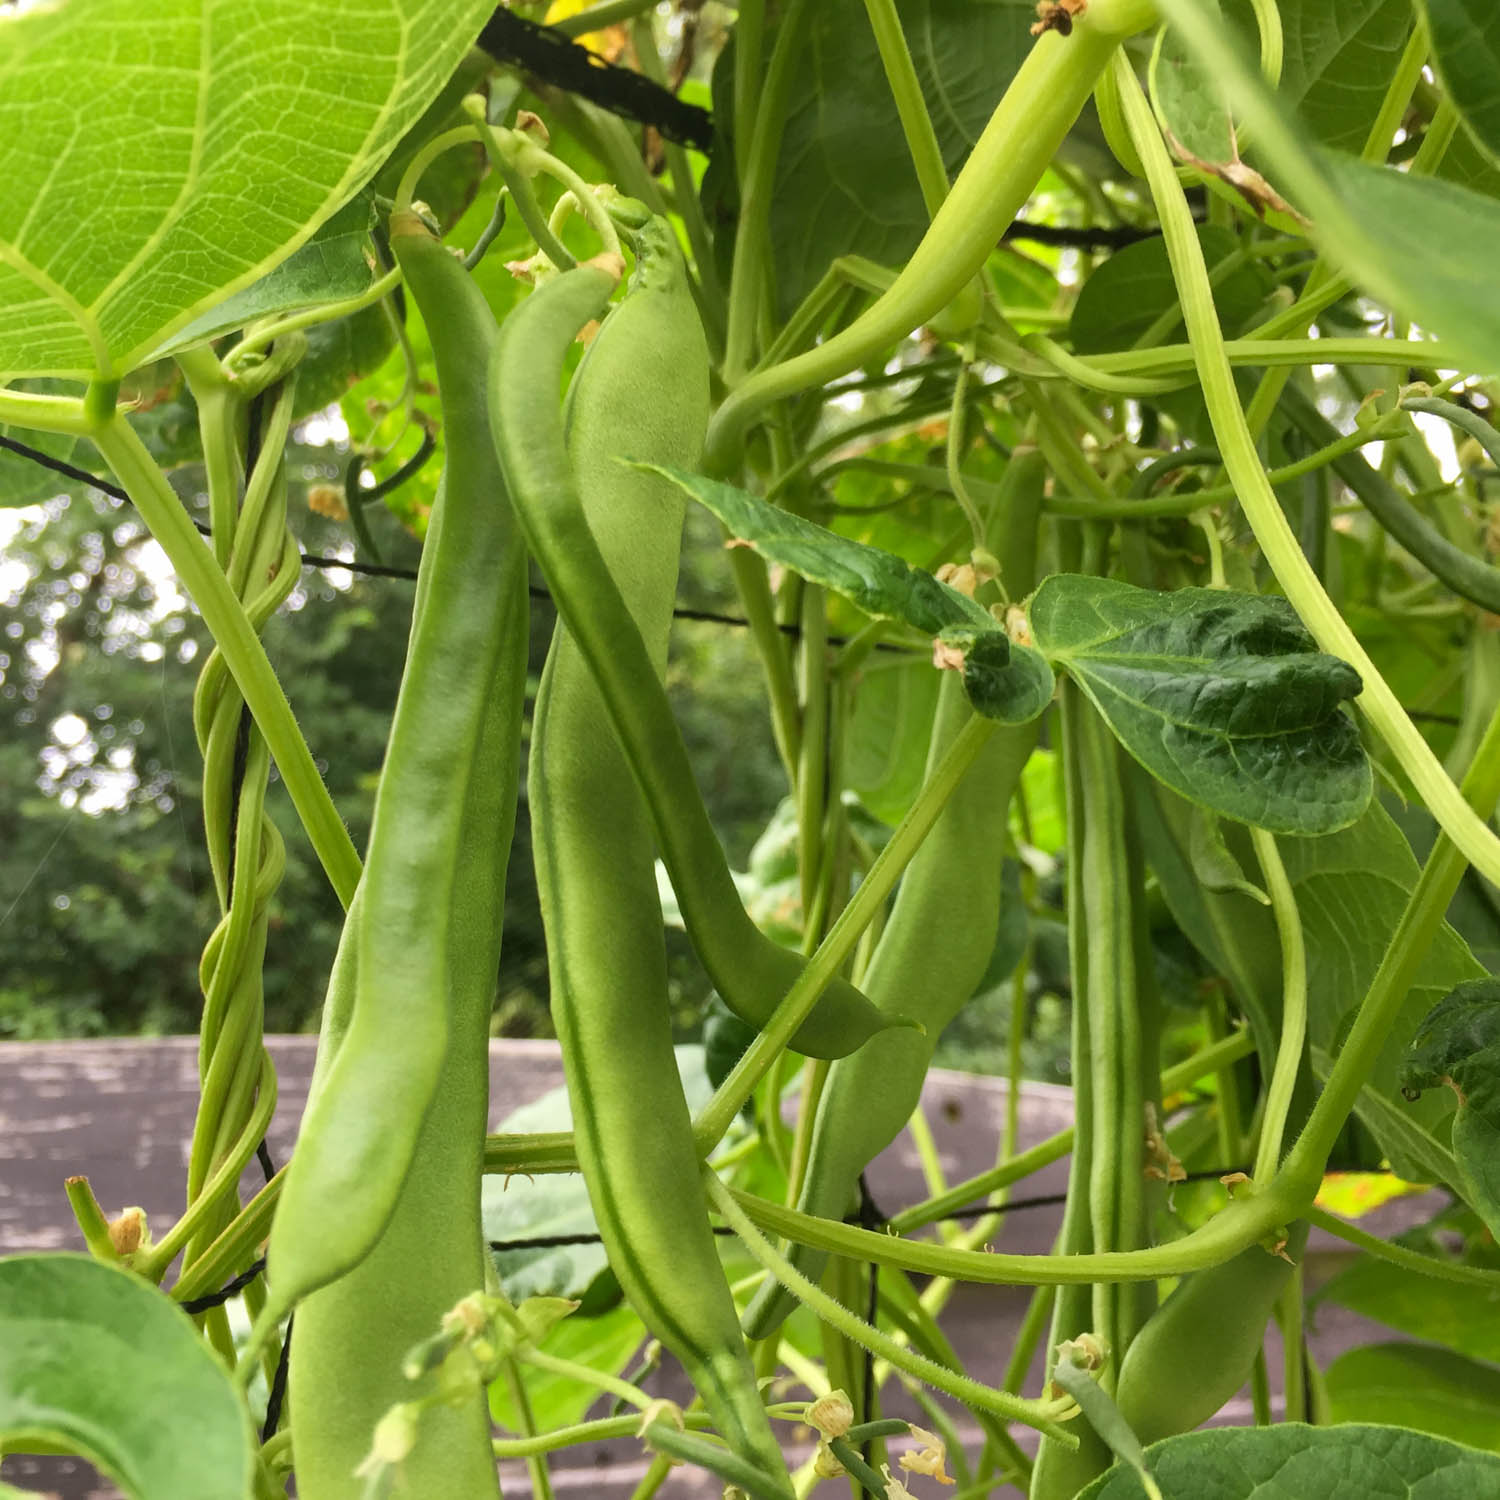
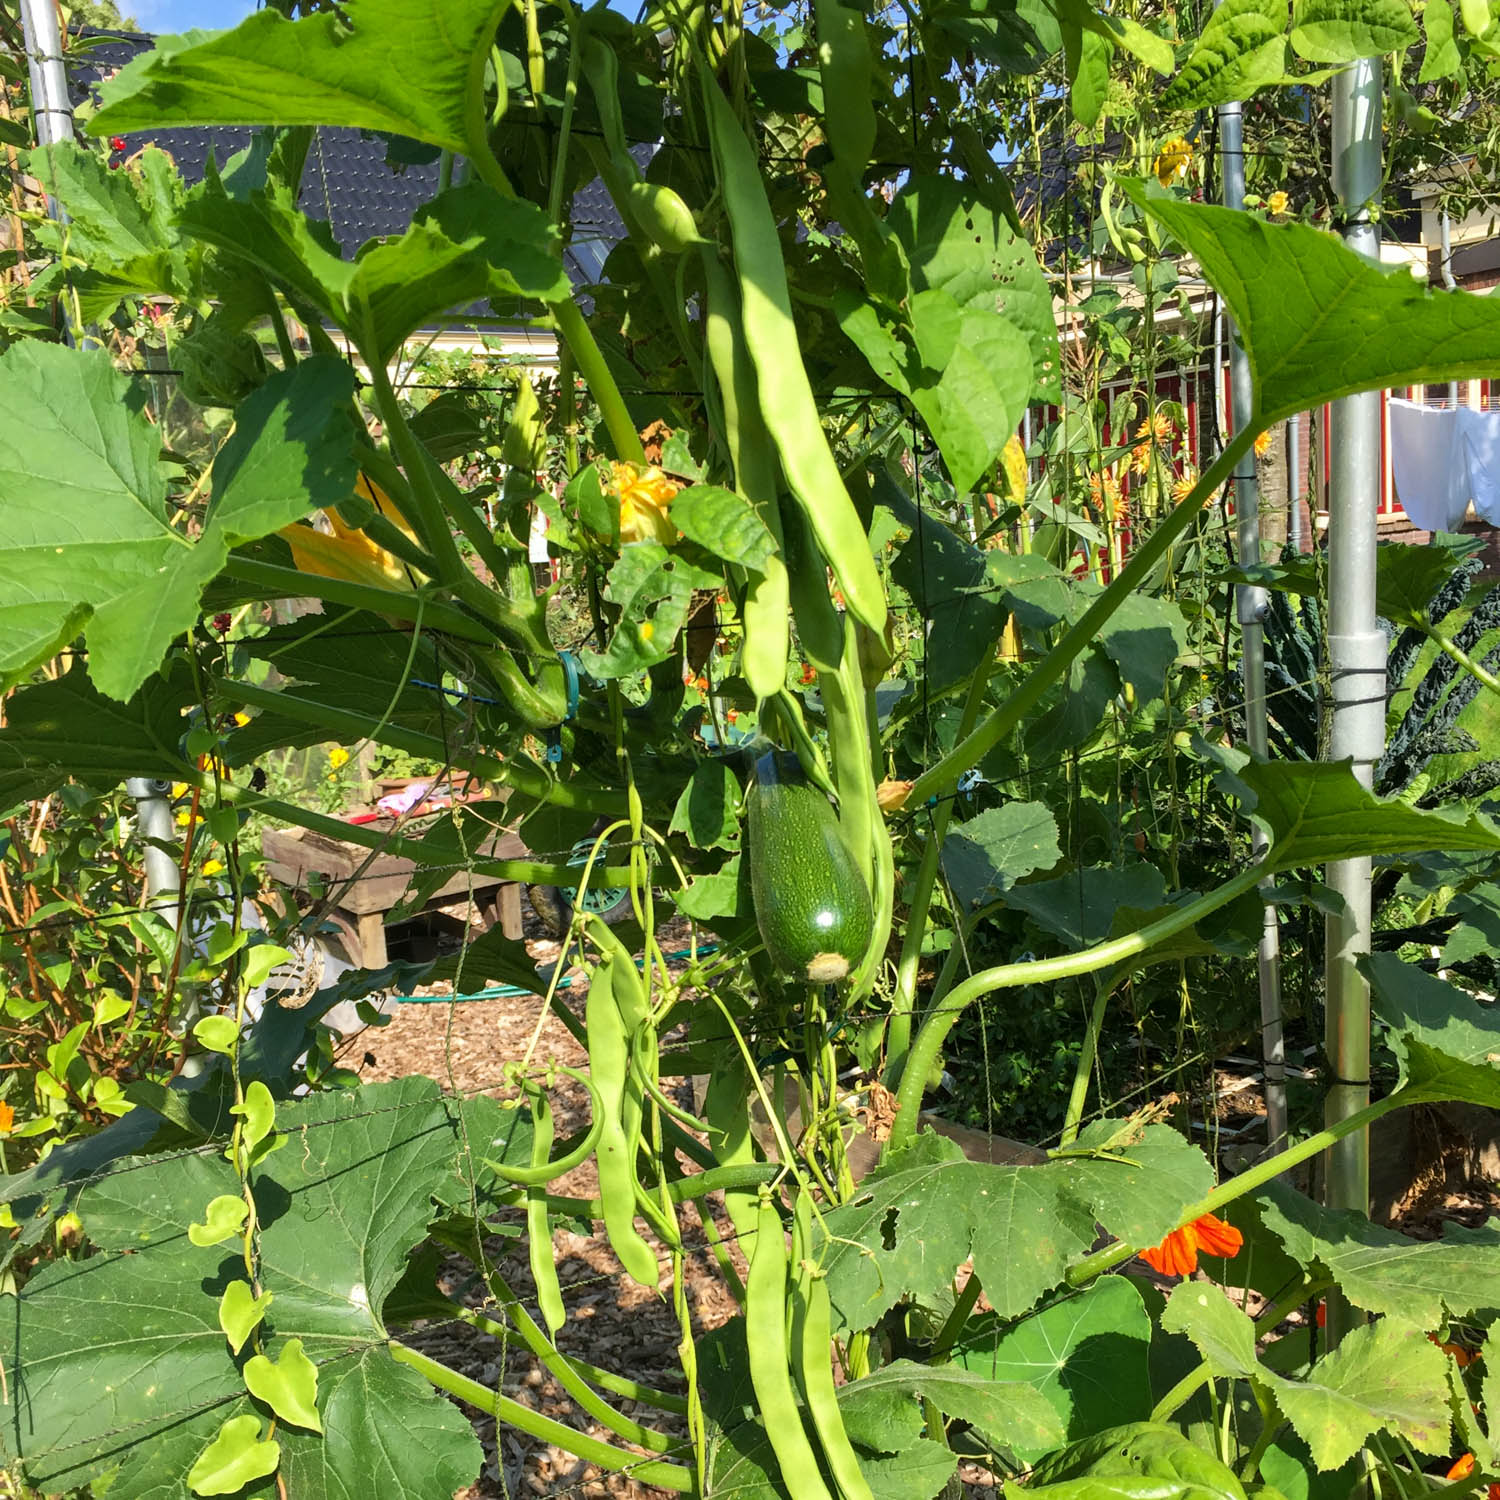
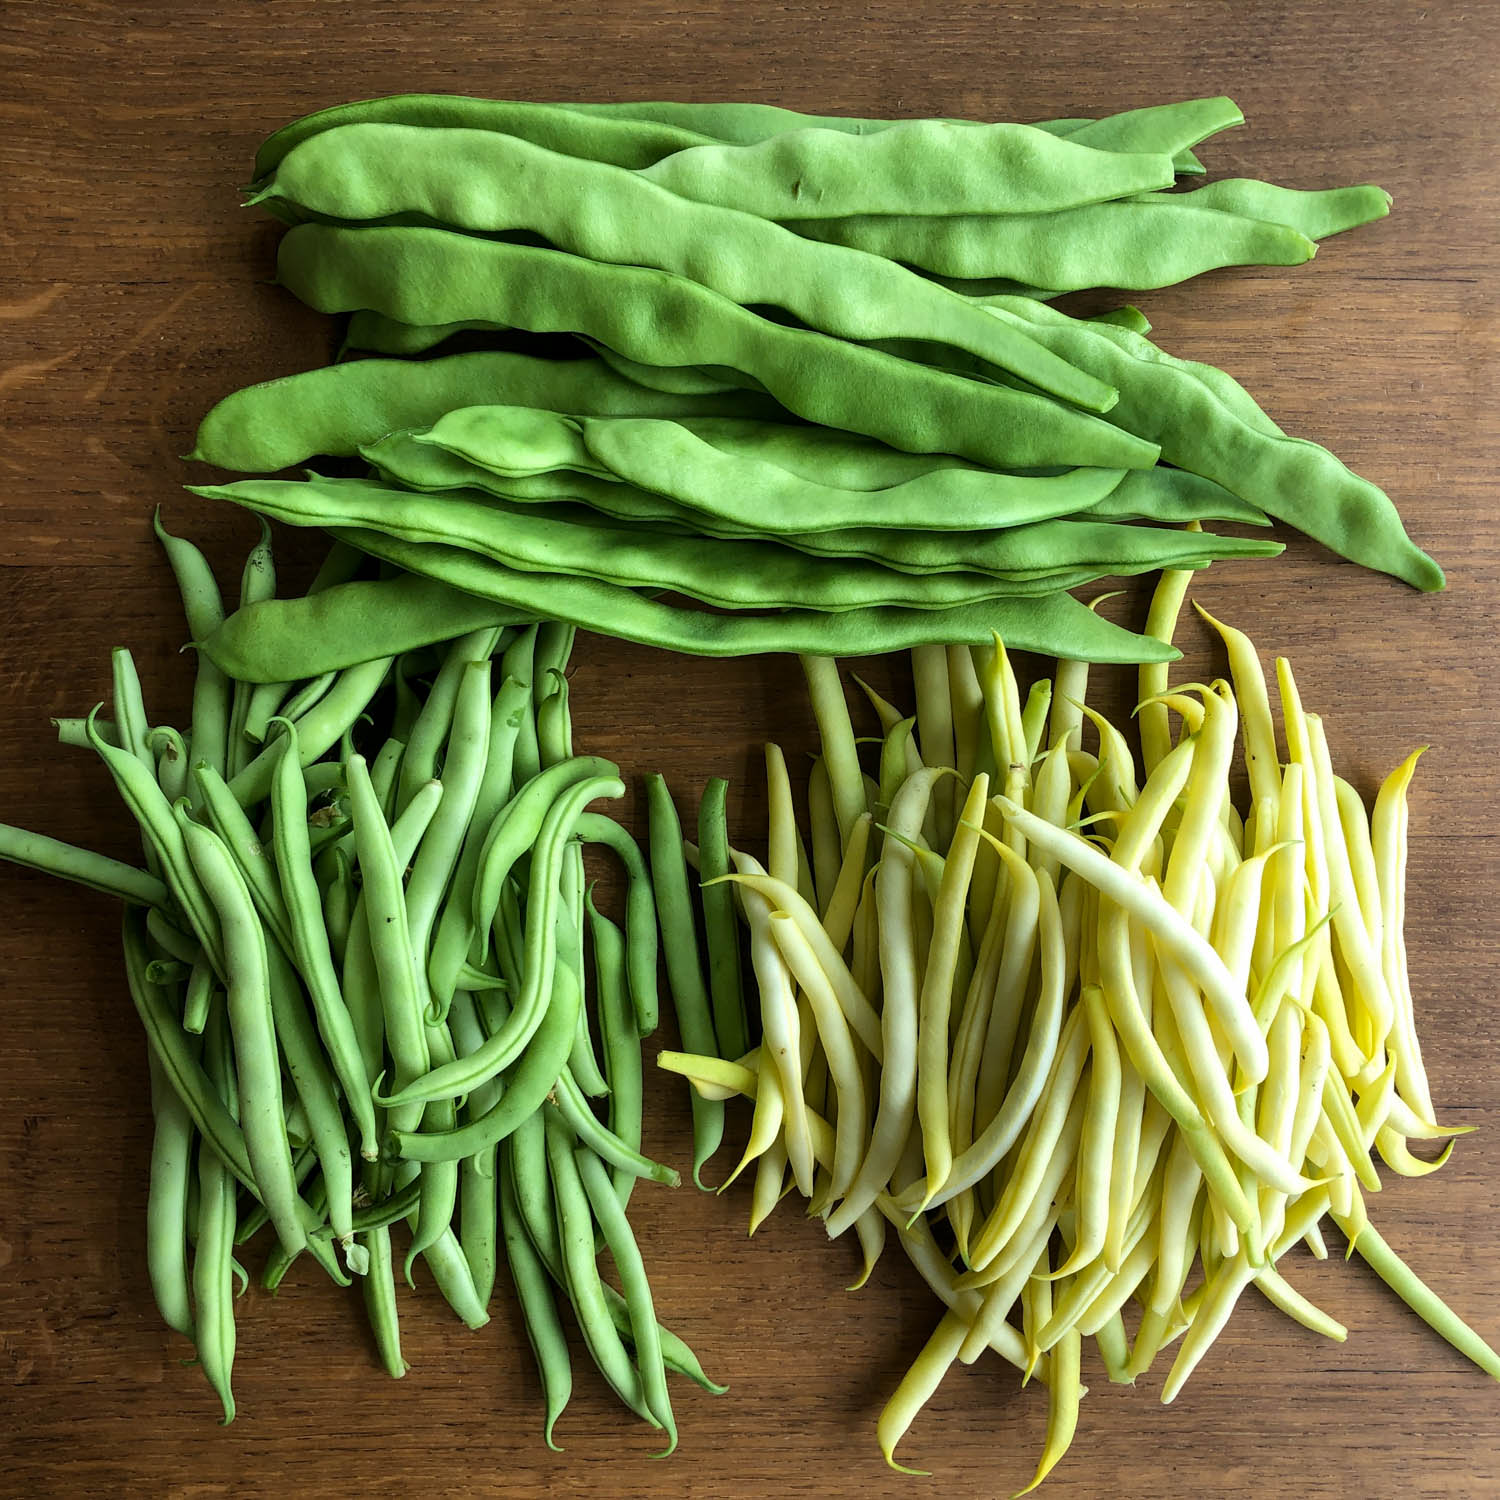
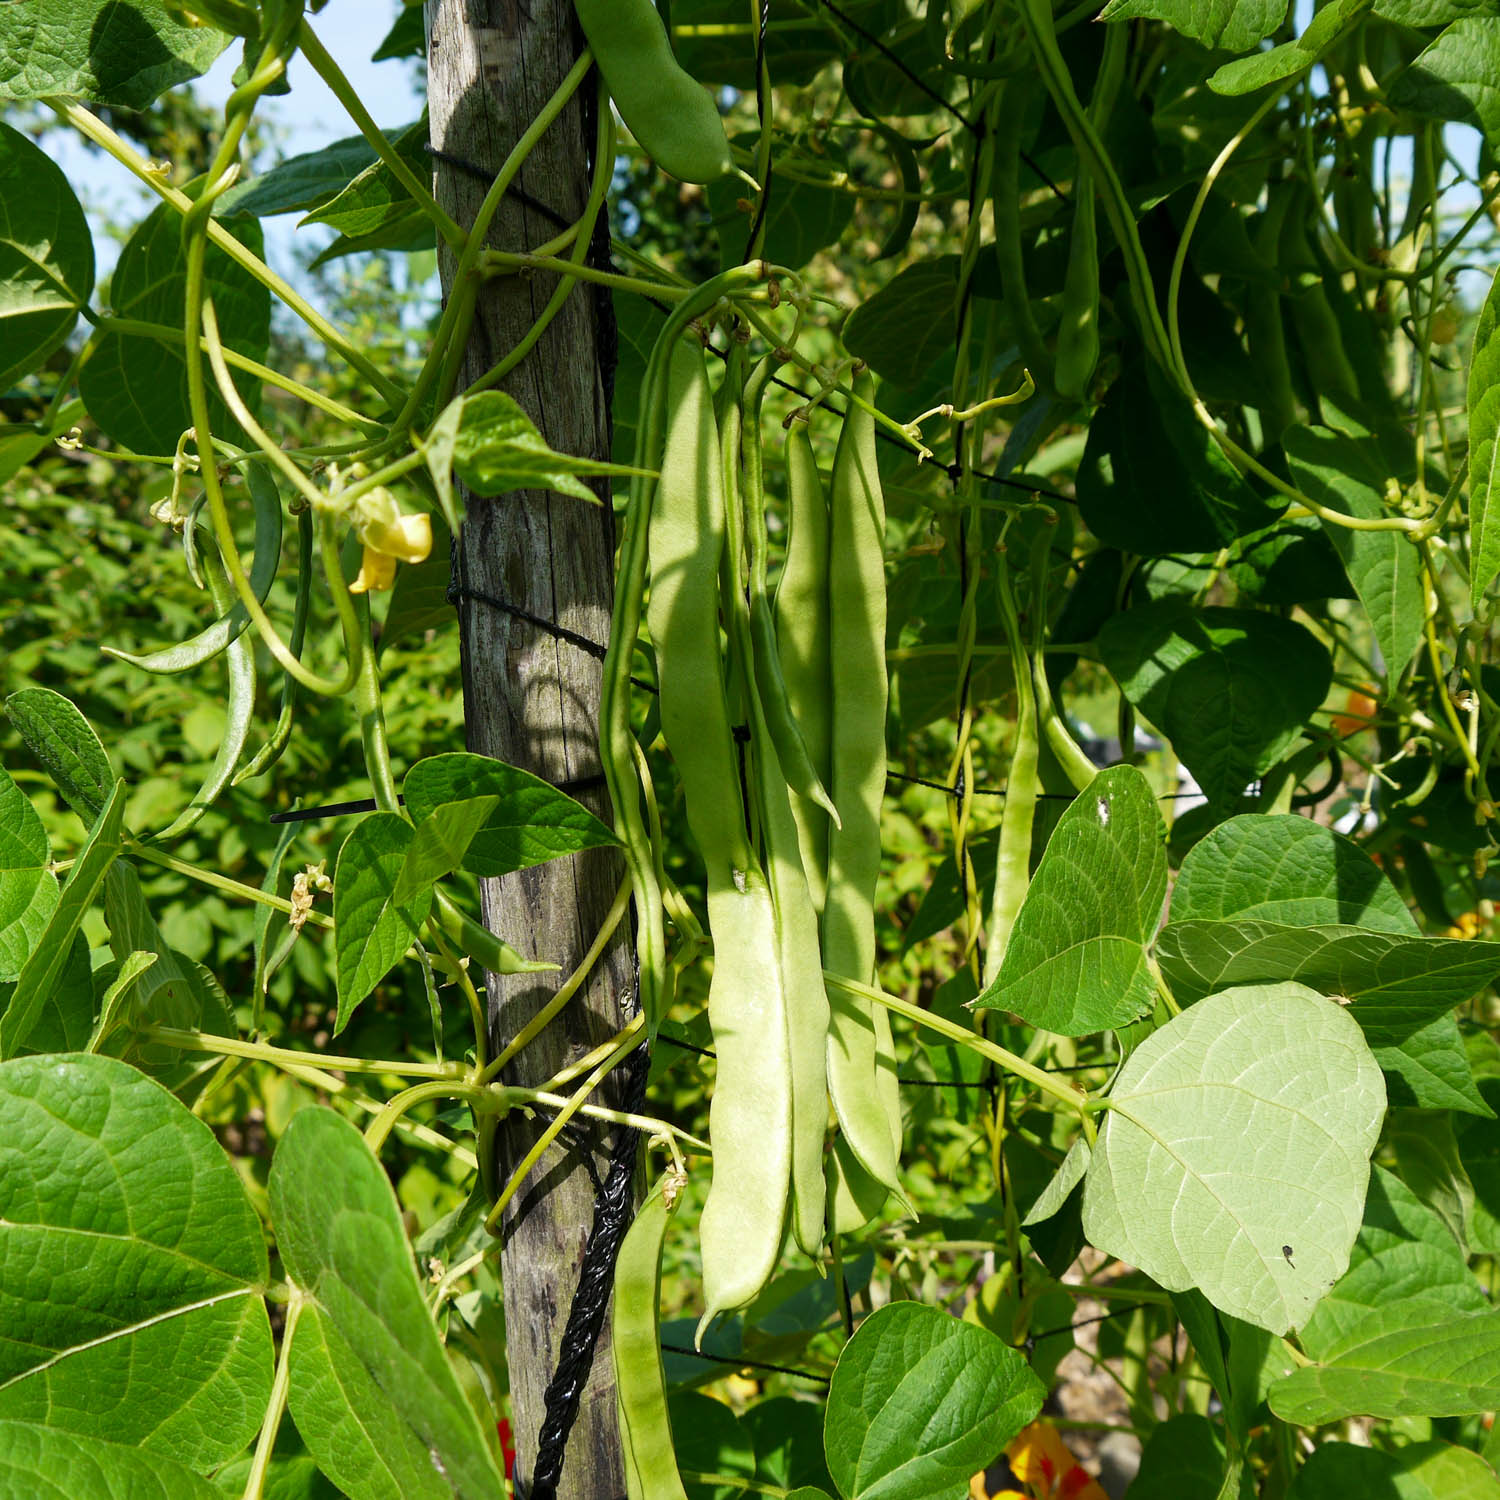
Delicious Romano beans with long, flat pods. This variety grows more than 2 metres tall, so it needs a trellis. The more you pick, the longer it crops.
Specifications
Sow: May and June
Height: 200 cm
Contents: approximately 50 seeds, enough for 5 squares
Height: 200 cm
Contents: approximately 50 seeds, enough for 5 squares
In the app
Sowing: 1 May - 30 June
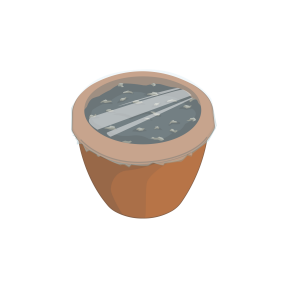
Level 1
started indoors
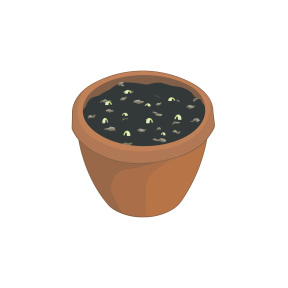
Level 2
seedlings emerging

Level 3
seedlings planted
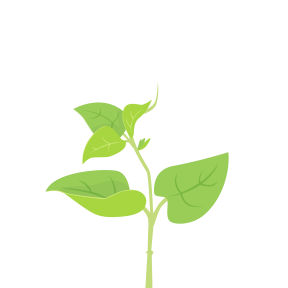
Level 4
small plants

Level 5
growing up the trellis

Level 6
first harvest

Level 7
first harvest

Level 8
harvesting continues
- Currently only shipping to the Netherlands and Belgium
- Choose your preferred delivery date
- Sent by PostNL or Transmission
- Track & Trace in your inbox
- The app helps you with almost everything you do in your vegetable garden: sowing, tending, and harvesting.
- If something goes wrong, the app tells you what steps to take.
- If that doesn’t work, you can ask us for advice.
- If that still doesn’t help, we’ll look for other solutions together. Until we get it right.
More about our Romano pole bean seeds
This variety grows more than 2 metres tall and produces a huge harvest of long, juicy Romano beans. The more often you pick them, the longer the harvest continues.
- Variety: Helda
- Family: legumes
- Plants per square: 8 beside the trellis
- Height: 200 cm or more
- Sowing time: May and June
- Sowing depth: 2 to 3 cm
- Germination: 7 to 10 days at 21°C
- Time to harvest: 9 to 10 weeks
- Sunlight: full sun
- Packet contents: approximately 50 seeds, enough for 5 squares

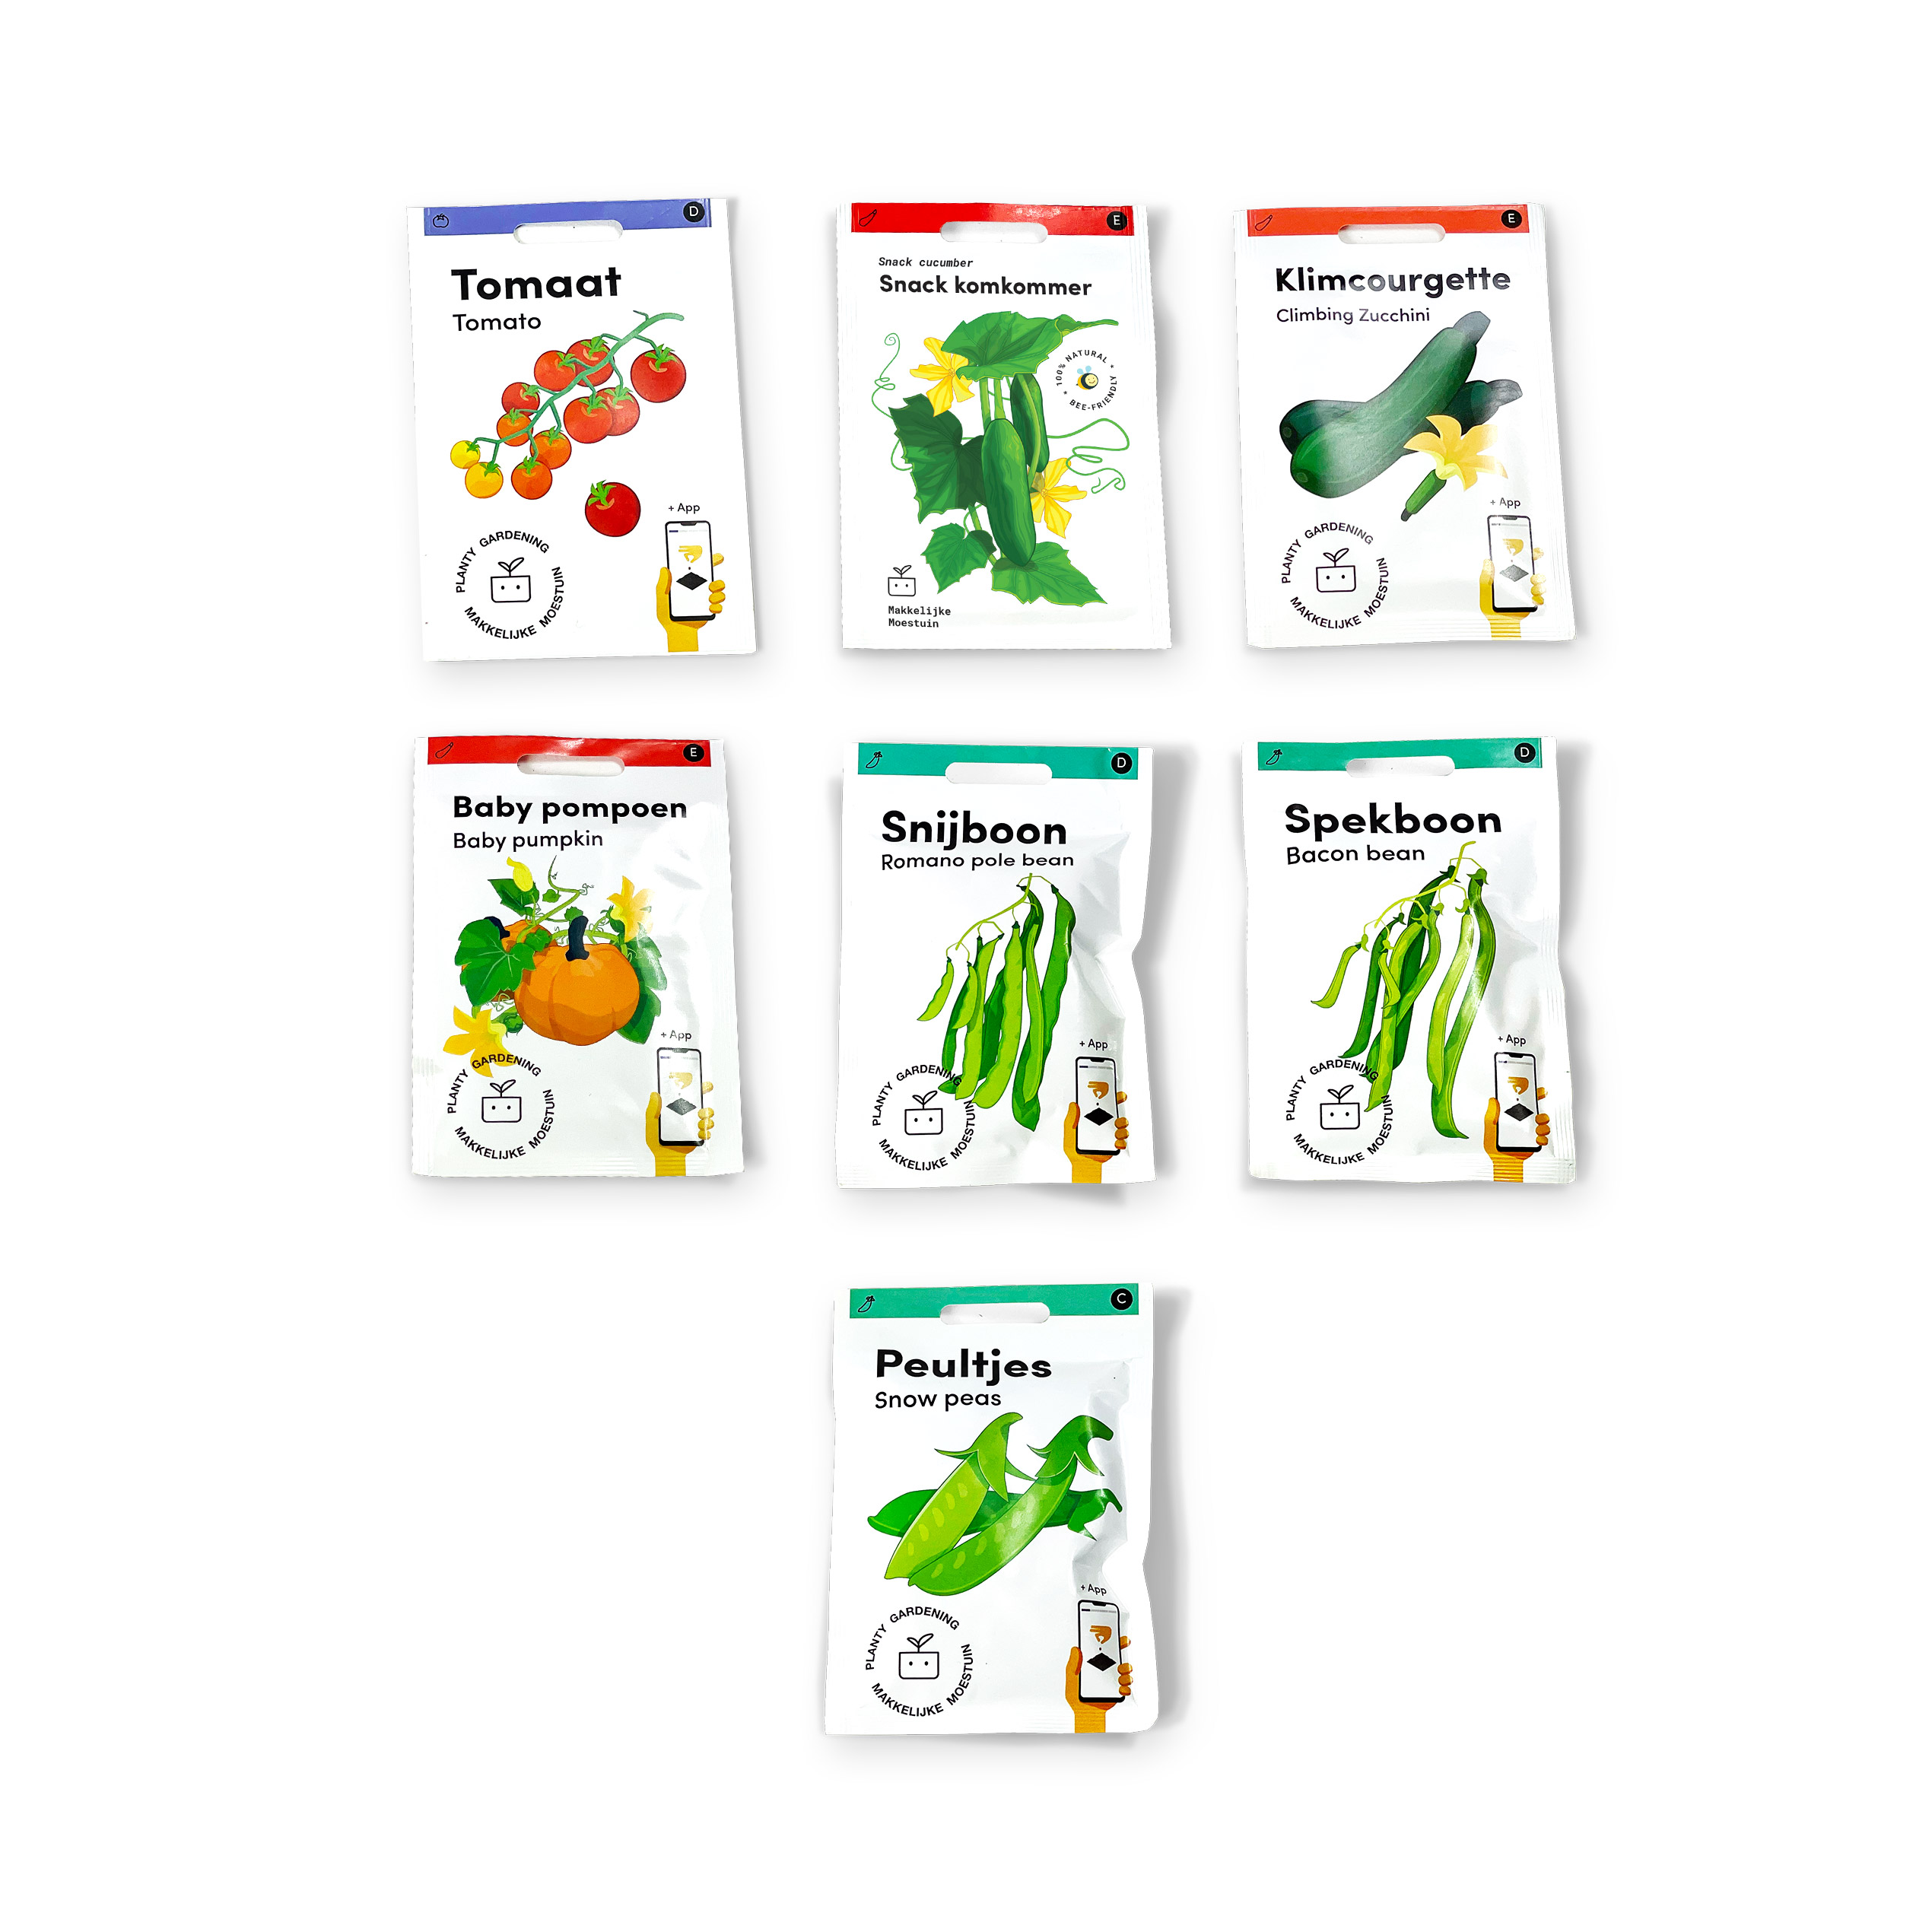
You will also find these Romano pole beans in the Climbers seed pack:
What do you need to grow Romano pole beans?
In addition to the seeds, you will need the following to start them indoors:
- MM seed-starting mix or MM coconut seed-starting mix
- an MM-Airpot (the larger size)
- clear cling film (not needed with coconut mix)
Once most seedlings have emerged, you can plant them outside. You will need:
- one 30 × 30 cm square or an MM-mini
- Makkelijke Moestuinmix
- a spot that receives at least 8 hours of sunlight a day
- MM plant food
- a trellis, or another support for the beans to climb

How do you sow and grow Romano pole beans?
These Romano pole beans are included in the free Makkelijke Moestuin app. It explains step by step how to sow, grow and harvest them.
Every vegetable passes through a series of stages, which we call levels. The app tells you exactly what to do at each level and regularly asks you to check whether your plants are ready for the next one.
So you do not need to know how to grow Romano pole beans successfully before you begin. But if you would like to read ahead, you can do so below.
Every vegetable passes through a series of stages, which we call levels. The app tells you exactly what to do at each level and regularly asks you to check whether your plants are ready for the next one.
So you do not need to know how to grow Romano pole beans successfully before you begin. But if you would like to read ahead, you can do so below.
Levels 1 and 2: Starting Romano pole beans indoors
Beans need plenty of warmth to germinate. Even slightly cold or rainy weather can prevent them from emerging or make the seedlings very vulnerable. That is why you let them germinate indoors first.
- fill a large MM-Airpot with damp MM seed-starting mix or MM coconut seed-starting mix
- sow 10 beans about 2 to 3 cm deep
- cover the pot with cling film so the mix does not dry out (not needed with coconut mix)
As soon as you see the first seedlings, usually after 5 to 7 days, remove the film and place the pot in a bright spot.

Level 3: Planting Romano pole beans in your raised bed
Once most seedlings are clearly visible, move them to a square beside the trellis in your raised bed:
- make 2 furrows about 5 cm deep, one in front of and one behind the trellis net
- use a spoon to lift the seedlings from the pot
- place the 4 strongest seedlings in each furrow
- carefully close the furrows
Depending on the weather, the plants should be growing nicely after about a week.
If it is still very cold, cover them with a protective cover or some clear plastic containers. This protects them from birds and slugs and helps them grow more quickly.
If it is still very cold, cover them with a protective cover or some clear plastic containers. This protects them from birds and slugs and helps them grow more quickly.

Level 4: Climbing
At this level, your seedlings have become small plants and reach the trellis net.
You may need to help them find it at first, but after that they will wind their way up on their own:
You may need to help them find it at first, but after that they will wind their way up on their own:

Level 5: Flowering
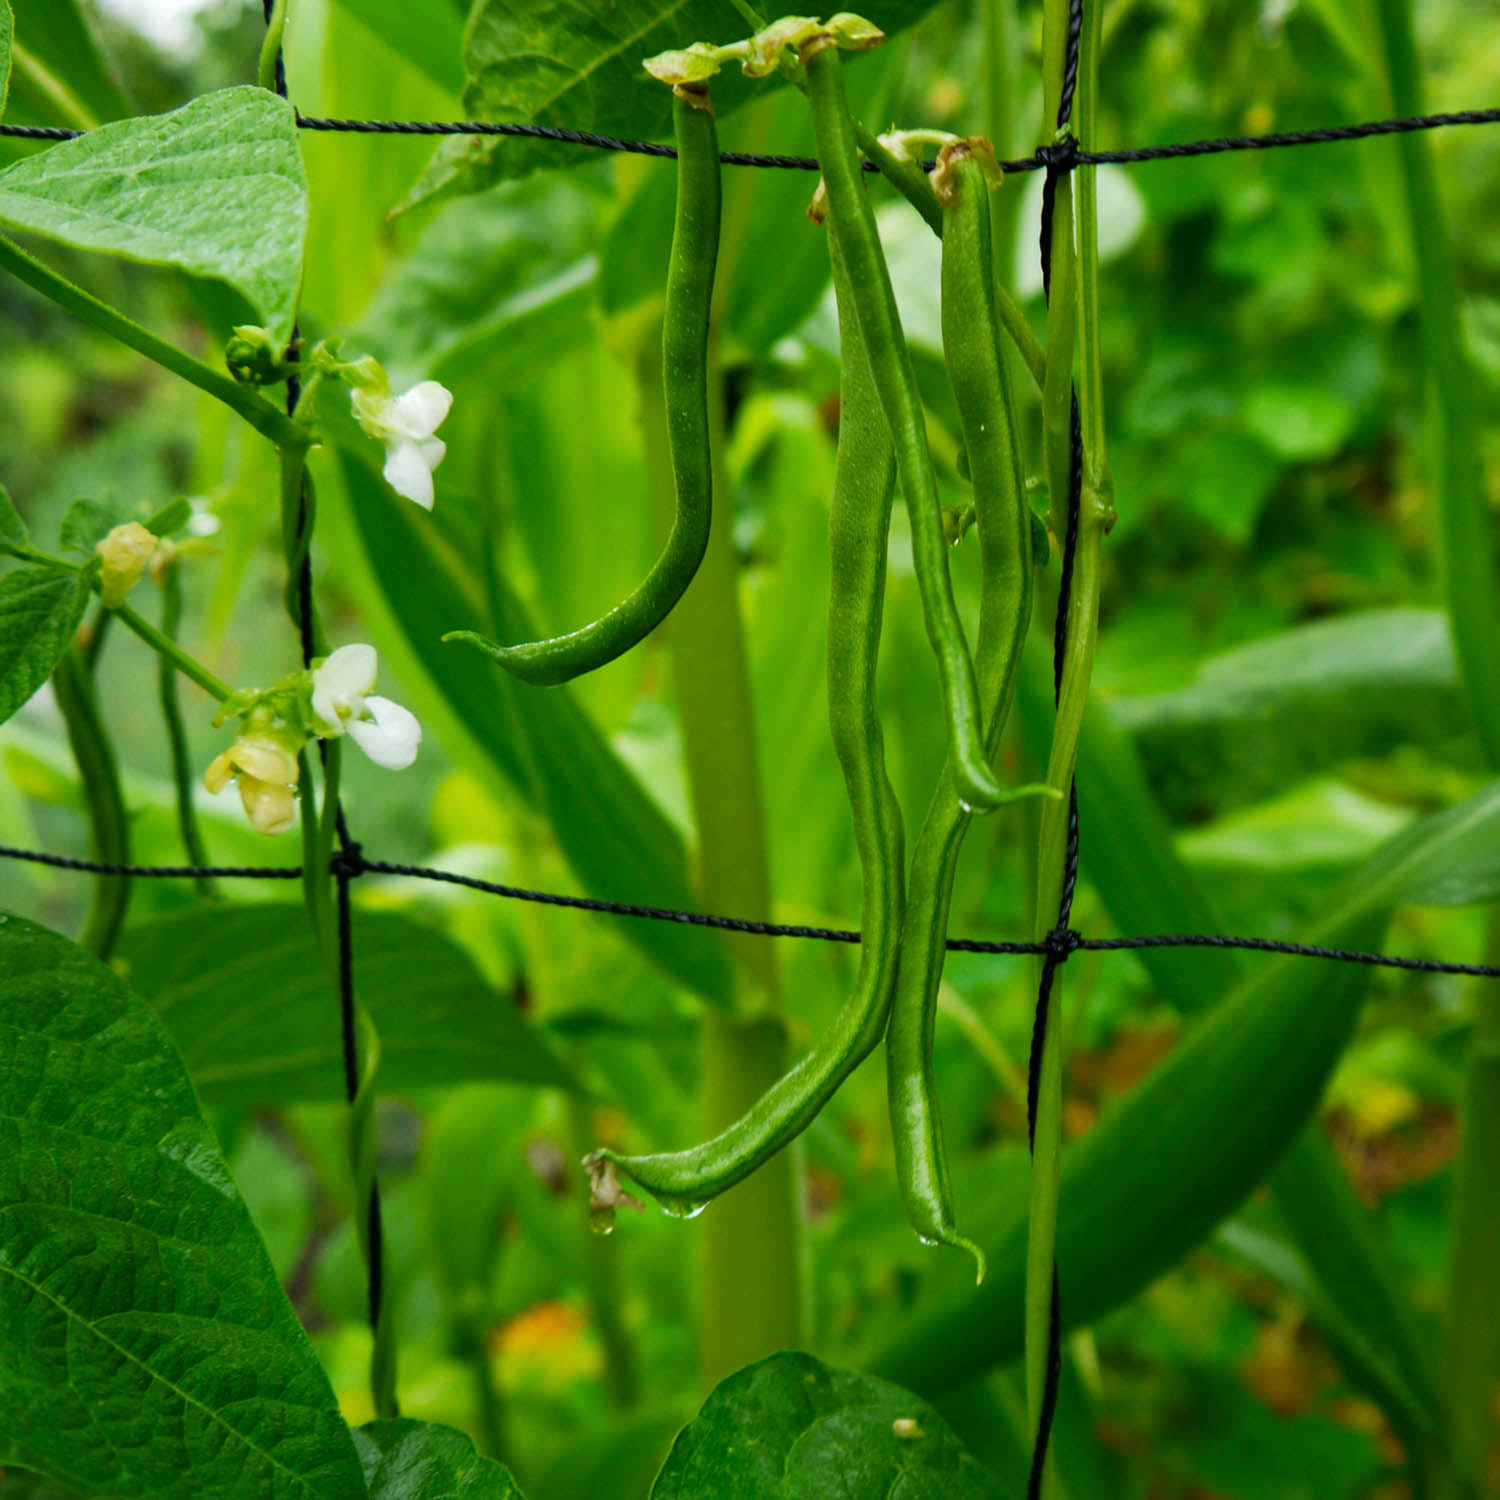
At this level, you will see more and more flowers as well as the first beans.
They are still very small at first, but will soon become the beans you can harvest.
They are still very small at first, but will soon become the beans you can harvest.

Levels 6 and 7: Harvesting
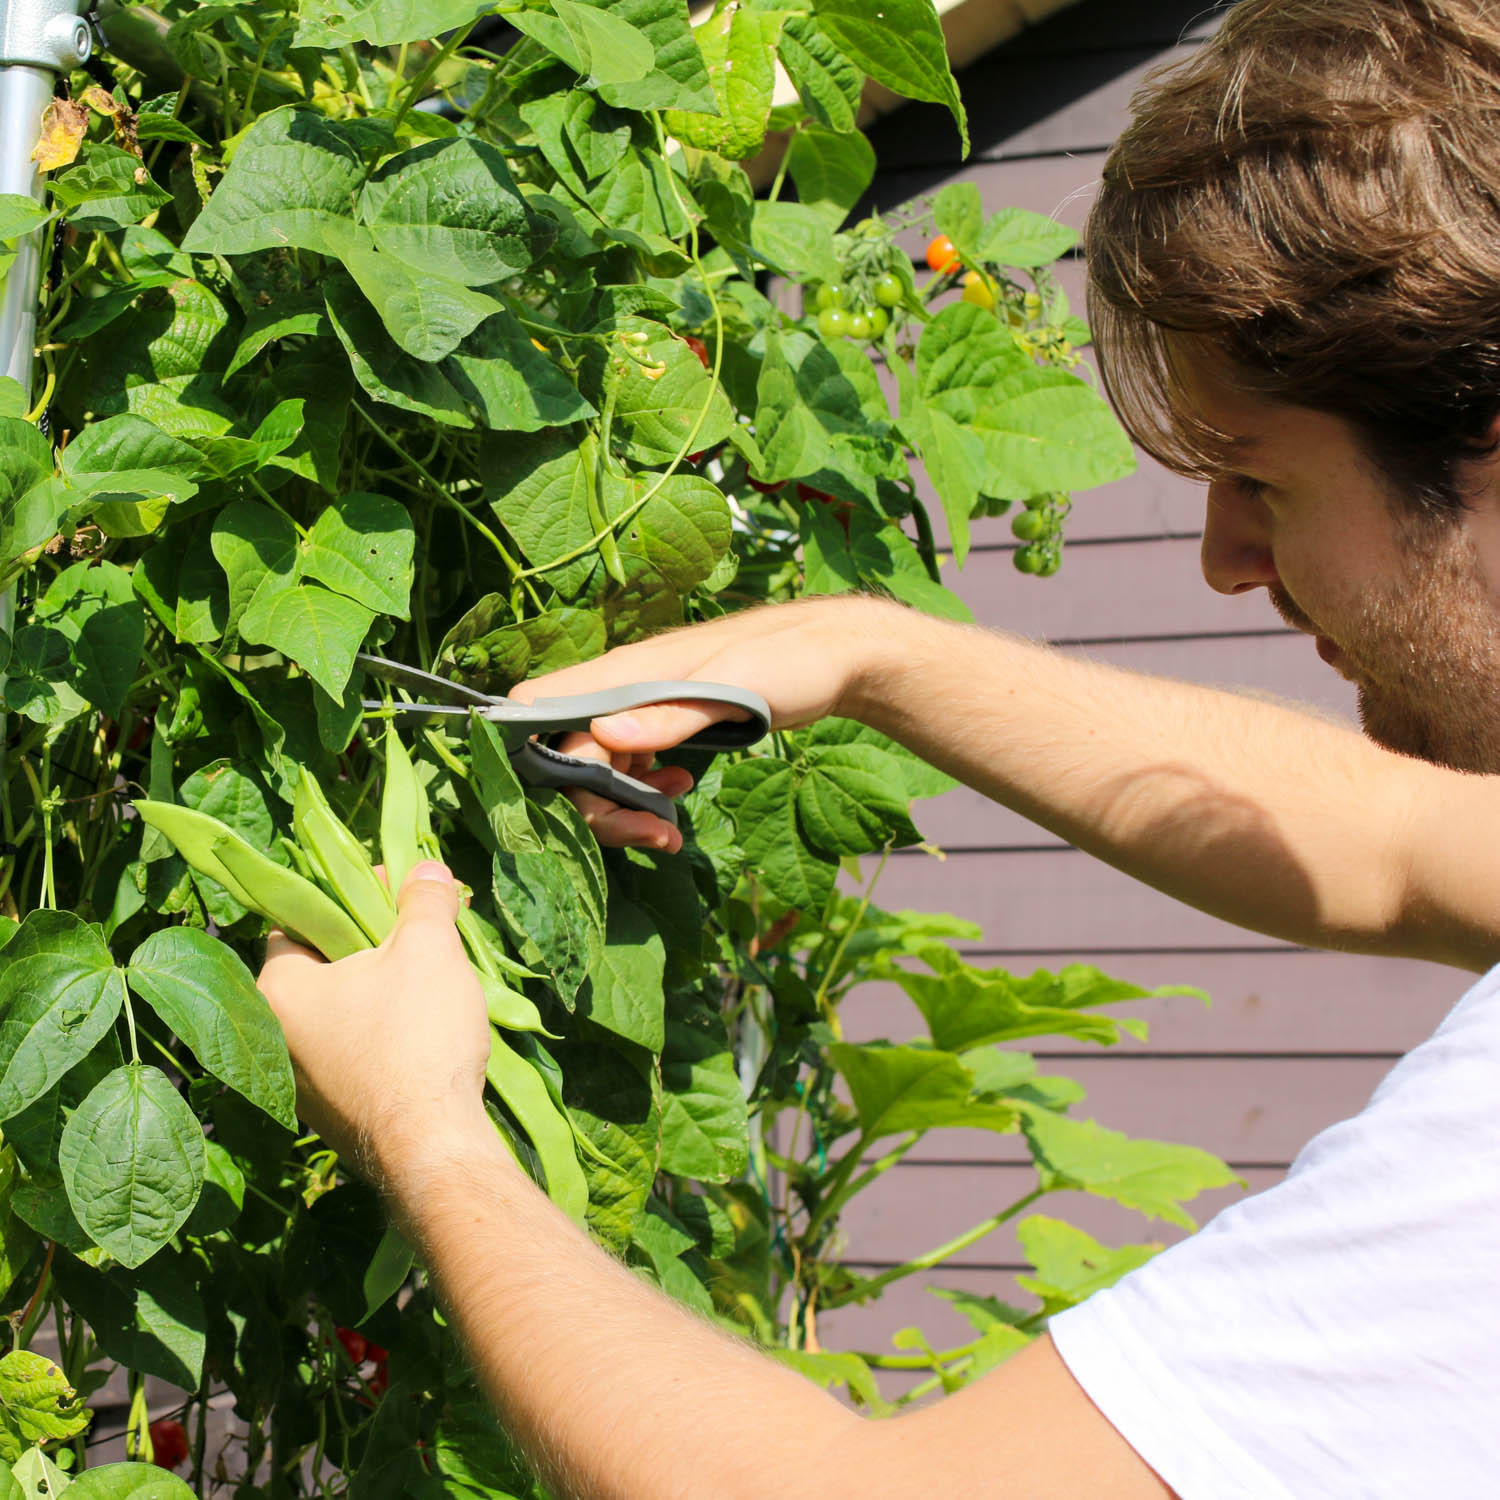
At these levels, from about 9 to 10 weeks after sowing, you can harvest the first Romano pole beans. Cut them from the plants when they are about 20 cm long. Cutting prevents damage to the plants.
Harvesting early encourages the plants to produce more flowers and therefore more beans.
It is perfectly normal for some leaves to turn yellow and look less attractive now, especially near the bottom of the plants.
Harvesting early encourages the plants to produce more flowers and therefore more beans.
It is perfectly normal for some leaves to turn yellow and look less attractive now, especially near the bottom of the plants.

The final levels
Keep harvesting during the following levels. Frequent picking extends the harvest because it encourages the plants to produce more flowers and therefore more beans. You can often continue harvesting into October.
The plants will grow well above the trellis. That is not a problem: simply guide them sideways or downwards.
The plants will grow well above the trellis. That is not a problem: simply guide them sideways or downwards.

Bean plants do not cope well with cold weather. Their leaves will turn brown and they will stop producing flowers.
When that happens, remove the plants and clear the square.
When that happens, remove the plants and clear the square.
How do you use Romano pole beans?
Romano pole beans are usually sliced into narrow diagonal strips and cooked briefly. Combining them with white beans creates the traditional Dutch dish blote billetjes in het gras, or “bare bottoms in the grass”. It is especially popular in Groningen and Brabant.
You can also cut the beans into larger pieces. Briefly cooked and cooled, they are delicious in salads, stir-fries, vegetable soup or a Dutch mashed potato dish.
Never eat them raw. Raw beans are hard to digest and contain lectins, which can cause digestive symptoms in larger amounts. Cooking the beans breaks these down.
You can also cut the beans into larger pieces. Briefly cooked and cooled, they are delicious in salads, stir-fries, vegetable soup or a Dutch mashed potato dish.
Never eat them raw. Raw beans are hard to digest and contain lectins, which can cause digestive symptoms in larger amounts. Cooking the beans breaks these down.

Are Romano pole beans nutritious?
Romano pole beans provide fibre, vitamins A, C and K, potassium and magnesium. They also contain carotenoids and flavonoids.
Always cook the beans before eating them.
Always cook the beans before eating them.
