Swipe

Start indoors
Bush bean
Product information
Sowing in:
J
F
M
A
M
J
J
A
S
O
N
D
€3.89
In Stock
Free delivery from € 30 🇳🇱
Choose your own delivery date
Additional

Seed-starting kit
€19.95
Description
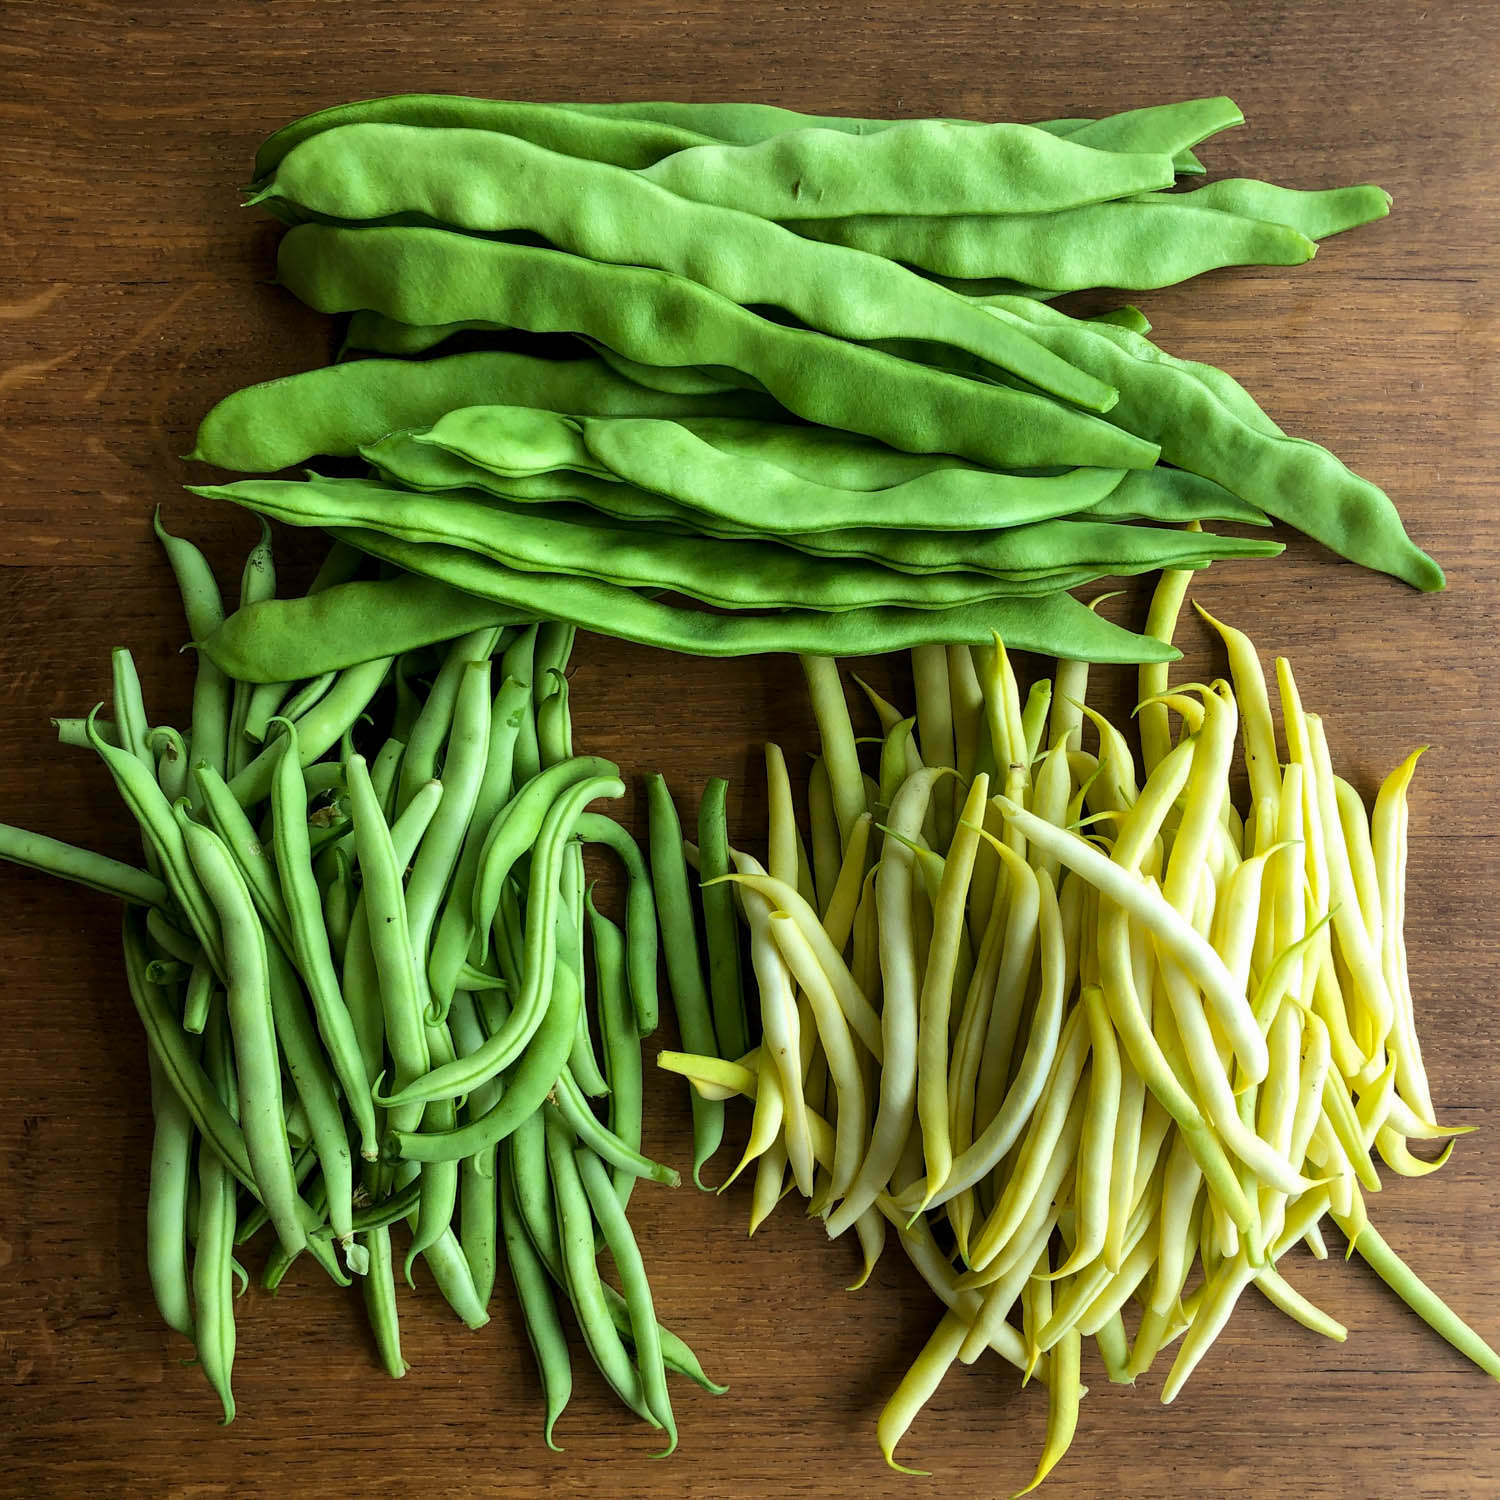
This variety produces plenty of tender green beans in clusters of four or five. Harvest them at about 10 cm long, when they taste best.
Specifications
Sow: May and June
Height: 50–60 cm
Contents: 15 g
Height: 50–60 cm
Contents: 15 g
In the app
Sowing: 1 May - 30 June

Level 1
started indoors

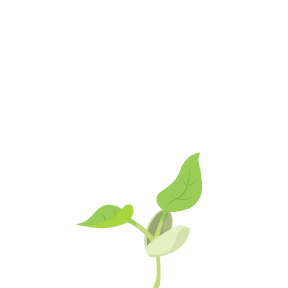
Level 2
seedlings emerging
Level 3
seedlings planted

Level 4
small plants

Level 5
supported

Level 6
first flowers
Level 7
first harvest

Level 8
harvesting

Level 9
still harvesting
- Currently only shipping to the Netherlands and Belgium
- Choose your preferred delivery date
- Sent by PostNL or Transmission
- Track & Trace in your inbox
- The app helps you with almost everything you do in your vegetable garden: sowing, tending, and harvesting.
- If something goes wrong, the app tells you what steps to take.
- If that doesn’t work, you can ask us for advice.
- If that still doesn’t help, we’ll look for other solutions together. Until we get it right.
Bush bean
Sowing green beans in your Makkelijke Moestuin? This tasty bush bean produces plenty of tender green beans in clusters of 4 to 5. Harvest them at around 10 cm long, when they taste best.
- Variety: Record
- Family: legumes
- Plants per square: 9
- Height: 40-50 cm and taller
- Sowing time: May and June
- Sowing depth: 2 to 3 cm
- Germination: 7-10 days at 21°C
- Time to harvest: 8-9 weeks
- Sunlight: full sun

How do you sow and grow bush beans?
These bush beans are included in the free Makkelijke Moestuin app. Use it and you will get guidance from seed to harvest.
Every vegetable goes through several stages, which we call levels.
The app tells you exactly what to do at each level and regularly asks you to check whether your plants are ready for the next one.
So you do not need to know how to grow them successfully before you start. But if you would like to read ahead, here is what the process looks like.
What do you need to grow bush beans?
Besides the seeds, you need the following to start them indoors:
- MM seed-starting mix or MM coconut seed-starting mix
- one large MM Airpot
- clear kitchen film, unless you use coconut mix
Once most seedlings are visible, you can plant them outside. You then need:
- one 30 × 30 cm square or an MM-Mini
- Makkelijke Moestuinmix or MM coconut mix
- a spot with at least 8 hours of sunlight a day
- MM plant food

Level 1: Pre-sow bush beans
Level 1: Pre-germinate bush beans
Beans need plenty of warmth to germinate. Even slightly cold or rainy weather can stop them emerging or leave the seedlings weak.
Pre-germinate them indoors in a pot filled with MM seed-starting mix or MM coconut seed-starting mix.
Pre-germinate them indoors in a pot filled with MM seed-starting mix or MM coconut seed-starting mix.

Level 2 and 3: Sowing bush beans
Levels 2 and 3: Sow bush beans
As soon as the seedlings are visible, move them to an MM-Mini or a square in your raised bed.
Here is how:
- make 9 roomy holes in the square, 3 to 5 cm deep
- use a spoon to lift the seedlings from the pot
- plant 1 seedling in each hole
- carefully close the holes
Depending on the weather, the plants should be growing nicely after about a week.
If it is still very cold at first, cover them with an MM cover or a few plastic containers. This protects them from birds and slugs and helps them grow faster.

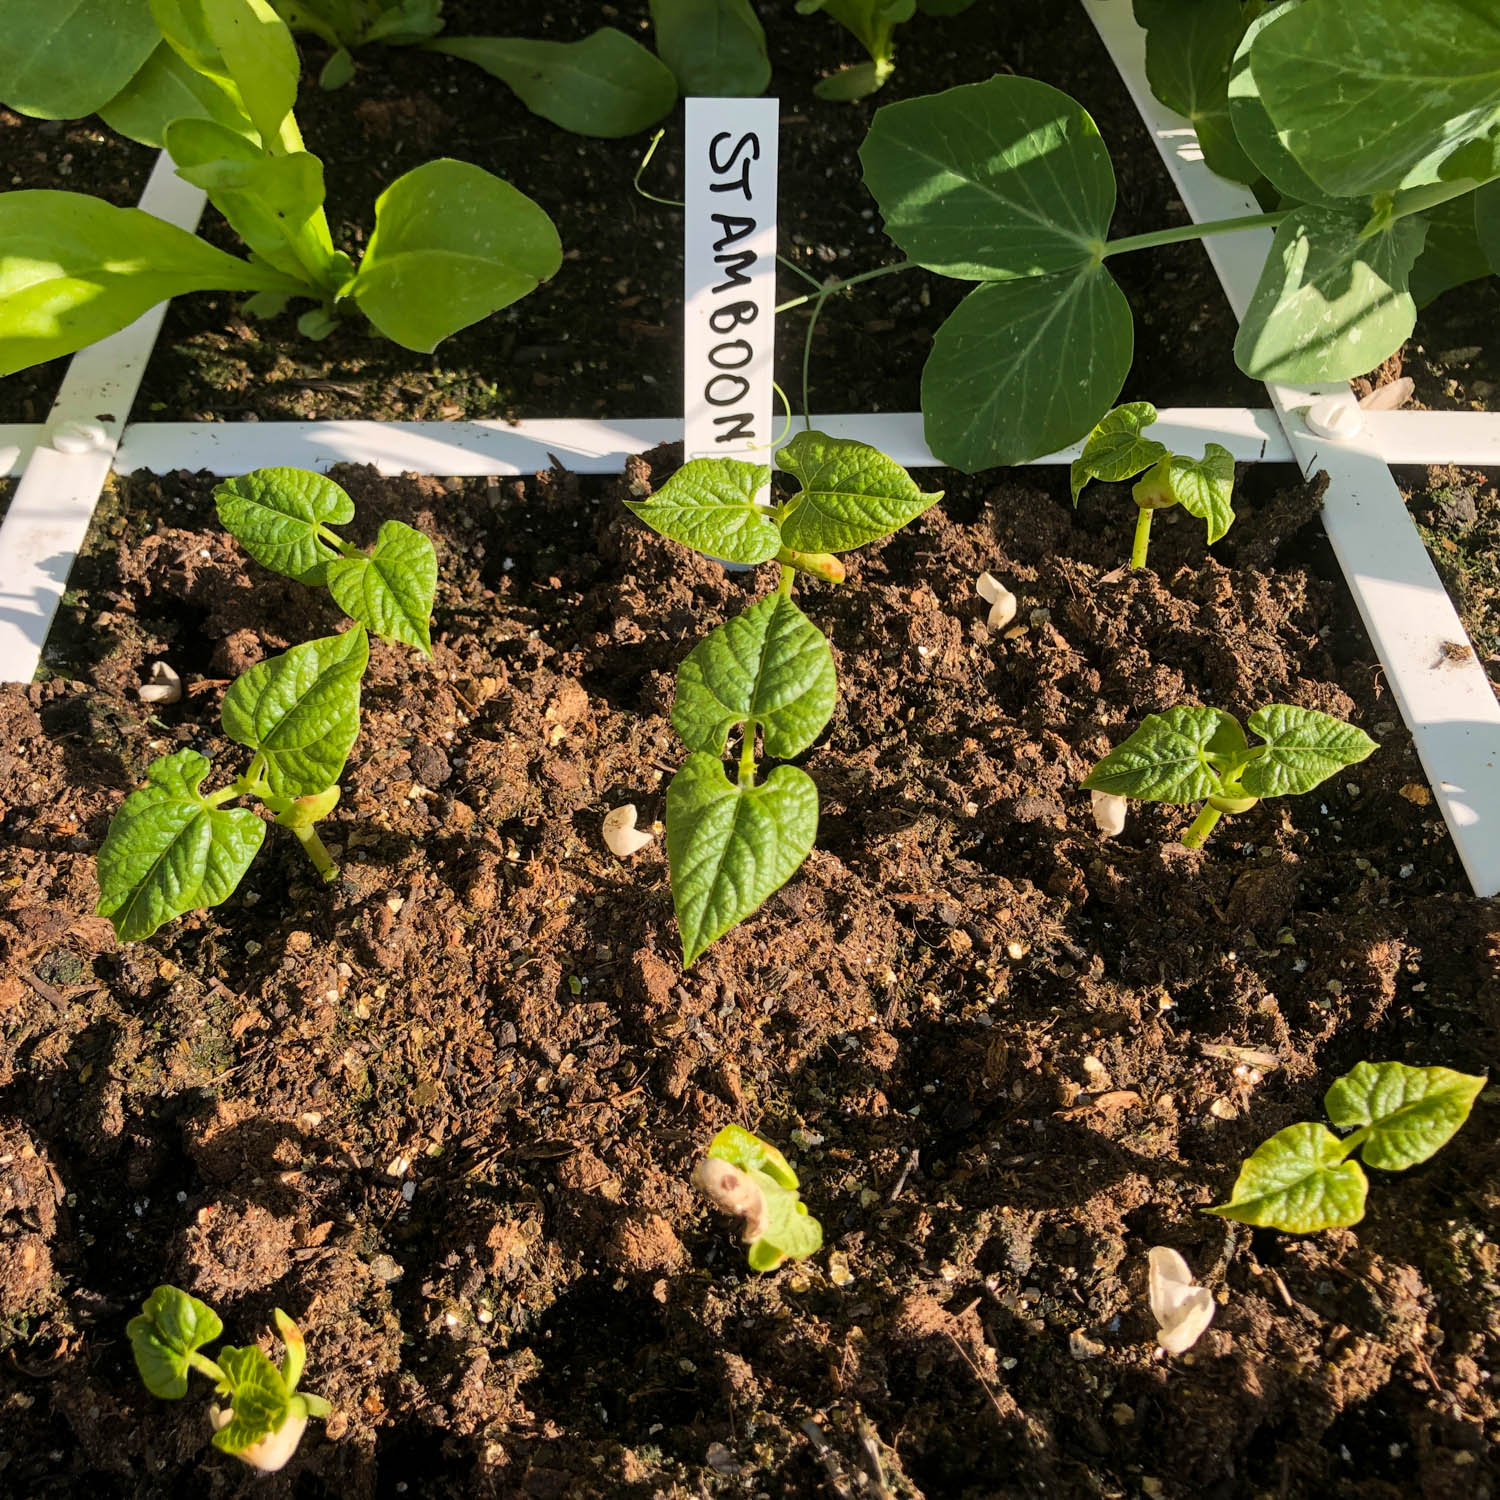
Level 4: Caring for your plants
Level 4: Care for your bush bean plants
After a week or 2, your seedlings have already become small plants.
They'll grow quite fast in the coming weeks. You don't have to do much about that, nice and easy 🙂
They'll grow quite fast in the coming weeks. You don't have to do much about that, nice and easy 🙂

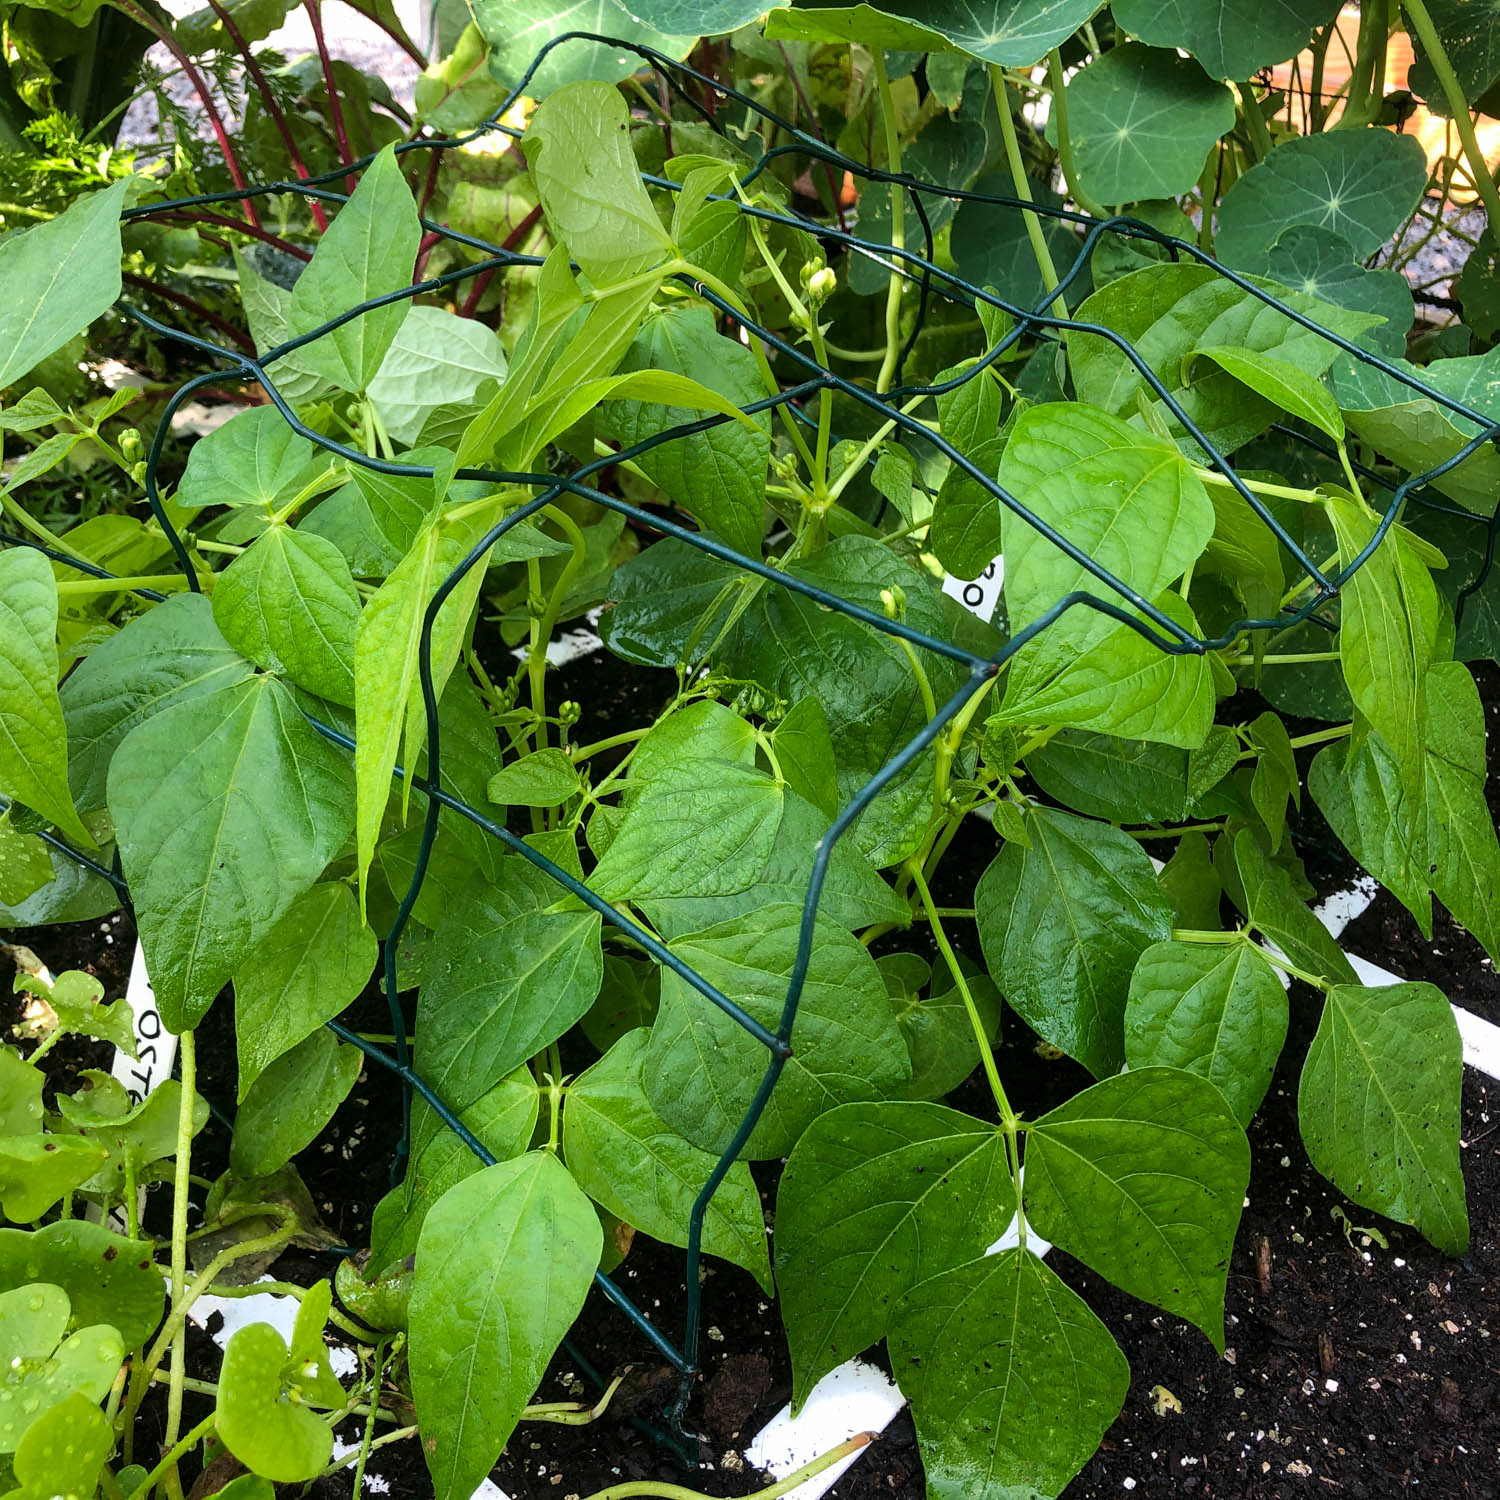
Level 5: Give your plants support with a rack
Level 5: Support your plants with a small frame
Give your plants some support with a mini trellis. You can make one easily by bending garden wire fencing into a U-shape and placing it on top of the bean patch.
If you use a MM-mini this is not absolutely necessairy: then it's okay if the plants spill over the sides.
In a few weeks, the first flowers and pods appear. Then it's time for the next level.
If you use a MM-mini this is not absolutely necessairy: then it's okay if the plants spill over the sides.
In a few weeks, the first flowers and pods appear. Then it's time for the next level.

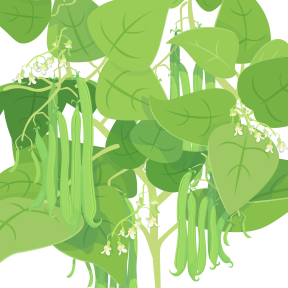
Level 6: Blooming bush beans
Level 6: Flowering bush beans
Now you'll see beautiful white butterfly flowers. That's where the beans will grow from.
Sometimes you'll already see your first bean now.
Sometimes you'll already see your first bean now.

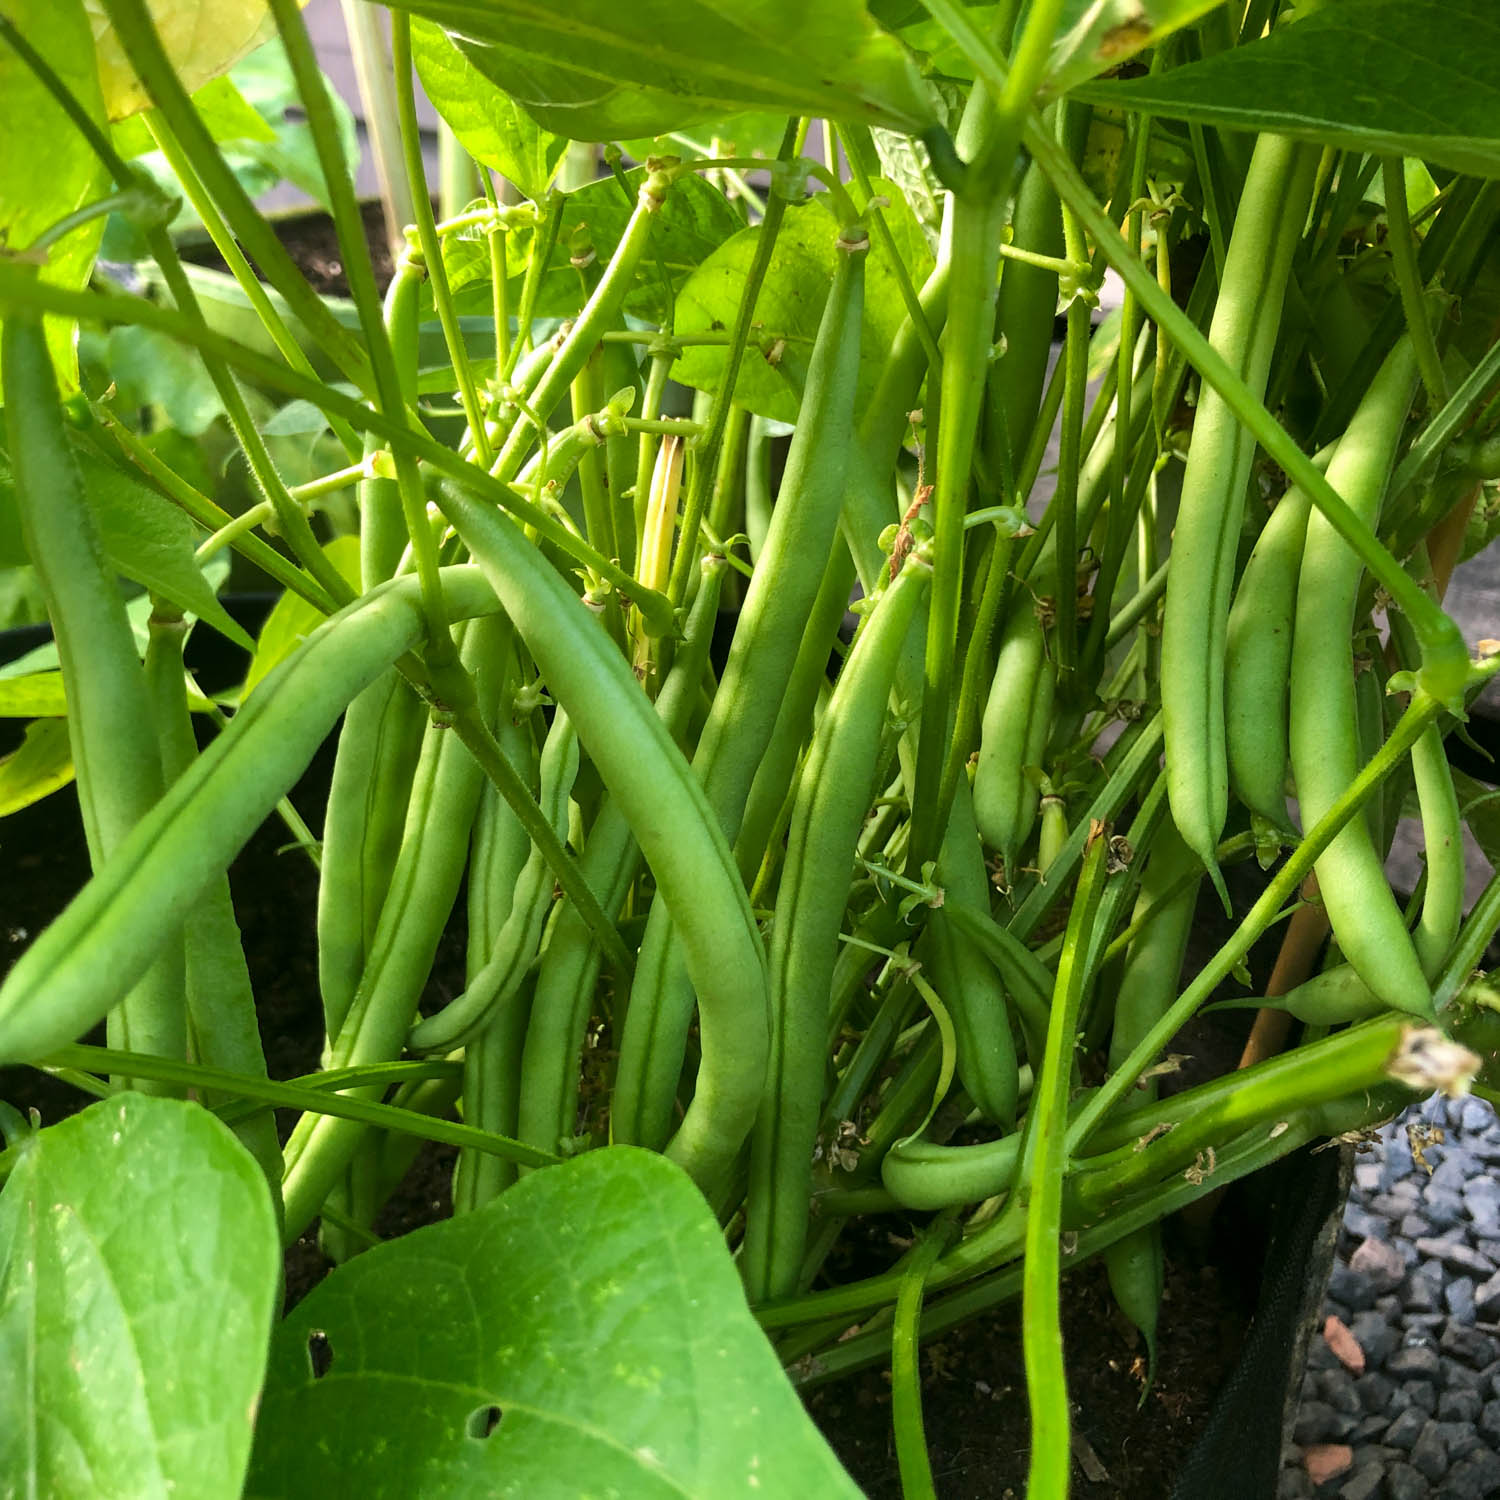
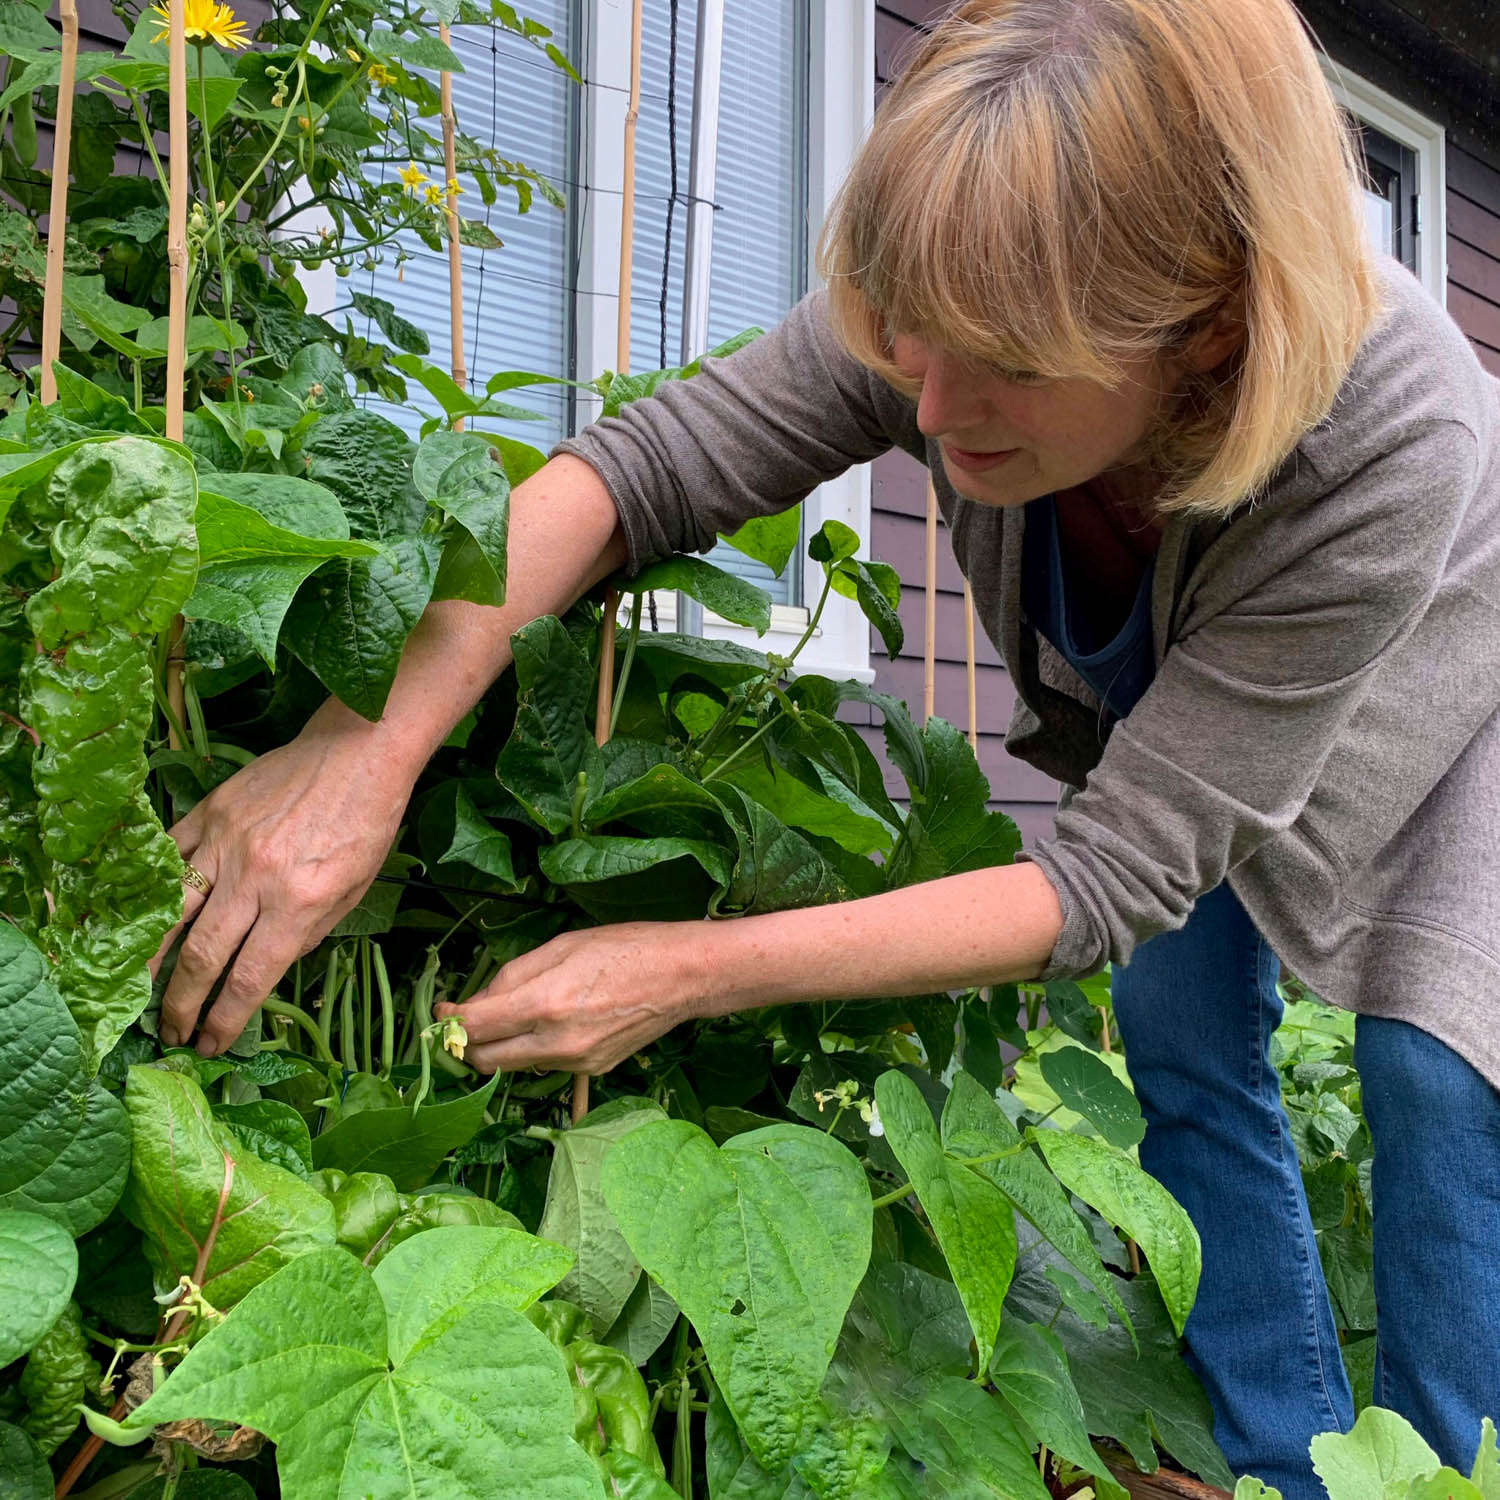
Level 7: Harvest your first bush beans
About 8 to 9 weeks after sowing, you can harvest the first beans.
By harvesting early, the plants produce more flowers. More flowers mean more beans.
It's normal for the leaves to turn a little yellow and get uglier, especially around the bottom of the plant.
By harvesting early, the plants produce more flowers. More flowers mean more beans.
It's normal for the leaves to turn a little yellow and get uglier, especially around the bottom of the plant.

How do you use bush beans?
Cut the beans from the plants when they are about 10 cm long. That's when they are really the tastiest. By cutting, you don't damage the plants.
The most popular way to eat green beans: boil the beans briefly and eat them warm as a side dish. Or you can cool them quickly and add them to cold salads.
Bush beans are great in stir fries too. You can find recipes for bush bean quiches or bread if you feel creative 😉
The most popular way to eat green beans: boil the beans briefly and eat them warm as a side dish. Or you can cool them quickly and add them to cold salads.
Bush beans are great in stir fries too. You can find recipes for bush bean quiches or bread if you feel creative 😉

Are bush beans nutritious?
Bush beans provide fibre and contain carotenoids such as lutein and beta-carotene, along with several flavonoids. They are also low in calories.
Always cook the beans before eating them.
Always cook the beans before eating them.

The last levels
Keep harvesting your bush beans until there's none left. It takes about 3 weeks. And in that time you harvest a ton of beans.
Once your plants stop producing beans and flowers, it's time for the last level: empty your patch and get ready to sow something new.
Once your plants stop producing beans and flowers, it's time for the last level: empty your patch and get ready to sow something new.

So, ready to grow your own bush beans?
Bush beans are a fun vegetable to grow and also super healthy. Once the plants get a strong start, growing is a piece of cake.
Plus: with our materials and with help from the app, it's practically impossible to fail 😉
Get your bush bean seeds here or get started with a complete starter kit:
Plus: with our materials and with help from the app, it's practically impossible to fail 😉
Get your bush bean seeds here or get started with a complete starter kit: